Making The Most Of Your Planner Supplies!
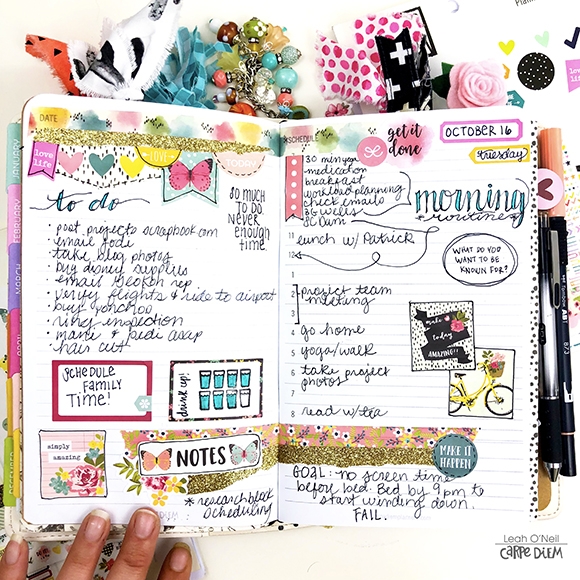
Hello again creatives! Leah here on the blog today with lots of fun ideas, tips and tricks to show you in my traveler's notebook this month. I've got a lot to share so let's jump right in! I am still using and loving the layout of the Carpe Diem Daily TN inserts. I love all the space I get from having two pages for each day.
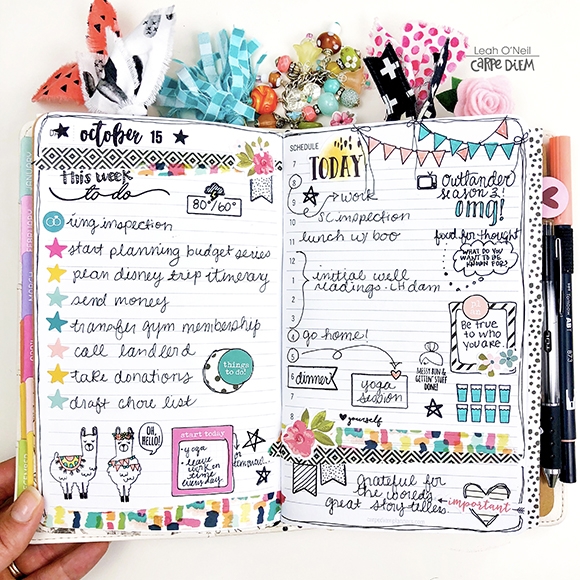
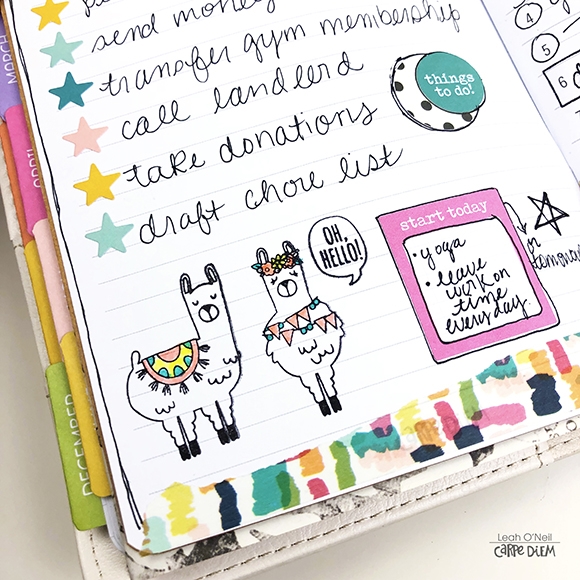
I have finally gotten a chance to open and play with some more of the Carpe Diem stamp sets. It's amazing how much versatility you can get out of a few stamps and stickers! My favorite set is definitely the No Prob-Llama stamp set. I used it quite a bit on this first daily spread. How flippin' adorable are these llamas?! I also really love the banner stamp in this set. I like to kick my stamping up a notch (and disguise some of my stamping mistakes...) by coloring in the stamped images with my TomBow markers. I use a waterproof stamping ink so that the ink doesn't smudge while I'm coloring.
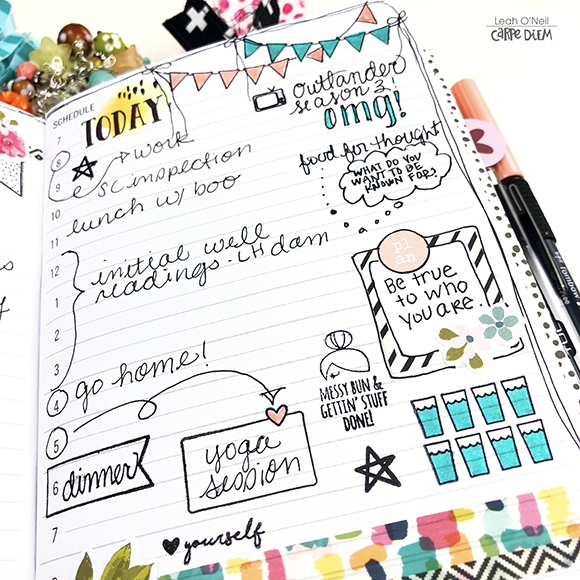
I have been getting a lot of use out of this hydration tracker stamp from the Work It stamp set on my daily planner pages. I get so much satisfaction from being able to color in the glasses of water. Yes, I am an adult motivating myself to make better adult choices with the reward of coloring. Whatever works, right?
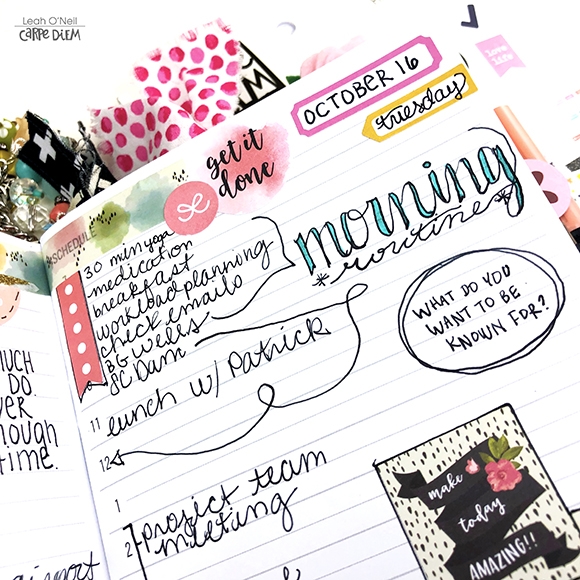
For this next daily planner spread, I put the A5 Hello Sticker Tablet to work! All of the Carpe Diem sticker tablets have such a large amount and variety of stickers in them that you can really make them go a long way. I love finding new and creative ways to use the different stickers. For example, adding a few along the top of a page to create a banner adds a touch of décor without taking up a lot of space. Layering stickers of different shapes and sizes provides an illusion of texture to the page without adding too much actual dimension off the page.
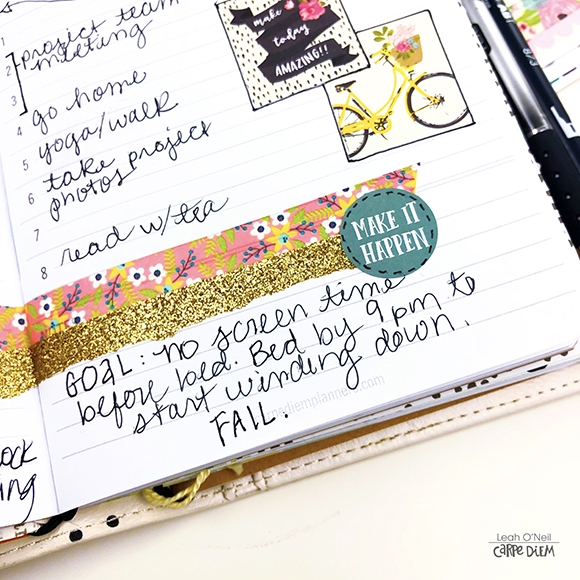
I used some of the square stickers from the tablet to decorate and fill in a few areas of white space on the spread. I also mixed in a few functional stickers from the A5 Planner Basics Sticker Tablet – that tablet is a must-have no matter what you're planning style is.
I get questions every once in a while about how I adapt my planner spreads if there is a change in plans, or if there isn't room to write something new in where I may have added a sticker already. The truth is, I barely even think about it and just draw an arrow pointing to where ever I want to fit or move something. Sometimes I'll add little swirls to the arrows to make them less boring.
I've been using the bottom of the right page on my daily spreads to write in goals and affirmations. I always start the day with good intentions, but sometimes things just don't work out as planned, what can I say? This goal had a short life, but tomorrow is a new day!
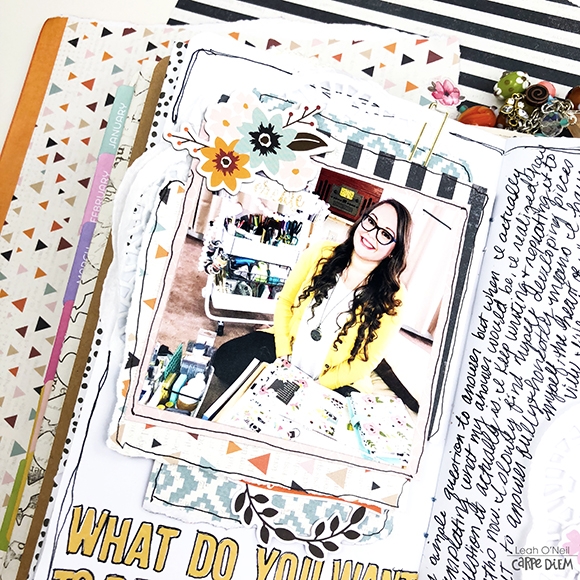
If you go back and look at both of the spreads above, you'll see where I wrote in a question on both days: “what do you want to be known for? I've been re-writing and repeating this question a lot lately. It really resonated with me when I heard it and it surprised me how challenging it has been for me to answer. You really have to dig pretty deeply, and sometimes under a lot of layers to answer this question honestly and meaningfully. I am going to keep writing the question on my daily spreads and reflecting on it until I feel I can truly answer. I decided to do a little journaling on this topic in another one of my TN inserts this week. This is just another great example of how all-inclusive and versatile traveler's notebooks can be. I can add a notebook any time to serve any purpose I want.
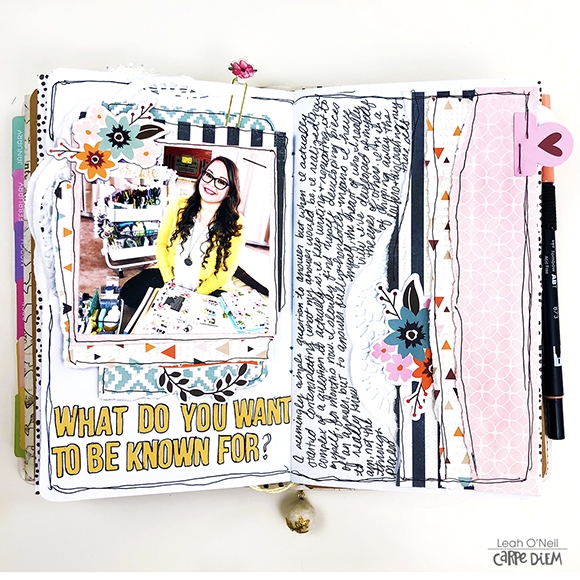
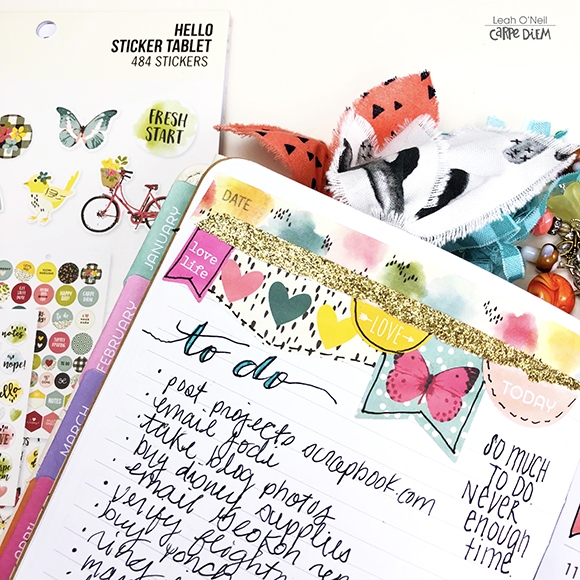
This creative journaling spread was so incredibly simple to throw together. I used 4 sheets of patterned paper and a few die cuts from the Forever Fall collection. It can be so easy to fall into the trap of thinking you need a bunch of fancy supplies to create something beautiful, but that's really not true.
You don't even need scissors for this! The only other supplies I used were a stapler, glue stick, pen, and a couple of doilies from a pack I bought at the Dollar Tree. I simply tore off pieces of each patterned paper in different sizes to layer behind my photo and along the edge of the right page. I cut a doily in half, tucked one part behind the layers under my photo and the other under one of the layers on the right page. It turns out I actually cut two doilies because I didn't realize they were stuck together, but hey, it just gave the layout some additional texture.
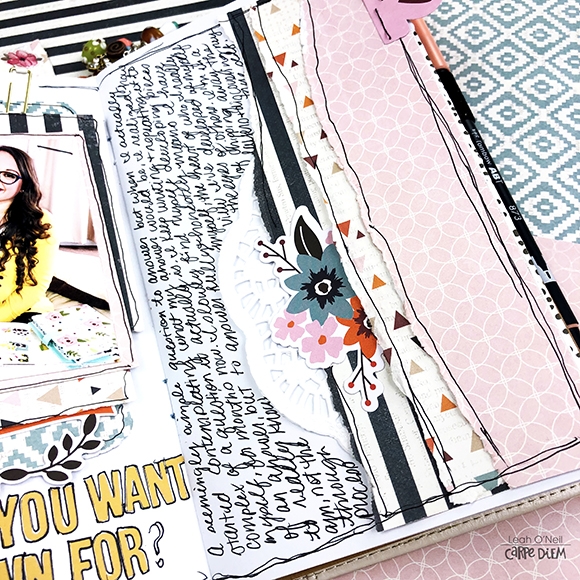
Sometimes on a journaling spread such as this, it just feels right to keep it simple. I had plenty of space to journal and was able to emphasize my photo simply by giving it some dimension with the layering. I added strips of the same patterned paper to the right page to balance out the full two-page layout.
Thanks for sticking with me if you've made it this far in this lengthy blog post. I hope I've been able to give you some new ideas and tips to help make the most of your supplies. As I said before, you really don't need a lot of fancy supplies to create something you love. Until next time friends, happy creating!
