Planner Setup for the Month of Love
Hello everyone! It’s Leah again, here to show you how I have used the Love & Adore collection to set up my Carpe Diem planner for February. Wowza, January was one heck of a month for me! It was a month full of firsts and trial and error, as I worked really hard to pull together my very first online class (coming to Big Picture Classes in March!). I learned how to film and edit video tutorials too! Now that I’ve gotten the hang of filming, could this mean new adventures with YouTube? Only time will tell! Meanwhile, I am just so relieved to have completed the class. There is something magical about seeing something come together that you have worked so hard on. After accomplishing such a big goal of mine, now I am feeling SUPER motivated to spend some time laying out my goals for 2017. February 1st feels like January 1st to me. I am kicking things off by setting up my planner for February!
I started by getting creative with making a February monthly divider. I tried something new with this project. I used graph paper from the Basic Inserts pack and got messy with my watercolor paints! Word of caution here: I have used watercolor on the Simple Stories planner inserts a lot and never have issues with the page warping too badly, but you have to be mindful to not use too much water. In this case, I disregarded that. I used more water to get that drippy effect you see. I basically puddled the watercolor toward the top of the paper and then stood the paper up to allow the paint drip down. As a result, I did end up with a pretty wrinkly page but I actually like how it looks, feels like a page out of my at journal. I also glued it down to the existing cardstock divider for February which helped weigh the warped paper down a bit.
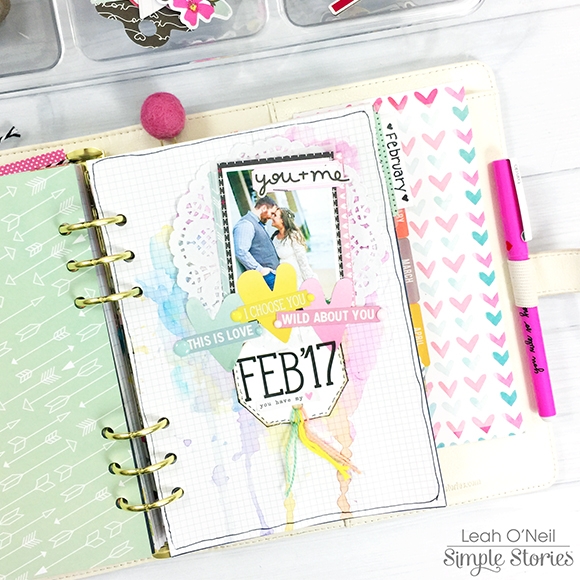
This project actually started out as me playing with watercolor just for fun, but then I liked how it looked and decided to turn it into a monthly divider. Since February is “the month of love,” I focused on a love theme. I used three die cut hearts from the Love & Adore bits and pieces pack and I arranged them in the order of the paint colors – blue heart near the blue paint, yellow heart above the yellow paint, and the pink heart near the pink paint. The colored phrase stickers are from the 12x12 combo sticker sheet. I matched the color of the sticker to its corresponding heart. Then I used enamel dots in the same colors on each end of the phrase stickers.
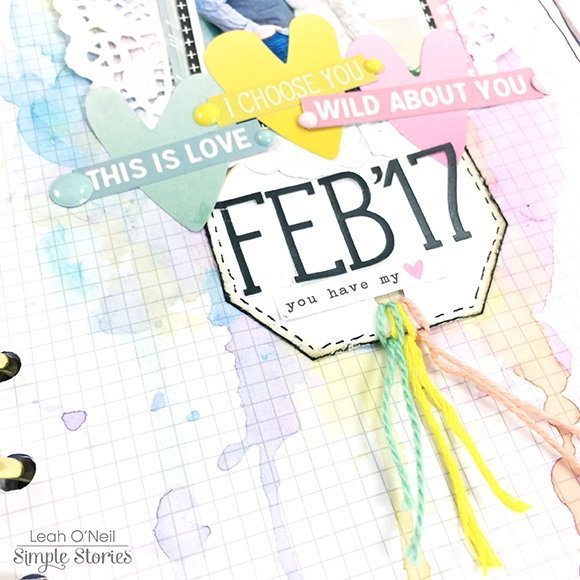
I cut a white piece of cardstock into a small tag shape, punched a hole, and threaded the same three colors through the hole. On the tag, I used alphas from the Combo sticker sheet to indicate the month. Even around my photo, I used paper scraps to layer in the same color pattern, blue on the left, pink on the right. I really love how matching up the three colors all throughout the layout made it come together so nicely and cohesively!
Every year, my February monthly layouts always end up being my favorite! This year is no exception. I used the Love & Adore collection to decorate.
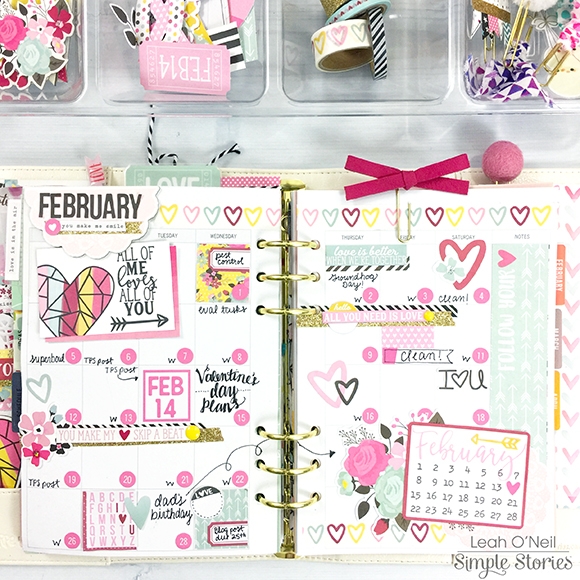
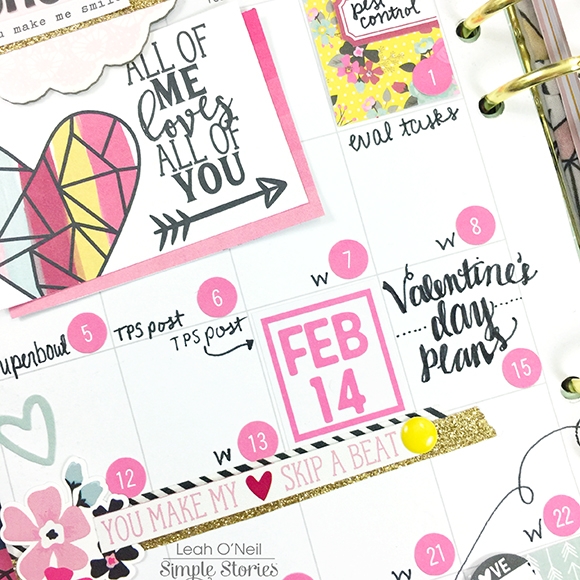
I have always used my monthly view to write in things I need to schedule around. Since January was so chaotic for me, February does not have too many pre-planned obligations. Yay! So I went a little heavier on the decorating. Just a note in case you’ve ever wondered: occasionally, I cover up days with embellishments and because I tend to decorate first, I sometimes end up having to write in a little note and then add an arrow pointing to the date where it SHOULD go. For example, my dad’s birthday is on the 23rd, but I have that day covered up with decor. So I wrote it in a close-ish spot and drew an arrow to where it should be written in.
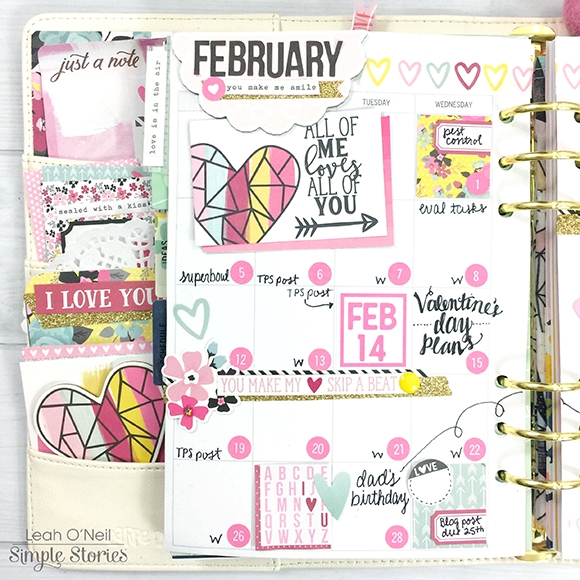
For the February title, I used a pink doily chipboard piece and then used black alpha stickers to write out the month. I’ve got an Avery index tab on the side of the page with a word strip sticker. The “all of me loves all of you” is one of my favorite pieces from an element sheet in the 6x6 paper pad. I layered a pink piece from the same page behind to help it stand apart from the white background.

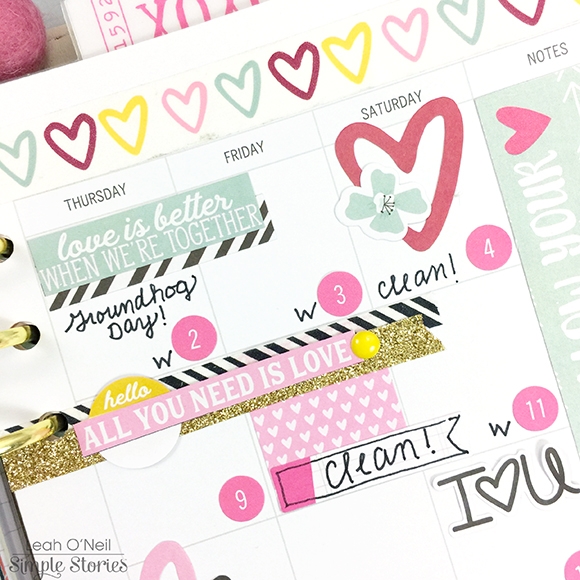
When decorating any monthly layout, I always use lots of stickers from the 4x6 sticker pack in whatever collection I am using. Same goes for this layout. All of the embellishments in this layout are from those stickers, the combo sticker sheet, the bits and pieces pack, and the Love and Adore washi tapes.
All the décor on the right side of the layout is using the same supplies, but that strip of paper covering the notes section, is cut from a sheet in the 6x6 paper pad.
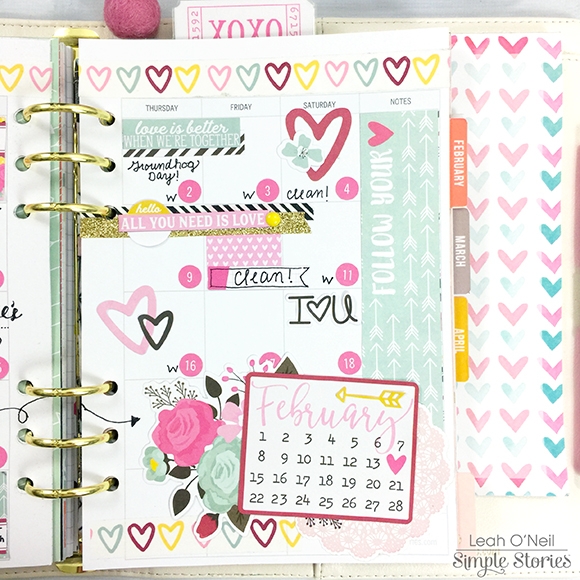
I still feel like there is a decent amount of writing space left on my layout, should anything else come up that needs to be scheduled.
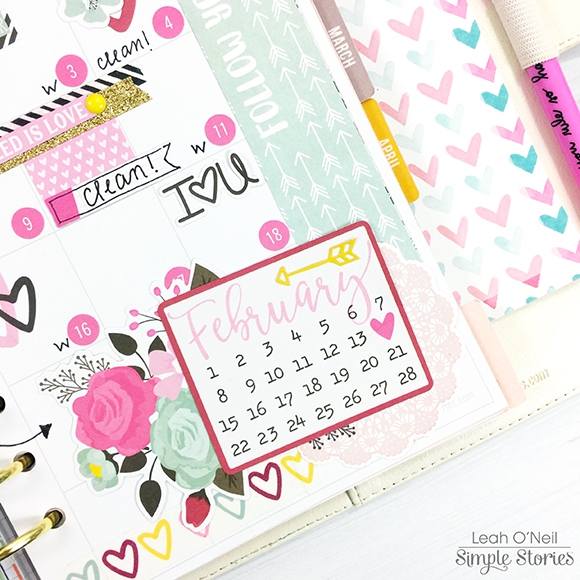
I always love adding larger embellishments in the bottom right corner. Love how this February calendar looks with that huge floral piece!
Last but not least, I put together an easy bookmark using a piece from a 12x12 elements sheet. When I cut the paper down to the size I wanted, I had to cut off the part that said “you will,” so I added the words back using yellow alpha stickers. This bookmark is quite simple to make, I just cut and glued down half a doily and then layered a couple of washi tapes and a floral sticker on top. The bits and pieces pack had a couple of ticket shapes that I used to create a tab for the bookmark and then I laminated it all.
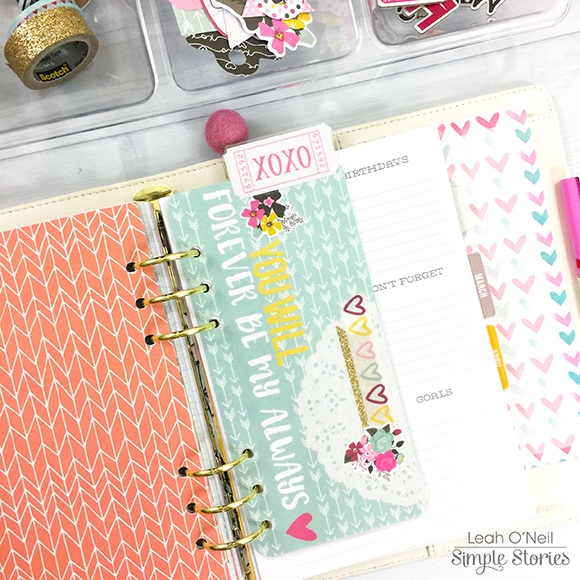
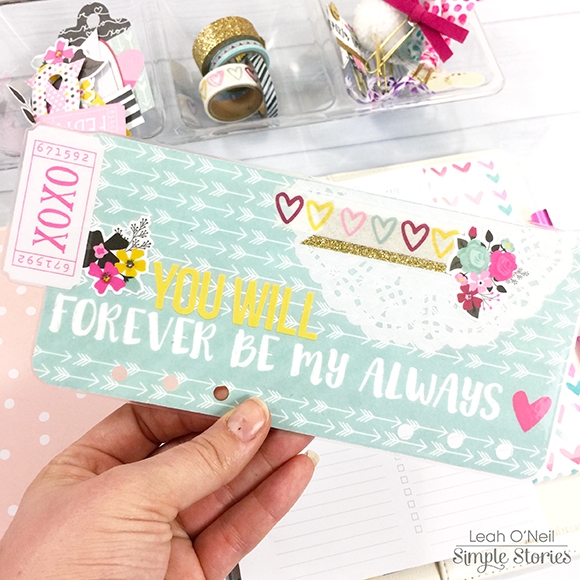
I didn’t add any embellishments to the reverse side of the bookmark because that paper is pretty enough on its own! I like laminating bookmarks because I can stick sticky notes and page flags to them. For example, pictured below are some sticky notes that I have written a grocery list on.

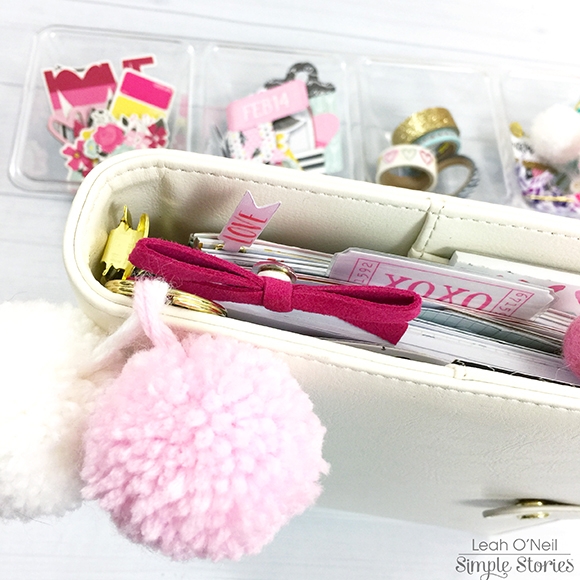
I love how this bookmark tab looks peeking out of my planner!
I am absolutely in LOVE with the Love & Adore collection and cannot wait to keep using it throughout February and beyond. The florals, bright colors and all of the hearts are perfect for the Valentine’s Day season, but I could use this collection any time since I love the style of it so much! Check out the Carpe Diem Planners Instagram account for more inspiration using this collection. I will also be posting more projects using it over on my Instagram as well. I hope to see you there!

