Planners, Bats and Broomsticks!
It’s Creepy Cara here today and I’ve got my Traveler’s Notebook all spooked out for Halloween! I decided to go all the way and add as many bats and spiders as would fit… there are soooo many fantastic Halloween products that I wanted to use as many as I could.
I wanted this planner to be on the scary side, I’ve usually gone the cutesy route in the past, but now that my children are mostly older (and 5 of those are boys) it’s nasty, creepy crawlies, all the way. Bats and spiders are actually quite cool if you ask me! Stay tuned to the end though, because I couldn’t help it and did add some cuteness to my TN after all.
Starting with Halloween week I sectioned off the days with washi.
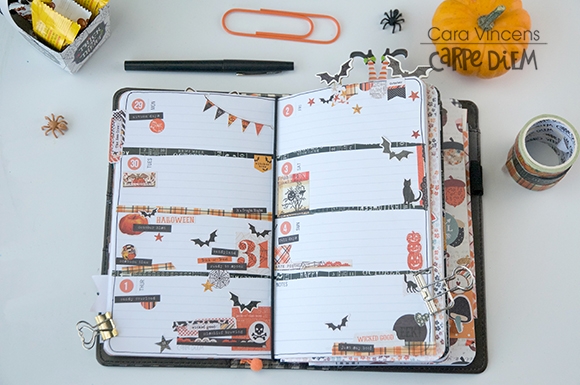
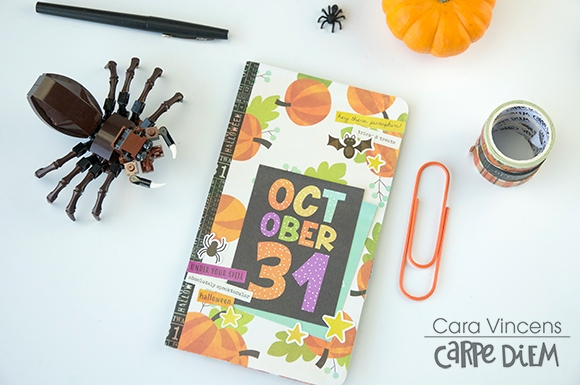
I wanted thin strips of washi, so I decided to cut these strips from the black washi from the Halloween set, but the first strip ended up quite crooked. It was a happy accident, I liked how it looked so much that I purposely cut the other strips crooked too! I added a bit of the orange plaid to the 31st to help it stand out.
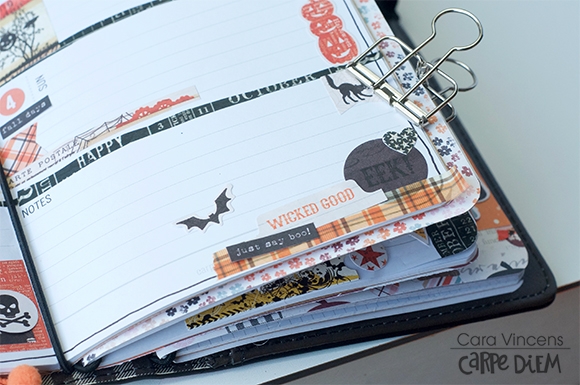
I found some orange numbers in the numbers tablet but left out the 31st, I wanted to add something different to make it stand out and I eventually decided on this black phrase sticker, layered on a pumpkin after trying many other sticker combinations.
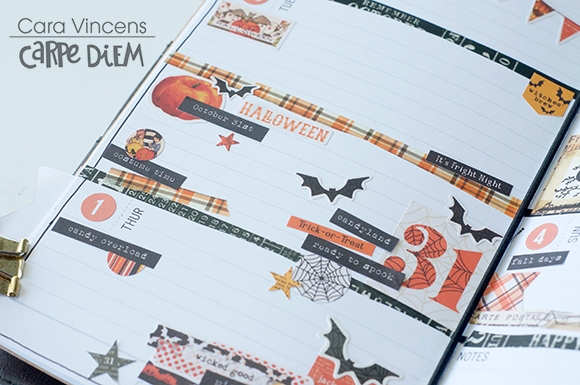
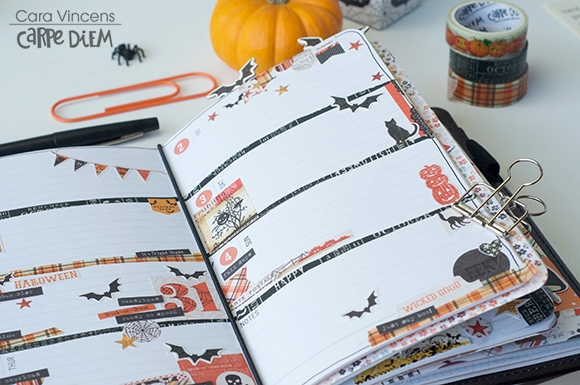
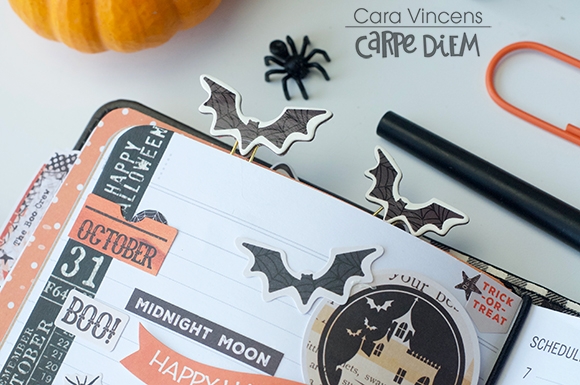
Bats seemed to be my thing I turned to most and they are there as stickers, chipboard turned planner clips, and die cuts. Have I mentioned already that I really like bats? My 5 year old wants to be a bat for Halloween this year, and I think I’m more excited about it than he is. The trick with the bats is to make it look like they are flying on your page. Angling them each in a different direction and spacing them out really helps.
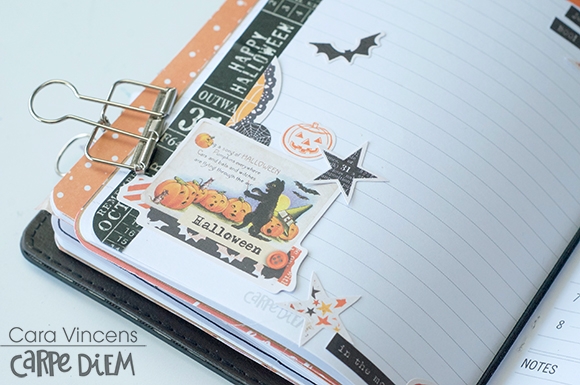
I added tons of layers so that I could get as many stickers on here as possible! I love layered clusters, maybe even more than I love bats ;)
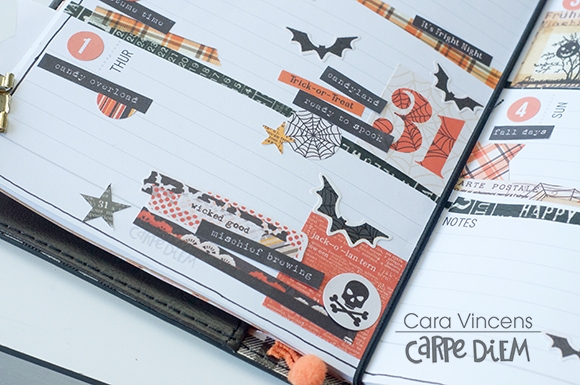
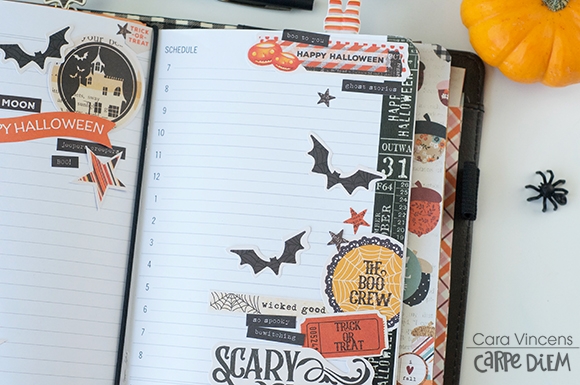
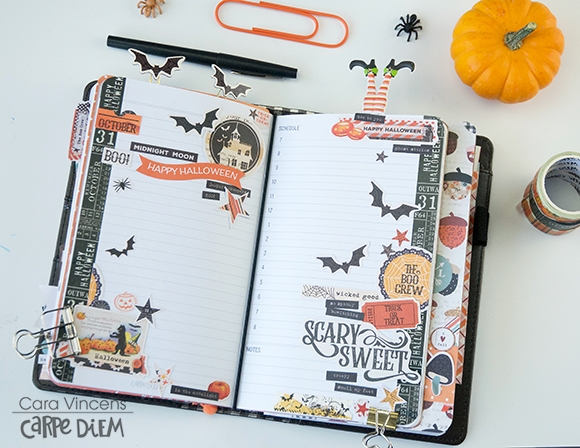
On to my Halloween daily spread. Again with the bats flying around the page!
I started with the black washi framing the spread on the edges of both pages and layering both edges with spooky stickers and quite by accident the ’31’ on the washi landed near the top of the left hand page. I highlighted it with stickers, including one that says ‘October’ (that I trimmed down) to make it into the date for the spread.
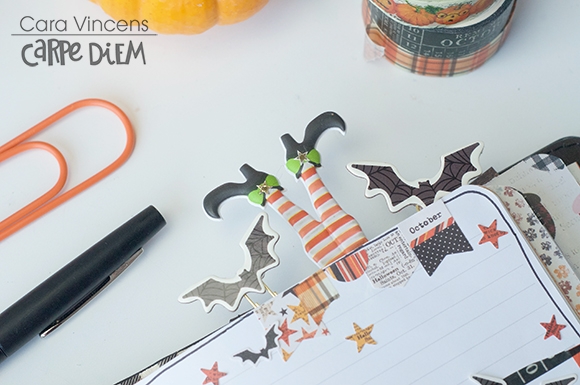
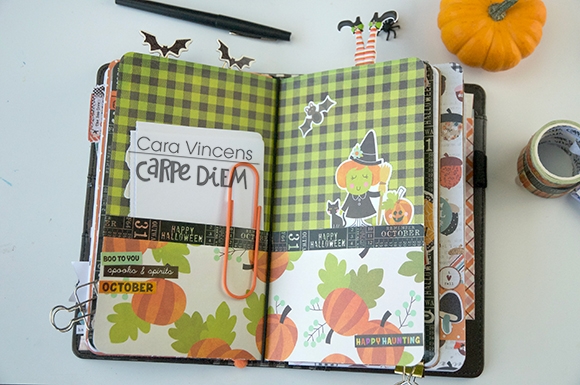
Ah the cute bit! Halloween truly is a child’s holiday, isn’t it? The Happy Halloween collection really is sweet so I made a little pocket folder with my favourite paper and stickers.
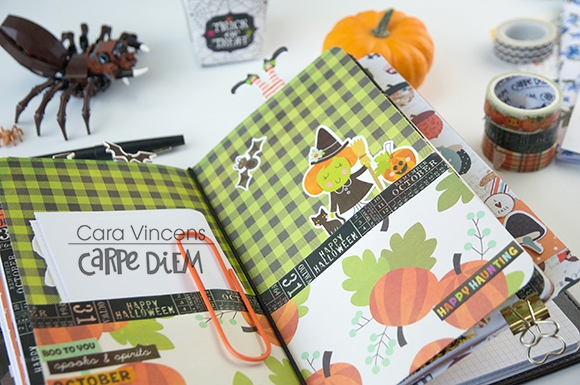
It’s quite simple to make, I folded up the extra length of the paper to make it the right height and so that serves as the pocket. Then I trimmed it to the width. I’m a bit lazy so I used an insert as a guide and eyeballed it. I only stuck down the outer edges of the pockets, the elastic from my TN holds the pocket together in the middle.
If you'd like to follow along with my process, you can watch it here on my YouTube channel.
Happy Haunting!

Supplies
