Hello everyone! Chantalle back with you today to share another project using Claus & Co. and beautiful Petaloo blooms.
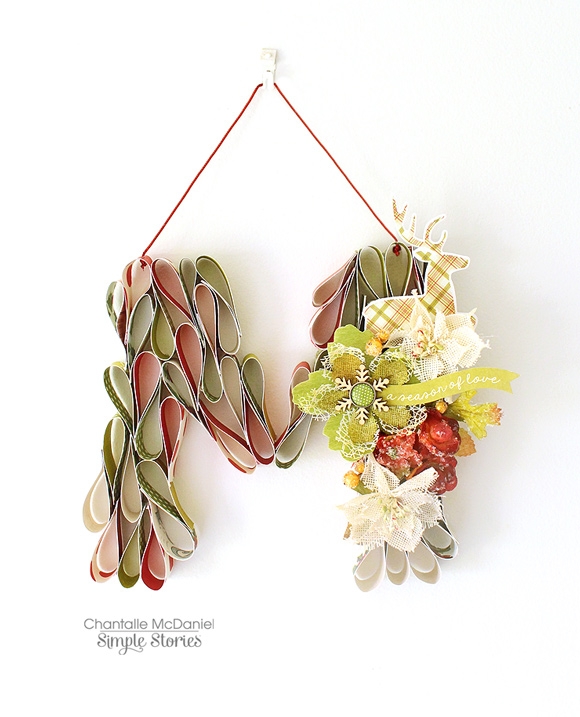
This next project was inspired by a toilet paper roll wreath I saw on Pinterest. I thought it would be fun to create a monogrammed ‘M’ for our family name, to hang on the door this season.
A combination of Petaloo flowers, Claus & Co. Bits & Pieces and wood veneer finish it off beautifully.
I’ve used the same principal as the toilet paper roll example and applied it to my own mix of papers.
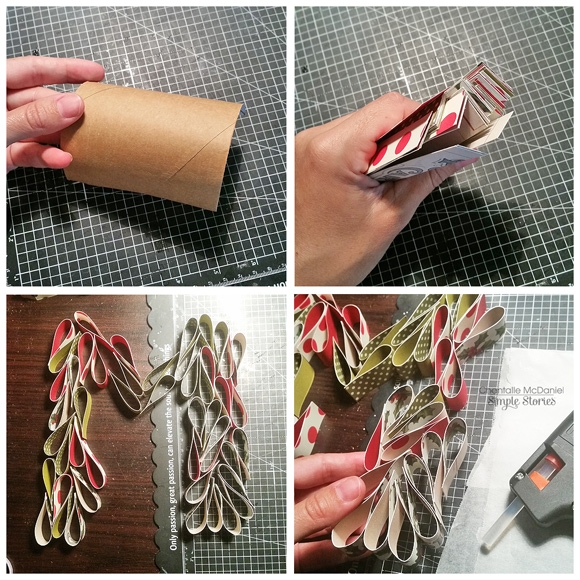
* To start, I trimmed up a couple pieces of Claus & Co. patterned paper to 125mm (w) x 100mm (h).
* I then cut the rectangle into strips. These were 20mm (w) by 100mm (h). I ended up with about 50 strips. The nice thing about this technique is that it’s super easy to measure up extra strips if you need to add more to the final design.
* I folded the strips in half and glued the flat ends together, right near the edge with just a thin strip of glue. (I used Helmar 450, which is my favourite liquid adhesive.) Note: Be careful not to squash the folder paper flat when you fold it. You want to keep that nice, gentle curve.
* When I had folded and glued all the strips, I arranged them into the shape I was after. I then set about gluing each piece to the other (a careful process) with hot glue. (I used hot glue because it was a fast, strong bond, but you could use the adhesive of your choice.)
The final result wasn’t as perfect as when I had initially laid it out in preparation, as I had to move each piece as I went, but like I mentioned above, it is very easy to quickly cut, fold and glue in extra pieces to make up gaps in the design.
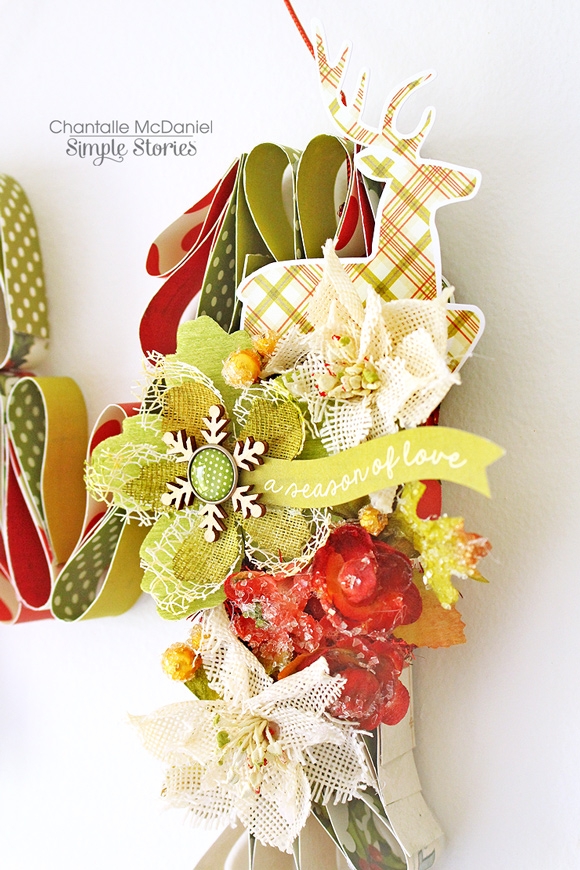
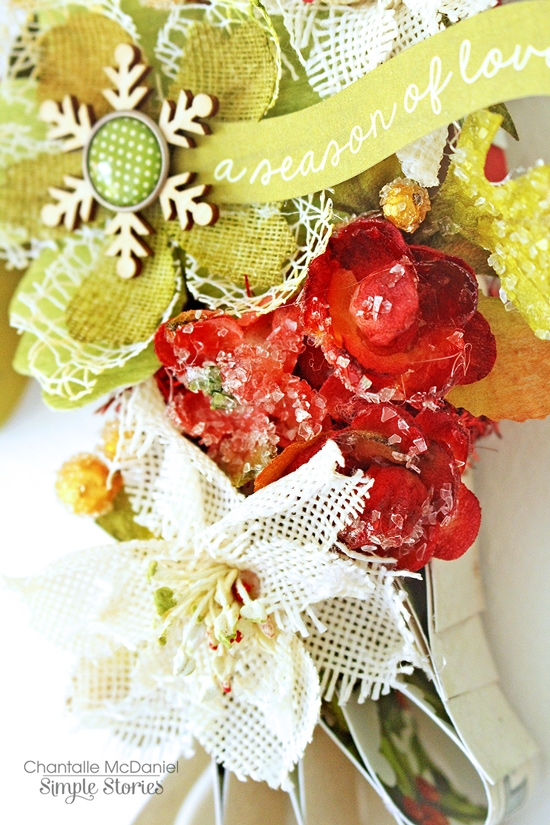
Custom blooms, using a mix of Ivory and Green Moss textured layers with a icicle Claus & Co wood veneer, little Suga Berry clusters in Peach and sweet Suga Red minis in Burgundy look good enough to eat! The Claus & Co. die cuts add just the right amount of cheer. I had been hoarding the reindeer for just the right project ;)
Piercing a little hole on either side on the top of the ‘M and threading a twinkling bit of red glitter twine from a pack of Petaloo assorted trim was the final finishing touch. It was now ready to hang! I hope this project has inspired you to make a start on your Christmas decor. It doesn’t take much time to put together something pretty and unique. If you would like to catch more of that what I get up to, you can pop into my blog (
www.copasetique.blogspot.com.au) Happy crafting!