Simply Perfect!
Hello my friends, Iris here with all the farmhouse feels in a layout using the lovely Spring Farmhouse collection. There are so many adorable - and very relevant - icons in this collection, that I wanted to use all of them. And as you can see on my page, I used quite a bit!

I made this layout to document one of the areas in my house, which in it's past life was a very dated, 90's (alcohol) bar, but we recently remodeled and transformed it into my very own coffee bar. To echo the chalkboard wall we have in that space, I started off with the black solid paper from the new Simple Basics Kit that coordinates with this collection. Having coordinating solids really is going to open up the options when scrapping with our beloved Simple Stories collections!
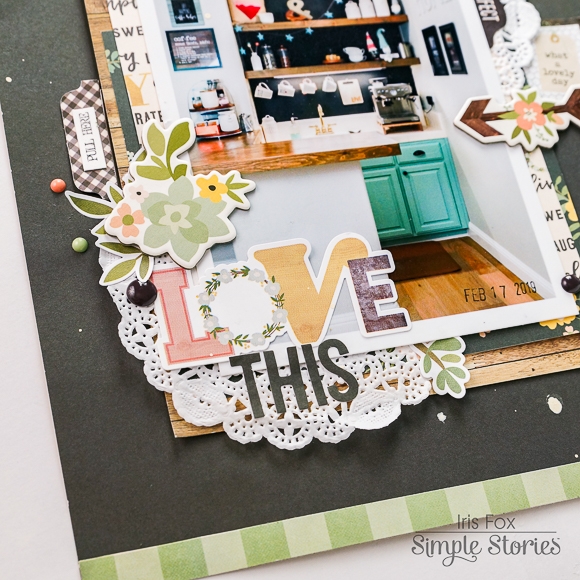
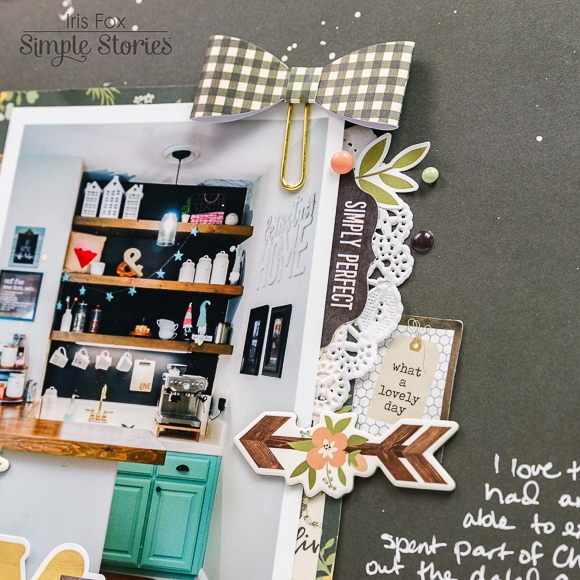
I built many layers behind my photo, including several papers from the 6x8 pad and one wood grain from the Snap Basics 6x6 paper pad. I then created clusters at the bottom left and top right corners with stickers, chipboard, doilies, and one of the adorable bows that are my new favorite embellishment!
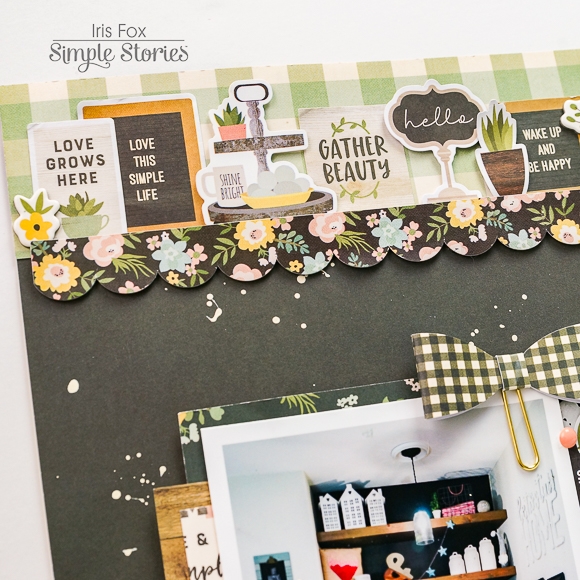
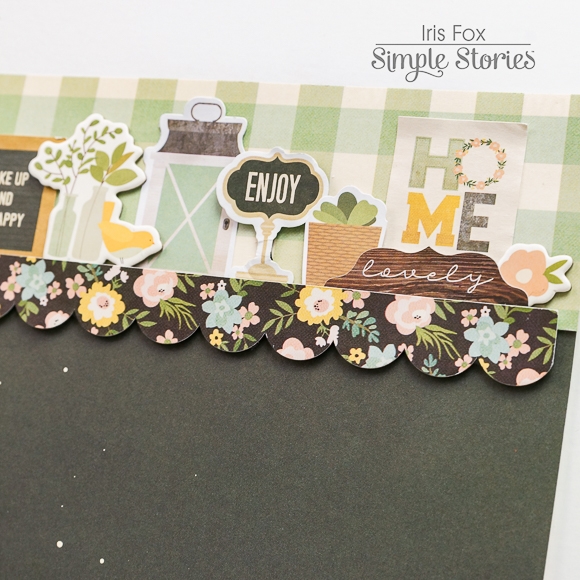
This wasn't going to be enough for me, so I decided to build a "shelf" on my page (using the long scallop border sticker) to house #allthethings. :D Just as on my coffee bar shelves, I placed signs, lanterns, vases, greenery and a tiered organizer with cute things, all curtesy of the combo sticker sheet, the 4x6 sticker sheets, and the chipboard set. Some of the flat stickers I propped up on foam, and I also did that with the scallop border sticker. I backed the shelf area with the soft seafoam green gingham of the Well Said paper.
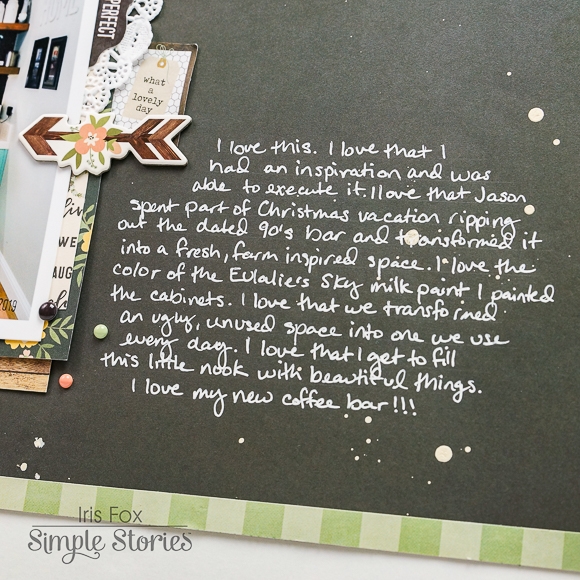
I wrote my journaling with a white Uni-ball Signo pen and added some artful splatters and trios of enamel dots to the background. Yay for the return of the enamel dots! I added a thin border from the seafoam green gingham to the bottom edge of the page to balance out the top.
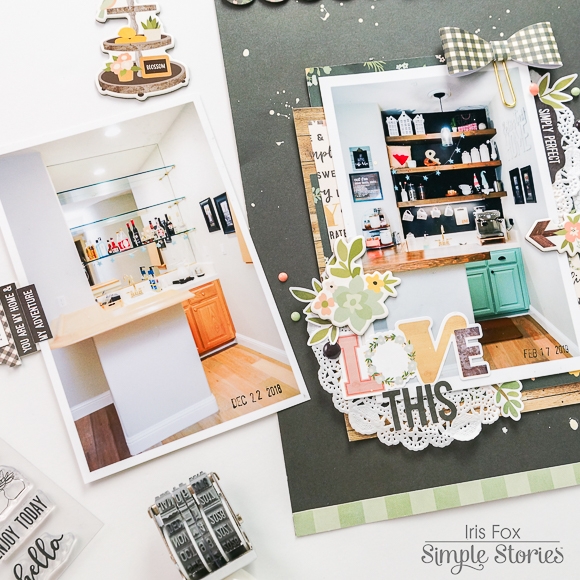
Finally, I created a pocket behind my photo and layers. (yes I had to tear it off the background because I did not plan ahead, but the layers and embellishments were all stuck together so they came off in one hunk) I cut a piece of scrap cardstock to the size of the bottom-most layers so that it wouldn't stick out, added Scor-Tape to two sides, and attached that to the background, adding all the layers on top. Then I cut a rectangle of scrap cardstock that I attached to the backside of my before photo. I placed one of the sticker tabs with a typed "PULL ME" on the end of the cardstock rectangle, covered the gap with one of the phrase stickers, and when you slide the extra photo in the pocket, the "PULL ME" tab handily nestles in place with the other embellishments to the left of the photo.
I know that last bit was quite a mouthful, so I invite you over to my Youtube channel to check out the process video. :) I truly enjoyed working with this lovely collection and I know you will too.

Supplies