Summer Sunshine
Hi everyone! Nichol here today with a layout and card celebrating summer sunshine. I thought it would be fun to create a couple of projects using sunshine icons. I love adding sunshine shapes to my projects, whether it be scrapbook page layouts or cards. There are tons of ways to use them and so many of the Simple Stories Collections showcase sunshine icons in one way or another. I'm using sunshine designs from the Summer SN@P! Set for both of my projects today however Good Day Sunshine and the Summer Paradise Simple Set are two recent collections which feature sunshine elements as well.
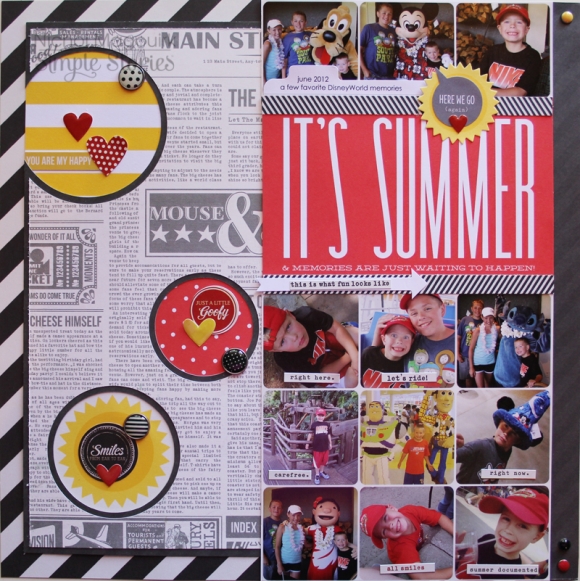
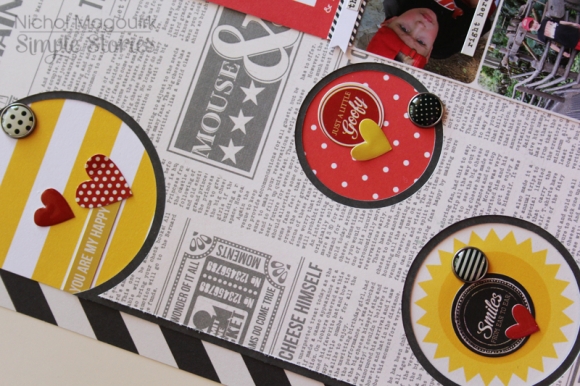
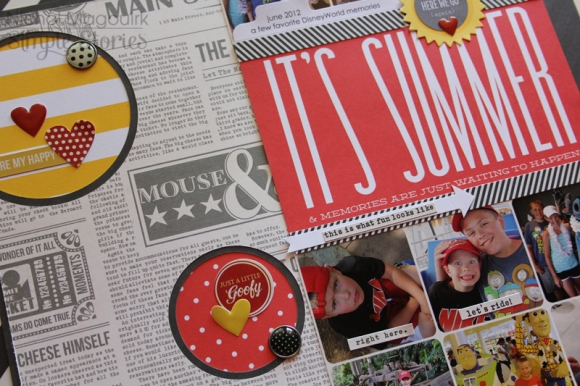
For my layout I combined 12x12 patterned papers from the DIY Boutique and Say Cheese collections. I love how easy it is to mix and match the paper designs from the Simple Stories collections! I drew several circles in the Silhouette Cameo Software and used the offset button to create approximately 1/4" outer circle for each. I then cut the larger (offset) circle shapes from the Say Cheese text paper and cut the smaller circle from the other Say Cheese black tone-on-tone patterned paper. When these two papers are layered together it provides a lovely "frame" to pop some of the Summer Sn@p! cards behind!
I embellished these circles with stickers and brads.
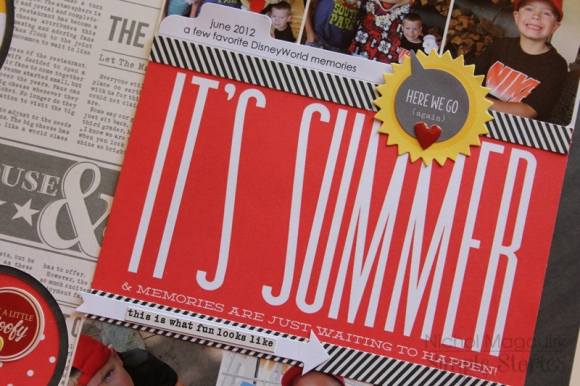
I printed a 6x8 photo collage and trimmed the top row apart from the rest to split above and below the 4x6 Summer Sn@p! Card I used for the title of my page. I added thin patterned paper strips from the DIY Boutique 6x6 Paper Pad above and below the journaling card and layered a couple of the DIY Collection Office Journal Layers around the title card.
I finished the page with a few phrase stickers on top of some of the photos in the collage and a strip of the tone-on-tone black paper along the right edge adorned with brads.
To create the "hey there sunshine" card I first used a manual die cutting machine and some steel rule dies from my collection to die cut several of the 4x6 Summer SN@P! Set journaling cards with the hexagon background shape. I cut the design again from some smooth white cardstock, matted the "frame" on a piece of cardstock trimmed to the same size as the hexagon background and started replacing the "inside" hexagon shapes using the colorful patterns. This creates a wonderful inlay style background!
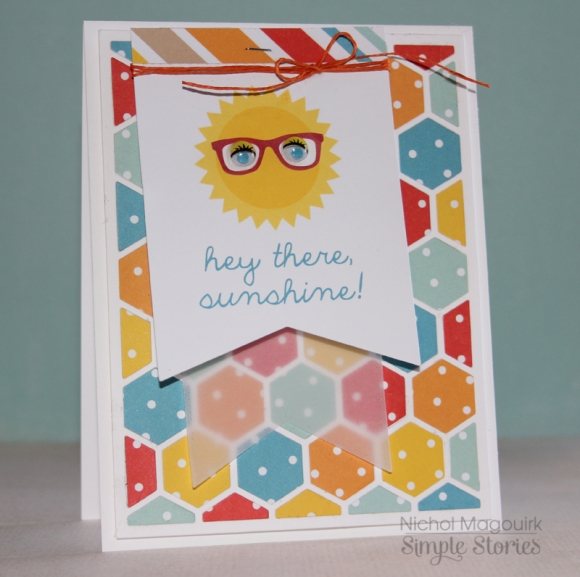
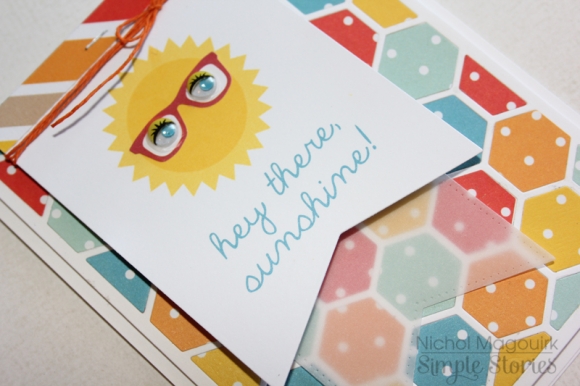
I die cut a 3x4 journaling card with a banner die for the "greeting" of my card and adorned the sunshine with some glasses stickers and glued some fun wiggle eyes inside the glasses.
I trimmed a thin strip from one if the other cards to adhere along the top of the banner, layered another die cut banner made from vellum behind and wrapped some pretty twine around the top, tying it into a bow. I stapled the two banners together at the top and secured them to the card.
Easy, bright and FUN!
Want to see how I put both of these sunshine-y projects together? Check out the video below: