Using Simple Sets in Your Carpe Diem Planner
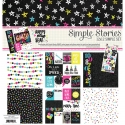
Hello crafty friends! Leah here to show you a few super fun decorations I’ve made for my Carpe Diem planner using the Happy New Year Simple Set. I really want to show you a few of the MANY ways you can use any of the Simple Sets to decorate your planner on a budget, with very few supplies; they include six 12x12 papers (3 designs, 2 of each) and a 6x12 sheet of cardstock stickers.
The kits come with a cover page that shows you what products are in the kit. Many people throw this sheet away but I like to repurpose it and cut it into a bunch of little ephemera pieces. I use these pieces to embellish my planner.
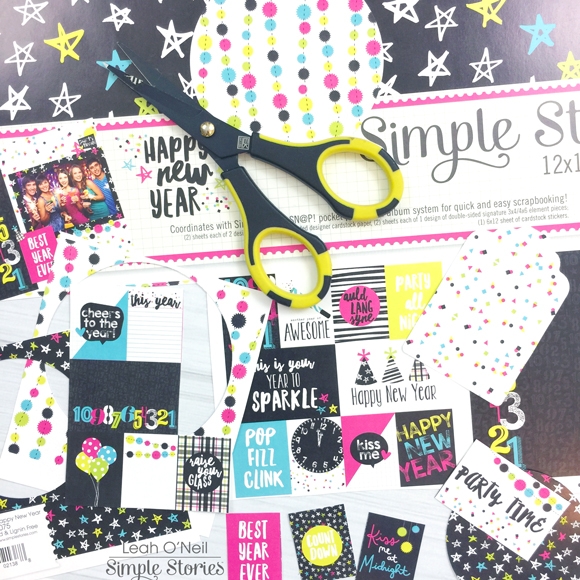
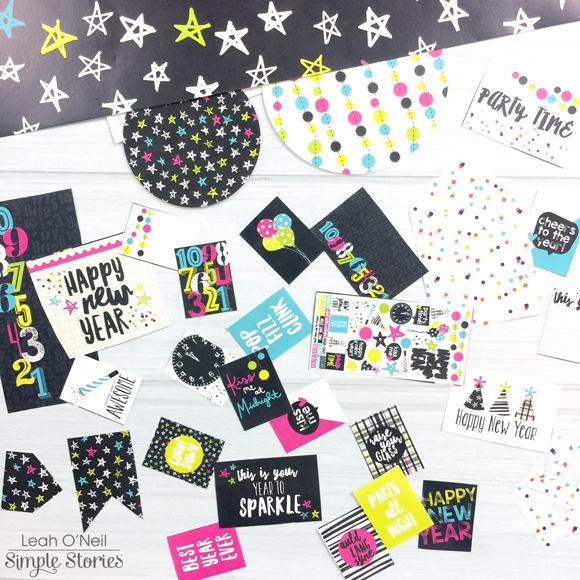
Much in the same way, the 12x12 papers in the collection kit are very versatile. They can be cut down to make dashboards, dividers or pocket pages. You can also punch out different patterned shapes, or use scissors to fussy cut some of the designs to create more of your own die cuts.
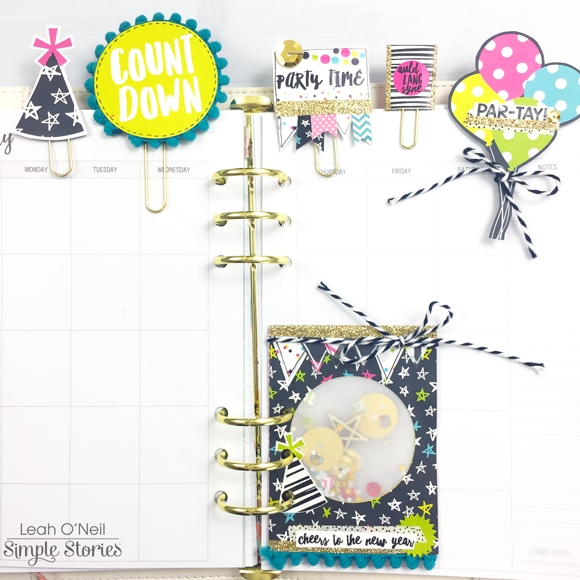
After I created all of these die cuts, I used a few to make decorative paper clips. Some were as simple as gluing a couple of shapes together with the top of the paperclip sandwiched in between. I embellished the clips with gold sequins, washi tape, string and a few cardstock stickers from the collection kit.
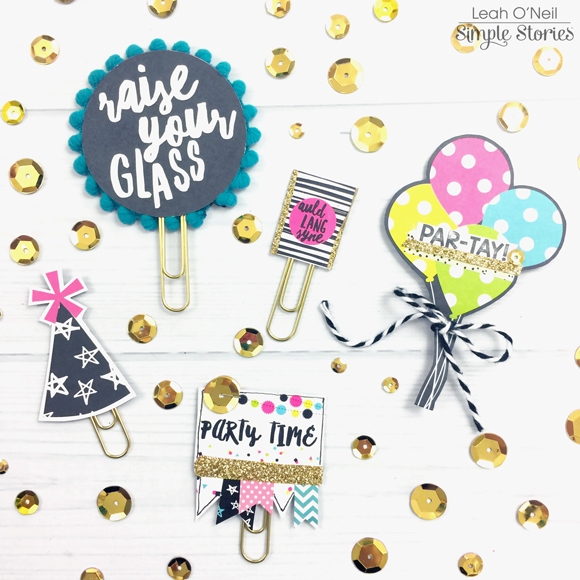
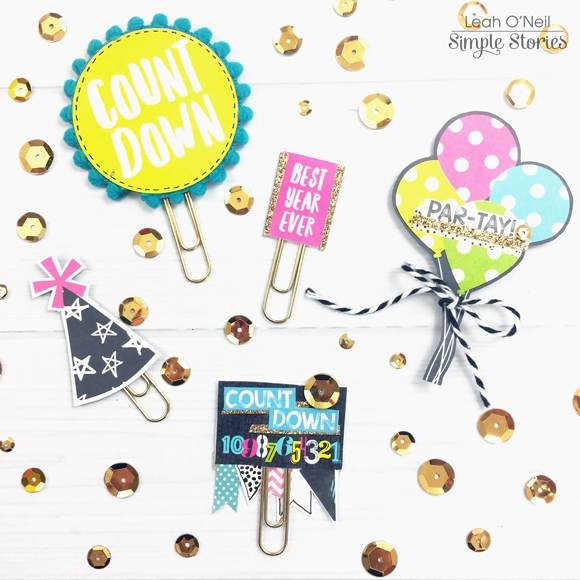
The balloons and party hat are both fussy cut from a 12x12 elements sheet. I used a superglue gel to stick a paper clip to the back.
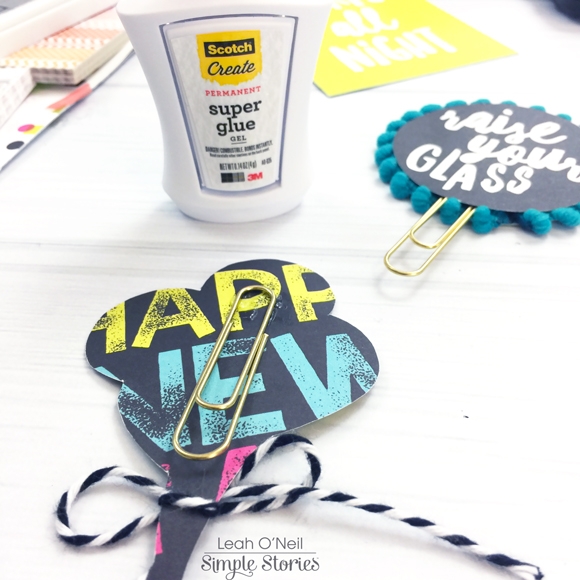
The circle paperclip is double sided and it’s made with circles punched out from the 12x12 elements sheet as well. I used a 2¼ size circle punch. Rather than just gluing the circles together, I wanted to add a little more interest by adding some cute string from my stash. Whenever I need things to REALLY stick, I always use red line tape. I lined the edge of the circle with the tape and then wrapped the string around the edge.
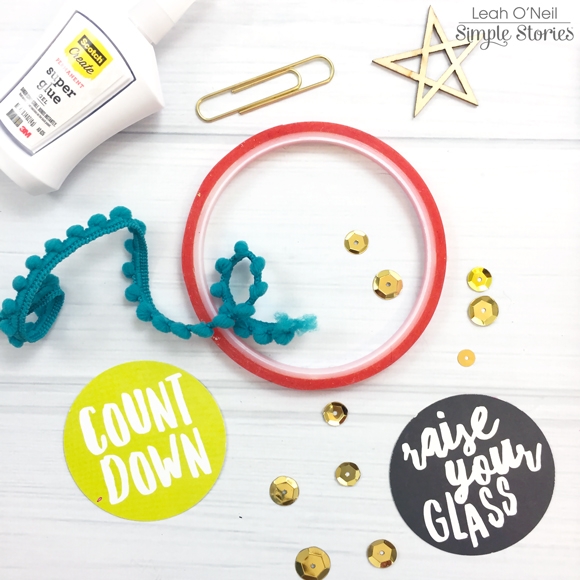
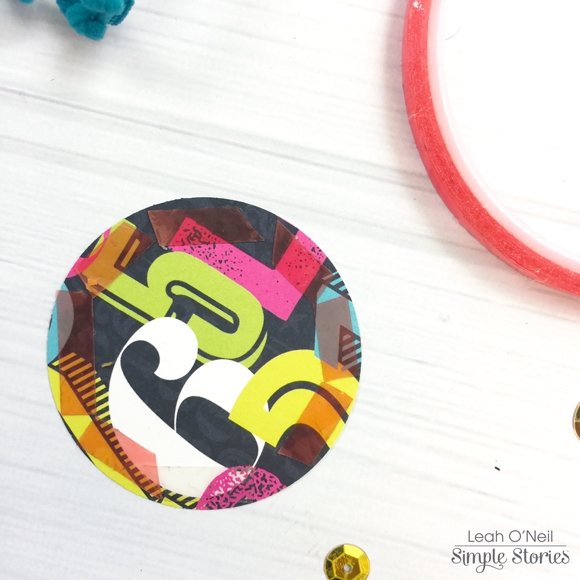
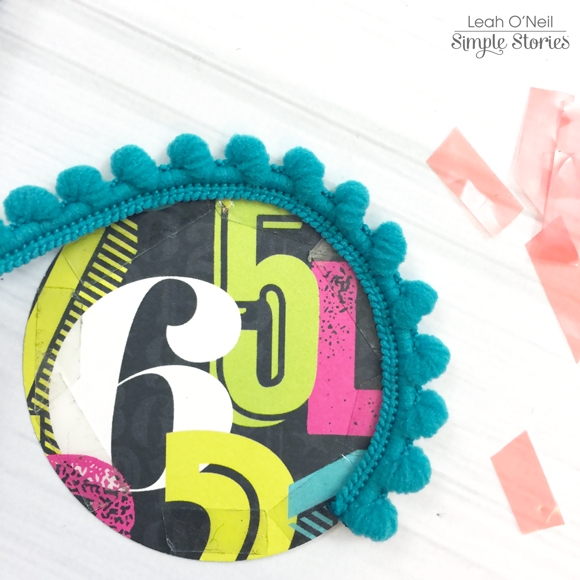
I failed to get a photo of the next step unfortunately, but all I did after this was use a glue dot to stick the top of the paperclip to the inside of the circle and then I stuck on the other circle die cut to hide the mess.
The other two paper clips were made using pieces cut from the collection kit cover page. Since they are made of thinner paper, I made them double sided. My favorite paperclip is the one with the little banner at the bottom. That was so easy to make! I just cut a few triangles and banner shapes from patterned paper and the cover page of the kit and glued them along the bottom. Because this clip is double sided, the part where the banner pieces are glued on is hidden, as is the area where I glued the paper clip.
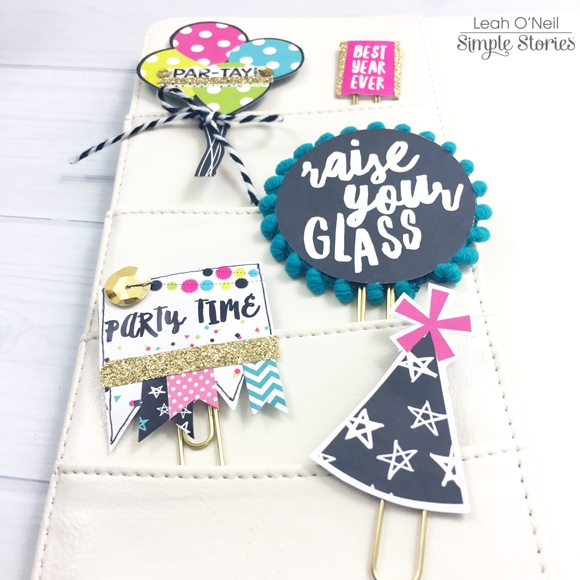
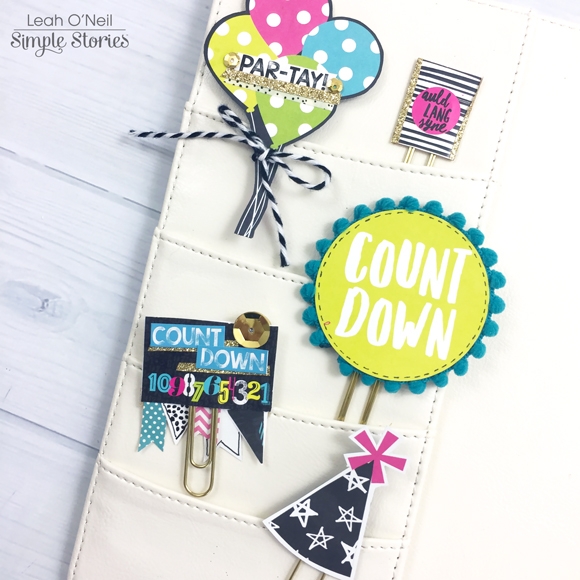
I really love how all of these turned out and I can’t wait to make more! I purposely chose designs that I can re-use after New Years as well, for any party/celebration or count down marked in my planner.
The next thing I made with the Happy New Year collection kit is a little shaker card. I made this using a couple of 3x4 cards cut from the 12x12 elements sheet. I used a 2 ¼ in. circle punch to punch a circle into both cards; I punched them both at the same time so that the circle was in the same place. These will be the front and back of my shaker card. I then used my 3in. circle punch to cut two vellum circles. I made these larger so that I have room to add glue around the edge of the vellum and stick it over the open circle on the 2x3 card.
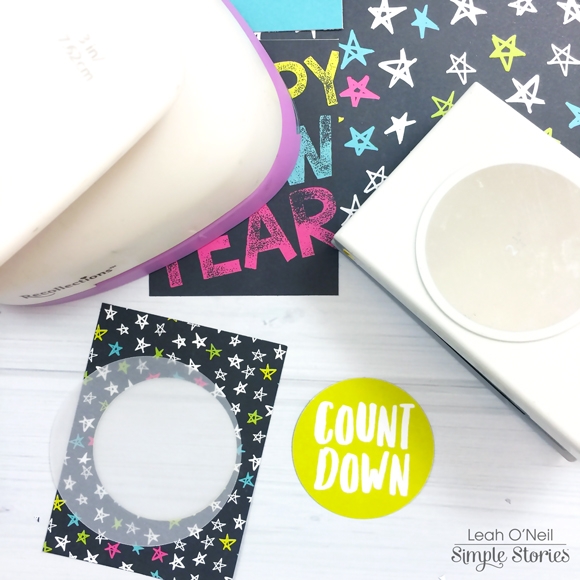
Then I added glue around the edge of the second vellum circle, but not all the way around. I left the top part of the circle unglued and stuck the circle down on top of the first vellum circle. This created a small vellum pocket (with the top open) that I then added some glitter and sequins into. After that, I glued the other 2x3 card down to the back to cover the mess. Then I embellished the front of the shaker card using washi tape, more of those banner pieces I cut earlier, washi tape, some string from my stash and couple of stickers from the collection kit.
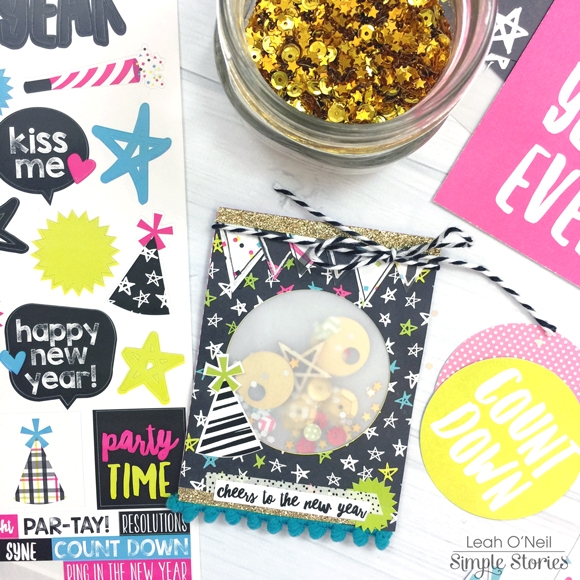
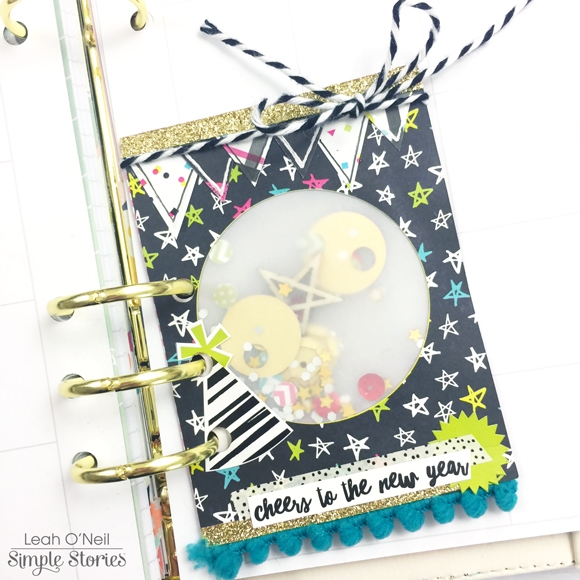
Here are what all the decor pieces look like in my planner. I still have tons of this kit left to decorate my January pages too!
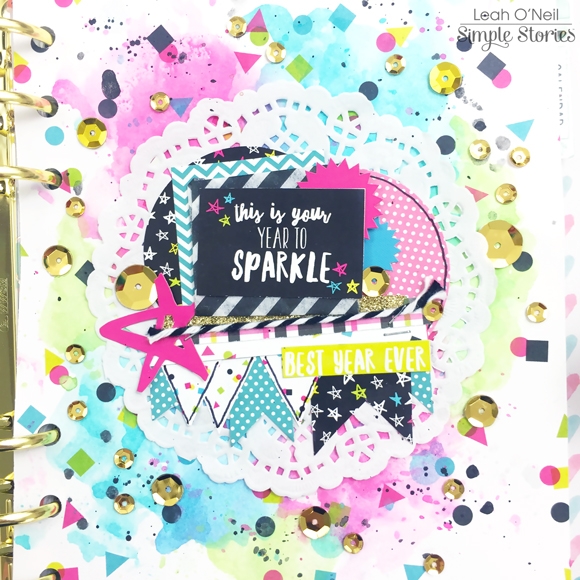
The bright colors in this collection kit really inspired me to get creative with my watercolor paints. I made a dashboard for the front of my planner to inspire me for the New Year. I cut down this 12x12 paper from the kit because I LOVE the confetti pattern. I used the colors of the confetti to choose the watercolor splashes I wanted for the background. I had to mix a few colors to get the shades I wanted but this palette from Michael’s makes it so easy to blend colors.
I used the packaging technique to create the background. For those of you who are not familiar with this technique, it simply involves adding paint and water to a piece of plastic packaging and then turning it over onto the page and “smushing” it down (how is that for fancy terminology?).
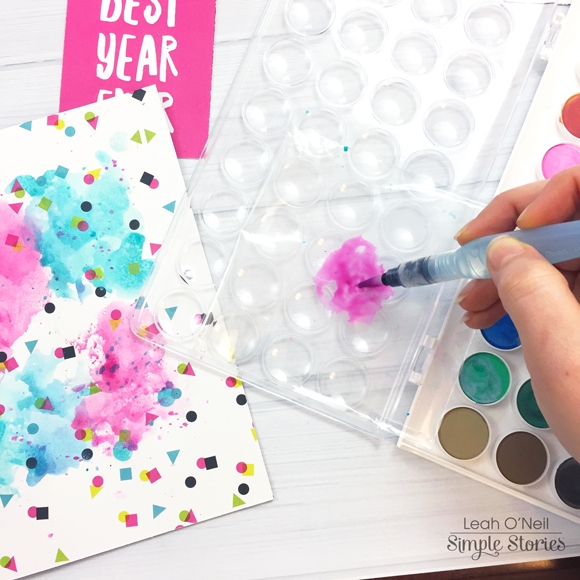
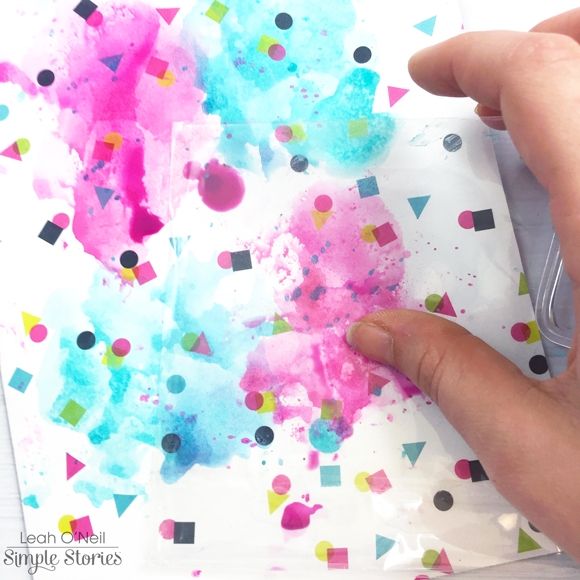
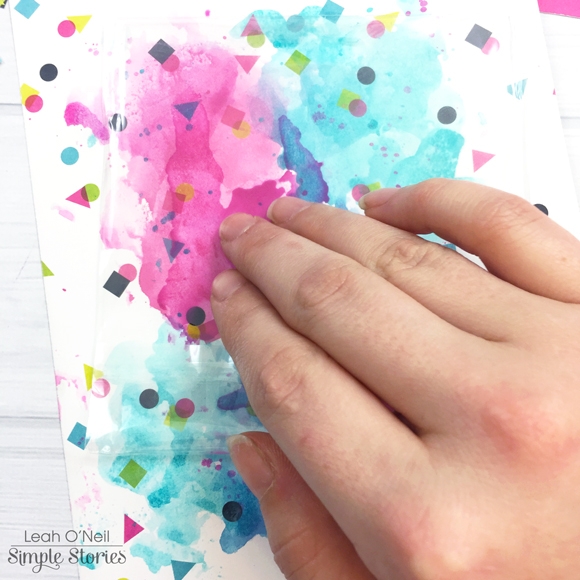
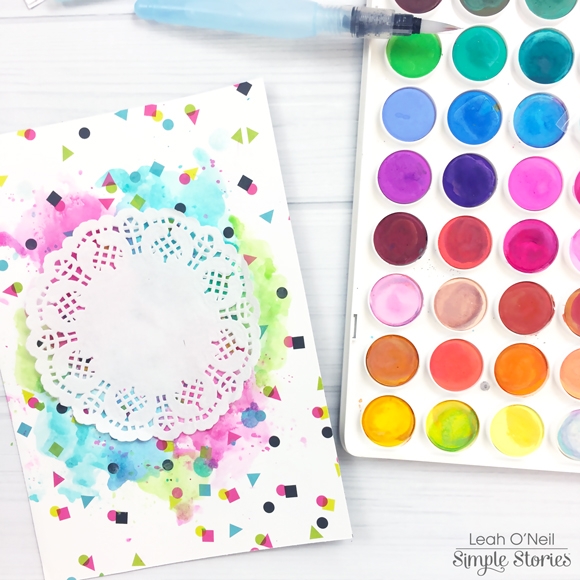
I put a couple of paper towels over the top and put the page under a couple of heavy books while it was drying to help flatten out the slight warping. After it was dry, I added a doily and started layering. Normally, I wouldn’t add quite so much dimension to my planner pages but since this dashboard will be in the very front of my planner, I added as much dimension as I wanted.
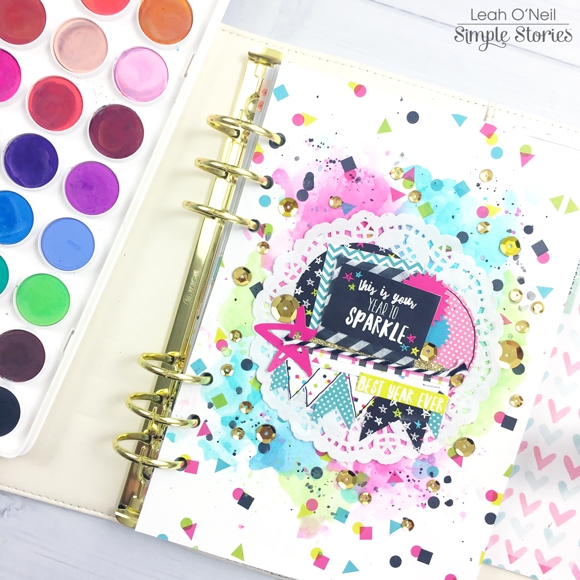
I added another banner here, tissue paper, a couple of the die cuts I created earlier, some stickers, sequins, string, washi tape…lots of embellishing. I have the MOST fun creating mixed media layouts like this! I am absolutely in love with this dashboard and it is the perfect thing to greet me when I open my planner. All of the vibrant colors are so inspiring and the message reminds me that 2017 is my year to sparkle, which for me means pursuing more creative endeavors, taking more time to create, and hopefully inspiring others to create.

Have you been thinking about what your goals are for 2017? I would love to hear what they are! I am hoping to finally launch my blog I’ve been putting on the back burner for all of 2016. I am also currently working on video content, which is a little scary and intimidating. I hope you will pop over to my Instagram and the Carpe Diem planners instagram for more creative inspiration for your planner. I will talk with you again soon!


