When Pretty Meets Practical
Hello again friends! Leah here, keeping it real by showing you what my planner looks like during a very busy month. I get questions all the time about how I use my planner functionally. I am ALWAYS going to have some decoration in my planner, because decorating my planner is a conscious choice I make to prioritize creative time, which helps keep me sane AND makes me excited to open my planner and actually use it. Because I have been insanely busy this month though, I have not had time to decorate as much as I normally would. I thought this would be a good time to show you how I am using my planner functionally, but also show you how I am still finding ways to get creative and dress things up!
This month, I used the Bloom and Grow scrapbook collection to decorate because I am so in love with the garden theme and the sweet little gnomes!
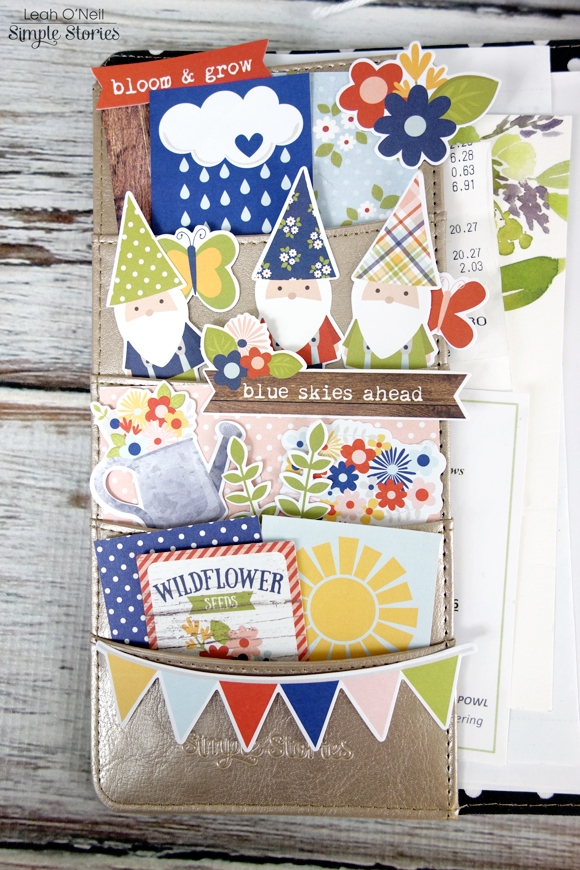
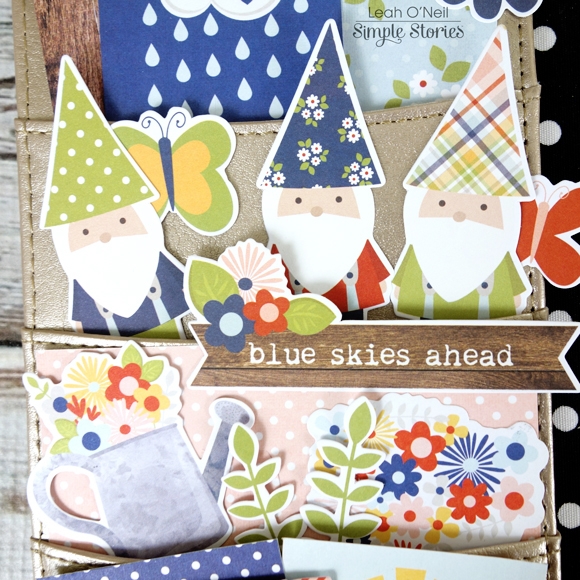
I can’t help but add some décor to the front pockets. The Bits and Pieces pack for the Bloom and Grow collection is so full of adorable ephemera! That is mostly what I filled the pockets with this month because I just HAD to use those die-cut gnomes. They make me so happy to look at! The little square pieces are from the Bloom and Grow SN@P! Pack. I use a repositionable adhesive to make the pieces stay in place in the pockets, which also allows me to easily remove them later.
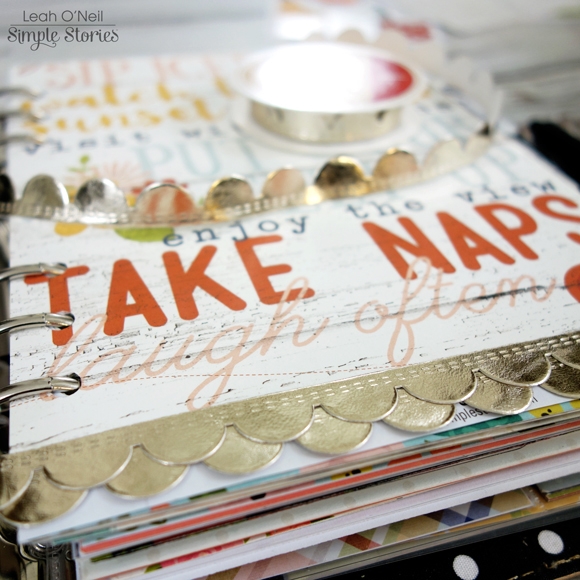
After decorating my front pockets, I usually like to create a matching dashboard so everything coordinates. As you can see, I have kept my dashboard very simple this month. I picked one of my favorite 12x12 papers from the collection and cut it down to fit my planner. Because of the words on the paper, I had to make the decision to either cut through one of the words, or try to cut in between them. I chose to cut in between the words but that made the paper about a half an inch too short. I thought about leaving it as is, but then I remembered I had this pretty scalloped ribbon that I could glue to the bottom to extend the length a bit. I actually ended up adding two rows of the ribbon and I love how it turned out!
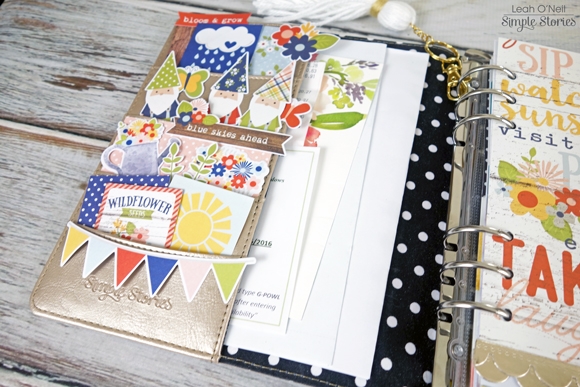
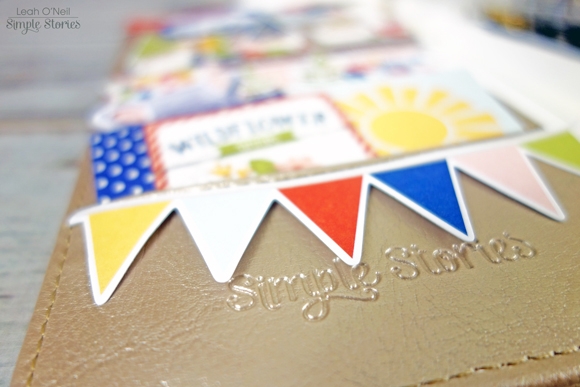
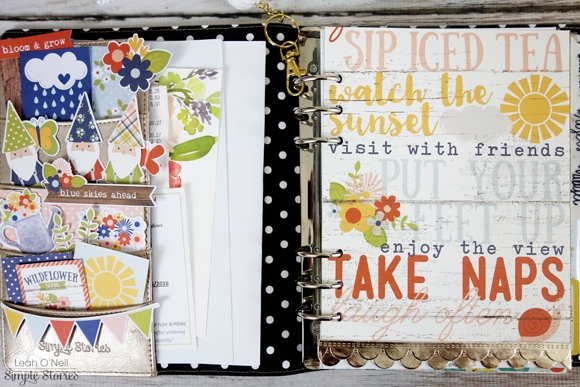
Whenever I am super busy, I need my planner to be everything I need on-the-go. This means it has to store important papers/information I need to reference and have ample space for making to-do lists. Even though I decorate nearly all my front pockets, I do save the bigger secretarial pocket for holding larger papers or information I need to access easily. For example, right now this pocket is holding tickets I printed to an upcoming concert, a couple of receipts, a bill, a wedding invitation and a blank birthday card. I could fit even more into this roomey pocket if wanted to!
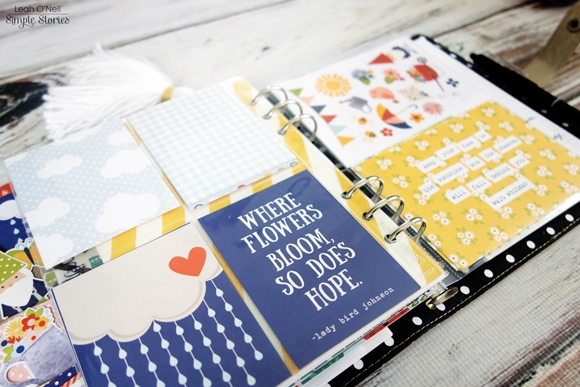
When I know I am going to be running around a lot, I will load up my planner with extra craft supplies in case I get a little free time to decorate while I am away from home. Simple Stories makes pocket pages that are made to fit the 6x8 SN@P! binders, but they fit perfectly in my Carpe Diem planner. They are a little larger than the calendar inserts, so I do prefer to keep them in the very back. I use these inserts to hold stickers and washi paper tape, as well as various sized journal cards from the SN@P! Pack, which I like to use to write lists on or to journal special moments I want to remember.
I use this plastic storage pouch to hold my favorite die cuts. The zipper keeps all the little pieces from falling out of my planner. I use die cuts on pretty much every single project I create, so I had to find an easy way to store them in my planner.

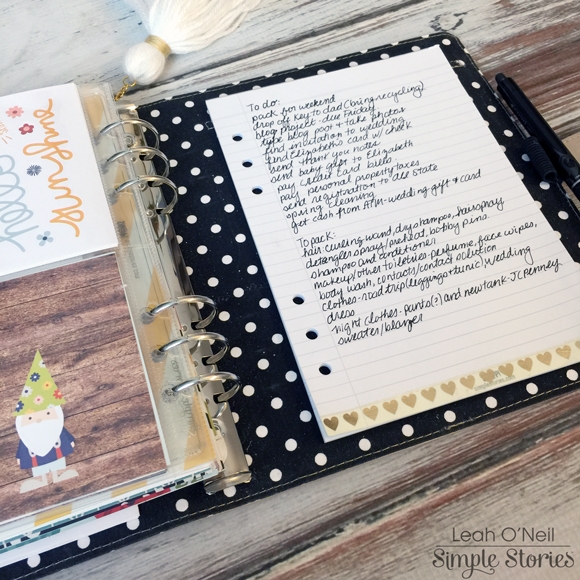
I haven’t really had time to sit down and plan out a whole week at a time during the first half of May. Instead I have been making daily to-do lists. Simple Stories sells a lined paper pad that slides into the back pocket of your planner. This pad is SO useful because you can easily tear a sheet off and put it wherever you want in your planner since the paper has pre-punched holes for the rings! Lately, I have been writing my to-do lists on this pad and then putting the list at the front of my planner to keep me extra focused on the tasks I need to complete.
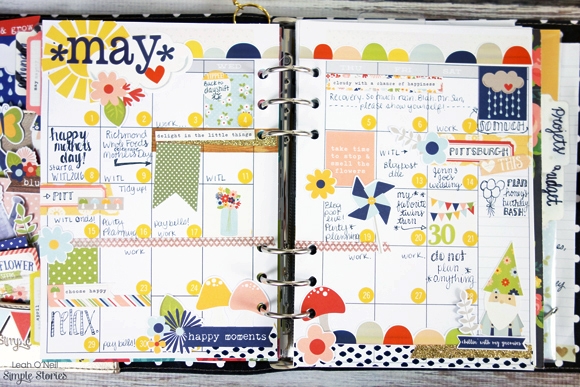
As much as I LOVE decorating weekly, there are times where that’s just not possible, and that’s okay! One compromise I always make time for, no matter how little time I have, is to decorate at least my monthly spread. So I did just that!
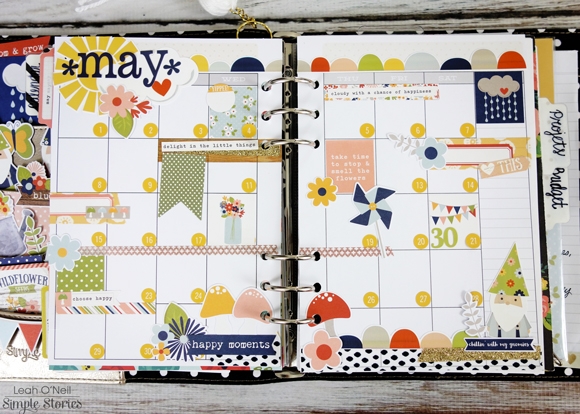
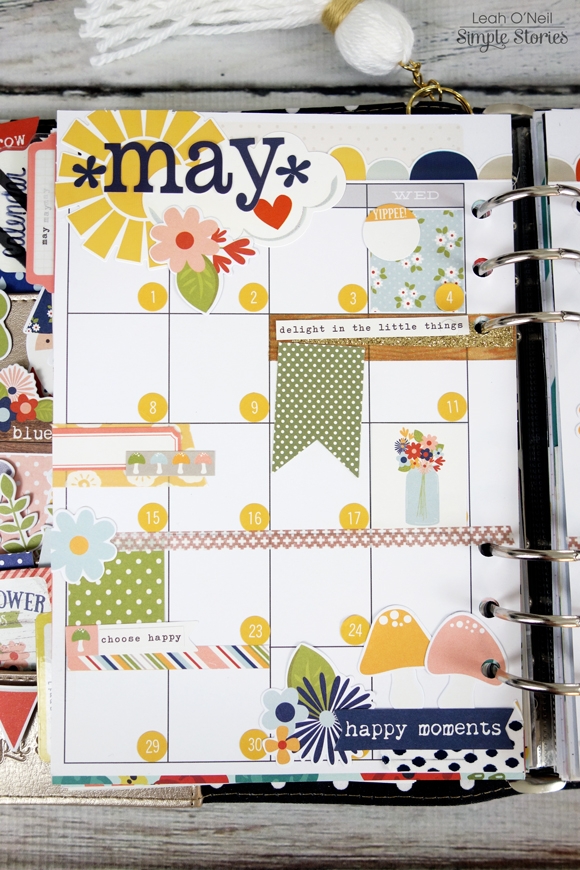
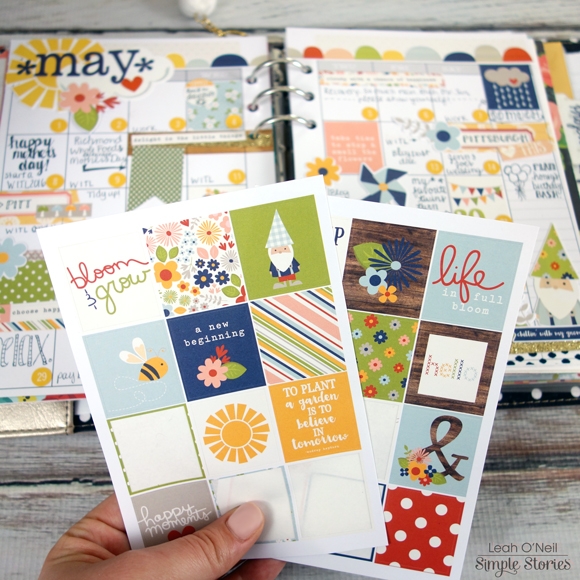
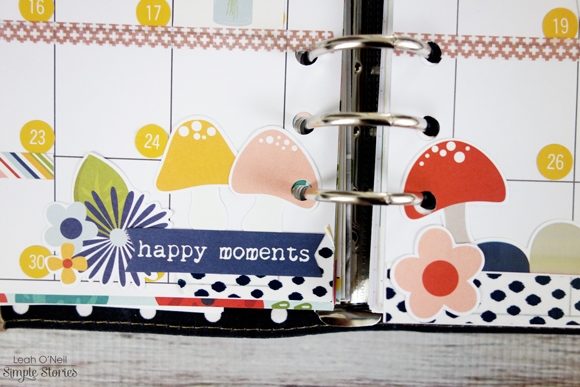
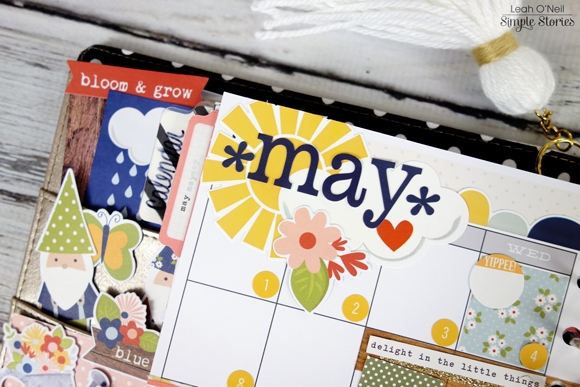
Have I mentioned how much I LOVE the gnomes in the Bloom and Grow collection?! Well here is another one, with an accompanying word strip from this sticker pack that says “chillin with my gnomies!” That gave me a good chuckle and still does every time I see it on this page. The same sticker pack includes several more sheets of various styles of stickers that all match the collection; I used many of them in this layout.
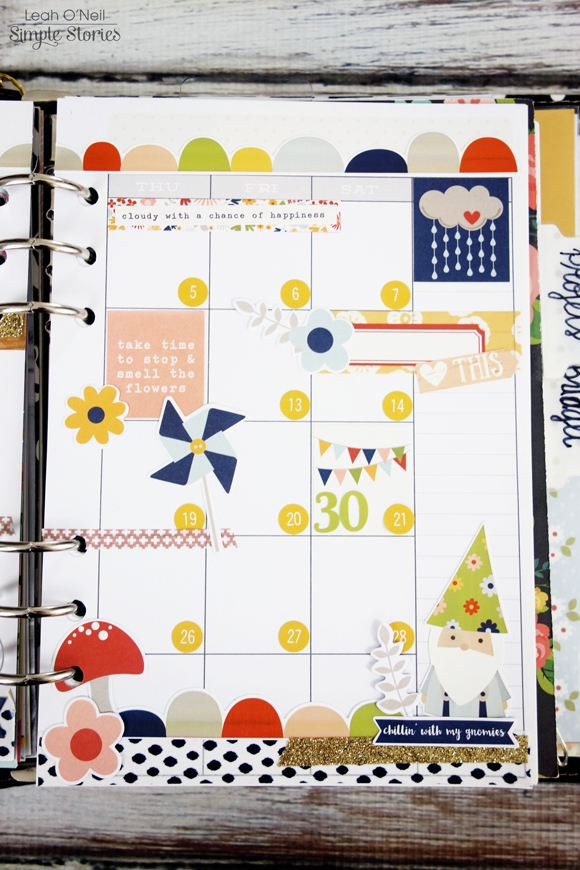
The box stickers are not exactly a perfect fit for the monthly squares, but they are very close. I love how they look, so I used several of them to fill some of the boxes throughout the month.
I added some extra layers to the layout with washi tape and die cuts from the Bits and Pieces pack.
The letters that spell out May and the cloud and sun sticker behind them are both from the 12x12 cardstock sticker sheets. It has been raining SO much in Virginia for the past month, which is another reason why I felt this collection was perfect for decorating May. Since it is garden-themed, there are a lot of weather-related references. I used a few in this spread.
If your month has been as crazy as mine, I hope I have given you a couple of ideas on how to add some creative details to your planner without spending too much time decorating. Of course, it’s always an option to not decorate at all, as the Carpe Diem inserts have quite a lot of pretty details already. I am feeling so thankful for the fact that the inserts are undated because otherwise I would have wasted a couple of weeks of inserts this month. What are some ways you have made your planner more functional for your needs? Tag me on Instagram @sunny.leah, I would love to see your ideas!
