Hi everyone, it is Kelly here today with a new blogpost about the setup of my summer planner. I used the Robin’s Egg A5 planner and the fun ‘Hello Summer’ collection.

Before I started setting up my planner I grabbed the 12x12 papers ‘Oh Happy Day’ and ‘Paradise Found’ which are both filled with gorgeous flowers in fun Summer colors. I fussycut a lot of the floral arrangements.

I used a few of the big floral arrangements from the ‘Paradise Found’ paper as decorations in my front planner pockets. Besides stickers and thickers, I also added a pompom-trim and used border-punches to create fun borders.

The smaller floral arrangements from the ‘Oh Happy Day’ paper, are the main decoration for my front dashboard. Besides these florals I added some white cardstock leaves to make the flowers pop even more. On the middle 3x4 card I glued on a sun diecut, but you could also use a fun summer picture.

This month I bought a Silhouette machine and I used a Carpe Diem pocket cutfile (ID #176368) to easily create a fun pocket for my planner. I cut the scalloped pocket from the ‘Peace, love & pineapples’ paper.

For the front side of the pocket I used the Silhouette software to trace the quote ‘Life is better in the summer’ and let the machine cut it out. I backed the quote up with pink paper. In the pocket I can keep receipts or stickersheets.

I decorated my monthly spread with some left-over floral arrangements from the ‘Oh Happy Day’ paper, washitape and number stickers. This summer, Carpe Diem released some fun planner stamps, which I also used in my monthly spread.

I hope you have enjoyed reading this summer blog! You can find more fun floral spreads in my Carpe Diem planner on my Instagram account createplannernl https://www.instagram.com/createplannernl/

Have a nice day!

Supplies

Hello Simple Stories friends!

Marcia here today with a cute Oh, Baby layout for you. I am smitten with the soft pastel colors in this collection making it perfect for either boys or girls. What better way to document those photos then with the Oh, Baby collection. With it's gender neutral tones it's perfect for baby boys as well as baby girls. Today I am scrapping this hospital photo of my cute little nephew.

The main focus of my layout is this To The Moon digital cut file from JustNick Studios cut from the yellow gingham pattern paper. I used the star openings to do some string art. I love the texture it adds. This chipboard sticker bear is just adorable, isn't he.

I trimmed my photo to be heart shaped to fit the cut file heart dangling from the moon and added a chipboard sticker bow where the heart is connected to the moon.

To add interest to the background, I used a cloud stencil and blue distress oxide ink to create some fluffy blue clouds. The stars leftover from the cut file were then scattered across my page along with some star stickers.

Along the right edge of my layout I added the tape measure paper. To soften things, I also added a punched eyelet lace edge. Over this I placed a cloud and this adorable bear riding in a hot air balloon.

Thanks so much for stopping by. Be sure to check out the Oh, Baby collection ...  and did you know there is also an Oh, Baby Expecting and an Oh, Baby Adoption too!

Supplies

Hello friends! It's María back, this time I will share with you a way to store our bullet journal inserts.  I was thinking about this for a while. I kept them in Traveler's notebooks, but I thought that making a file could be more practical.

I thought that using a the Faux Leather "6x8 Sn@ap" album would be a good idea. I chose the teal color, it's beautiful! And it matches perfectly with the collection that I have chosen.

The collection "Oh Baby!" I fell in love from the beginning. The colors and patterns are beautiful (even before you know you are pregnant). With the 12x12 papers I have created some pockets to put the notebooks in.

The "Tabs Sticker Tablet" along with "Clear Tab Stickers" have been perfect to create tabs in each of the pockets. I have decorated them with the washi tape, stickers and chipboard of the collection, they are adorable!

See you next month with a new post to decorate your bullet journal.

Supplies

Hello Simple Stories Friends!

It's Kristine here today and I am excited to share a layout with you using the super cute collection called Lil' Dude!  The elements in this collection are sooooo cute -- dinosaurs, cars, dogs, and so much more. It's a great collection for silly boys in your life - a birthday perhaps or in my case a nephew playing with Snapchat filters!

I wanted to create a layout with a few pics but since I only had 1 good one of my nephew being a little dude I printed 3 of the same pic in a 3x4 size. I like the look and to balance it out I used a 3x4 element card on the right hand corner.

The NEW puffy stickers in the Simple Stories collection is perfect! I added some all over the layout and really used mostly the puffy stars, the rubik cube(remember those?). I think they add the perfect little touch to a layout. I will be using those again for sure.

My usual go to is a bit of sewing and some layers with my popdots. I hope you like the layout and it provides you with some inspiration to create a few of those Lil' Dude layouts!

Visit me on social media for more of my work @KristineDavidson and of course follow @SimpleStories_ for tons of designer projects.

Supplies

Hi, it’s Cara here today with your regular dose of traveler’s notebook fun! And what fun it is today! The new TN inserts arrived at my door and I just couldn’t wait to test them out. 

I have covered a few of the inserts with the Dream Big collection and set up my Cream Dot Traveler’s Notebook with that collection as well. You can see that process in my YouTube video

Today, however, I’ve used the AMAZING Lil' Dude collection. I have 5 sons and so this line really makes me giddy. I’m in trouble though because my dinosaur loving 5 year old discovered my stickers yesterday. I need to hide them a bit better, don’t worry, I’ll share my stickers with him… just not very many ;)

I scattered in some stickers from those fab Sticker tablets. I’m so in love with these tablets, they are so versatile and there are so many colours.

For the monthly spread, I went minimal. I used a few of the square stickers from the 4x6 sticker pack to fill in the extra squares at the beginning and end of the month. 

I layered other stickers from the collection and mixed up flag numbers from the numbers sticker tablet, using colours that matched the Lil Dude colours. 

I took the scripty ‘August’ sticker from the Seasons Tablet and simply covered up the plain August that was there. I layered a few stickers along the top for a border and that was it! I was able to keep this spread pretty minimal.

Next up is the weekly! Again, I used numbers from the Numbers tablet and since this week spans July and August I chose different colours for each month. That is the only thing that I used that wasn’t in the Lil' Dude collection. 

I only used one really boy-ish image, the dino skeleton.  The collection is FULL of versatile stickers and die cuts. It may look like there are only robots and dinos at first glance, but as you can see from my spread there are tonnes of things you can use in your planner without it looking masculine at all!

Lots of layers here again, because they are my favourite! Layers are a great thing to try if you feel like yours stickers tend to float around on your planner spreads. 

I cut up the white and black diagonal striped box sticker and used a bunch of little strips around the page. I love this look, it’s almost like mini washi. Speaking of washi, I just realised I didn’t use any washi this time, wow that has to be a first!


Last but definitely not least is the daily insert. Today is Sunday and usually I don’t have a lot to plan on Sundays, so I really enjoy decorating my Sunday’s because less activities to schedule, means more room for stickers! 

Along with Lil' Dude, I use some of the new stamps and coloured them in with watercolour. Did you notice I stamped the planner backwards? Oops!! 

I also mixed in quite a few of the Sticker Tablets in the daily spread. The date alone comes from two different ones, Numbers and Tabs. I used icons from the Calendar Sticker Tablet for bullets for my to-do list. I added flags from the Planner Basics Sticker Tablet for my to-do list header, ‘here’s the plan’ covers ‘notes’ so that I can use this space to plan the upcoming week and I added a couple to the top left page to repeat the banner sticker on the right hand page. And a few extra stars from Planner Basics in the same colours as the Lil Dude collection polish off the spread.

Its super easy to match pretty much any collection from Simple Stories with these generic tablets because they have so many colours included.

Again lots of layers of fun stuff from the collection. One car sticker fits the theme of my day… driving kids to camp. 

I trimmed bits from the black and white striped border on the big cardstock sticker sheet. The entire thing is a bit overwhelming for these little planner pages, but cut up it’s perfect!! I’ve got one strip down the left side, then two thin strips to section off parts of the page. One at the top left below the date and the other on the bottom right to section off my plans for the rest of the week.

Of course I couldn’t resist making a couple of planner clips with the chipboard pieces, my favourite thing to do! 

I hope I’ve inspired you use these fantastic boy themed products in your planner today! You can check out my process video for these spread on my YouTube channel.

Happy planning!

Supplies

I just can’t get enough of the darling colors and patterns in the Dream Big line!!! They are so adorable and can be used for almost any theme! I used this line for a fun summer layout on the beach. 

I also used some of the papers to make this darling wood rainbow decoration using Foundations Decor wood products. I love how cute these papers turned out on it!!! 

I used Chipboard Elements and papers from the collection kit to make these darling projects. 

I love the way these projects turned out!!! 

These chipboard icons are the perfect touch to embellish your pages!

Supplies

Hello friends! It’s Kylie back with you today sharing my latest planning set up in my new Typewriter Circles, Travelers Notebook.

As soon as it arrived I couldn’t wait to get started personalising it. I decided to use the super cute Dream Big collection by Simple Stories. So many Unicorns, Fairies and all things adorable! I could of easily covered the notebook inserts but decided to make some removeable dividers instead (That way I can change them whenever I like). These are so easy to create; all I did was cut some paper to the size of my notebook laying flat. Then I rounded the corners and folded it in half.Once decorated it will just slide into my notebook and wrap around my inserts. You can make as many of these as you like, they really add some lovely colour to your planning.

I layered many different papers onto my front cover and used some of the sweet chipboard stickers. That Unicorn is so gorgeous!I also added some rhinestones that I had in my stash for a little extra sparkle.

On the inside of the front cover I cut down one of the 4 x 4 elements. I also like adding some of the 4 x 6 elements with a paperclip to the front cover of my insert. I used some of the phrase stickers from the 4 x 6 stickers, combining them to bring together inspirational quotes.

Here’s a look at my monthly insert. I have cut down some leftover pieces of paper to add some colour to my pages and the small banner date stickers were added as well.

Moving through my notebook and this is the inside of my first cover. I added some more bling from my stash, as well as used some more of the chipboard and puffy stickers.I love the dimension this gives.

I think this next photo is of my most favourite area in my notebook. So much colour and so many cute icons……

I also love using the weekly inserts and I had fun adding some of the new stamps available. I finished off my pages with some punched flowers from the papers and more stickers.

The 3 x 4 element card I cut down for this cover is one of my favourite quotes in the whole collection.So cute!

I also created a page mark from some of the papers, cutting down the small icon squares.

Because I have made it slightly higher than my notebooks dimensions, the top just sits out so I can find my page easily.

I hope you have enjoyed my Notebook tour today, and you have loads of fun personalising your own planner.

Take Care,

Kylie xo

Supplies

As soon as I saw the Lil’ Dude collection I knew it would be perfect for scrapbooking summer fun with my boys! Bold colours, cute icons and great phrases, it’s just so much fun! I am just loving documenting in the 6x8 size and love the Teal Faux Leather SN@P! album with Lil’ Dude

I did an title page with a SN@P! protector full of 2x2 pockets. There’s a whole page full of 2x2 elements. I picked some of my favourites and cut up a 4x4 picture to fit in the pocket.

On the other side I used some of the stickers and puffy stickers on my photos to add in some text. I can never ever get enough phrase stickers and Lil’ Dude did not disappoint.

The next spread has a lot of black and white, I really liked the strong graphic black and white cards, embellishments and stickers in the collection and paired with a few bright spots, used some of my favs on these pages. The puffy hearts and stars on the puffy sticker sheets are a perfect little embellishment for any photo!

I really liked the “Be Wild Be Free Be You” piece from the bits and pieces set so I cut the Super Hero paper down and also added the fox outline to make a journal card. The thumbs up puffy sticker on the photo below it might just be one of my favourite things from the collection!

These pages make up for the lack of colour on the last ones! I went bright and bold. I used some of the 12x12 element pages to add journal cards throughout and all the phrase stickers! I added in a smaller vertical protector to add in some journalling.

The other side of the vertical protector was the perfect place for a 4x4 photo. On the other side I used some of the cute stickers and embellishments on my photos.

In the corner I used one of my other favourite pieces from the collection, the bear outline from the bits and pieces. I used it and a phrase sticker from the combo sticker sheet to take a basic photo and help it tell the story.

Finishing up these pages I used one of the 4x6 journal cards and cut it down to a 3x4 because it is perfect for list making! On the other side I used black and white pens to journal on the black and white stripes. And I just had to give the frog a speech bubble!

I hope you’ve enjoyed this peek in my SN@P! album using the Lil’ Dude collection! I had so much fun creating with it.

Hello everyone!!  Jackie G here!!  I’ve got some really fun projects to share with you today using the AMAZING Lil’ Dude collection!!  As a mother of 3 boys I am always on the hunt for a good boy collection…and let me tell you, this collection does not disappoint!!  I love that it can work for all ages!!  So of course I was super excited to get to work and create something!!  So let’s get started!!

The first project I created is a scrapbook folio.  Measuring at 7” x 9.5” this “not so little” album can hold lots of photos of my boys and will be a great gift to give to their Grammy!!  Hope you’re not peeking Grammy!!  I created a flap closure with a magnet to give it a “notebook” feel. 

When you open the folio up on the left hand side it has a pocket for tags and extra photo mats of different sizes.  The 4x6 journaling cards are perfect to use as photo mats or journaling cards.

On the right hand side I created a waterfall feature.  I LOVE these because they can hold so many photos or journaling in a small area!!!   

Before I pack up and put a collection away after a big project I like to take the scraps to create a couple cards.  It’s a great way to use those smaller pieces you don’t want to store!!

Thanks for stopping by!!  I hope you all enjoy this collection as much as I do!!!!

Supplies

Hello, from Tarragona, Spain!  This is Rachel, and I am so excited to share a little bit of travel documenting and planning that I am doing in July. My husband and I are on an extended vacation and have made Tarragona, a beautiful, Mediterranean beach town, our home for the month. Of course, I brought my planner (ok, planners!) to document our days here. The hardest part about packing was choosing which planners and supplies to bring! One collection I knew I wanted to bring was the Bloom Collection. I love the florals and black accents in this very feminine collection.

You may notice something a little different about my personal size Robin’s Egg planner and its inserts. That’s right! I have performed a little “planner hack” to transform this ring-bound planner into a B6 size travelers notebook! There are lots of videos on youtube explaining how to do this. I have included a few photos here to share my process.

First, I used a pair of jewelry pliers to remove the middle rivets on the spine mechanisms. This take a little time but, eventually, the rivets will come out. From here, I was able to pop the ring mechanism off. 

Next, I used an crafting knife to remove a few stitches from the bottom of the planner. This allowed me to pull the inner mechanism out. Finally, I threaded some elastic through the top and bottom of the planner for the bands that hold the inserts. To make the inserts fit into the planner, I simply trimmed about a .75 from the bottom and .50 inch from the top of the insert. This travelers notebook size and format is so compact and fits nicely in my smaller purse that I have carried it with me everywhere we go!

Since coming to Tarragona, we spend a lot of time outside. I love all the outdoor cafes and restaurants. And with that gentle sea breeze that is never far away, there is no need for air conditioning! On this afternoon, John and I decided to sit at one our favorite cafes near the Cathedral Basilica of Tarragona with books, drawing supplies and, for me, my planner!

I just love opening my planner to see my pockets filled with Bloom bits and pieces and the 3x4 element cards. I always have my 4x6 stickers on hand for documenting on the go. I also keep the 4x6 photo crop inside this planner for making straight lines in my weekly spreads, trimming washi, and even acting as a study surface for writing inside my planner.

Planning has looked a little different for the month, which is I why I love using this blank grid Bloom notebook to totally customize my planner pages. I have laid out weekly pages toward the front of the insert and daily pages in the back of the insert. The weekly pages are great for planning things like the two mini-trips taken this month. To make this week’s layout, I used the photo crop as a ruler to make the lines and used Simple Stories Letter Stickers for the days of the week.

For both weeks, I decorated with the Bloom washi, the 4x6 stickers, and the A5 Bloom Sticker Tablet. While this collection is very feminine, it is also so versatile and almost neutral in theme, which I really like. You can decorate just about any week with this collection.

The heart of this insert is reserved for memory keeping with daily documentation. I work on these pages after the day has passed. Typically, I use one page per day, although, there were a few days that needed two, and I number the days using the A5 Numbers Sticker Tablet. The beauty of a blank insert is that I can adjust my planning according to my needs!


Each day, I like to include a little bit about what we did and a story or two about something unique that happened. One of the lessons I’ve learned while traveling, is to document the little moments as well as the big ones. The details will get fuzzy later if you don’t write it down! So now, I document it! If I’m not ready to decorate a page, I simply write the story on a post-it and come back to it later.

I hope you enjoyed this look into my personal planner turned travelers notebook. Be sure to check out my instagram to see more of my travel documenting!


Supplies

Hi Friends! Jana Eubank here with a new page using the Good Vibes collection.

My daughters have developed a new summer tradition of spending an afternoon together painting wood boxes that they call "Treasure Boxes." Throughout the coming year, they place mementos into their boxes as they go on vacations, or gather things that are important to them in their daily lives. 

The 6x8 Pads have become a favorite of mine for fussy cutting large elements for my scrapbook pages. Here I placed a large floral in the upper left corner of the page. I used a Black Glaze Pen to add a bit of shimmer to the flower centers, and even accented a few of them with black gems from my stash.

For the title, I used my Silhouette Cameo to cut out a phrase. The original phrase said "Friends are a Treasure." I cut off the word "friends" and then used pink letter stickers to replace it with the word "sisters."

The flowers on this layout follow a diagonal line through the page from the top left corner to the bottom right corner. I used a chipboard element with flowers on the top left corner of the horizontal photo, along with a sprinkling of heart die cuts, to help connect the diagonal through the photos. The flowers in the bottom right corner of the page were fussy-cut from one of the cards on the 4x6 Horizontal Elements paper.

Two strips of patterned paper along the left side of the page, anchor the design and tie all of the colors together.

Next time your family members are hanging out together chatting around the table grab a few shots with your camera and create a page about their relationship.  You will be so glad that you did!

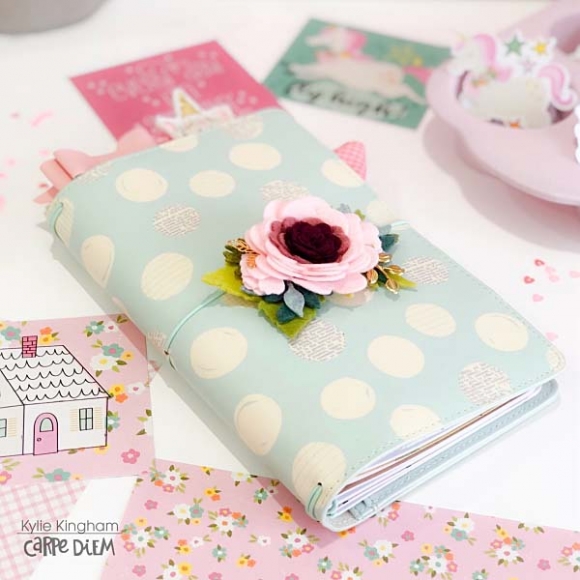
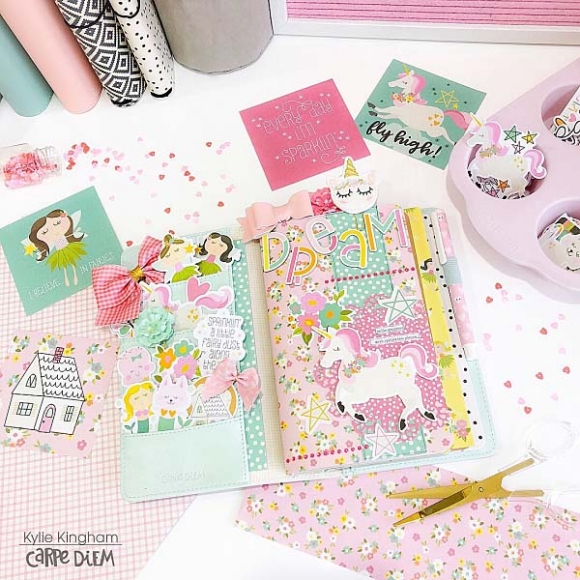
Hey there creative friends! Welcome back to the Simple Stories blog. Leah here with you today showing
you a glimpse into how I’m using my traveler’s notebook to help keep my brain organized during the
chaos of moving house. What I love about using a traveler’s notebook (a.k.a. a TN) during busy times like
this is how portable and customizable it is. When running around the house packing, or out running
errands, I can easily carry it with me and open it up to jot down a quick reminder or list before I forget.
 
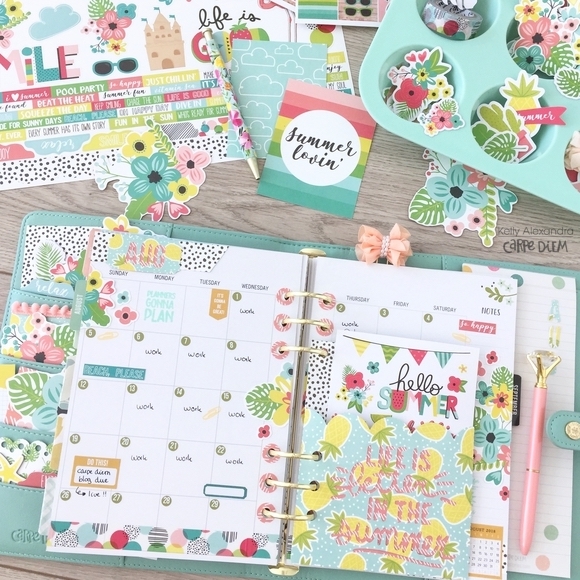
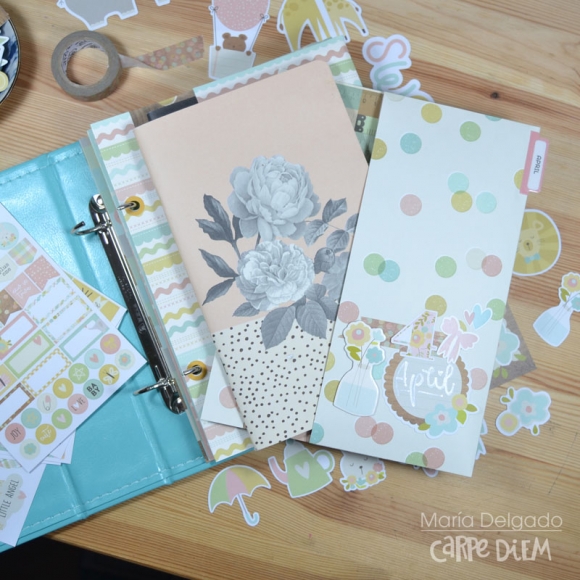
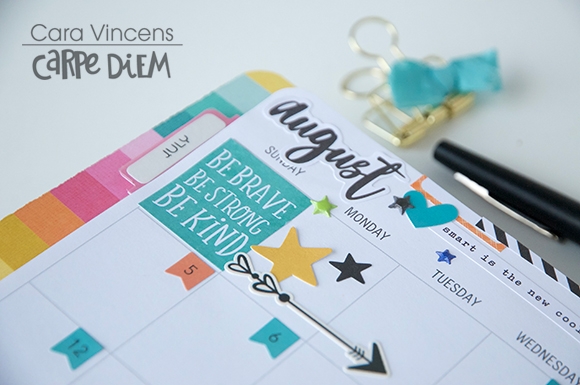
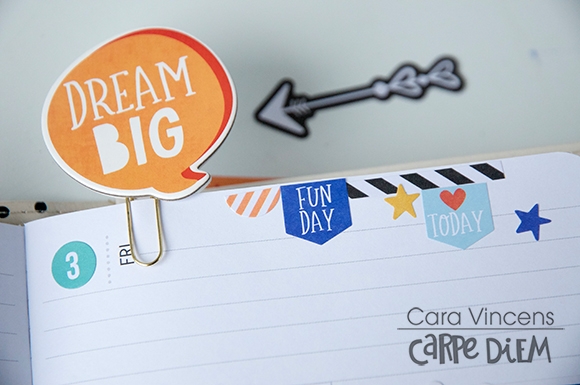
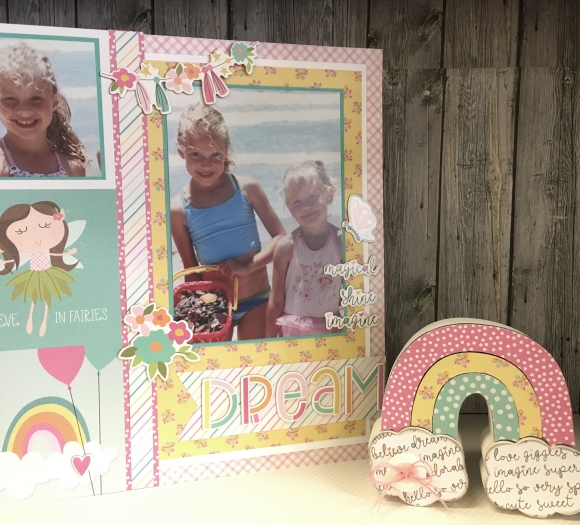
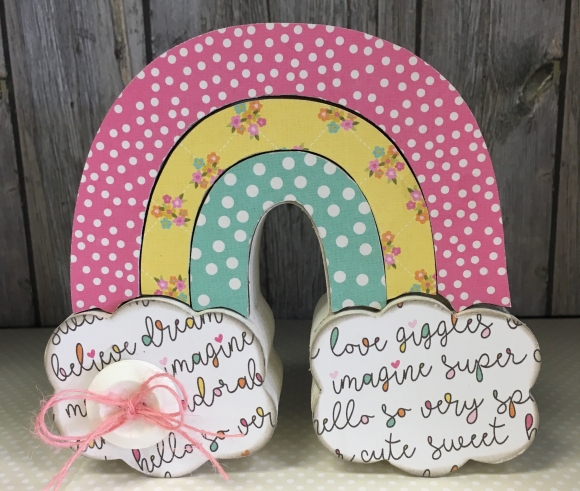
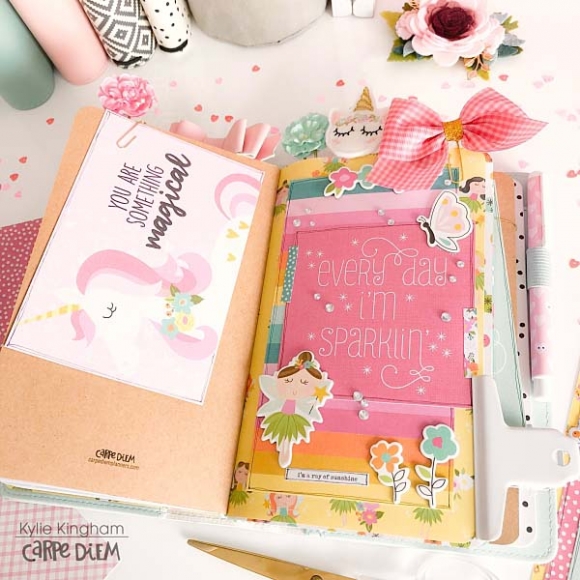
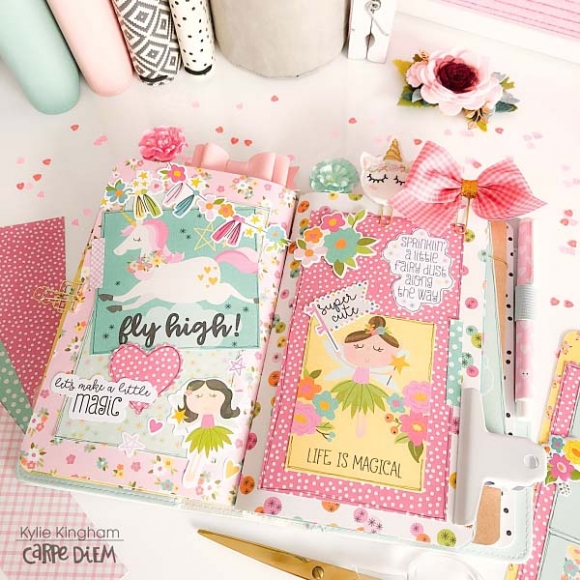
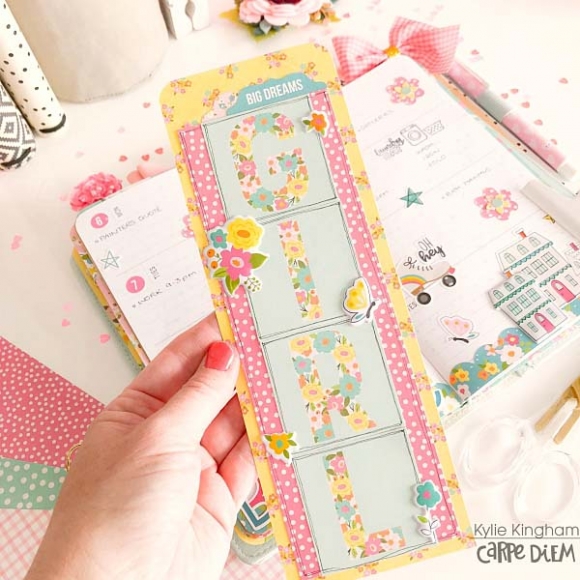
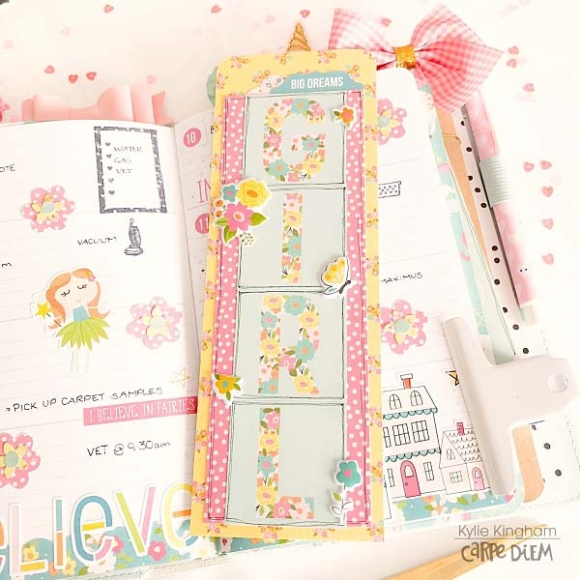
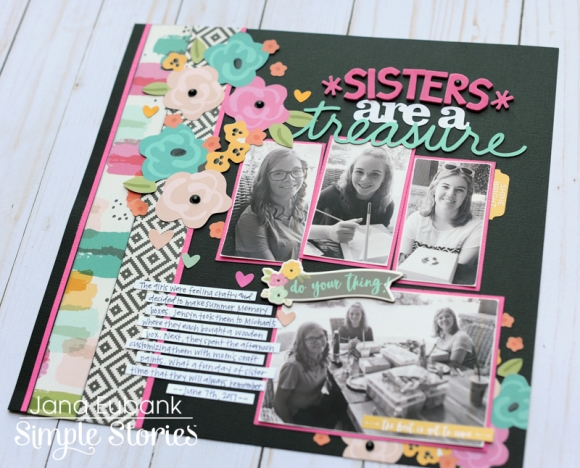
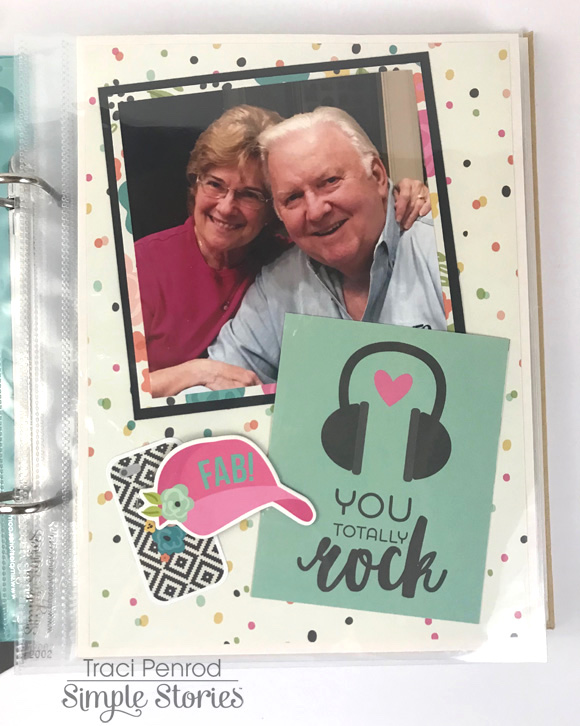
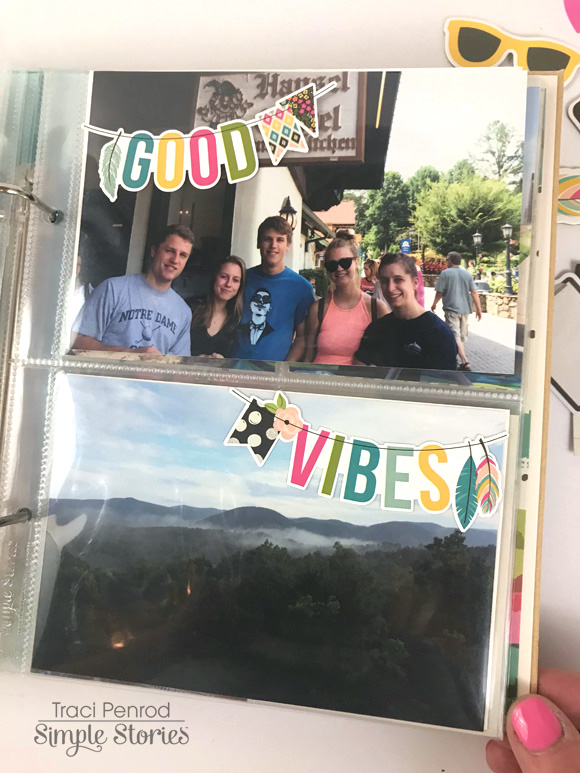
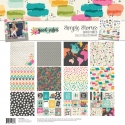
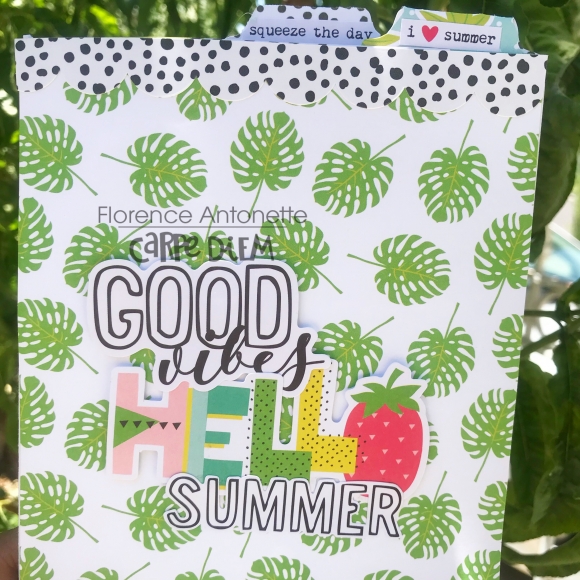
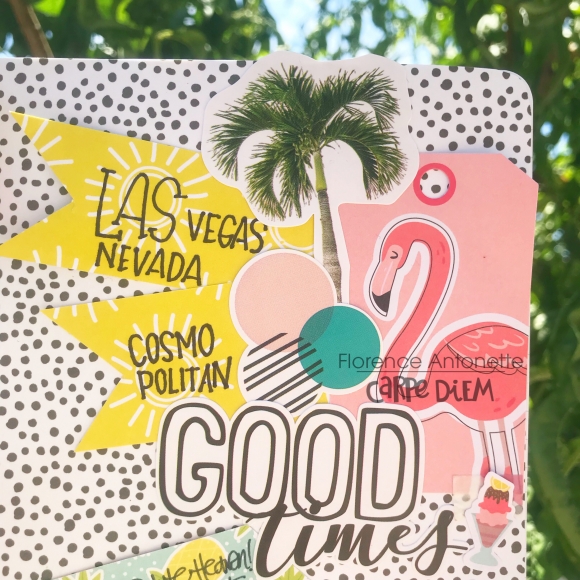
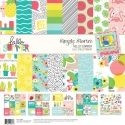
I used the Good Vibes collection to decorate the projects in my TN that I’m about to share with you. The
vibrant colors and sentiments to remind me to keep up the good vibes are exactly what I need to see
throughout these next few weeks until the move is over.
 
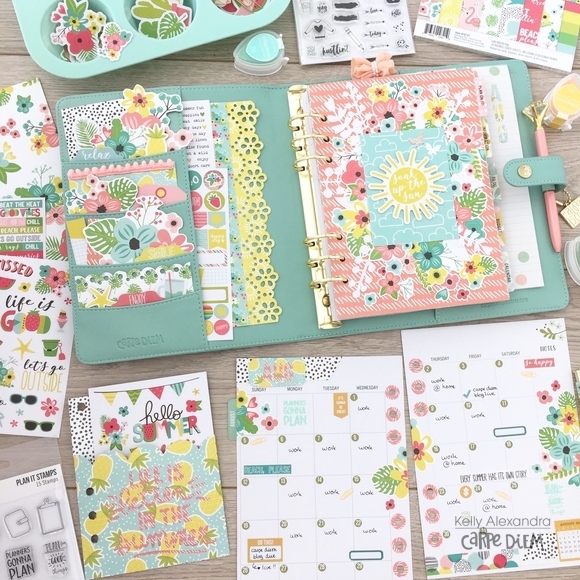
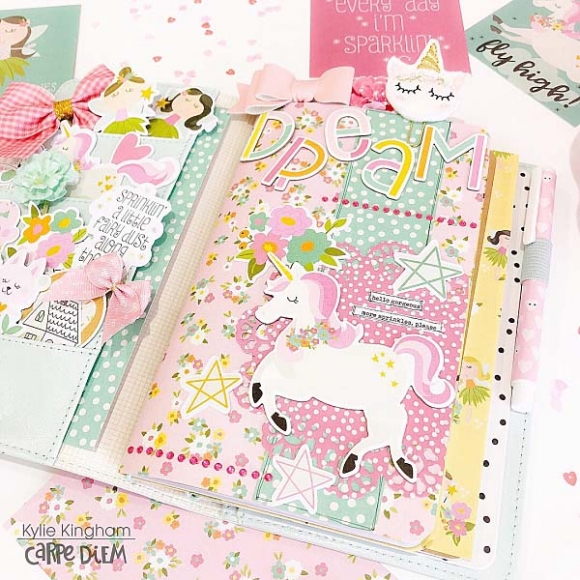
I’m currently only using three inserts in this TN. I want to keep the bare minimum of what I need in here
so I don’t get overwhelmed and can easily find where I need to go when I open up a notebook. I’ve got a
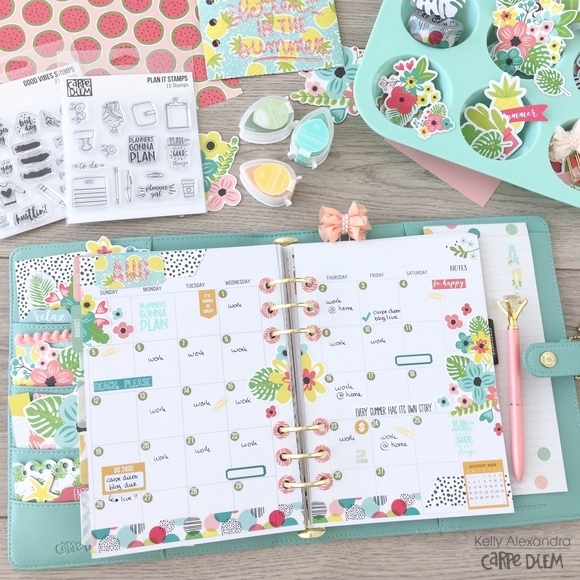
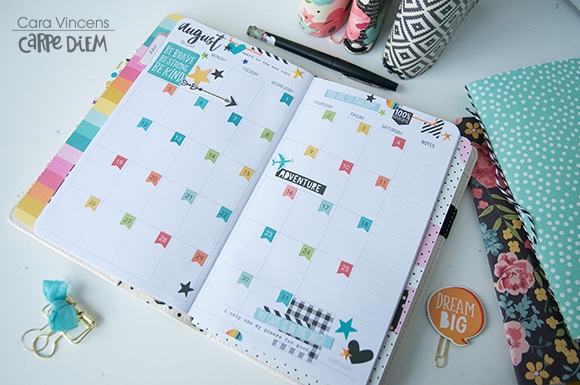
monthly calendar insert where I have several lists and reminders listed on the monthly intro page. For
example, I made a list of accounts I need to change addresses for, and then because I am a list addict, I
made a list of lists I need to make before the move. I can’t help myself! There’s so much to do and keep
track of during a move.
 
 
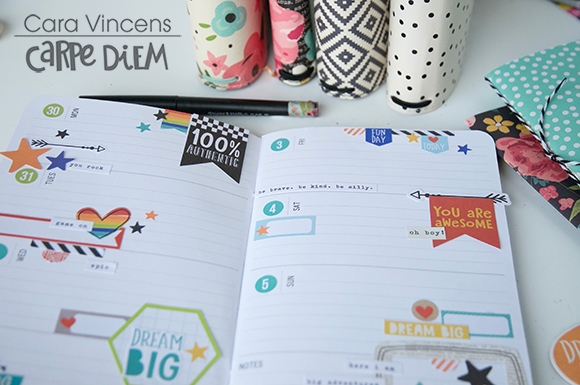
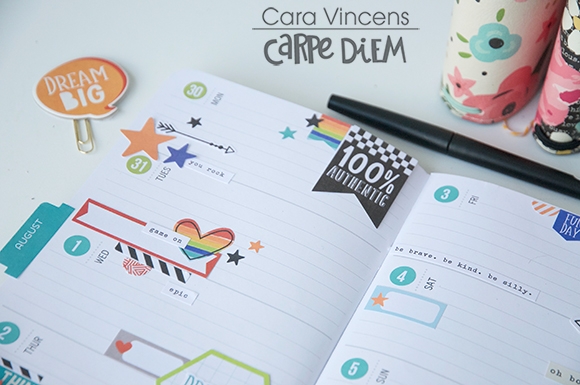
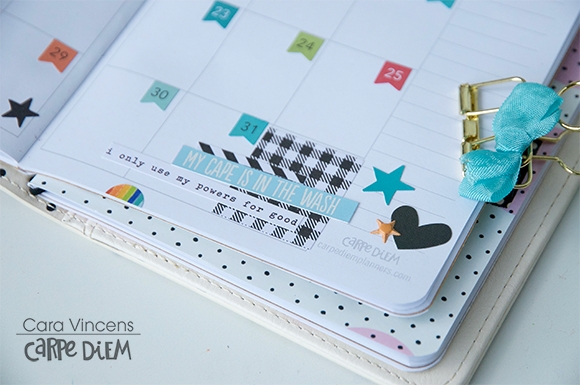
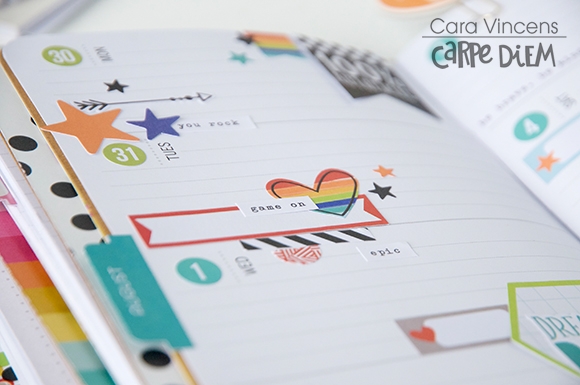
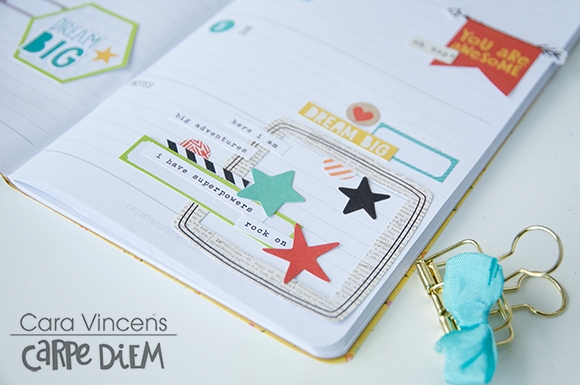
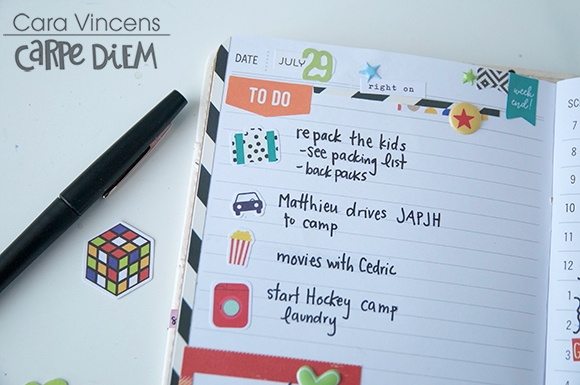
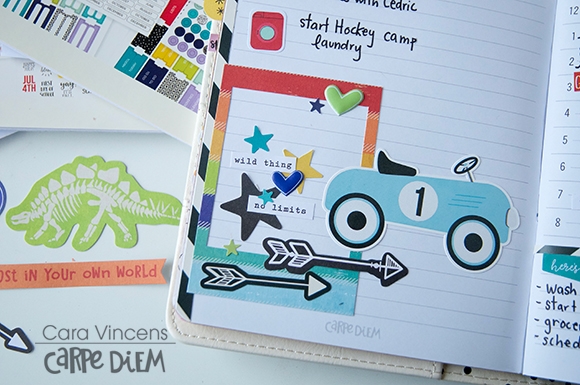
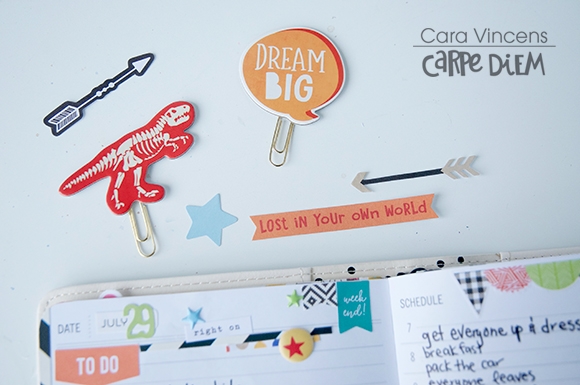
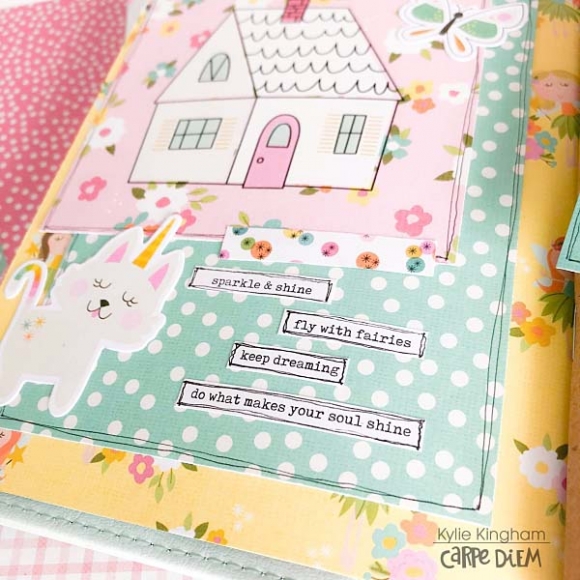
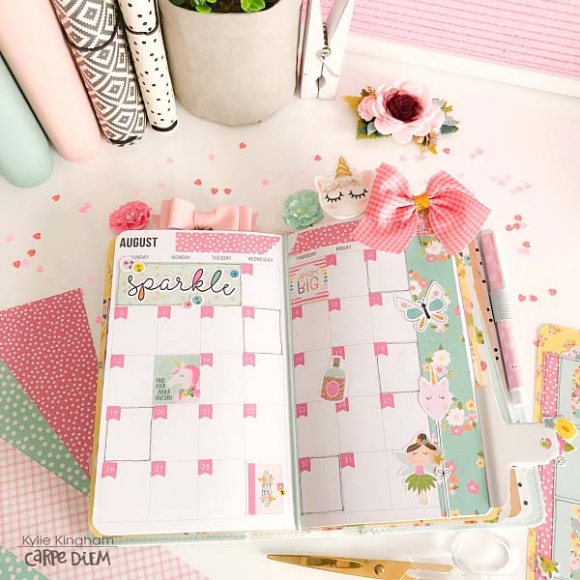
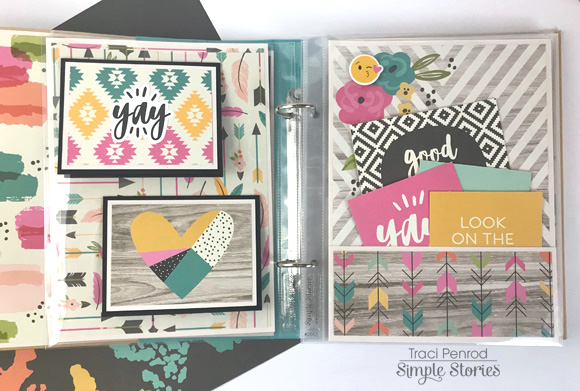
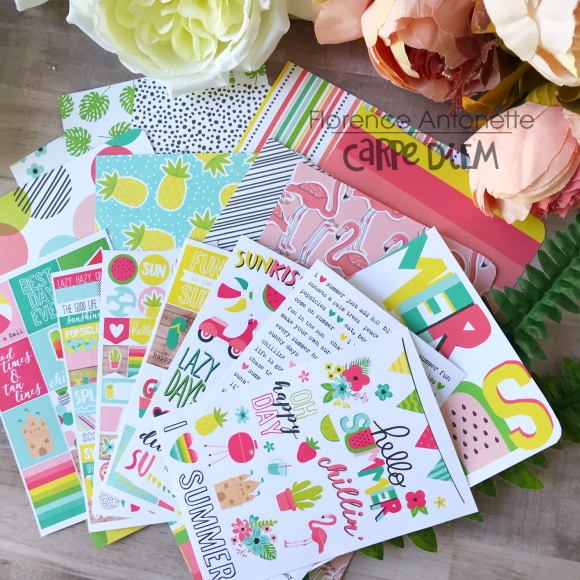
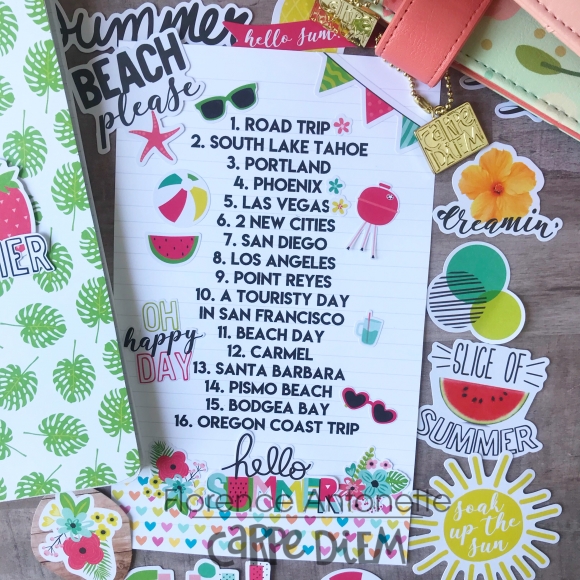
Also in this monthly insert, I decorated the July monthly spread with lots (and I do mean lots) of stickers.
I actually challenged myself to see just how many stickers I could use up from the Good Vibes pack of
4x6 sticker sheets. You know how it is when you need a good dose of creative fun to procrastinate the
heck out of what you’re supposed to be doing. Well sticker explosion happened this time (#noregrets).
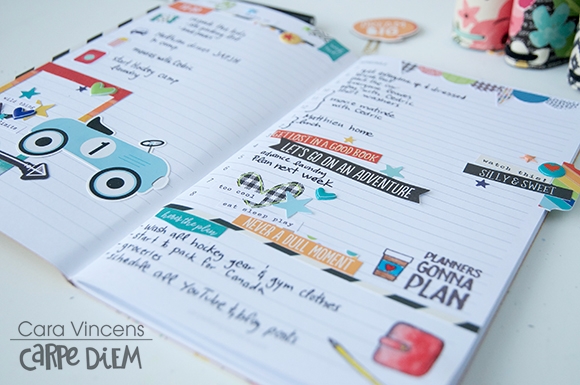
Having a monthly view in my planner right now is crucial because it lets me visually see exactly how
much time I have before the move and plan out how I’m going to fit everything I need to get done into
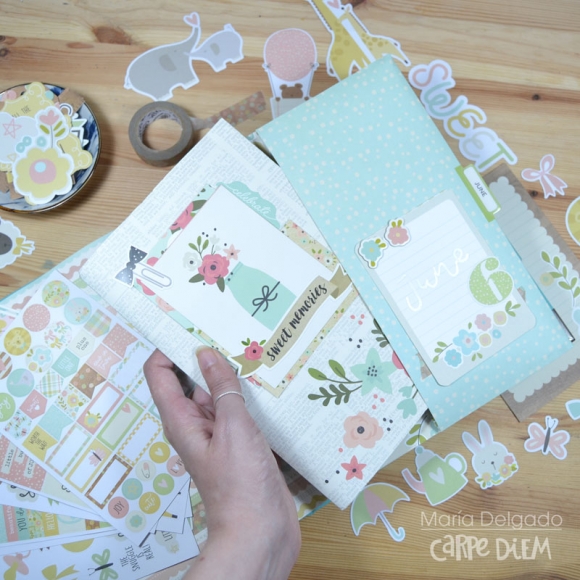
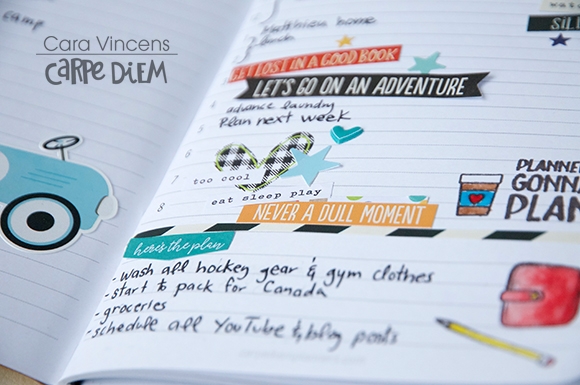
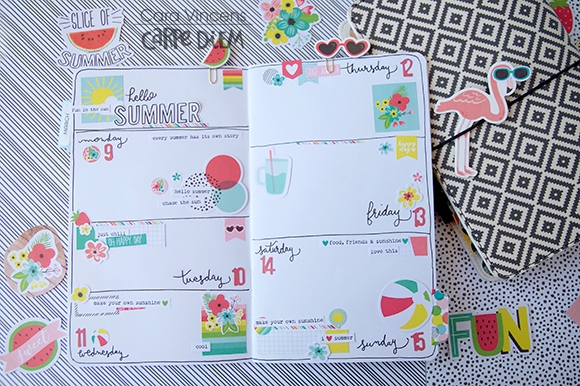
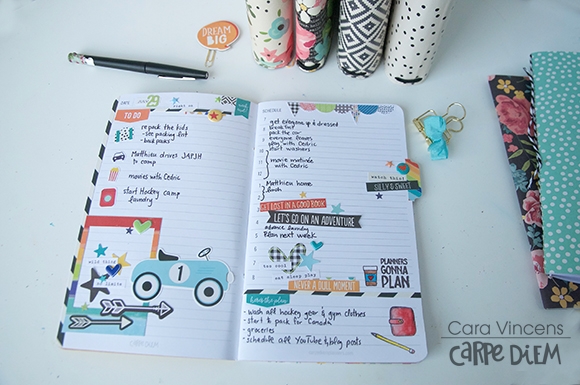
that time frame. I also have a daily insert in this TN that I can use to expand on each day’s tasks into
more detail. For example, if I write “pack bedroom” on the monthly spread, then on the daily planning
page, I can write out a more detailed list of the areas within the room that need to be tackled.
 
 
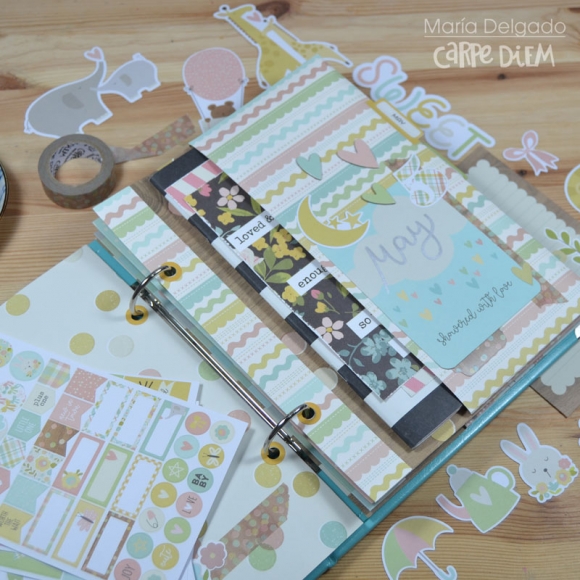
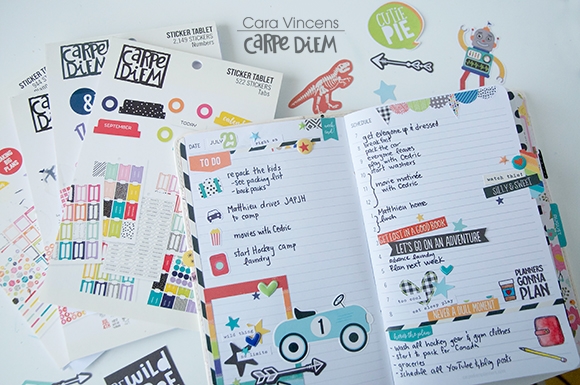
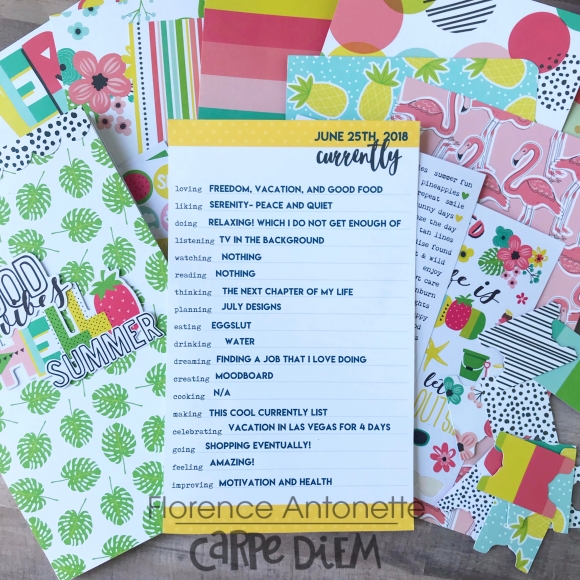
Most importantly (to me), I designated an entire insert in this TN to my plethora of moving-related lists.
I know for a fact I will use up this notebook during this move. I’m listing out everything I can to get as
much info out of my head as possible so I’m less stressed. I’ve got an expanded list of all the accounts
and places I need to change our address for, things I need to buy for the new house as soon as possible,
things I want to buy for the house eventually, things I’ve seen while online shopping that I can’t afford
but want to remember to pin to my “Dream Home” Pinterest board…a list of zones within the house
that need to be packed, a list of general to-dos. You get the drift. Lots of lists, and some notes too. I
wrote my new address down in here and a few other important details that I need to reference often.
 
 
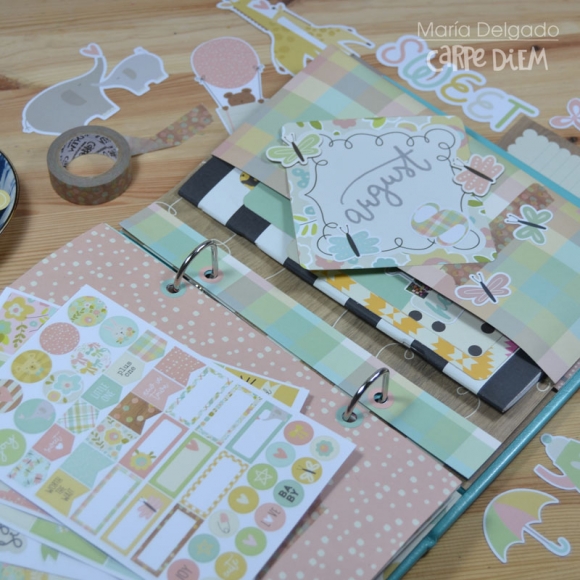
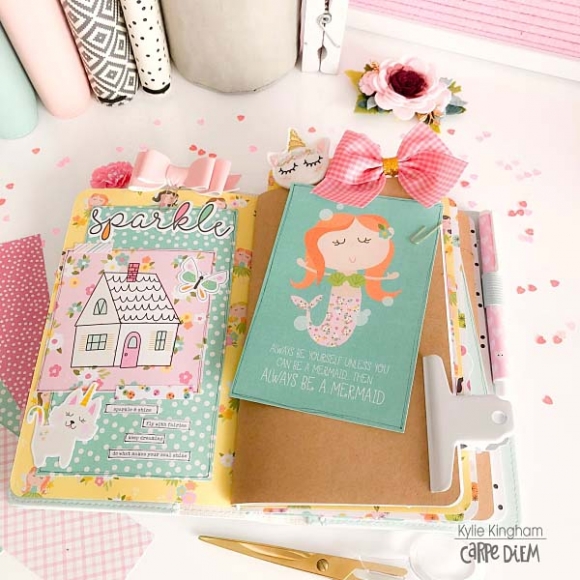
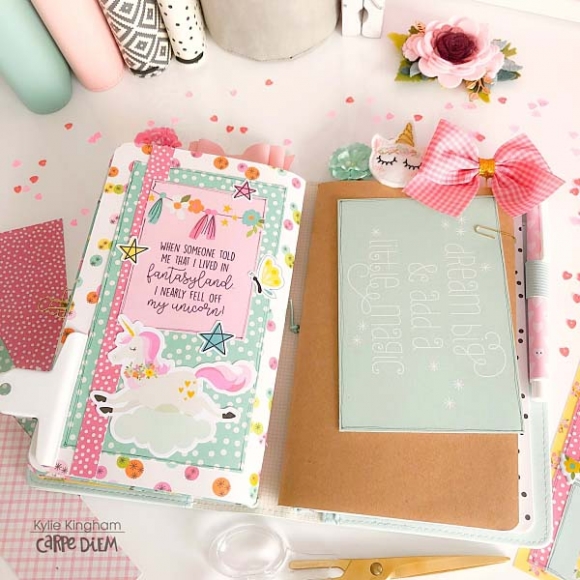
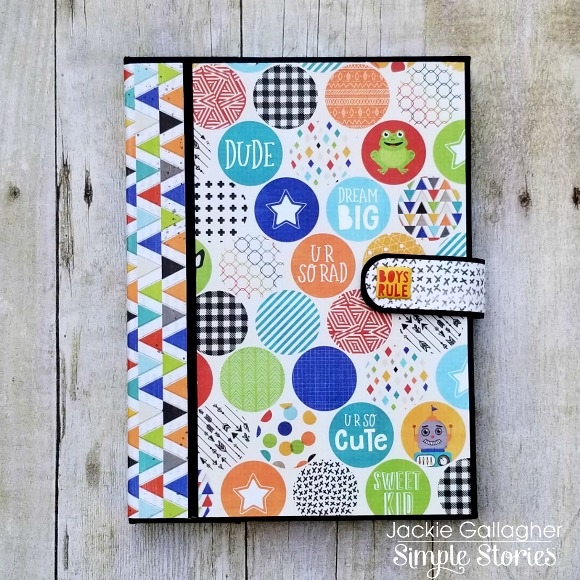
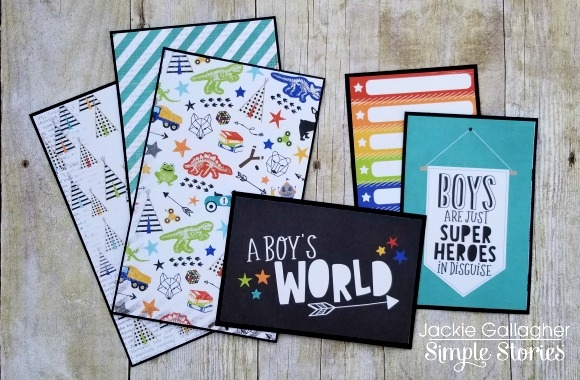
Also to help me keep important documents organized during the move, I’m using this clear document
storage pouch (I think I purchased from Amazon a long time ago). I’m stashing documents in here that
don’t fit or have a place in my TN, such as forms that need to be filled out and mailed, my lease
agreement, printed confirmation and/or account details, a move-out cleaning checklist for our current
apartment, and a few other miscellaneous files. The pouch is clear so I dressed it up to coordinate with
my TN, but also so that none of my private information is visible. I cut down a couple of my favorite
12x12 papers from the Good Vibes collection and used a non-permanent, double-sided adhesive tape to
secure them to the inside of the front and back of the pouch.
 
 
For the most part right now, I am exclusively using this TN and document keeper to keep me organized
and sane throughout my upcoming move. Moving can certainly be stressful, but it really does help to
keep your thoughts and important moving-related information organized and in one place. I also tried a
new thing called “starting early” so I don’t have to worry about getting everything done at the last
minute. This is very unfamiliar territory for me, but I’m going to embrace it and thank my pretty planner
for helping me get stuff done. I’ll report back about how I survived on my Instagram in a couple of
weeks.
 
Until next time creative souls, happy crafting (and list-making)!

Hi crafty friends!  It's Traci, back to share my latest SN@P! album using the fantastic Good Vibes collection.  I've been looking for a fun, colorful, perfect for everyday photos, kind of collection to use for a new family album.  This one is perfect!

 
Although I use 12x12 papers in most of my albums, I always get the 6x8 paper pads too.  I love them for the smaller print, and for the phrase and title pages like the one above.
I was so happy that the bright teal, pink, and yellow looked so good with my photos!  I can't turn the pages of this album without smiling and feeling happy.
 
I used lots of embellishments throughout this album, including stickers, chipboard accents, and bits & pieces die cuts.  Isn't that little polish bottle adorable??
Like the cute die cut says, "choose happy"!  And until my next post, I'm wishing you "good vibes, everyday, all day long".  Thanks for stopping by!
 

Hi friends and happy Friday to you! Linsey here today sharing my latest altered project and I hope you enjoy it! The new Crafty Girl collection is amongst my most favorite to date! It covers everything from scrapbooking and stamping to knitting, crochet, sewing, sketch art and even planning! Trust me, this collection is a must have for all makers alike! Take a look and see what I created with the awesome Crafty Girl collection! 


As you can see, I did something different with each of my paintbrushes. After painting them with several layers of white gesso, they are now ready to decorate! The narrow brush seemed a perfect shape for building my very own "crafty girl" upon, so that's what I did. She is so stylish with her one-of-a-kind custom outfit made from Combo Stickers and accessories to match! No crafty girl is complete without her tote and favorite beverage! 


A bit of sparkle was added to crafty girls hair tie and washi belt with mini gems. She even wears a pair of cute pink enamel dot earrings. 


The wider brush was a great base panel to build a crafty scene upon. I think it would make a great gift for a crafty friend! How about you?


I hope you like my altered crafty girl paintbrushes and I hope you've been inspired to make something fabulous with this dynamite Simple Stories collection too! Have a great day and until next time, happy crafting! 


Hello Planner Girls. I am thrilled to use the new Monthly TN insert. I am using the Good Vibes Collection for my TN set up. This collection goes really well with the new Cream Dot TN.
 
The first thing I like to do when setting up my TN is to create insert covers. The front cover is usually the main focus when I open my TN. It was a little tough choosing the perfect pattern for my front insert since I like all the designs that came with this collection. I decided to go with the color wash pattern.
 
Even though the color wash pattern paper is good enough by itself, I didn't want to just leave it like that, so I added washi tapes on the top and bottom border. I fussy cut the clipboard with the word "Carpe Diem" from the 4x4 element paper. I then layered it with some die cuts from the bits & pieces.
 It was fun and super easy decorating my TN pockets since everything matches the color wash pattern paper I used to create my front cover. I used combination of chipboards stickers and bits & pieces to stuff my pockets. As always, I used washi tape to help the pieces stay in place.
 I never glue the cover permanently to the insert so I can remove it. I will use this same Monthly insert for my future set up with the new theme. I can change themes as much as I want but still use the same Monthly insert.
My love for creating Monthly layout continues. July monthly layout is full of fun rich colors.
 Are you guys stoke about the new stamps? You guys will love these stamps. They are made for us planner addicts.
I was not a huge fan of stamps at first because I didn't really know how but I kept buying them. I finally decided to use the stamps I bought and the more I use them the more I got better at stamping. So don't be discouraged when using stamps, just keep practicing and you will eventually get better at it.
 
 
 Here is another cover I created. It's very simple but I like it.
There are so many wonderful and exciting new products that are being release for Carpe Diem and Simple Stories this summer. Which product are you most thrilled about? 

Hello! It's Jennifer on the blog today to share a layout I created with the gorgeous Bloom collection! There is so much to love with this line; from the floral prints to the pastel colors contrasted with pops of black!  I  "stole" a photo from my daughter's Instagram that I  thought would be perfect to use with Bloom (even her dress matches the fun florals!). For my background, I cut the black dots from Everyday Counts and paired it with the tiny flowers of the B side of the 4x6 Elements.

​I used the beautiful black floral chipboard "Bloom" letters from the 6x12 Chipboard Sheet.  It makes for a perfect title for my page plus it stands out agains the lighter background. 

​I  cut apart some of the 3x4 Elements to layer under my photo such as this blue ledger print. I  then use coordinating embellishments if I want to cover up what is printed on the card.  I  love to layer little floral clusters from the Bits and Pieces as well as add in popped up coordinating stickers. 

​How cute is this pink ledger 3x4 Element with a black dotted heart? I  knew wanted to have this accent my photo (I  love ledger print!). I  layered a floral tab fro the Combo Sticker Sheet underneath the edge as well as added a small chipboard flower. 

One of my all time favorite embellishments are the 4x6 Sticker Sheets!  There are so many cute, small accent pieces you can find such as this typed sentiment sticker. Also, one of the sheets has decorative strips of patterned perfect to layer under cards or photos! 

​And what collection wouldn't be complete without a banner sticker? I  love to add these to the bottom or corner of my photos.  The "tassel" pennants are an adorable addition to the banner along with accent flowers! 

Thank you for stopping by the blog today! Check out the Bloom collection in its entirety by going to the Products page! And don't forget to see what Simple Stories has coming up later this year!  Have a great day!

Supplies

Hi everyone! Tara here with Secretbees Studio  I am always changing up my office and looking for fun and happy supplies and organizers to brighten my space. I have been searching for a new desk organizer but haven't been able to find the perfect one so I just decided to make my own! 

With it's vibrant colors and dazzling array of patterns, The Simple Stories 'Good Vibes' paper collection was the ideal way to add color and charm to my desk. I used medium weight chipboard for the organizer and gave it plenty of compartments to hold supplies. Mine measures 6.5" square which made it easy to cut the patterned papers to fit the compartments. Polka dots are one of my favorites and between the 12x12 papers and the 6x8 pad, there was enough to cover all of the inside areas. For the larger outsides, I mixed up the patterns and used some of the fun floral designs! 

To really make the bright colors pop, I then added a strip of the bold black and white aztec print around the bottom edge and used the smaller sized matching washi tape to accent the tops of the dividers. Then, using a combination of the bits & pieces, chipboard and combo stickers along with the 4x6 stickers pad, I embellished and decorated as many of the outside areas as I could for the cutest organizer around! 

I didn't stop there though! I jot down notes and ideas all the time on post it notes so I made a holder for those as well. Using a youTube tutorial and more of the awesomely delightful paper, I created this small box that holds my sticky notes perfectly! Of course, I had to embellish it as well with the stickers and chipboard! I love that the 'Good Vibes' chipboard fit so well on the top- looks great! 

I also made a small notebook with the collection, adding a 3x4 element card and a couple of stickers to the front, and covered some wooden pencils to match! Now I have a seriously cute organizer and paper holder that makes me and my desk very happy!! 

Supplies

Hello friends! Florence back here sharing you my Summer Bucketlist. I thought it would be fun to use my travelers notebook so it’s very on the go friendly. I love cutting paper down so I can bring them with me in my craft bag wherever I go. So when I have some downtime or even just at a coffee shop I’ll take them out and work on a layout/ journal entry. 

One thing I wanted to do was use a free printable that’s available on the Simple Stories site. I then opened it up in adobe reader to add text to it. It was a simple quick way to create my summer travel bucket list and to do a fun “currently” list! Have you ever done one before? If not, get one here!

I recently went to Las Vegas on a road trip from Arizona and thought it would be fun to document and journal in my TN. I love using simple stories inserts and adding scrapbook paper to add pops of color. 

I travel A LOT. More than the normal human being so no judgment on the places I’d like to go by the end of summer right?! I live in California so many of these are California based :) 

As the summer goes on I will add a floral sticker next to the entry I completed. Where’s my next adventure? I’ll be going to Los Angeles this weekend! Let’s hope the heat wave is long gone :) I hope this inspires you to create a Summer Travel bucketlist of your own!! I’m ready to go to the beach!

Until the next adventure!

Florence Antonette 

Supplies

Pages