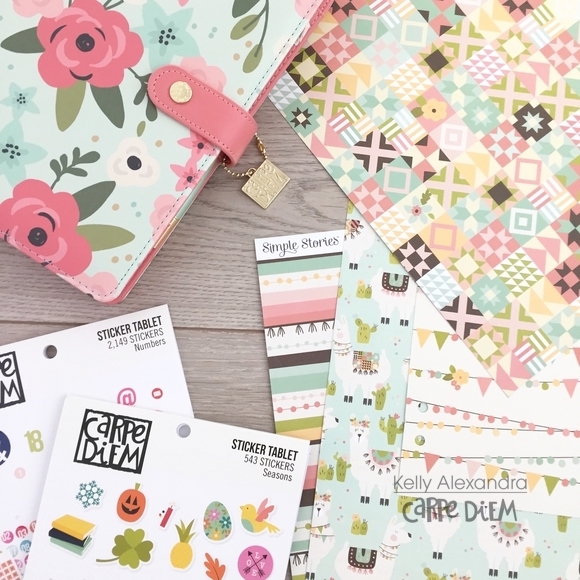
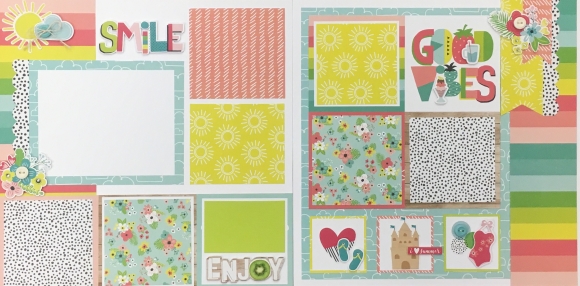
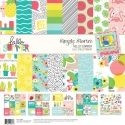
Hello Simple Stories fans and welcome to the blog today! I’ve been playing with some new releases, Good Vibes and Travel Notes and I’m really so excited to share my pages with you!

It’s not often I actually document stuff that happens to me. Not that it’s not important, but I’m sure you’ll agree, being a Mum can sometimes feel like everyone else’s lives are more exciting. This big exciting thing that happened to me is something I have been chasing for a while and finally plucked up the courage to get out there and do! Getting my motorcycle license has been an incredibly fun and empowering thing to do and it’s proof to me to keep chasing my dreams because it’s not worth giving up on them!

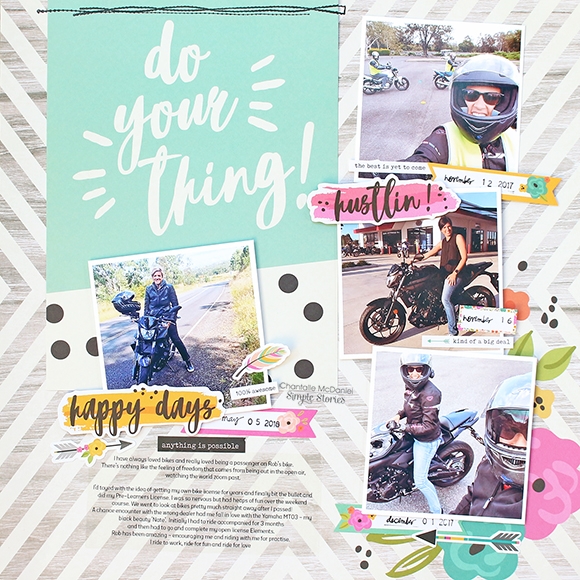
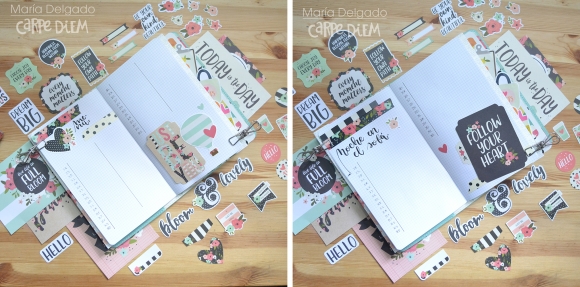
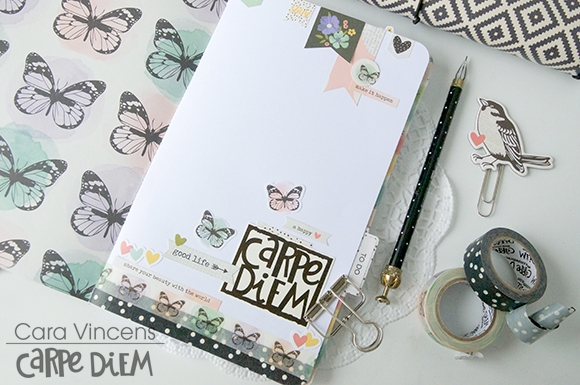
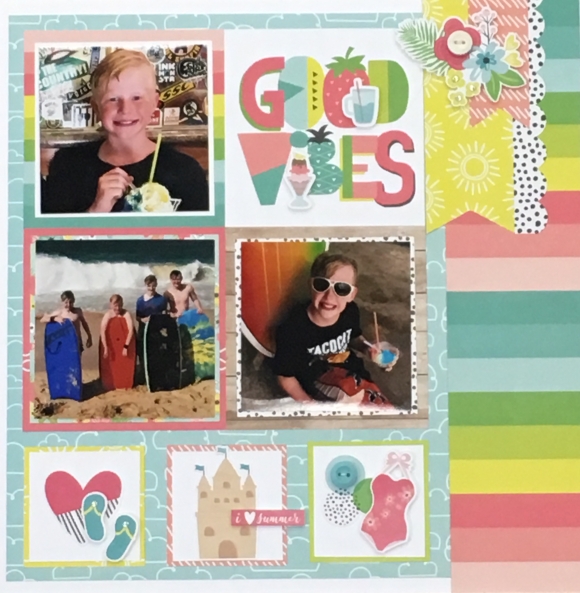
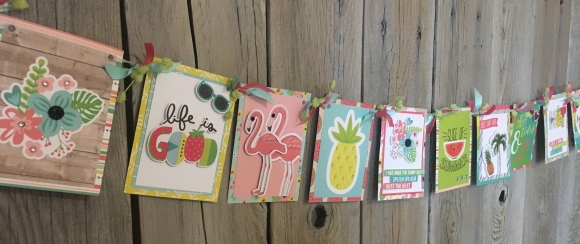
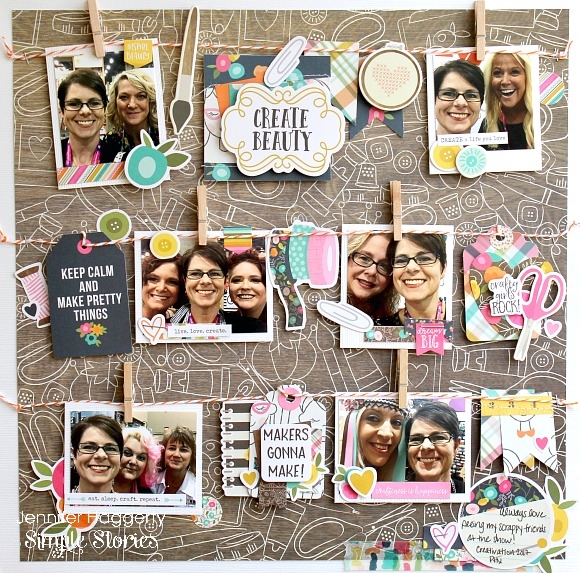
The page came together with a jump start in the form of that gorgeous title which is a sheet in the Good Vibes 6x8 paper pad. I’ve used the whole sheet and it worked a treat to break up the large chevron pattern of the background paper. Incidentally this paper is called ‘Be Amazing’ which made me smile even more!

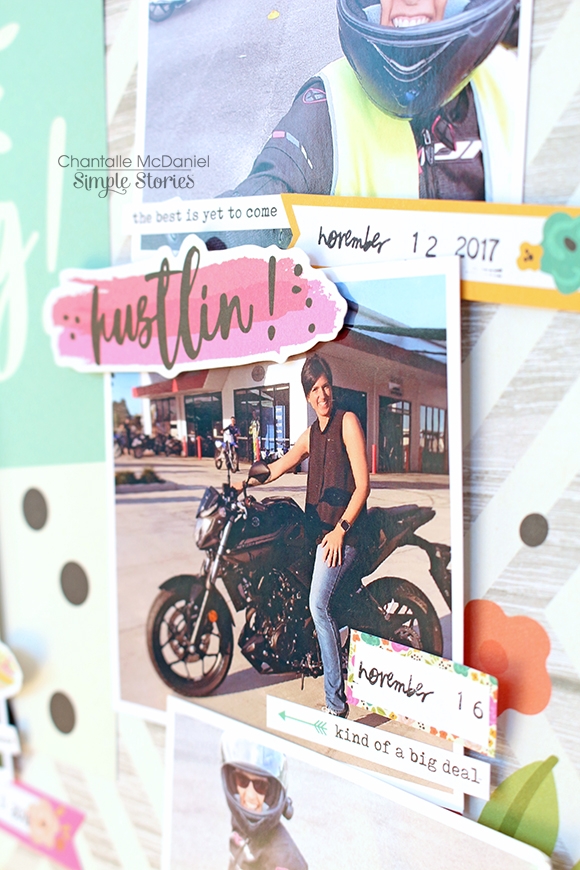
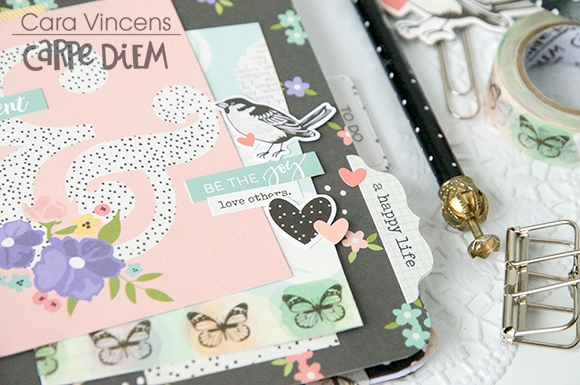
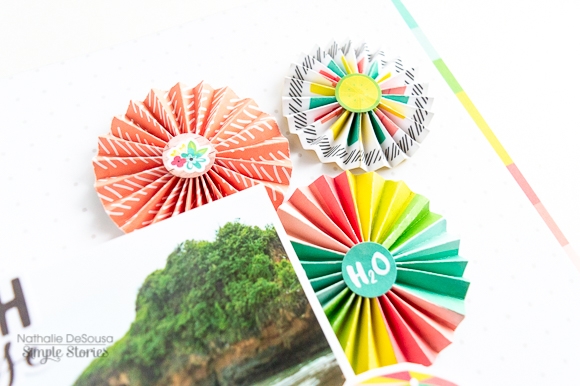
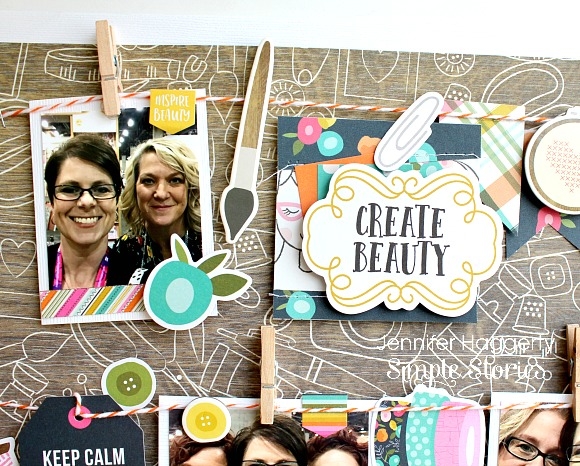
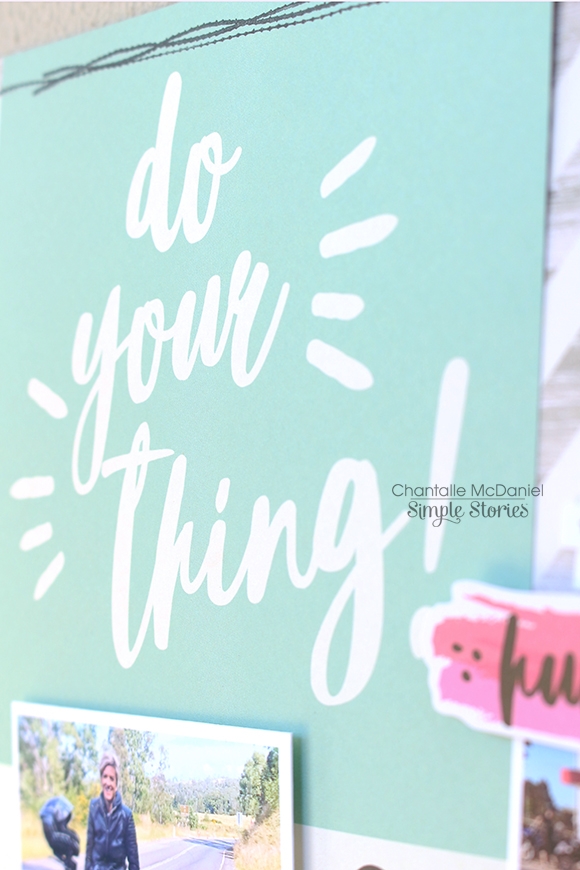
Those brush stroke with script is a fave of this collection. Everything just pops and fizzes and I absolutely love the mix of brights and prints.

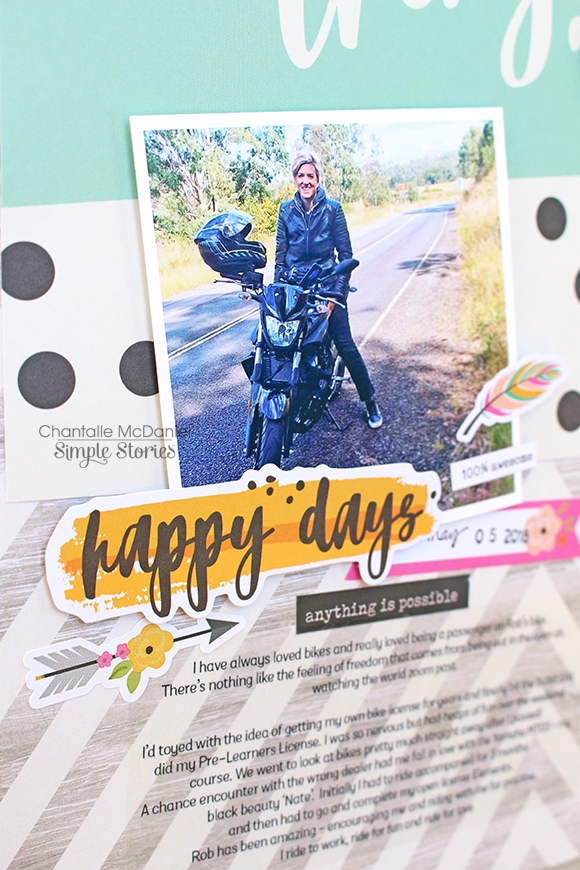
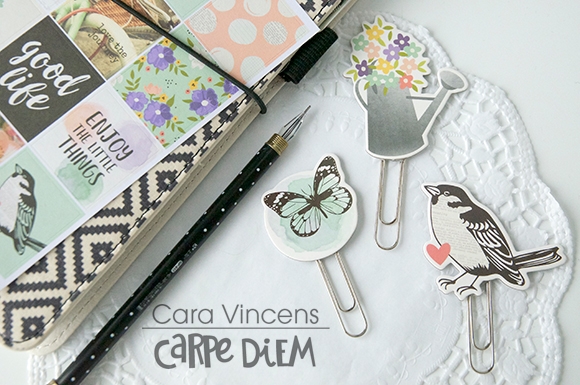
The little feathers add a whimsical note. 

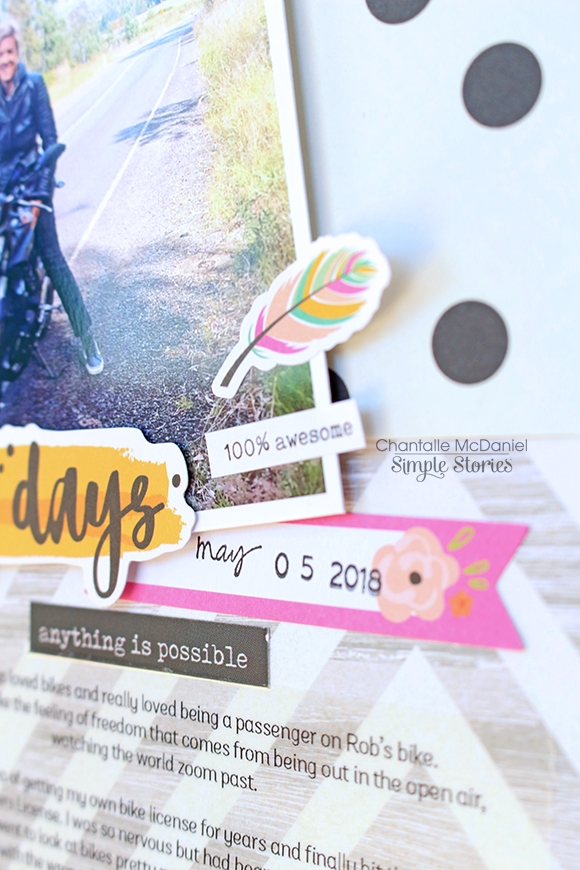
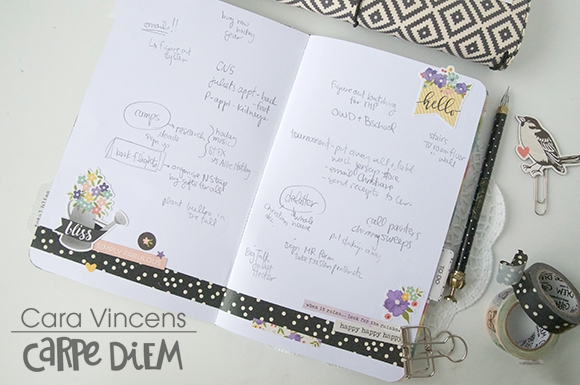
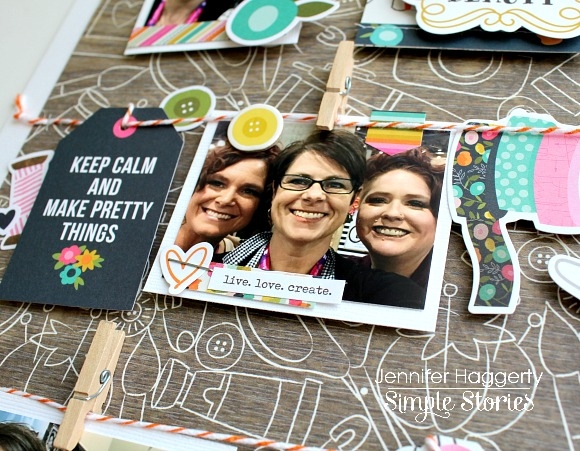
The journalling was a test of this do-it-yourself-rub-on material which didn’t quite work the way I thought it would, but it did allow me to avoid my terrible handwriting and get quite a bit of journalling down on the page.
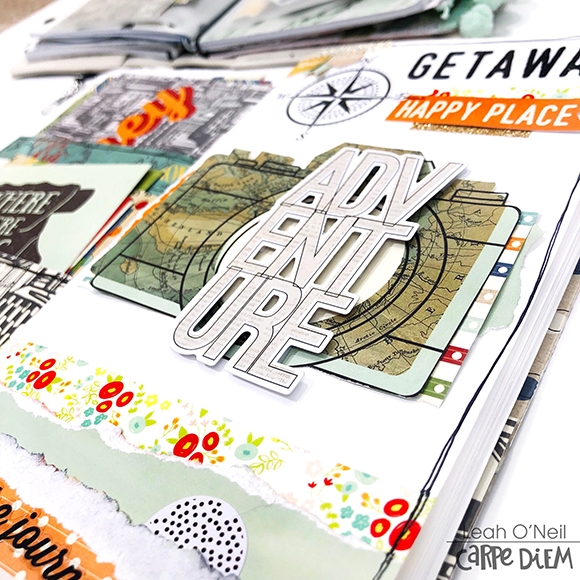
 

Ahoy There!

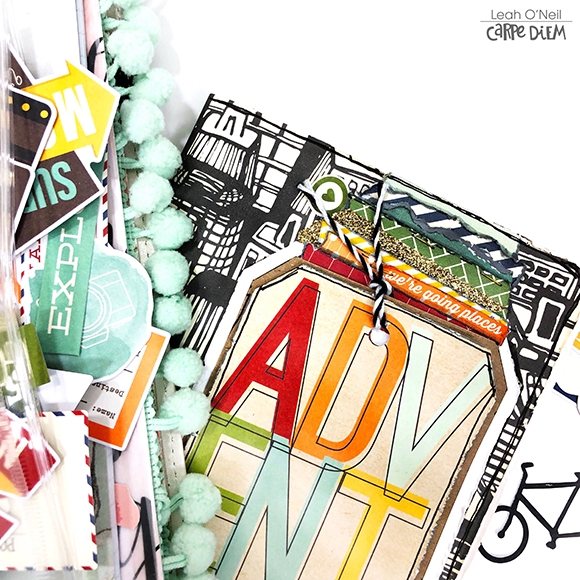
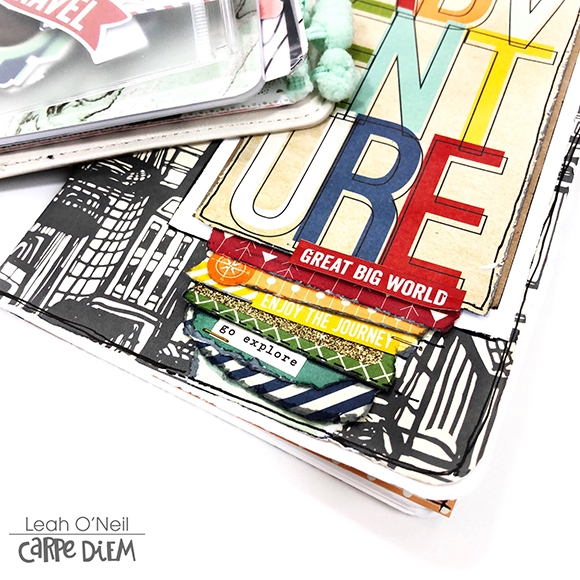
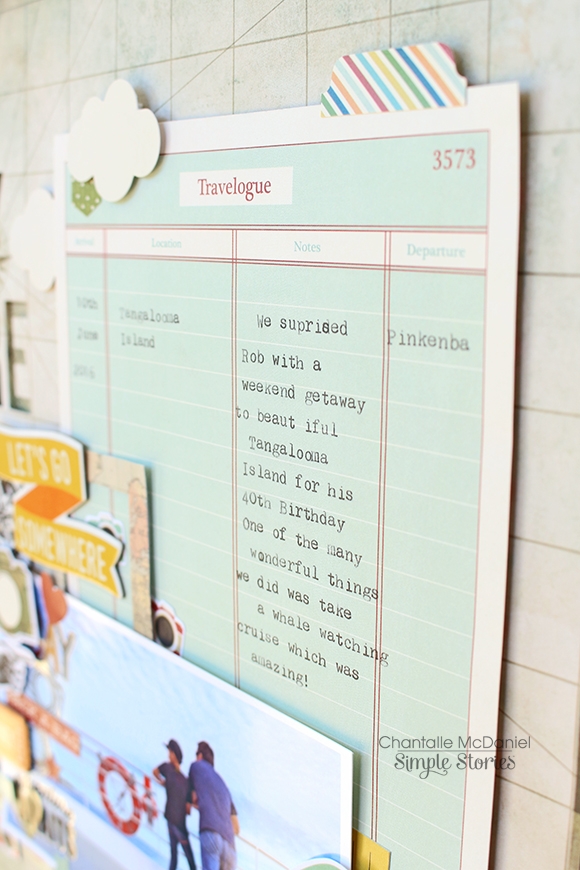
This page was also so much fun to create. Again, the Travel Notes 6x8 pad gave me some awesome inspiration with a mini version of a travelogue which is also a full size awesome 12x12 sheet in the collection.

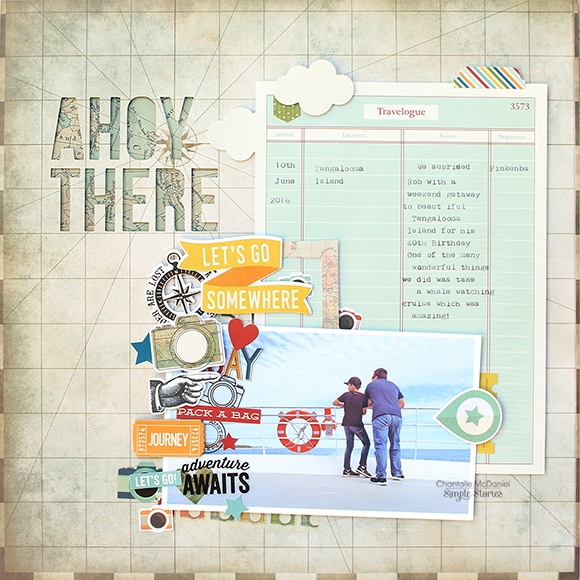
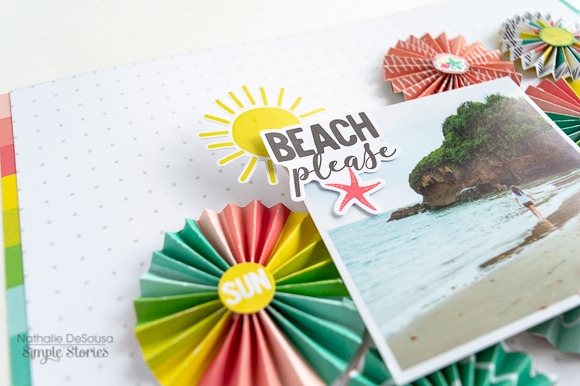
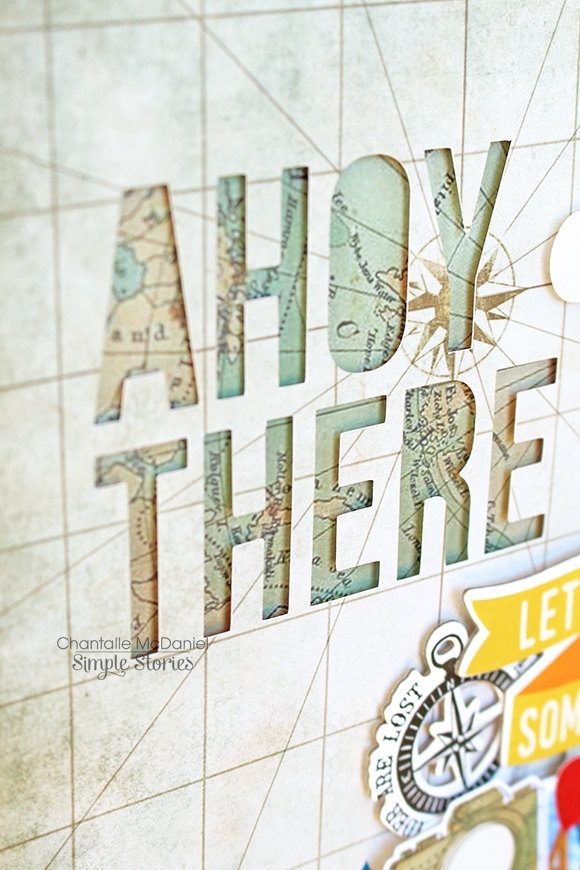
The title was cut in to a sheet of ‘Go See Do’ using my Silhouette Cameo. I chose this paper because it has a beautiful subtle map print, which really showed off the blue ocean in the photo. I’ve raised the background paper with foam tape and mounted it to some plain cardstock. I like the extra depth it gives the title which allows me to keep the colours neutral. The map print below comes from the 6x8 pad as well.

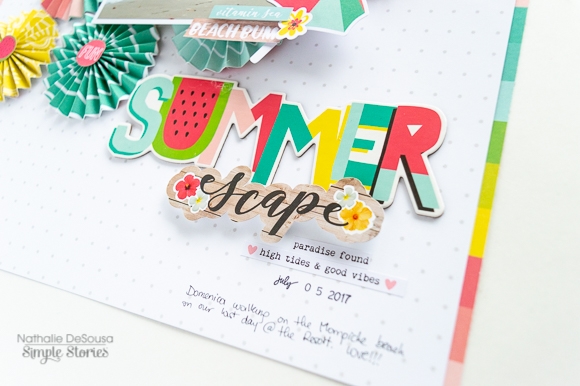
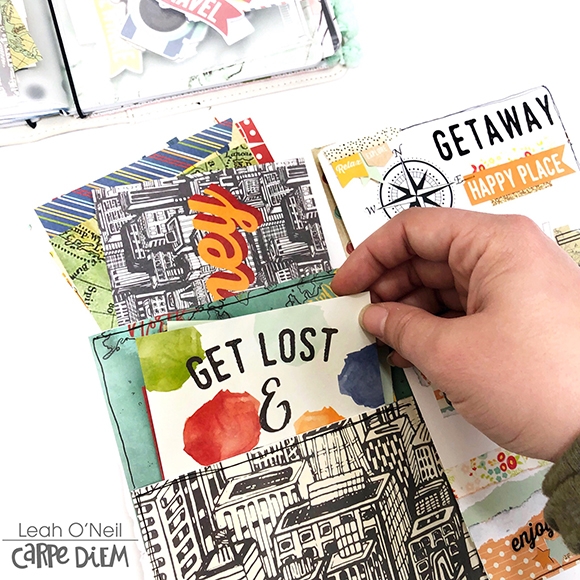
The 6x8 travelogue allowed me to jot down some of the details of the getaway we surprised my DH with for a special birthday.

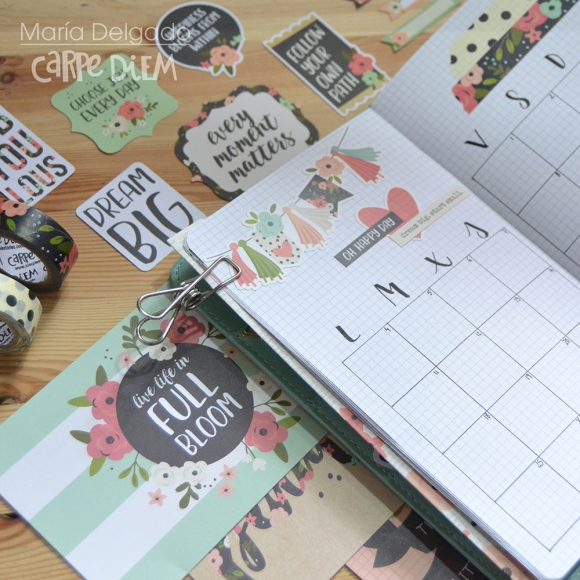
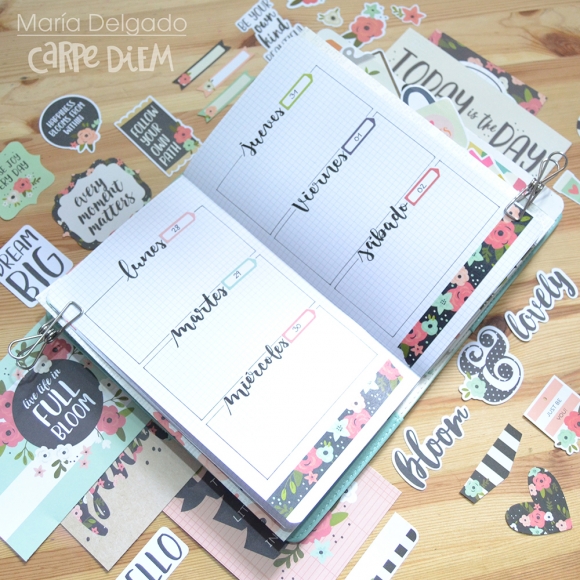
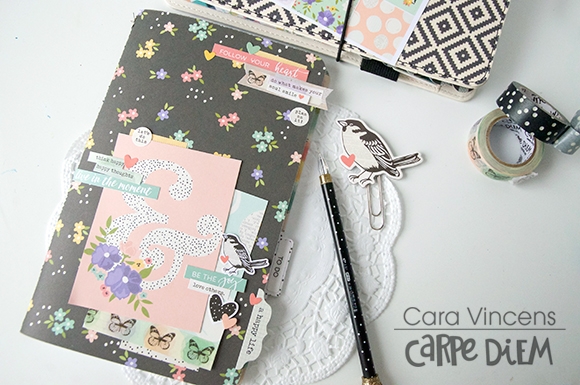
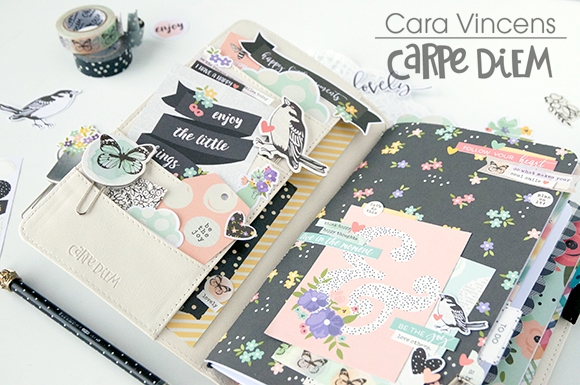
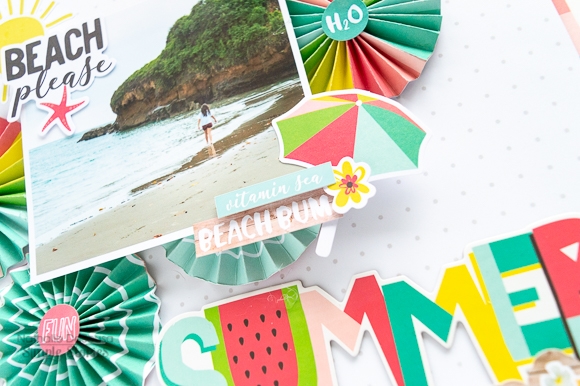
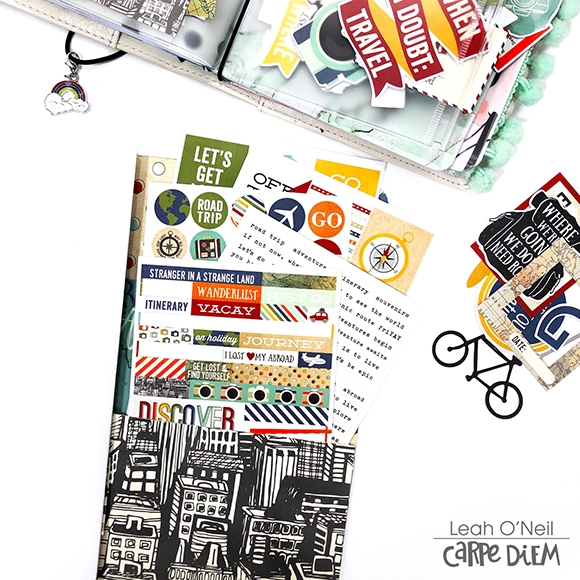
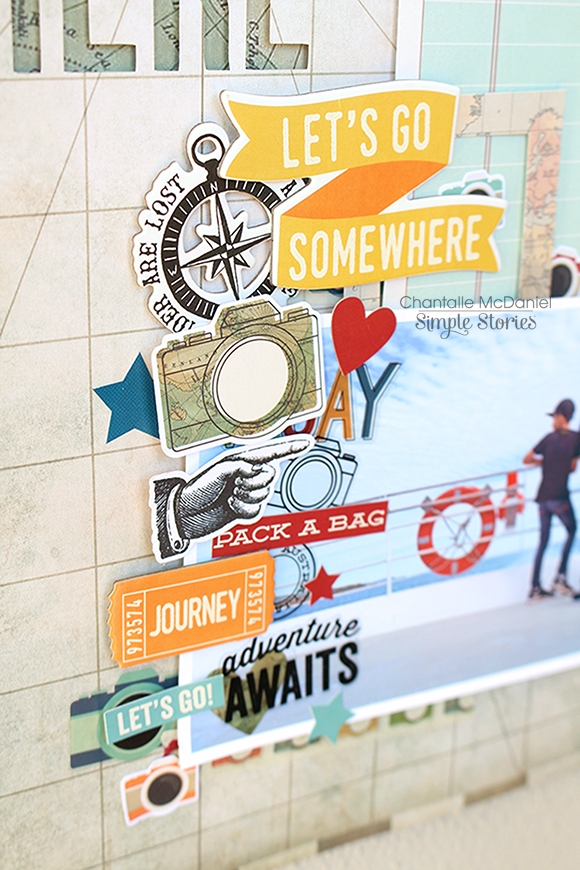
Another little thing that I find liberating sometimes is to just go crazy with those stickers and die cut shapes. What is the point of hiding their beauty in a box or on the shelf? Don’t get me wrong, there are some things I will never use and admire for years lol, but it’s also just nice to see them arranged on a page to admire as well. Go wild and use your nice things!

Thanks so much for stopping by the blog today!

Happy crafting

Chantalle

Hi everyone, it’s Kelly here on the blog today with my setup for May. This month I decided to change my Robin’s Egg A5 planner with the new gorgeous Mint Blossom planner. I used the Simple Set ‘Mama Llama’ and some sticker tablets to decorate my monthly spreads.

First, I made a notes page, to be able to write a few things I need to remember this month. Because I already knew I didn’t needed the whole page, I decorated half of it with some pieces and stickers from the Simple Set.

I used the A5 divider templates and my A5 planner punch to quickly make a divider from the 12x12 paper with the cute lama’s on it. It is very easy and the result is a fun divider that matches my decorations.

I love to decorate my monthly spreads but leave enough space to keep it functional and write down important appointments.

On the ‘this month’ page for May I used the new Number sticker tablet to mark the dates and the Seasons sticker to tablet to decorate.

I hope you enjoyed reading this blog! You can find more spreads in my Carpe Diem planner on Instagram createplannernl https://www.instagram.com/createplannernl/

Have a nice day!

Supplies

Hello, Simple Stories Fans! Jana Eubank here with a wedding layout using the beautiful and timeless Always & Forever collection.

My brother and his wife had the most beautiful wedding. Their color scheme was a unique combination of each of their favorite colors; orange and green. Their flowers were the most beautiful and different I had ever seen, with a fresh, citrus-y, summer vibe about them.

No matter what color scheme your wedding celebration is, your pictures will look gorgeous  scrapbooked with the Always & Forever collection. The neutral and timeless colors of this collection allow YOUR color scheme to stand out and be the star of the show, just like they are supposed to be!

I chose a favorite photo of the couple and gave it the special treatment, accentuating it with all kinds of papers and goodies layered around it. The photo block is anchored on the page by a vertical band of paper strips. The strand of lightbulbs across the top of the photo lets you know this is a very special occasion and it is time to celebrate!

Who can resist fussy-cutting out flowers for a wedding page? I sure can't! Flowers and weddings just go hand-in-hand!

I used the chipboard "Mr. and Mrs." stickers as the title for this page. A couple of friendly birds and a shiny gold heart give the title additional personality!

This photo was taken just moments after the ceremony, so of course I had to use the adorable "Just Married" sign sticker. I surrounded it with the wedding cake, gift box, hearts, and wedding ring for a bit of dimension and shine.

Weddings are the beginning of a couple's forever story, and scrapbooking their photos with the Always & Forever collection is the perfect way to treat them special!

Supplies

HI! Odessa here with some SN@P! pages using the I AM Collection! The I AM collection goes great with This Black and White Designer Binder they both have such a chic style!

I’m working on some layouts about me so I Am is the perfect choice! This collection is all about telling your own story with lots of I am-themed phrases to help out and cute icons like cameras, butterflies, typewriters and hearts.

I Am has a great 6x8 paper pad. It’s full of smaller 6x8 papers that slide into 6x8 page protectors easy peasy for full page layouts. There are also some totally frameable phrases that add some easy word art to layouts.

These layouts are about nothing in particular, just me and things I like. Like this page all about cupcakes and face masks, because why not?!? This is my story so I get to decide where it goes. I love how the simple word strip and heart looks on the cupcake picture here.

I just love all the florals and delicate touches in the I Am collection balanced with strong statements and affermations. It’s bold and delicate and complex, just like telling you own story. I included things like screenshots of what I am listening to because it’s a big part of my story. 

I used the Basic Alpha Stickers to make bold titles on my pages to guide the story. Along with lots of the phrase stickers and cute Bits and Pieces. This collection is so cohesive that I found the layouts just came together!

If I were to write a list of pocket page things I almost always do, hearts on drinks is a big one. It’s just a great place to add a little touch of whimsy and maybe a word sticker or two. And chipboard hearts are my absolute favourite to add!

I Am has a great SN@P! set that made getting my pockets all filed up even easier! There are some gorgeous double sided 2x2, 3x4, 4x4 and 4x6 cards in there on top of the great (FOILED!!!) cut apart papers. 

I really wanted to use some of the cute 2x2 cards so I added in a 4x6 vertical pocket full of 2x2 pockets! 

I love adding tabs to inserts so I used the Carpe Diem Tab Sticker Tablet and the matching clear stickers that fit perfectly over the tabs to make them even stronger.

I am all about sticker clusters. A word phrase, maybe some alpha stickers and hearts. That is my happy place. These all about me layouts are the perfect place for the abundance of pretty coffee cup photos I take. Haha!

I found I did not do a lot of journaling in these pages because the journal cards and stickers and Bits and Pieces said what I wanted to say better than I could. I love when photos and paper pair so well!

On the back side of the 4x6 protector I cut up one of the patterned I Am SN@P! cards and stuck some of my favourite stickers and chipboard stickers to it for something decorative. 

Another favourite pocket page thing of mine is using a more background photo in place of a 3x4 card and using alpha stickers to make a big title on it.

I hope you enjoyed this look at my SN@P! pages! If you haven’t documented your own story you should give it a try! Round up all those pretty plant and coffee pictures, your stacks of books, selfies and playlists and put it together to tell your story!

Hello friends! How are you? I am ready for July in my journal bullet. And very excited for all the adventures that are to come. I really wanted to use the bloom collection because I love flowers, so it's perfect for me.

This month I am using the Cream Blossom TN, I have decorated the inserts with the "Collection kit" papers as well as the element papers and the cardstock stickers. I used the beautiful bits and pieces diecut papers in the pockets.

On the cover I have also used the elements papers, they are beautiful and the rounded corners give them a more decorative feel! I month is written with a thin brush-tip pen, I like to finish decorating with stickers.

Gratitude and habit tracker decorated with stickers and "Bits & Pieces", I also added flower washi tape, my favorite!

Ive added menu's and list's of movies that I see, decorated with washi tape, stickers and paper elements.

Something I like a lot is the monthly, this page is indispensable in my bullet journal. I decorated it with stickers and washi tapes. I just love the garland!

For my weekly this month I decided to change,  in the past month I made columns and now I have placed horizontally. I like the use of the "planner basics A5 sticker tablet" for the date.

Supplies

Hello Friends! 

It's Kristine Davidson with you today and have a fun layout to share! I used the most amazing crafty collection called CRAFTY GIRL - and you must admit that this is the cutest arts and crafts collection right ?! I have created a few layouts with this kit and I am not tired of it yet!!! 

Today I am sharing a layout about an event my friends and I attend every year called Crop & Create.  We meet here yearly to talk about life events and scrapbook. 

I created a few layers with the bits and pieces, the chipboard and even with the pattern papers. I cut a few strips of paper about 1/2" to 1 inch wide and layered them to create some visual interest. 

Adding more details and layers with chipboard and the cute diecuts is just one of my favorite things. I added pop dots on a few of the embellishments to create dimension. My journaling is simple in my own handwriting at the bottom of my layout. 


I hope you enjoyed my layout today and come join Simple Stories and Myself on social media. We have so much more to show you!

Supplies

Hi there planner girls, it's Cara! Happy Spring! Is it ok to actually say that now? Did I just jink it again? I’m so scared to say that spring has finally arrived this year because every time that I do, it snows or something the next day!!  I’ll take my cue from the birds who have been singing their little hearts out and making my days a lot more enjoyable. 

I wanted to take all that bird song and bring it right into my traveller’s notebook! I took the little birdie from the BLISS line and her friends, the butterflies, and started there! I decided on some chipboard planner clips and made one from that adorable watering can as well. I pushed the chipboard pieces through to the back making sure that the backing came with it. Then a paper clip and a little hot glue added in between the chipboard and the backing is all you need for a quick planner clip.

I also made my own insert, which I love to do. I have a simple tutorial on YouTube if you’d like to give it a try. I took the ‘Enjoy the Ride’ paper from the Bliss collection and some plain heavy weight computer paper to make this insert.

I decorated the cover with some of the cut apart bits from the ‘3x4 Elements’ paper, and some of the ‘Bliss 4x6 stickers’ including that little birdie again, and more from the ‘Combo Sticker’ sheet. A bit of the ‘Butterflies’ washi and it’s done! I don’t know about you, but most things I make just don’t seem finished until they have at least a bit of washi :D

I made a simple title page, the theme of this insert is to seize the day and do as much with my day as possible. Since Carpe Diem means ‘seize the day’, I cut the Carpe Diem logo from a bit of packaging and layered it with more stickers and butterflies washi layered over the ‘Black Speckled’ washi.  A die cut flag and one cut from the ‘4x6 Elements’ paper layered with flags stickers make a cute cluster at the top of the page.

The first page of the insert is a brainstorming page. I wanted to keep the decoration to a minimum so that I had room to write, but that doesn’t mean I can’t make it look fabulous!  A single strip of the Black Speckled washi layered with a few stickers is all it needs.

And of course, I couldn’t add a new insert to my Aztec Traveller’s Notebook without changing out the pockets to match. Pockets are one of my favourite things to decorate! I added my birdie and butterfly clips, some die cuts from the ‘Bits & Pieces’ pack and a card from the ‘3x4 Elements’ paper. I tucked a strip of the ‘Remember to Shine’ paper into the long back pocker and layered it with washi and stickers and boom! This planner makes me smile every time I open it!

Has spring finally arrived for you? Is your planner all decorated for Spring?

This Hello Summer line by Simple Stories is the most darling line and will be sure to make your pictures pop!!! I used the Hello Summer Collection Kit to create these pages and darling banner. 

These cute sticker elements look so darling popped up. I was having so much fun with this line I made multiple pages for my kids books. 

And with my left over stickers I used them to make a happy Summer Banner... 

 It was super easy and fun!!! Just string the 3x4 journaling cards and add stickers!!! 

Or if you have lots of pictures put both these pages together and make a double page spread!!! I love these colors they are so happy and fun!!! Have fun creating with this fun line!!! 

Supplies

Hello friends it’s Kylie with you all again today sharing a fun project I have been working on in my lovely Aztec Travellers Notebook, using the ‘Crafty Girl’ collection by Simple Stories. There are so many gorgeous elements to this range and I was really excited to get started with it.

Recently, my Craft Space had a complete make over so I really wanted to create a photo journal for memory keeping purposes. Using ‘Crafty Girl’ just seemed to be the perfect match for it.

The notebook that came with my Aztec TN already had a gorgeous print cover, but I decided I wanted to cover it with one of the beautiful print papers from the Crafty Girl range. I also added some of the Bits & Pieces as well as some of the Combo Cardstock stickers.

Once completed, I loved how it looked within my TN.

On the inside of the front cover I constructed a pocket.This is easily done by cutting your shape and using strong, double sided tape to the two sides and bottom.

There are some great quotes included in the Bits & Pieces which I have loved layering over different elements throughout my journal.

I have also created a fun tag to slide into my cover pocket. I used some of the Chipboard stickers from the collection which were just so cute!

Couldn’t resist creating an oversized paper clip with the Chipboard stickers too.This will be perfect as a page marker or holding my pages together.

I used many different papers throughout my journal, mostly as borders to frame my images throughout.

The 4 x 6 Horizontal elements paper was perfect for cutting apart and adding into my journal as part of the story.

I really think this collection will suit many a Crafter out there, from planning to scrapbooking and sewing. I’m sure you will love it as much as I do. My Aztec Travelers Notebook is now looking beautiful and making the perfect companion.

I hope you have enjoyed seeing my project today and it inspires you with creating your own. Until next time,

Hi there Simple Stories Fans and Friends!

Nathalie with you today to bring you  a fun and cheery layout that will surely put you in a Summer mood!  The new Simple Stories Hello Summer collection is perfect to document Summer, the colors and designs are amazing. So i had to use a bit of everything in the collection to create this page:

I was inspired by the umbrella die cut to create this page, and all i can think was paper rosettes.  So i cut strips of paper of about 12x1.5 and 12x1in to create the rosettes.

Then used the cardstock stickers as centers of the rosettes.   Once they were all ready, the  rosettes were glued to the b-side of the Sn@p basics Chestnut/white dot paper on a diagonal.

The picture was then added (lots of foam adhesive and pop dots are behind the picture) and a few clusters were created at the corners of the picture using a combination of the cardstock stickers and die cuts, the small umbrella is also featured in the cluster.

Finally i used the large chipboard word with a sticker from the 12x12 sticker combo page to form the title of this page.   To finish the page, a strip of the Life is Good paper was added to the sided of the page.

Just look at all those colors and the happiness it brings.   So ready for Summer. I hope you check the entire Hello Summer collection, it should be hitting your local scrapbook stores right now.

XO

Supplies

Hello, Planner Friends! This is Rachel, back again to share another planner project! This time, we are talking all things Memory Planning! Don’t know what Memory Planning is? Check out this awesome video series Layle put together with Scrapbook.com! I like to think of Memory Keeping as small-scale scrapbooking in your planner. I typically Memory Plan with sticky notes as the week is happening and then add the photos and decoration after the week has passed.

This weekend was a special one. My husband and I took a trip to California to meet up with his family in their desert cabin. The trip was so great. My favorite part was getting to explore Joshua Tree National Park and spending time with John’s family at their desert cabin, lovingly known as “the shack”. So when I saw the Travel Notes Collection, I knew this collection would be a perfect way to document this trip in my Memory Planner.

A memory like this calls for more space than what is available on the pages of this spiral planner. Now, I’m not one to shy away from a good “planner hack”, so I decided to trim some of the papers from the 6x8 paper pad, punch holes, cut slits in the holes, and add them to this week’s spread. Who said a spiral planner isn’t customizable? Want to know about another planner hack?  I took out the pages from September – December 2017 by cutting slits in the pages and gently removing them. Now my memory planner has just 2018 in it, which I like. Plus, this give me more room to add more pages and memorabilia into the planner when I need to.

I loved using the 4x6 and Combo stickers from this collection to embellish this page. I used the little banners to highlight my husband and his family jumping around on the rocks. Something that I always do when I travel is try to find memorabilia from places we visit. I grabbed that cute Joshua Tree sticker, and my thoughtful husband stamped the date and location on a piece of paper for me! I was so pleased to see how seamlessly these two extra details matched the Travel Notes elements on the page!

I adore the clear stickers and word strips in this collection. My photo editing skills are pretty limited, so having these clears stickers and word strips allow me to easily add some embellishments to my photos. For an added touch, I included a tab with a word strip to this page.

Can we just take a moment and talk about that adorable backpack die cut from the bits and pieces pack? Not only do I love the reference to the great Doc Brown, but I thought it went perfectly with our desert adventure! Believe me, it was quite an adventure just getting to the family cabin that first night.

Here, you can see the back of the added insert page. I added photos of the cabin and some journaling my first time there and its story. I also put some of the details of the week on the luggage tag die cut. The trip as a whole came at such a great time and was such a nice escape!

I like to vary the way I document moments in my memory planner. Sometimes I journal, other times I use a list format, while other times I use doodles and lettering or alpha stickers.

I try to pick up postcards when I travel and this one worked perfectly with the Travel Notes Collection. I decided to make an interactive element with the postcard by adding washi to one side of the postcard and the planner page. When the postcard is flipped open, you can see more journaling and photos. Having a fold out element is another easy way to add space to your memory planner without having to add to the spiral.

I hope you enjoyed taking a look at my memory planner! Be sure to check out my Instagram to see more pages from this planner. This is such a fun project and great way to get “scrappy” on a small scale and stay (relatively) up to date documenting all the memories! 

Hello everyone!!  Jackie G  here again with some fun cards to share with you!!

I can’t believe Mother’s Day just around the corner…do you have your cards ready??  This mini collection is seriously perfect for all your “mama” needs!!!! I mean, who doesn’t love cute little llamas??  Brings back some fun memories…when I was growing up, our house backed up against a large field.  Guess what was in that field...llamas!!  Lots of llamas!!  My sister and I had so much fun seeing the them daily, especially in spring when the babies were born!! So, of course I fell instantly in love with this collection the moment I saw it!! 

I was able to get a set of 4 cards out of this collection and still had scraps to spare!!

I also decorated the inside of a couple of the cards and made matching envelopes!! 

Thanks for stopping by!!  Happy Mama Day!!!!

Supplies

Hello! Jennifer on the blog to share a layout using the Crafty Girl collection!  There is so much to love about this line with the bright colors and prints as well as the fun scrappy sentiments!  Every piece in this line makes the crafter in me smile!  I  knew it would be perfect to scrap about my fun time at Creativation in 2017!  

I  opted to use wallet sized photos so I could include multiple pictures on my page!  Also, arranging my photos and embellishments in a "clothes line"  fashion allowed me to fit in extra pieces of die cuts from the Bits and Pieces pack. I  placed pop dots behind both photos and die cuts where allowed to add dimension and so my mini clothes pins would fit! 

How cute is this circle journaling die cut from the Bits and Pieces? I'm always a fan of ledger paper mixed with patterns! Underneath, I layered patterned sticker strips from the 4x6 Sticker Sheet as well as the cute paint splash Imagine Washi Tape! The 4x6 Sticker Sheets have multiple smaller shapes to accent your photos such as hearts, flowers or the "craftiness is happiness" sticker shown here!  

Each photo is matted on white cardstock to resemble a Polaroid photo.  I  then added small stickers or pieces from the 

6x12 Chipboard.   One of my favorite die cuts is the washi tape rolls! I  included them as a piece on the "banner" along with the adorable tag you see here! 


​Thank you for visiting the blog today!  Check out the entire Crafty Girl collection by visiting the Products page! And be sure to see  the newest releases too!  Have a great day!

Mother's Day is just around the corner. What can be more perfect than to use the Mama Llama collection for my planner set up?
Sometimes the best way to thank our moms is with a simple and heartfelt message.
"Out of all the Mamas in the world...I'm so glad you're mine" the perfect quote to use to put my gratitude into words.
 How can I not use the Llamas in my dashboard. They are super adorable, don't you agree?
 I fussy cut the Mama Llama, baby Llama and the cactus from the 4x6 journaling cards elements. I inked the edges of the llamas blue to have them stand out more. I then added small flowers for the finishing touch. Its simple but beautiful at the same time.
 The small pearls that surround the quote makes it more elegant. I added some embellishments from my stash to achieve the look I wanted. I really love how it turned out.
No bits & pieces in this collection to use to stuff your planner pockets? No prob-llama. I used the 3x4 journaling card elements to decorate my planner pockets. I fussy cut 2 more Llamas to turn them into die cuts. 
I used mainly the stickers that came with the Mama Llama collection for my Monthly layout. The stickers are simple yet fun way to decorate your layout. 
 I also love using the new numbers sticker tablet. I decided to use the peach color to match the stickers well.
 The pastel colors in this collection gives my layout more of the soft image. 

I hope you enjoyed viewing my planner set up. Happy Mother's Day to My Mom and to all the Moms out there. Thank you for all that you do. 

Supplies

What's almost as adorable as a new baby?  The new Oh Baby collection of course! I love the soft colors in this line so I knew the papers and embellishments would be precious for documenting my grand-daughter's story.

One of the things I love about Oh Baby! is that in addition to the main 12x12 papers, element cards, and stickers that come in the collection kit, there are two coordinating simple sets that you can add on.  The cute 3x4 card below came from the Oh Baby! Expecting simple set.  


I wondered if I would mind the mixture of pinks and blues for a neutral baby collection, but I absolutely love it!  You can easily use Oh Baby for girl or boy projects!
The 6x8 paper pad is wonderful.  It includes sheets like the one shown above for journaling, and some that have adorable phrases like the one pictured below.
 
Thanks so much for stopping by the blog today and taking a peek into my granddaughter's album!  I can't wait to finish filling it up with photos of her first year.   Here is a list of products I used in this project.

Supplies

Hello hello, Iris Fox here with a layout that I've been wanting to create since joining the 2018 Creative Team. When I saw the Crafty Girl collection, I knew it was perfect to scrap the team announcement photo with all these amazing crafty girls that I would be joining.  Of course, I wanted to put ALL THE THINGS from this collection on a page because it's all so colorful and fun!

I started with white cardstock for my background, and cut strips of papers from the 6x8 Pad for layers.  (I probably say this every time, but I'm SO IN LOVE with the scale of the patterns in those 6x8 pads!) I also used one of The Cut Shoppe's cut files to make a heart that's hiding behind the girl chipboard.  I looks a bit like a fan, and I like that it adds another layer on interest.

I had so much fun picking out cute icons that feel like "me" from the Chipboard and Sticker sheets. The size of the 4x6 Stickers are great to fill the nooks and crannies of the clusters, and to scatter around the page.

One of my favorite things to do is add what I call a peek-a-boo corner, which is when you fold over the paper and have another behind it.  So I did that in the top corner, and also tore and folded a piece on the right side.  That colorful plaid peeking out is my favorite paper in the collection. 

I can barely make a layout these days without adding some stitching.  In addition to some white stitches, I was inspired by the x's on the orange tab to stitch grey x's on the folds. (I also stitched over the printed x's on the that tab)  The finishing touches to round out my favorite types of embellishments are a doily, some white enamel dots, and soft grey ink splatters.

There is so much more I want to do with the Crafty Girl collection.  It's just perfect for documenting our passion for scrapbooking!

Supplies

Happy (inter)National Scrapbook Day!   We’re thrilled to participate in the worldwide celebration, focusing on all things scrapooking & paper crafting!  In honor of this super fun day, we have lots of awesome surprises for you, including a sale, freebies and give aways! 

To get the party started, today only, your entire purchase from our Digital Store is 50% off! 


With ALL of your favorite Simple Stories collections in digital format, including our newly released collections like Oh, Baby! and Hello Summer, you’re sure to find just what you need for all of your digital crafting needs.  Visit our Digital Store and enter code NSD2018 during checkout!

_____________________________________

Today’s celebration also brings this super cute set of Crafty Girl FREE printables! 

Designed for use in your Carpe Diem planner pockets, your SN@P! Pocket Pages and your other scrapbooking & paper crafting projects – you’re going to love the cool & crafty designs! 

You'll find the free printables here on our website, along with LOTS more!

We'd love to see how you're using these free printables in your planners, projects & pages, so be sure to snap a pic and tag your Instagram or Facebook posts with the hashtag #SSfreeprintables!

_____________________________________

We have not one, but TWO different giveaways taking place over on social media today!

First, head over to our Facebook page here and enter for a chance to win one of these 3 Crafty Girl prize packs!

Last, but certainly not least, we're partnered with our friends at Lifeprint to GIVE AWAY one of their amazing Lifeprint 3x4.5 Hyperphoto Printers for iPhone!  Head on over to our Instagram account here, find the GIVEAWAY post with the photo you see below, see how it prints photos WITH embedded video and enter to win one of your very own!  These little pocket printers are amazing and bring a whole new level of awesome to your scrapbooking!  Even better Lifeprint has given us a 20% off your purchase coupon to share with you, just enter code #FRIENDS during checkout here on their website!

Thanks for celebrating (inter)National Scrapbook Day with Simple Stories, we hope you have a super, crafty, creative day!

Hello creative hearts! Welcome back to the Simple Stories blog. Leah here with you today showing you a new traveler’s notebook insert I’ve set up to document some of my 2018 travels. I am currently using and loving the Travel Notes collection. This collection truly embodies a love for traveling and adventure, which is the heart of why I fell in love with traveler’s notebooks to begin with. I love having a journal that I can bring with me on my travels and document the stories I want to remember.

My husband supports my love for crafting and memory-keeping, but it’s probably fair to say he doesn’t quite “get” the obsession. I’ve chattered excitedly about a new project to him before and bless his heart, he tries to act interested, but crafting just isn’t his thing which I understand. However, you can imagine my excitement when I told him about a new project I wanted to start and actually seemed genuinely intrigued.

We love visiting new places and traveling together, even though we don’t get to do it as often as we like. One of our favorite parts about traveling is experiencing the food and craft beer culture the area has to offer. Living in VA, there is no shortage of craft breweries popping up all over our state. We’ve found a lot of joy in taking weekend trips here and there to visit them. I decided to start a new insert in my traveler’s notebook specifically for documenting those trips.

I love how this cover turned out! I used my favorite 12x12 paper from the Travel Notes collection to create the cover itself. The tag that says “Adventure” was cut from one of the 4x6 Travel Notes SN@P! cards. I used the 6x8 paper pad to tear strips of different colored patterned papers to layer at the top and bottom of the tag. I layered a few stickers over the paper strips, trying to keep colors grouped together so I could keep the rainbow effect I was going for without feeling like the layout was getting too busy.

It was important to me to make this notebook very portable so I added pockets inside of the front and back covers for holding stickers and journaling cards to decorate with. The Simple Stories SN@P! Cards are amazing for giving you easy, portable options for decorating and journaling on-the-go. I can also tuck   photos and ephemera collected on our travels into these pockets for safekeeping until I’m able to sit down to create a layout.

It’s exciting to have a new creative project that I can involve my husband in a little more. Breweries often have stickers that he enjoys collecting for me when we visit so I can add them to the journal. It’s like collecting stickers for a passport. I plan to add the stickers, along with photos from the trip and notes about our experience and our favorite beers.

Have you picked up the Travel Notes collection yet? If you love traveling, it’s a must have! You can follow along with my travels and see other ways I’m using my traveler’s notebooks and planners over on my Instagram. Check out lots more inspiration using the Travel Notes collection on the Simple Stories and Carpe Diem Planners Instagram accounts. Until next time, happy crafting friends!

Pages