Jennifer McMurtrey's Blog Posts

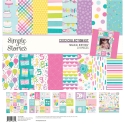
Hello friends! It’s Jen today with a new layout using the bright, whimsical Magical Birthday collection. I have to say that I love absolutely everything about this collection – from the patterned papers to the stickers to the die cuts – it is all adorable.

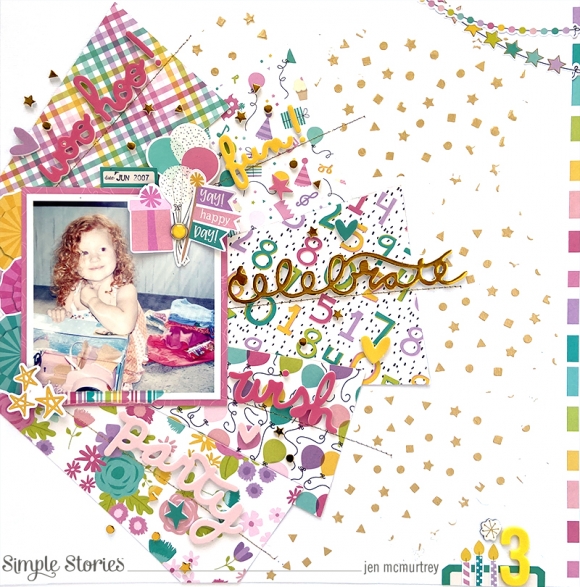
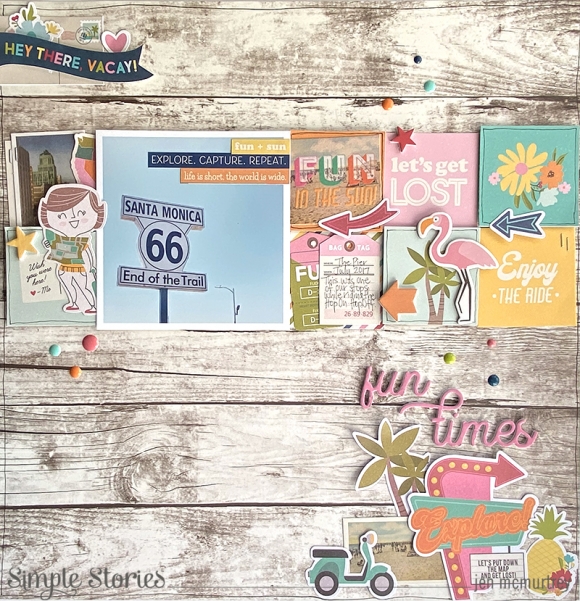
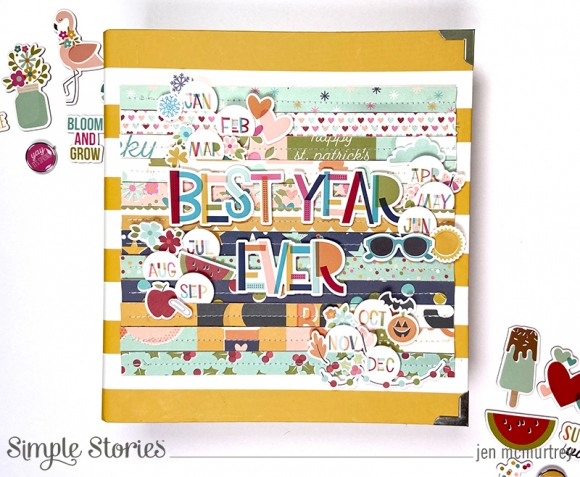
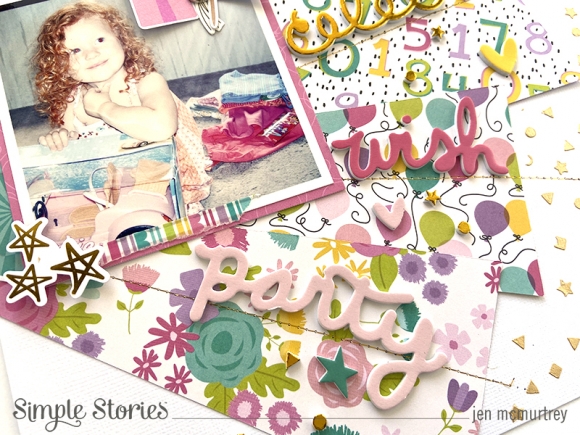
There are so many cute elements included with Magical Birthday, that I had a difficult time not using more embellishments! I began the project by selecting several patterned papers and cutting them into shapes similar to a sunburst. I love the wow factor created by the vibrant patterns against the white cardstock.

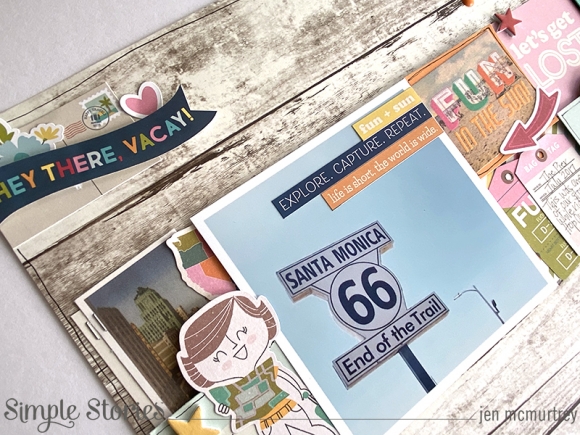
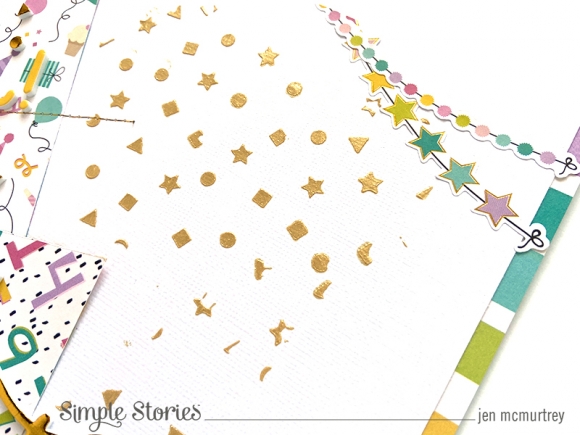
To add even more of an impact, I machine-stitched down the middle of each patterned paper with gold thread. To fill in the white space surrounding the papers, I used the Magical Birthday stencil with gold molding paste and added a strip of patterned paper along the right edge for balance. The extra bit of bling looks amazing!

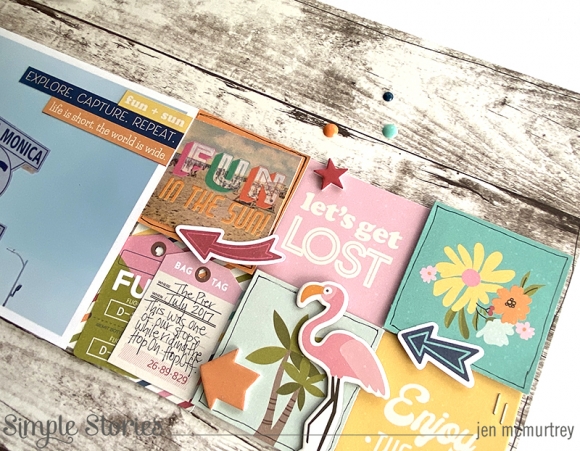
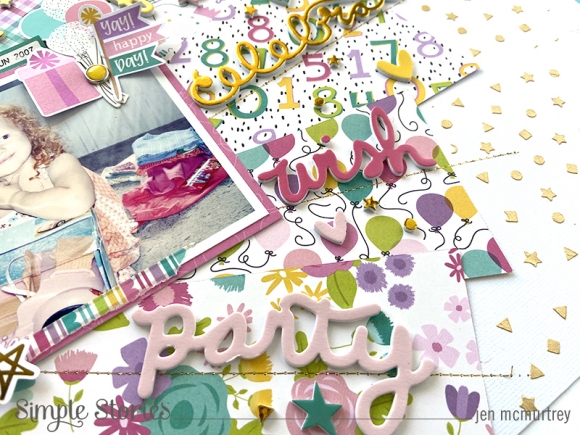
My photo was backed by pink patterned paper and adhere atop the bursts that I stitched to the cardstock. Next, I set about embellishing the project using the accompanying Foam Stickers, Bits & Pieces, Chipboard Stickers, Journal Bits, and 4 x 6 stickers.

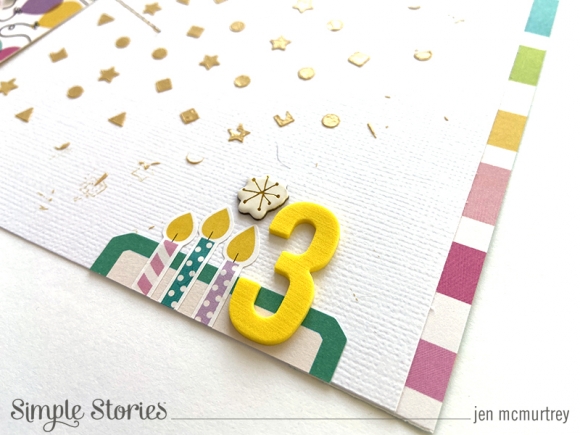
In the bottom-right corner of the layout, added some stickers along with the number “3” to document my daughter’s age at the time of this birthday.

I just love all of the bright colors in this layout!

I hope this project using the Magical Birthday collection has inspired you to document all those sweet birthdays and memories in your life. Thank you so much for stopping by today

Supplies

Hello Simple Stories friends! It’s Jen today with a project that has me dreaming of vacation, and what better way to those document special trips than with the Going Places Collection. I have to admit that I’ve been in a bit of a creative funk lately. Whenever this happens, I look through layouts that I have made in the past as a source of inspiration. Today’s project is actually one that I lifted from myself!

The Going Places Collection is great for any travel-themed project you may be working on. While this layout documents a trip to California in 2017, I also have plans for using the collection again for one of our trips to Mount Rainier. The possibilities are endless!

After printing my photo, I cut 2” x 2” squares from a piece of patterned paper and aligned them all in a row across the page.

On each of the squares, I either added embellishments or doodled a border around the outer edges. I love adding all of the fun bits and pieces to the squares – they look so cute! This is also where I added a bit of journaling by fussy cutting tags from patterned paper. They were the perfect size!

Above and below the photos, I created clusters of embellishments to create a visual line that runs diagonally from the top of the layout to the bottom. To complete the project, I added a title using the foam stickers along with enamel dots for pops of color.

Lastly, I hand doodled a border around the entire project to tie in with the doodles on the smaller squares.

I love the whimsical feel of this project and can’t wait to create another with this fun collection.

Thank you so much for visiting today.

Supplies

Hello Simple Stories friends! It’s Jen today with a peek inside my 2020 Best Year Ever SN@P! Album. The Best Year Ever Collection is one that I quickly fell in love with – there are so many fun, bright elements that I could not wait to get my hands on. In keeping with the colorful theme of the collection, I decided to use the Yellow Stripe 6 x 8 Designer Binder with an eclectic cover that I created using the tear strips from each month’s patterned paper.

To make the cover, I sewed each of the tear strips to a piece of cardstock that I glued to the cover of the album. The title and stickers came from the Combo Stickers included with the collection and the 4 x 6 Sticker Book. I can honestly say that never have I ever used so many stickers!

One of my favorites from the collections is the stamps. Inside the cover, I created a title page using a piece of transparency paper cut to size. Rather than stamp one month at a time, I placed all of them on my Tim Holtz Stamp Platform and stamped in one simple step. Once the ink was dry, I machine stitched a border around them and placed the sticker sentiments above and below. I did place white cardstock behind the page so it is easier to see in the photo.

Next, I created a couple of inserts to add variety to the album. For the first insert, I used the packaging from the Collection Kit and cut a strip that includes each of the monthly patterns for January thought June. I embellished this with stickers that correspond with each of the months.

For the next insert, I used the January patterned paper with a SNAP Card. I kept the embellishments light on this one with a just a few stickers.

The first January page uses a bit of paint and ink with the stamps and Speckle Dot Stencil. First, I added the blue paint to white cardstock, went over that with green ink using the stencil, and finally stamped down the page.

For added texture, I machine stitched around the border of the page before adding the photo and embellishments.

The last spread for January continues the photos from the previous page and tells their story.

Using the Simple Stories Snowflakes Cut File (310106) available on the Silhouette Design Store website, I cut several and layered them behind the photo. This page is very simple with just the foam stick sentiment across the top of the picture.

Lastly, I used a pocket page to hold my photos and journaling, which I embellished with stickers, and enamel dot, and a remnant of a snowflake used on the previous page.

Thank you so much for visiting today. I hope you are inspired to record your memories using the Best Year Ever Collection – it really is the best.

Supplies

Pages