Jennifer McMurtrey's Blog Posts

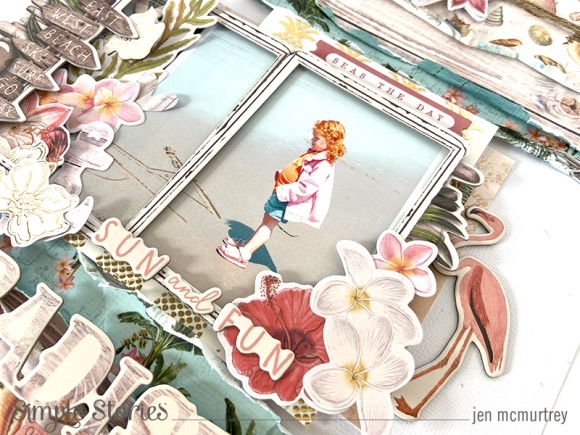
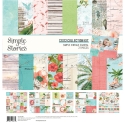
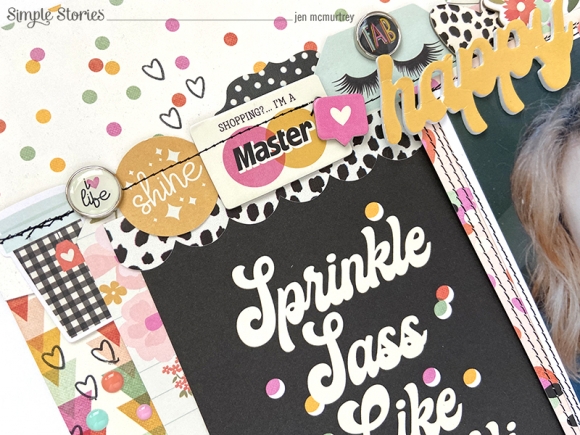
Hey everyone! It’s Jen today with a layout using the fun, new Kate & Ash collection. I cannot even begin to tell you how much I love these papers and embellishments . . . they are the perfect mix of sass mixed with tons of inspiring sayings! Let’s take a look at what I created.

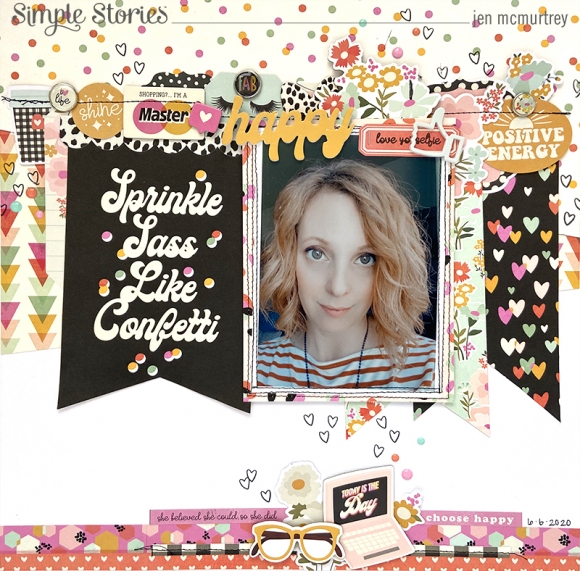
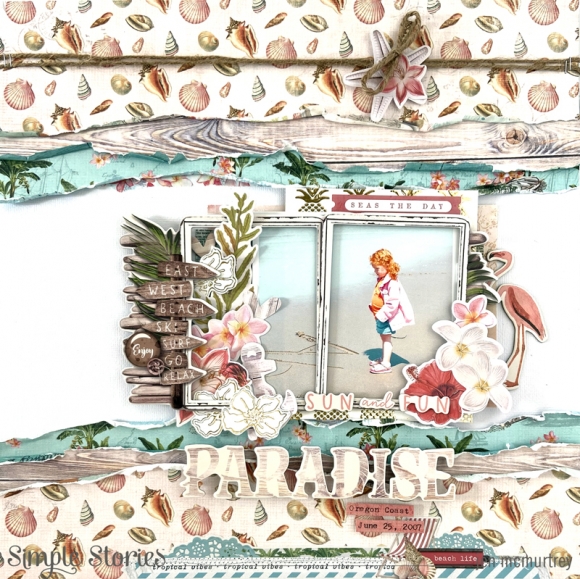
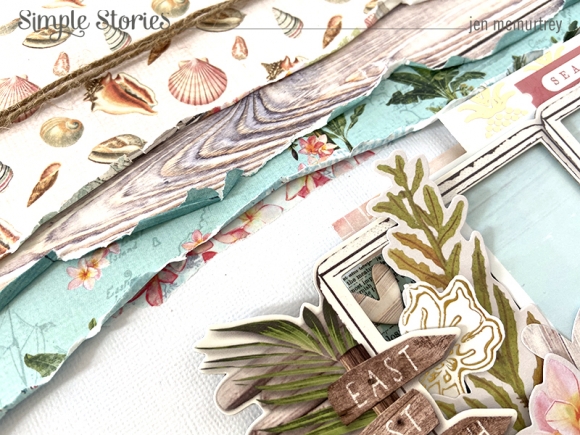
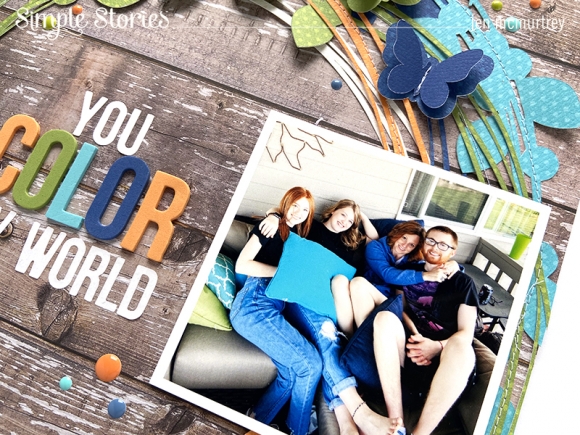
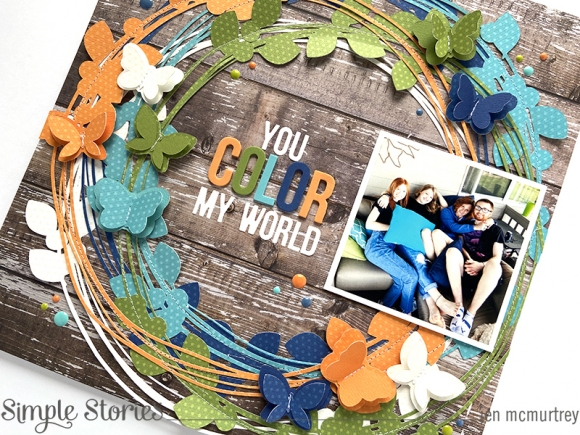
For this project, I selected the elements that I feel best describe me today. I began by layering patterned papers that I cut on an angle and adhered to white cardstock. My goal was to create a banner that includes my photo with tons of embellishments.

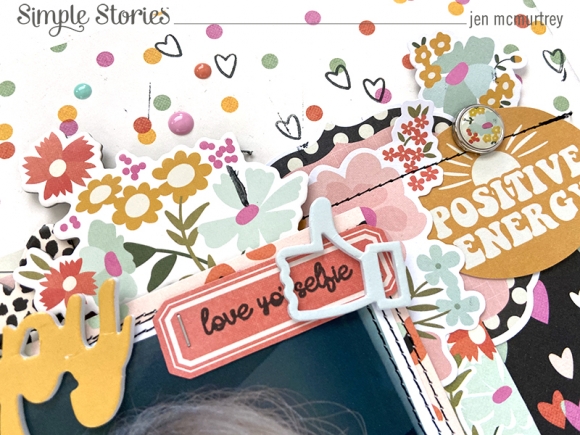
There are so many fun elements in this collection that I had a difficult time narrowing down what I wanted to use.

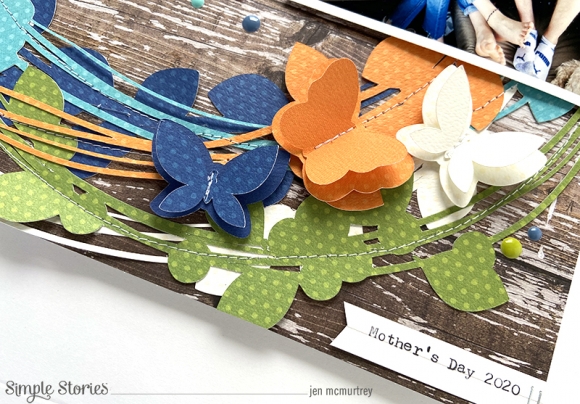
To give the banner more texture, I machine stitched everything in place as well as around the border of my photo and along the bottom of the layout.

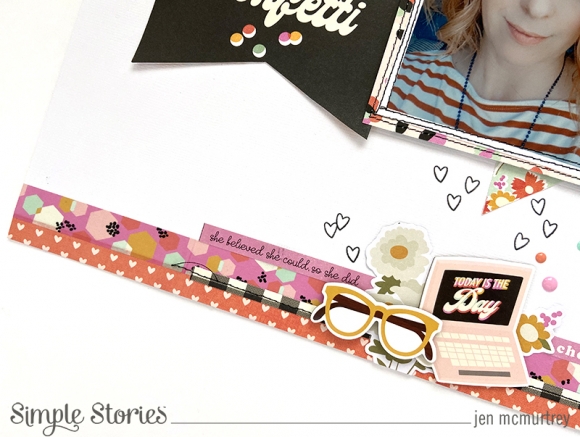
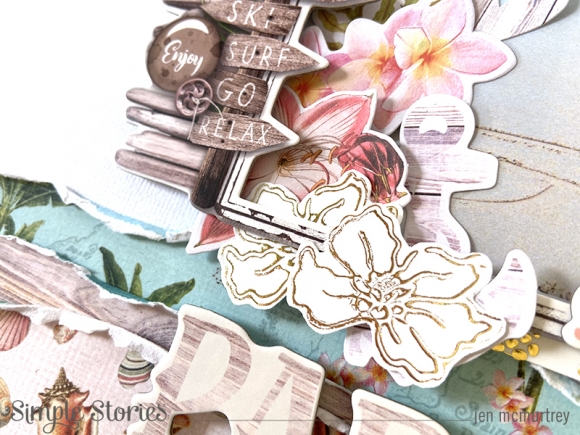
Once I was done with the stitching, I added more of the chipboard, die cuts, and stickers to the banner and on the bottom edge of my project. While the majority of the embellishments lay on the banner, I wanted to be sure to add balance by adding a few elements below it as well.

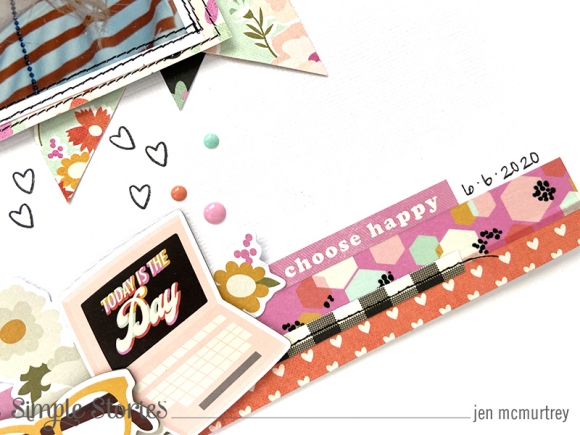
To complete the layout, I added enamel dots and stamped hearts throughout before placing the simple title above the photo using a foam sticker. This project is so fun and each of the elements truly represents my personality, and I cannot wait to create again with this amazing collection. Thank you so much for stopping by today!

Supplies

Hello Simple Stories friends! It’s Jen today with a new project using the beautiful Simple Vintage Coastal collection.

This layout has a lot of texture beginning with the layered papers. To create this look, I tore several of the patterned papers and adhered them in layers to white cardstock. There is also a bit of washi tape in the layers that I tore in half to create the same edge as the papers. Once I had everything in place, I simply cut the excess edges off with scissors.

Next, I used the stamps and pineapple stencil with acrylic gel medium and my laminator to create gold foiled accents. First was the pineapple stencil, which is placed behind the photo. To achieve this effect, I used the stencil with the acrylic gel, let it dry, and sent it through the laminator with gold foil. It wasn’t until recently that I knew this was even possible! I love how it turned out and will definitely be using this technique in the future.

Continuing with the foiling method, I applied gel medium to the floral stamp and stamped several images onto smooth white cardstock. Once dried, they were sent through the laminator with gold foil. I fussy cut the flowers and used them with the other embellishments around the frame.

With my papers and photo in place, I began layering embellishments beginning with the layered frame. No matter that it was intended to be used with two photos . . . I used this spot to add tons of die cuts, stickers, and chipboard.

I continued the cluster of embellishments on the right side of the frame.

Below the frame, I added the chipboard title and typed the place and date on patterned paper that I cut into strips and adhered with foam squares. To finish it all off, I wrapped twine around the top of the page and stapled it in place and added a sticker along the bottom border.

Thank you so much for stopping by today, and I hope you are inspired to create.

Supplies

Hello friends! It’s Jen today with a new layout using the amazing new Color Vibe papers and alphas. I can’t even with how amazing the textured cardstock is – pair that with the accompanying alpha stickers and you have just what you need to create beautiful projects.

For this layout, I pulled colors from the Basics, Bolds, and Brights papers to match the colors in my photo along with the Simple Stories Wreath (214849) and Butterflies (58850) cut files from the Silhouette Design Store. With only a few pieces of paper and some stickers, I was able to create a project with a lot of impact.

Once I had determined which colored cardstock to use, I began cutting wreaths from each piece. One of my favorite parts about the textured cardstock is that one side is plain while the other has polka dots, which is what I used on this project.

To keep everything from disappearing into the background, I used the Cedar woodgrain patterned paper from my SN@P! Basic papers. Choosing the dark background really makes the bright colors pop.

With all of the wreaths cut, I set about machine stitching them onto the patterned paper. Doing this allowed me to fold the leaves up and added just the right amount of texture.

The butterflies were cut next using the scraps from the same papers I used to cut the wreaths. To give them a bit of variety, I stitched the opposite sides together and then folded the wings upward. These were adhered to the wreath using foam squares.

When placing my photo, I chose not to back it or use embellishments since the wreaths and butterflies are already so prominent – I didn’t want it to get too busy.

Next was the title, and I used the foam alpha stickers in coordinating colors with the Alpha Sticker Book – Basics.

In the bottom-right corner of the layout, I used the tear strip from the woodgrain paper and my manual typewriter to note the occasion and date. A few enamel dots from my Simple Stories stash completed the project.

Here’s one more look at the finished layout.

If you haven’t picked up the Color Vibe patterned papers and alpha stickers yet, be sure to do so. The possibilities are endless and they coordinate with the other Simple Stories collections beautifully. Thank you so much for stopping by today, and I hope you are inspired to create.

Supplies

Pages