Floral Weekly Planner Spreads
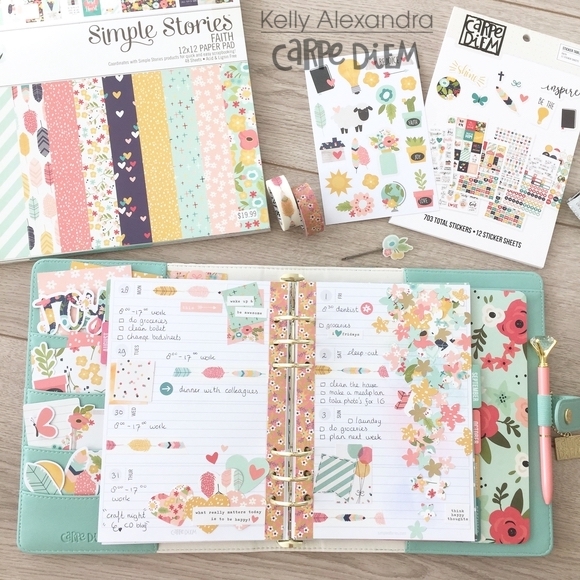
Hi everyone, it’s Kelly here and today I want to show you last month’s setup in my planner using a fun floral theme. My design team box full with new Carpe Diem Planner goodies came and when I saw the new A5 ‘Cream Blossom’ planner I was instantly in love. The floral pattern on the outside is amazing and I decided to move my August planner pages from my Blush planner to this new one.
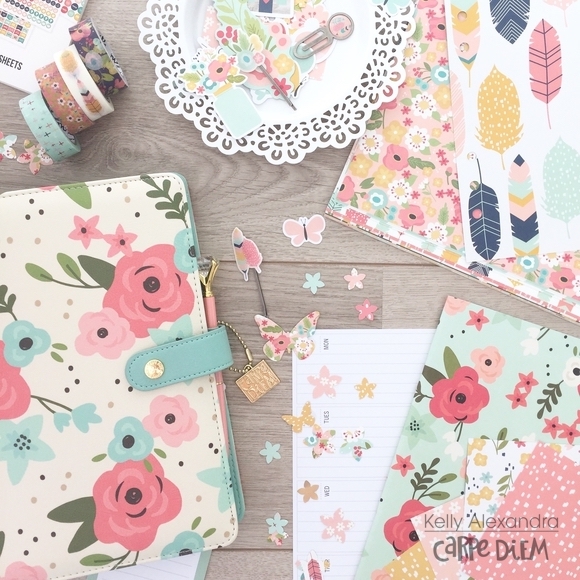
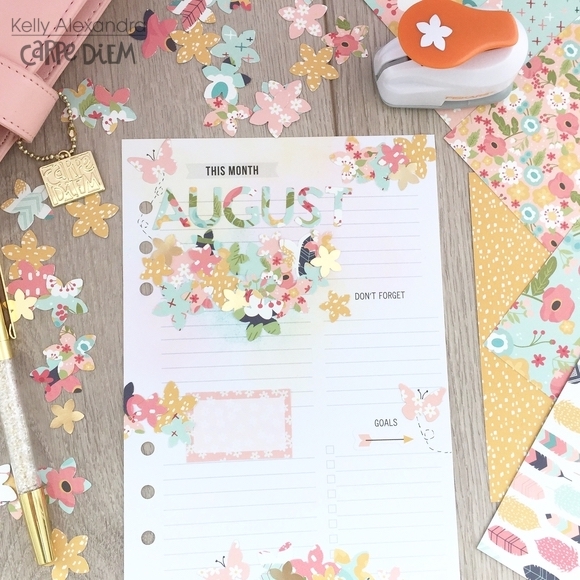
This month I started by decorating the ‘This Month’ page. I bought a new set of floral punches and had to use them on the gorgeous scrapbook papers from the ‘Faith’ collection. I punched a LOT of flowers and decorated the page leaving enough room to write down my monthly goals and important appointments later.
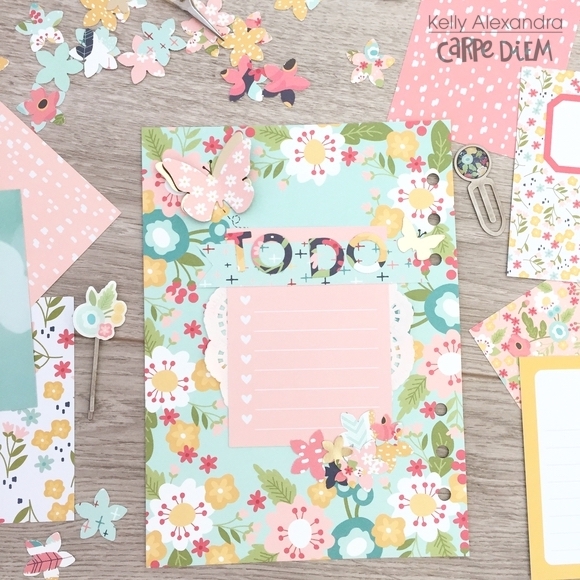
I created a fun extra ‘To Do’ page by punching holes in one of the papers from the 6x8 paper pad, and decorated it with a notecard and some more flowers and diecut butterflies. Because who doesn’t love butterflies, right?
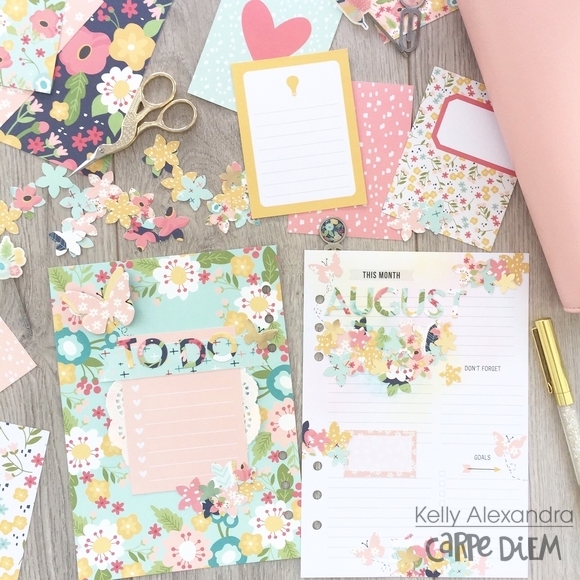
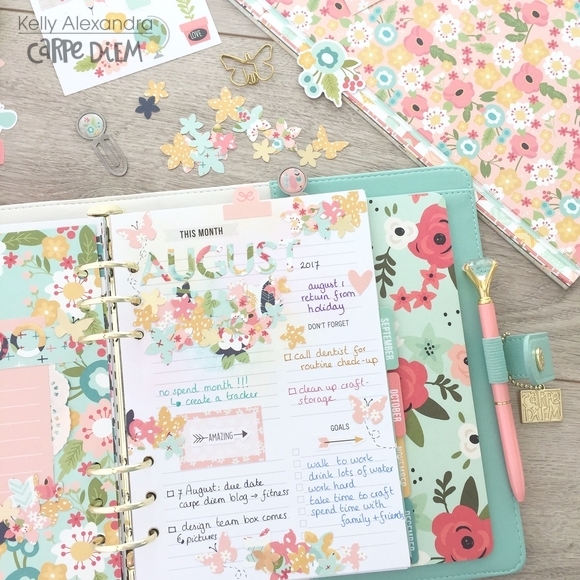
Now it is time to fill in some important due dates, goals and ofcourse to do’s. I normally only write with black or blue ballpoint pens, but I thought let’s switch it up a little and use some colored pens to make it even more colorful.
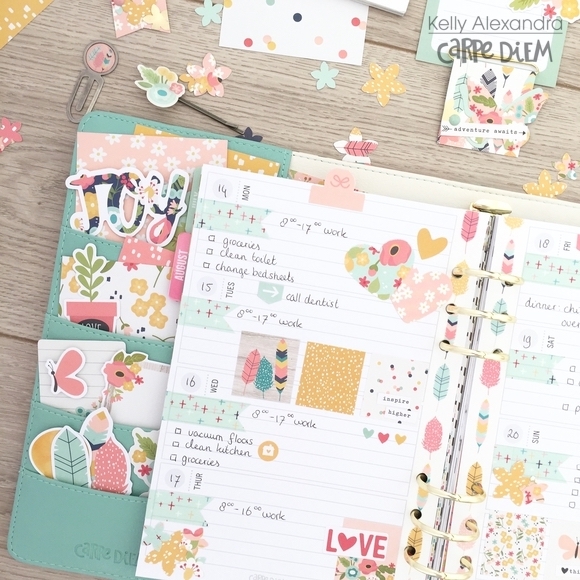
I tucked in a few of the notecards and decorative pieces from the ‘Faith’ collection in the planner pockets.
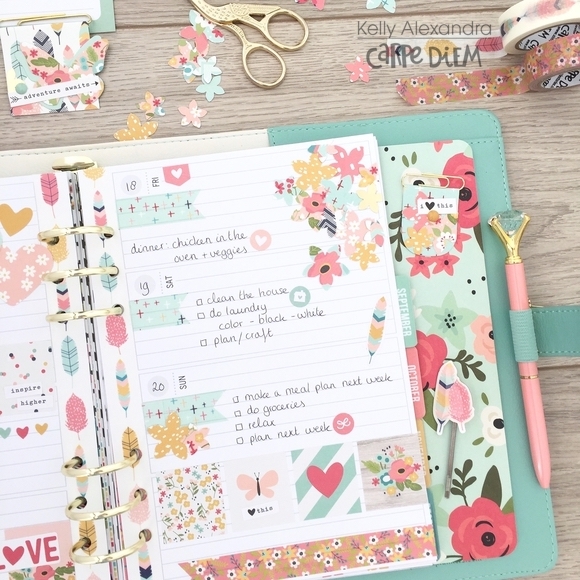
When decorating my weekly spreads, I always start by putting a washitape border over the holes and repunching the holes using the Carpe Diem punch. Next, I write in the weekday numbers and start decorating by using more washitape, stickers and decorative bits. After the page is fully decorated I fill in my to do’s for the day with a black ballpoint pen.
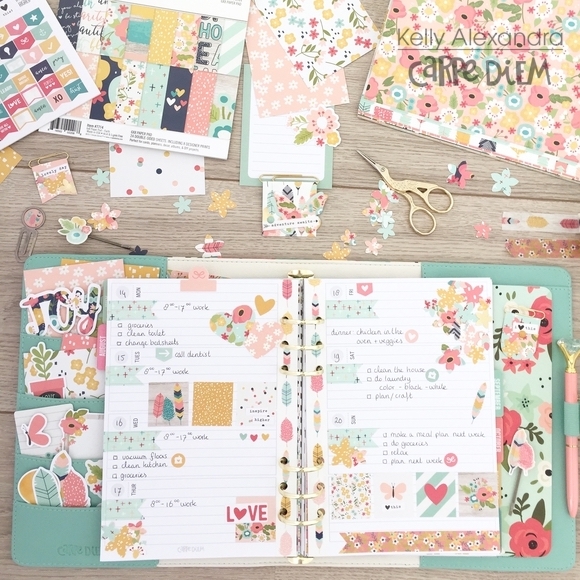
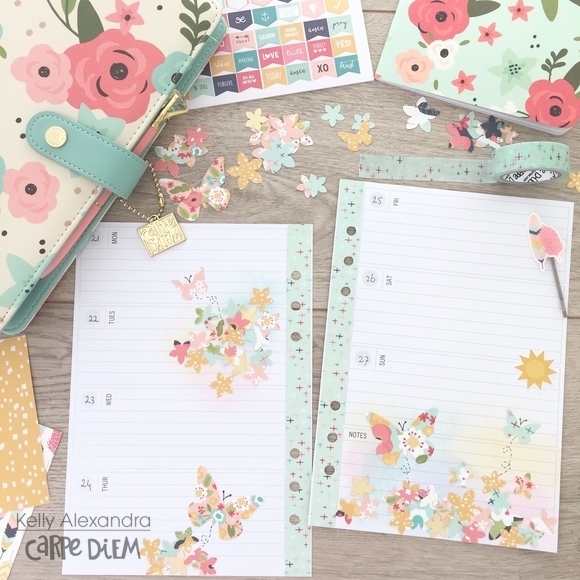
As you may have noticed, this entire month I used the same scrapbook collection and same little punched flowers in my planner spreads. Underneath the flowers I used a few colors of distress ink and applied them with a blending tool (I am not a mixed media expert, but I love the little extra color on the page).
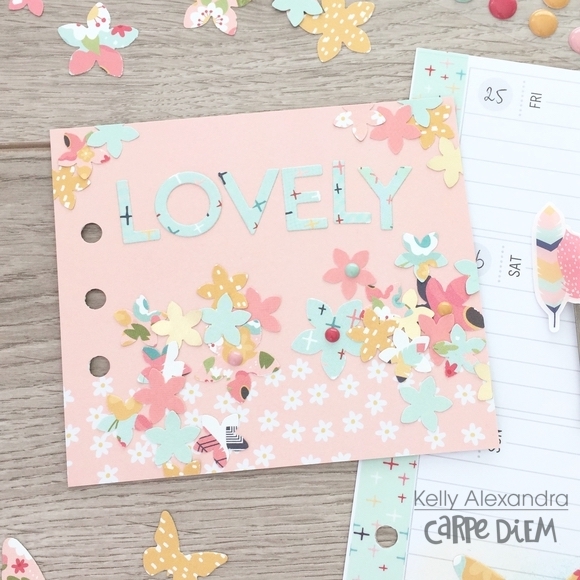
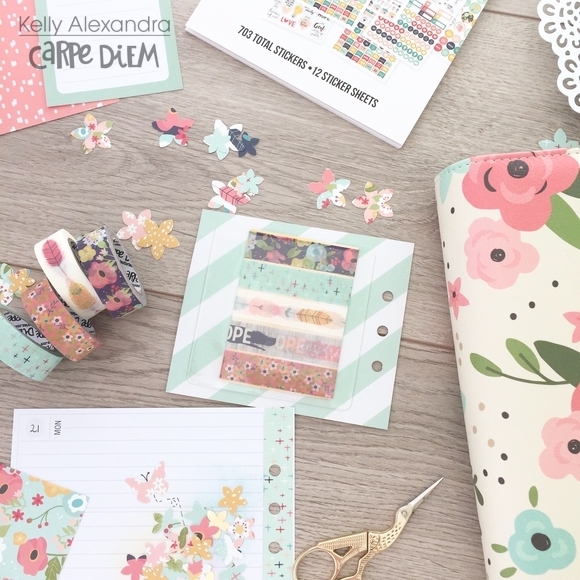
Here I have made a fun little extra insert using a light pink 4x6 card. I punched three holes and decorated it with some more punched floral pieces, a few enamel dots and the diecut word ‘Lovely’. On the back, I adhered a clear pocket and tucked in a washi sample card.
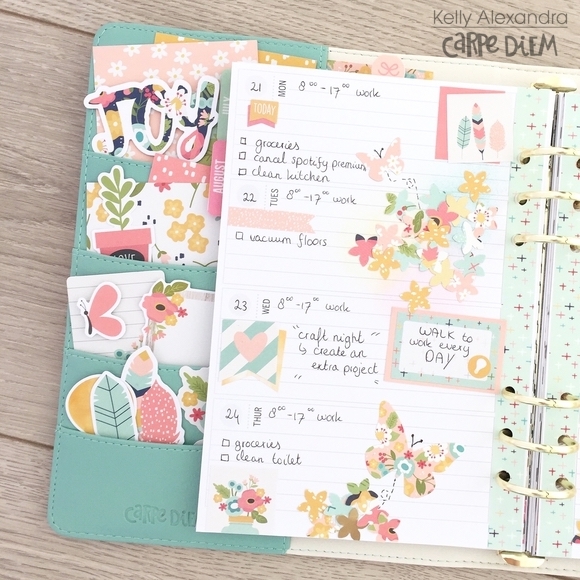
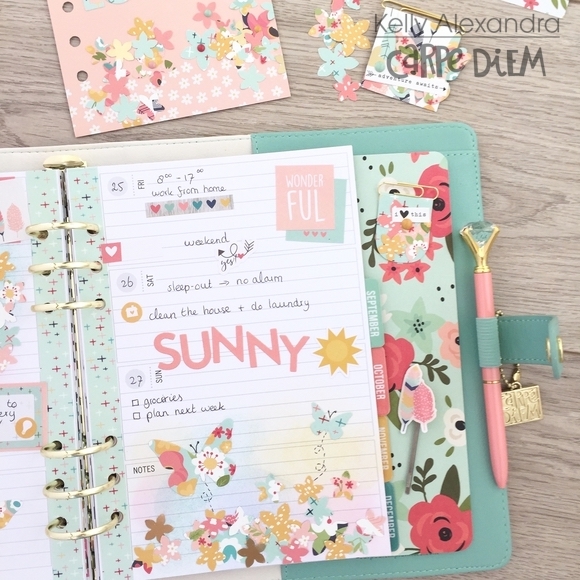
Besides the punched floral pieces I also made a few diecut butterflies that match the theme of the month. I finished these pages with some layered box and icon stickers.
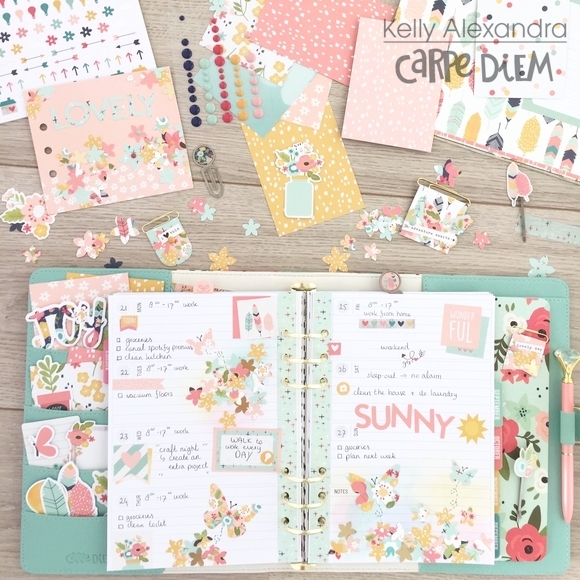
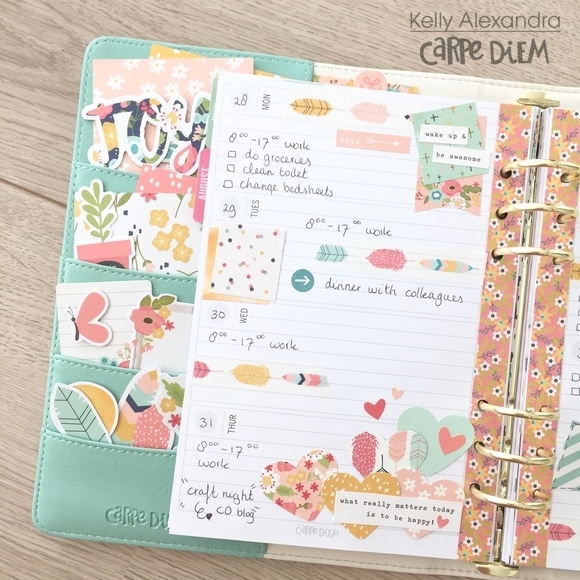
I usually leave some empty space in my pages to write down some memories or last minute (urgent) to do’s.
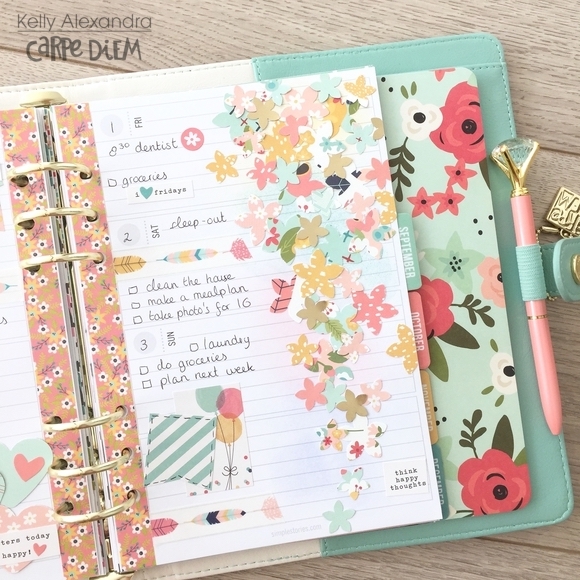
For the last weekly spread I thought it would be fun to cluster a lot of punched floral pieces on the right side. It turned out quite busy but I love looking at it!
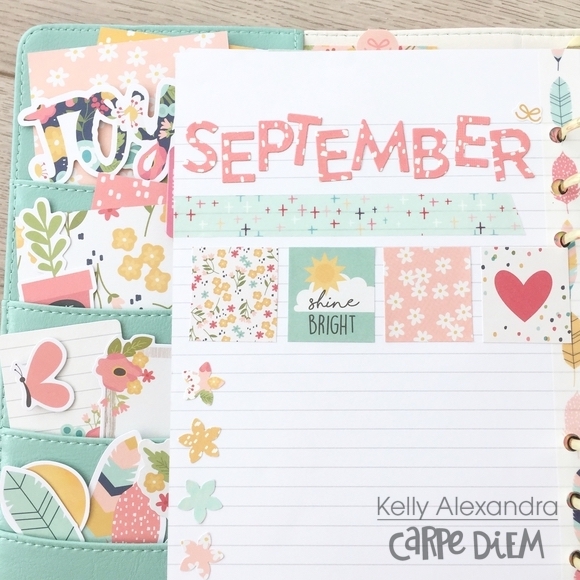
On the back of the last weekly insert page there was a blank notes page. I decorated the page with the word ‘September’, some washitape and box stickers. On this page I can write down things and appointments I need to remember in September!
I hope you enjoyed reading this blog about my August planner pages and it got you inspired to use your scrapbook papers to decorate your own planner.
Have a nice day and for more inspiration you can look through my planner Instagram account: createplannernl (https://www.instagram.com/createplannernl).
7987 Bloom travelers notebook inserts

