Caution Teen Inside! By Maria Celeste Gonzalo!
Hi everybody! So happy to be here today! I'm Celes from GuiadeManualidades.com and today we are going to create with a wonderful collection: Bro & Co. The lovely teenage boys of the house will have their own mini album to put all favorite photos and memories. This project has a box for the mini album and to keep memories in an easy way for them. Let’s get started!
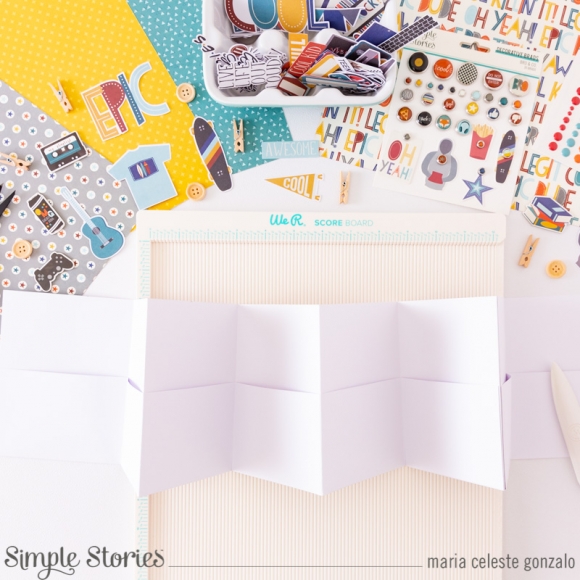
Mini Album Structure: for making it you have to cut 1 piece of white cardstock paper of 36” w x 9" h. Then you have to score it (wide) in 4 1/2“, 9", 13 1/2“, 18", 22 1/2“, 27", 31 1/2”. Turn your paper and score it in 3”. If you need to cut two pieces of paper to get the 36”, remember to add an extra 1 1/2” so you can glue them together.
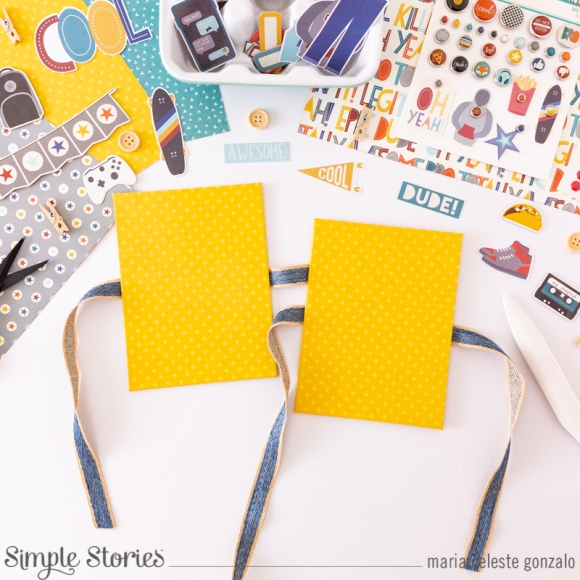
Then, you need to cut two pieces of stable cardboard of 4 5/8“ w x 6 1/8“ h. Use one of the papers of the collection kit to cover them and choose a ribbon. Glue a piece of ribbon on each cover.
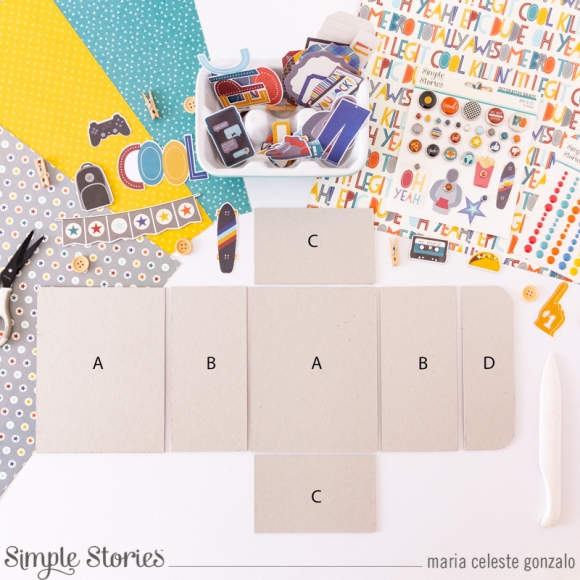
Box Structure: for making this box you need seven pieces of stable cardboard. Pieces: A- cut two pieces of 5“ w x 6 1/2“ h, B- cut two pieces of 3“ w x 6 1/2“ h, C- cut two pieces of 3“ w x 4 3/4“ h, D- cut one piece of 2“ w x 6 1/2“ h (round two corners if you like). Get a pair of magnets for the box.
You need to choose 4 design papers from the collection kit (3 for the outside of the box and 1 for the interior of the box).
Outside of the box: use the first design paper to cover one piece of A, B and D (left extra paper at the end). Another one to cover one piece of B (remember to add one magnet and left extra paper at one high side) and two of C (left extra paper at both wide sides). And a third one to cover the last piece of A. Let all of them dry off.
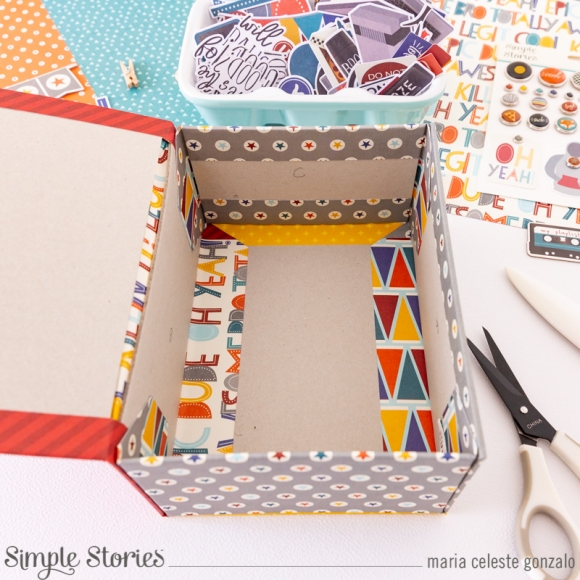
Once all pieces have dry off, glue them together to make the box. Use the last design paper to cover all the interior of the box (remember to add the magnet to piece D before cover the interior, so you can close the box in the correct way)
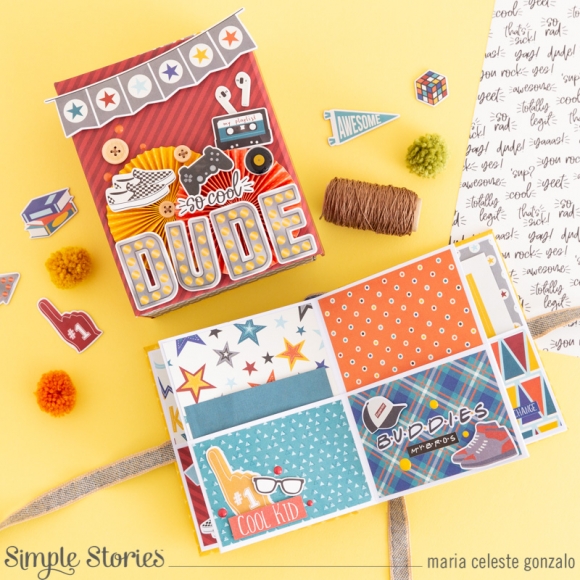
Interior Structure: this mini album has two sides. The first one if full of pockets (8 pages) and, when you their it around, you will 6 pages for photos and embellishments ( you have six pages because you have to glue the interior structure to the covers using this side) As you can see, I used two design papers to decorate each page. You can cut 8 papers of 4 1/4“ w x 3 1/2“ h and 8 papers of 4 1/4“ w x 2 2/8“ h.
For the other side of the album you can cut 6 papers of 4 1/4“ w x 5 5/8“ h. To decorate each page use all you have. Die cuts, stickers, chipboards, enamels dots, washi tapes and much more!

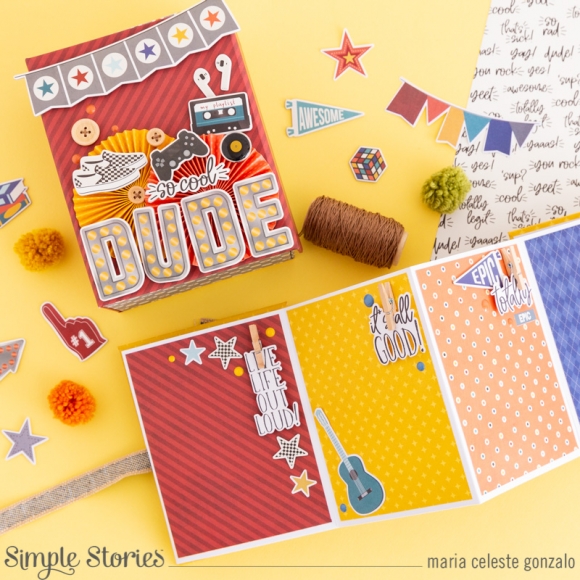
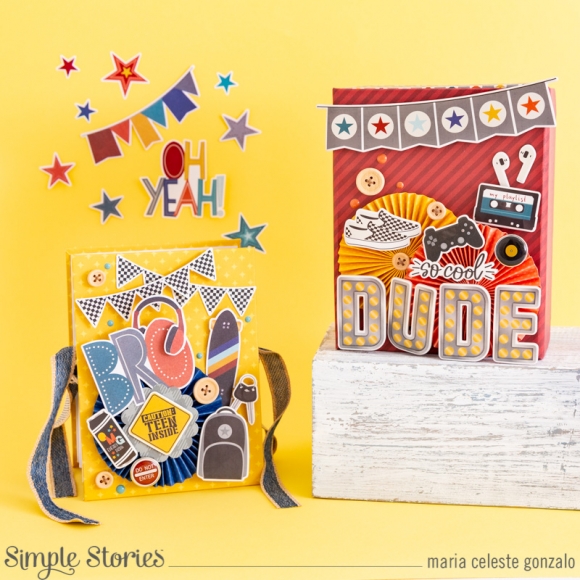
Covers: this project has two covers. One for the box and one for the album. You can coordinate the design of both of them.
In my case I prepared 3 paper rosettes using the Color Vibe “Bolds” collection kit. I chose 3 papers and cut 2 strips of 1 1/2” w x 12” h of each color and scored them every 1/4”. Then, I used all I had to decorate… die cuts, stickers, chipboards, enamels dots, brads, washi tapes… Love to play with all of them!
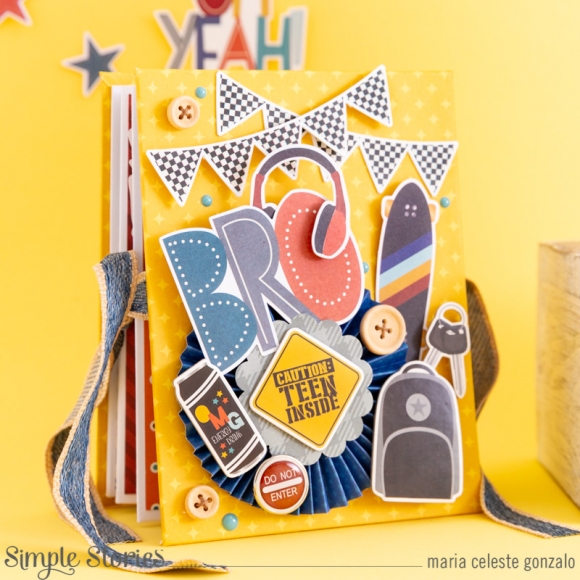
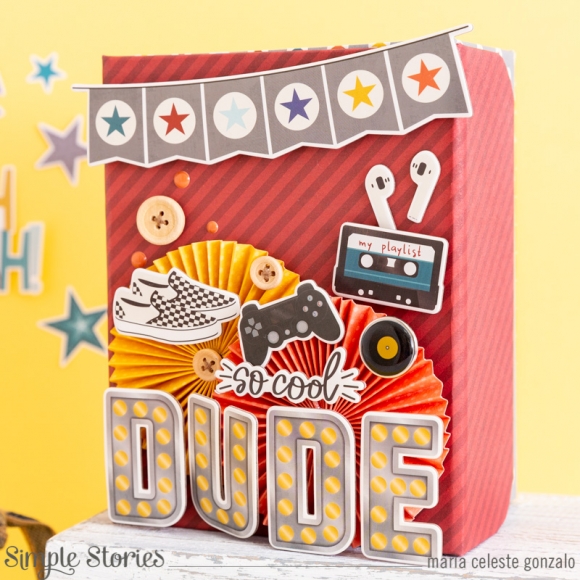
As you can see, this mini album has a lot of space for pictures and to keep special memories. And having a box is an extra that teenagers will love.
I hope you like this idea! Have a great week!

