April 2017 Blog Posts

Hey everyone! It’s Lori, and I’m back on the blog sharing more behind-the-scenes from the CHA/Creativation show. Today it’s all about our magical Carpe Diem Say Cheese products!

The Say Cheese Carpe Diem collection brings a smile to everyone’s face! Filled with gorgeous, bright colors, these products are bold, fun and happy!

Take a moment to walk through a virtual tour of the Say Cheese A5 12 Month Planner Insert Set and see all the beautiful and useful products that are included! Inside you’ll find over 270 pieces of planning supplies; 12 monthly tabbed dividers, 72 weekly inserts, 1 main dashboard, 1 acetate dashboard, 6 die-cut dashboards, 1 storage pocket, and 3 A5 sticker sheets!

Inside the Say Cheese A5 12 Month Planner Insert Set, you can decorate your planner just as you want it.  On the countdown for a fabulous summer trip?  Or maybe you want to use the Say Cheese design in your everyday planning, because its just FUN!   Whatever the reason you pick up this design, you can decorate as much or as little as you like.

If you’re using the products from the Say Cheese Carpe Diem collection on your next trip to theme park heaven, grab a few of our Say Cheese Doc-It Journals to carry along on your daily adventures. Use them as autograph booklets or for recording cool things that happened throughout your day.

Are you super excited to start your magical planning off right? If you are, head to one of your local retailers and ask for this insert set today!

To locate an online store or retailer near you, check out our store locator. Be sure to call ahead to make sure they have this insert set in-stock, because they’re selling quickly!

Can’t wait to get inspired? Be sure to follow our Live Love Plan Pinterest board for more than 600! Carpe Diem Planner ideas and inspiration!  

SaveSave

Hello everyone ! Welcome to the blog today. It's Mindi here and I am so happy to be sharing some SN@P! pages with you today. This upcoming year I will be working in the 6x8 albums and telling smaller stories about my family/individual family members. Today though I am going to be sharing some pages made with the Soccer Simple Set
 
Here is a look at the first spread that I put together. My oldest daughter wanted to try out soccer last spring and so we signed her up in a non competitive league here in town. During the course of the year I took a few fun photo shoot type photos of her. I decided to make the first photo of this particular series a full 6x8 photo of her. I added some journaling up at the top and then added an arrow sticker on each side for some simple embellishments. I did strive throughout this pages to have a cohesive and simple look and design. The Simple Sets make it so easy to make that happen, they are perfect for these types of projects. 
 
 
It turned out that I had a lot photos from the season that I wanted to try and include. These 2x2 Insta Pocket pages were perfect. They allowed me to add in more photos and also to have a little bit of fun with some of the patterned papers. I really didn't want or need all those pockets so I trimmed off the top row for a fun look. 
 
I knew that I wanted to include that word sticker that says Soccer somewhere. I decided to add it onto the outside of the page protector and add it right in the middle of the page protector. That got me thinking that I could use it and the clear page protector as a see thru element to the next page. I positioned my journaling just right so that the word soccer was on top of my photos journaling on the next page. Once I had that figured out I filled in the extra pockets with photos and patterened papers plus stickers. 
 
 
The other side of the trimmed off page protector looks like this. I did more of the same, adding in photos and papers. I kept it pretty simple as to keep with a simple look throughout the album. The backside of the Soccer sticker I debated whether or not to add something to it but ended up leaving it and adding a few of the stickers on the backside. The rest of the pockets I took some of the stickers from the sticker sheet and simply embellished them. 
 
 
On this right side of the second page I focused on talking about practices and added some photos from the Monday night practices. I want to point out one thing on this page. There was a journaling card that I went ahead and cut up and used the parts of the card throughout these pages. I spread out these fun stat boxes and added number stickers inside the boxes. If you like a particular part of a card or even a word on a card go ahead and cut it up and use it in different ways. This is a simple way to customize your own pages that is simple and fun. Go ahead and get creative. 


Here is what the next set of pages looks like.
 
 
This set of photos and stories are all about the team photos and game days. Even though the team photos were poor quality I am so happy that they even did team photos and wanted to add them in to the album. I added in a journaling card that I created with some of the stickers from the sticker sheet. I just love those colored arrows and used them all up. 
 
 
This photo of my daughter was another one that they took and was small and poor quality. I took some patterened paper and cut it into a triangle shape and added it onto a 4x6 piece of white cardstock. Then I added my photo, a few strips of patterened paper and another one of those stat boxes to the left corner. I finished off with her name and a few more stickers on the other side. 
 
 
Here is a look at the last spread that I created. 
 
 
These pages were filled with some misc. photos and a few journaling cards. I made my own 4x6 journaling card using some of the stickers and strips of patterned paper. Those soccer ball stickers are so adorable and I was always saying " Go Katelyn" so it was perfect to use the soccer ball as a O in the word GO. 


Thanks so much for coming over to the blog today. I had so much fun putting these SN@P! pages together for my daughter's album. Have a great day ! 
 
 
6x8 Insta-Pocket Pages Variety Pack #4074 | 6 per unit | 10 per pack
6x8 Pocket Pages Variety Pack #2001 | 6 per unit | 10 per pack
6x8 SN@P! Faux Leather Album - Black #4037 
7917                   Say Cheese III                        Enamel Dots


Supplies

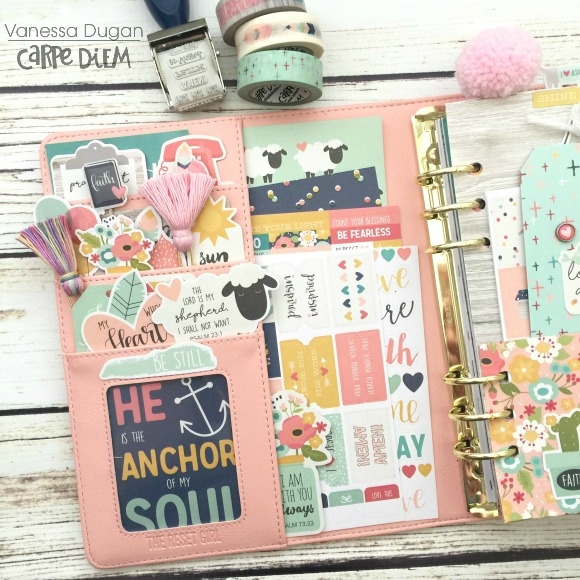
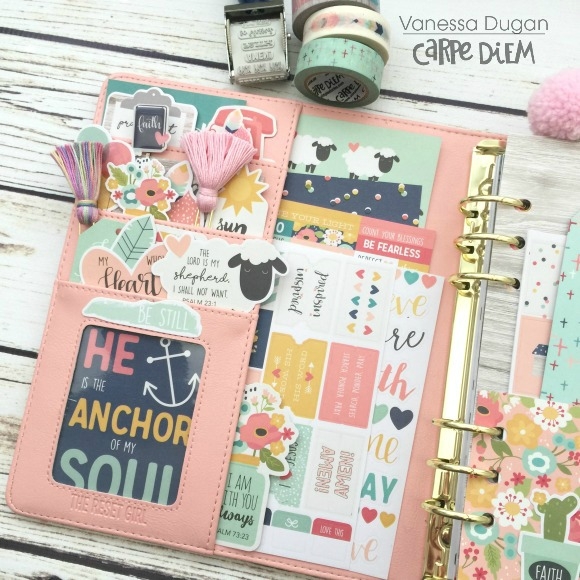
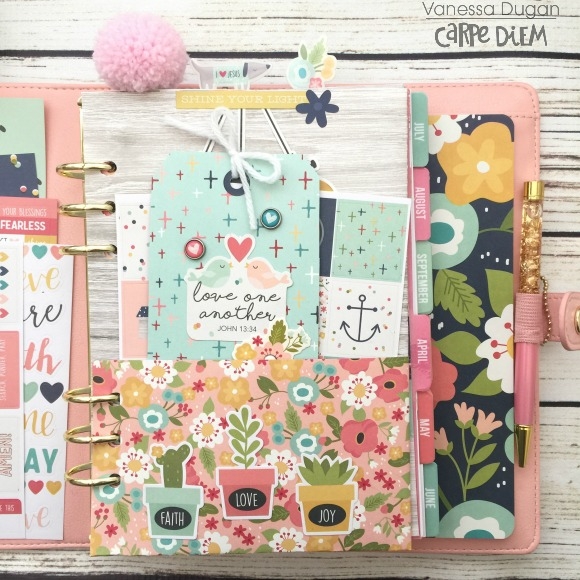
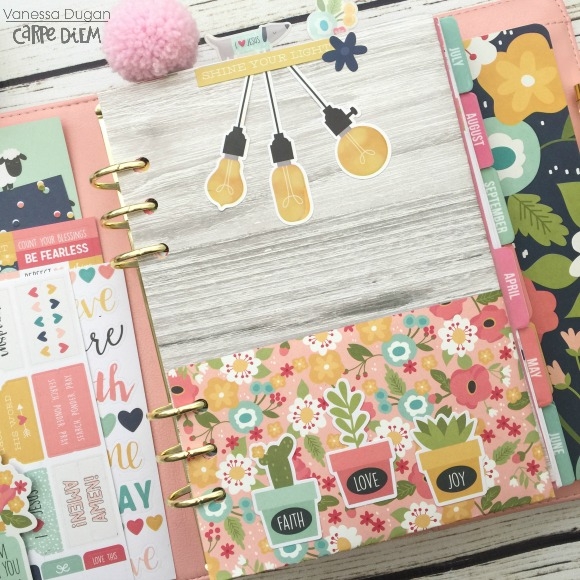
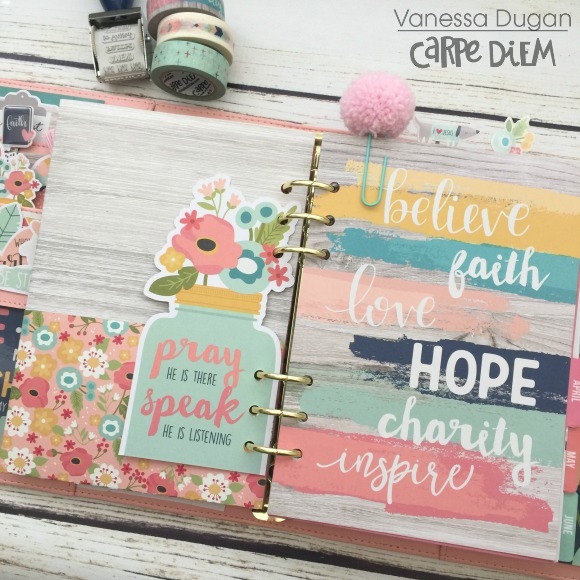
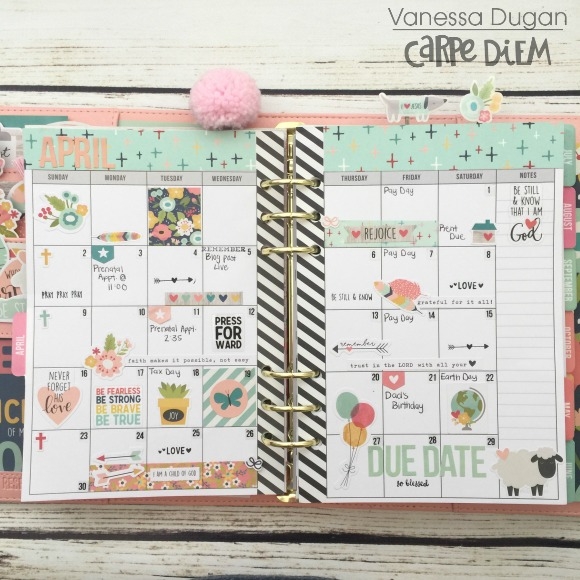
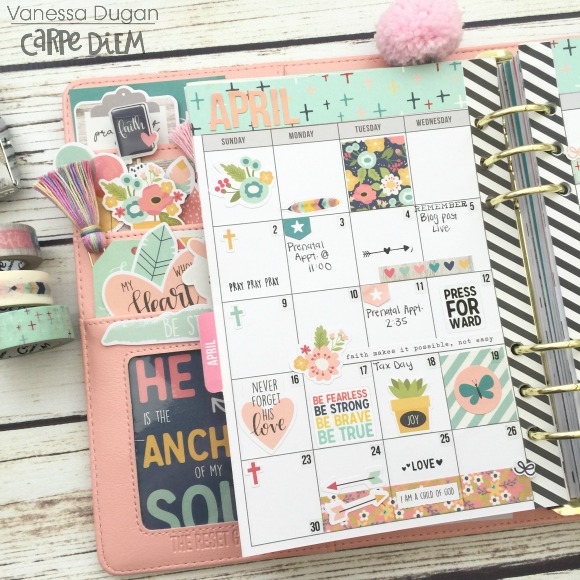
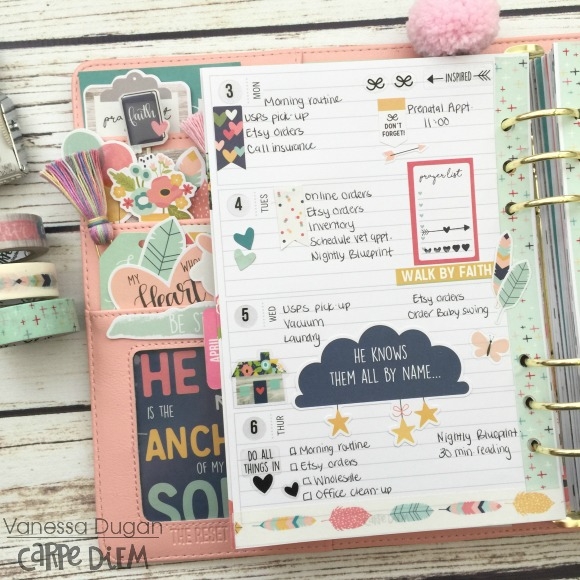
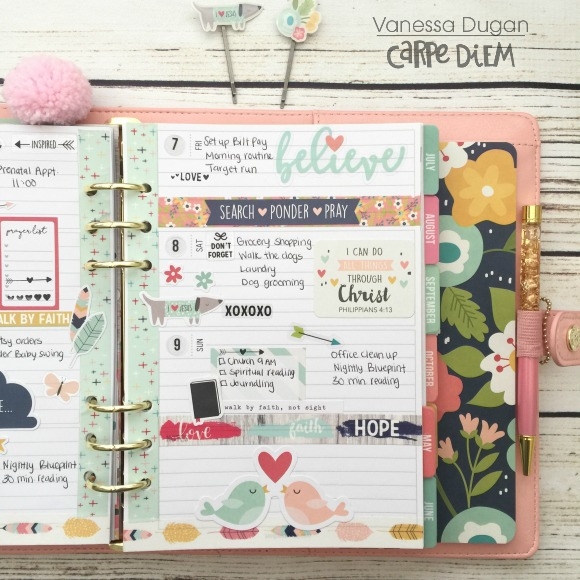
Hi planner friends!  I’m back to show you how I’m using the Faith Collection as a little reminder and daily inspiration in my Carpe Diem planner.
 
 
With all the beautiful and bold colors in this collection, I filled all of the pockets with the 3x4 journaling card elements, matching clips, and the bits n’ pieces.
 

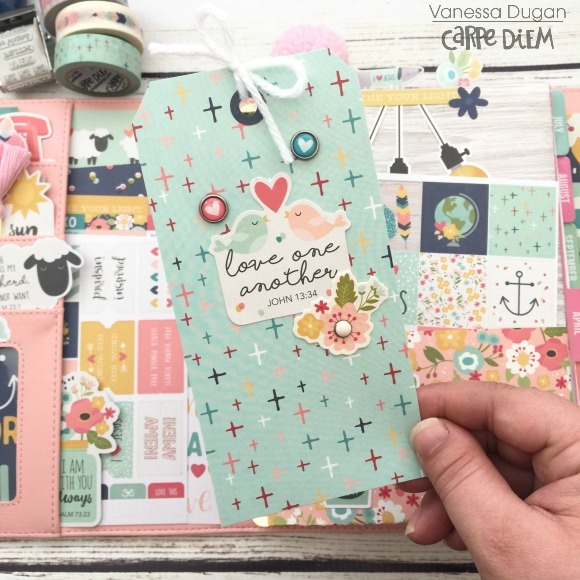
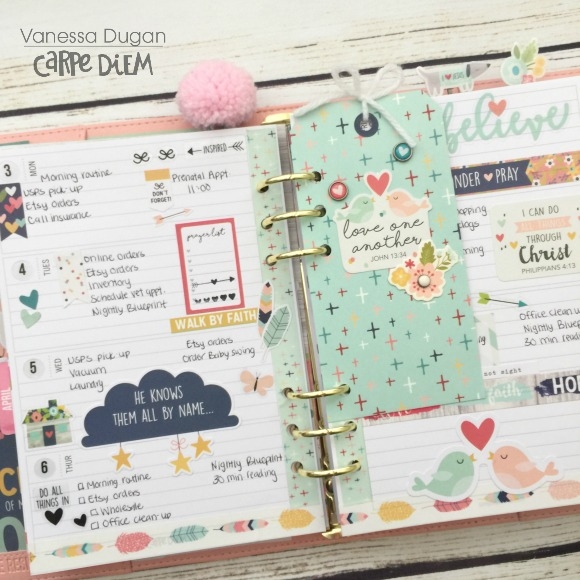
Instead of a dashboard for this month, I made a simple pocket folder with a Charity cardstock paper by folding the paper up 3” and folding it in half vertically.  Then trim to fit an A5 and hole punch into planner.  I use the pocket to store extra sticker sheets and other little papers I don’t want to lose.  I also made a bookmark from tracing a manila tag and adding some ephemera and decorative brads.  You leave it unpunched and slip it into one of the pockets, or punch it and use for mark off specific pages.

This collection also includes a Home Sticker tablet that includes sheets of stickers that are perfect for planning.  I used a lot of the icons for chores and shopping and some of the box stickers from the 4x6 collection.  

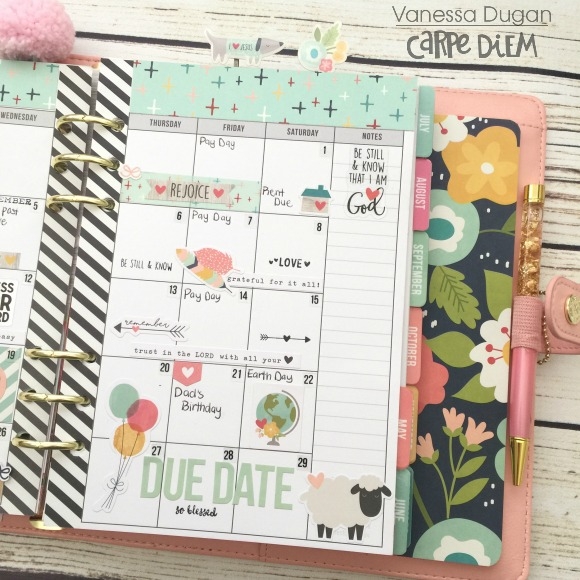
For my monthly spread, I mostly used the Faith Sticker Tablet because it contains a variety of functional and decorative icons that can be used on a calendar.  I also utilized the Faith Roller Stamp in a few boxes and the Believe cardstock across the top border to add a pop of color.

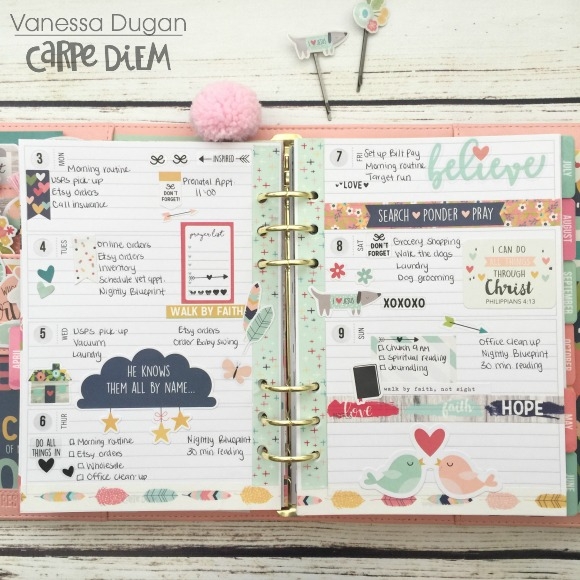
On the weekly spread, I used the 4x6 stickers sheets from the Faith collection, the Believe washitape across the bottom trim, and ephemera pieces to fill in the blank spaces.  I also punched the manila tag I made and used as page marker for my weekly pages.  

I hope you enjoyed seeing how I’m using the beautiful Faith collection and hopefully it brings you some inspiration into your daily or weekly planning routine.  Thanks for stopping by and I’ll see you next month!

Hello! Jana Eubank here with my first post as a new Creative Team member! I'm so excited to be here! Simple Stories is one of my very favorite paper companies and I adore working with their collections.
 
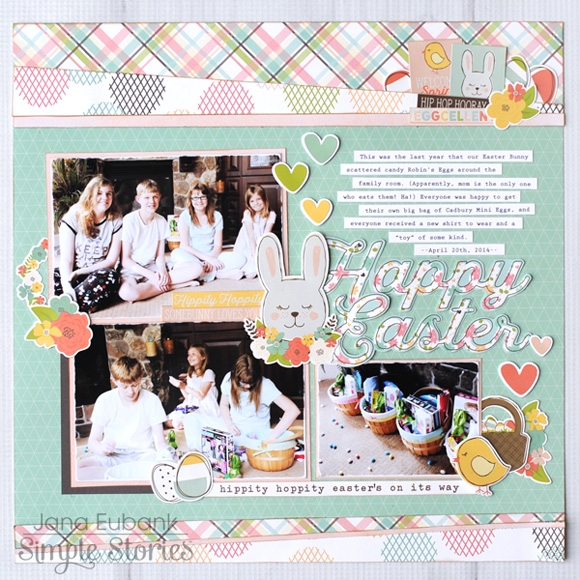
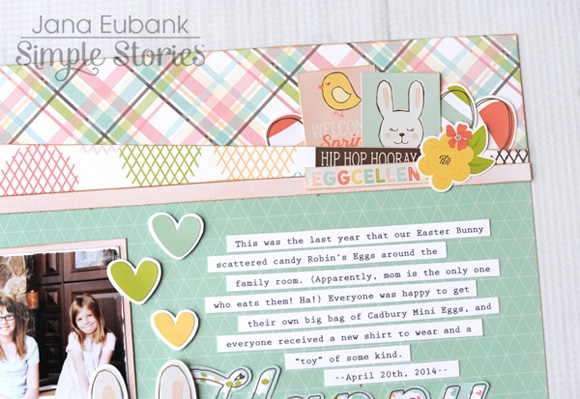
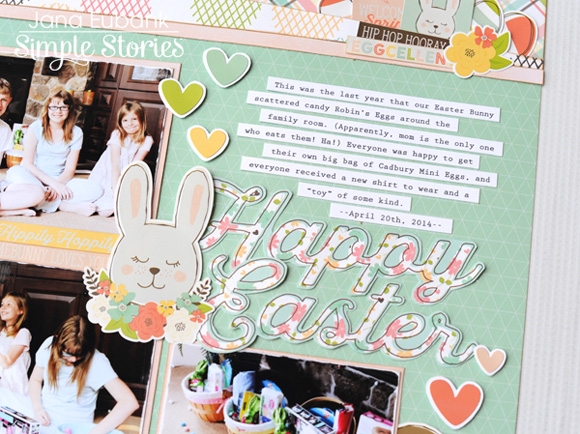
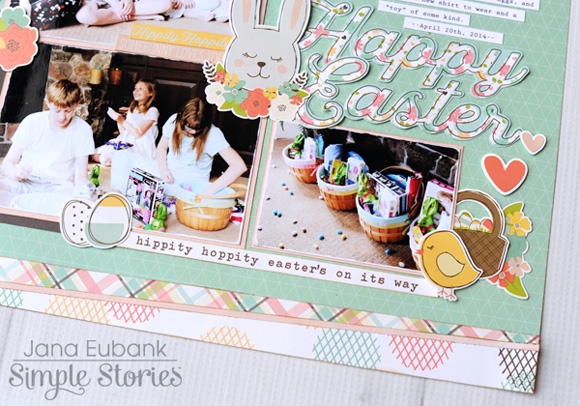
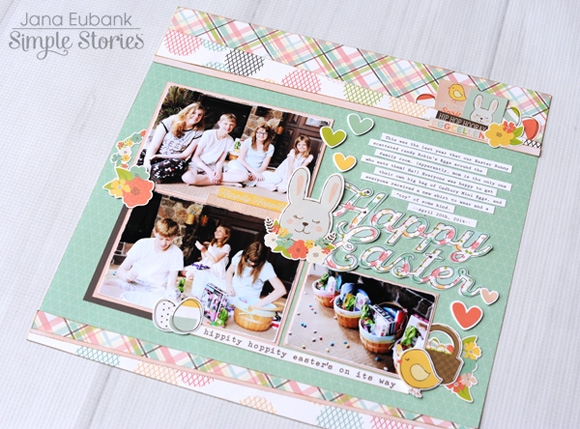
Today I have two scrapbook pages for you. The first one is documenting my children enjoying their Easter baskets on Easter morning. 
 
 
I cut a couple of angled strips of the Hip Hop Hooray paper (using both of the patterns) to go across the top and bottom of my page.
 
In the top right corner I created a fun embellishment cluster by tucking several stickers into one of the strips. The two phrase stickers and floral sticker help to visually anchor the cluster.
 
 
For my title, I fussy-cut the "Happy Easter" from the 4x6 journaling Cards Elements Paper. I added the adorable bunny face sticker (my favorite!) to the left and then sprinkled in several of the heart stickers. I matted each of the heart stickers with white cardstock, so that they had the same feel to the other stickers I was using on the page.
 
 
I loved the little saying on the Easter Egg 4x6 Journaling Card and wanted to add it to the bottom of my page. I used my trimmer to cut it out and then adhered it below the photos. I placed Easter eggs and the cute little chick on either end as accents.
 
 
I love these adorable patterns from this set! They help add a spring-timey feel to these Easter morning photos even though my kids are still in their pajamas. LOL!
 
 
________________________________
 
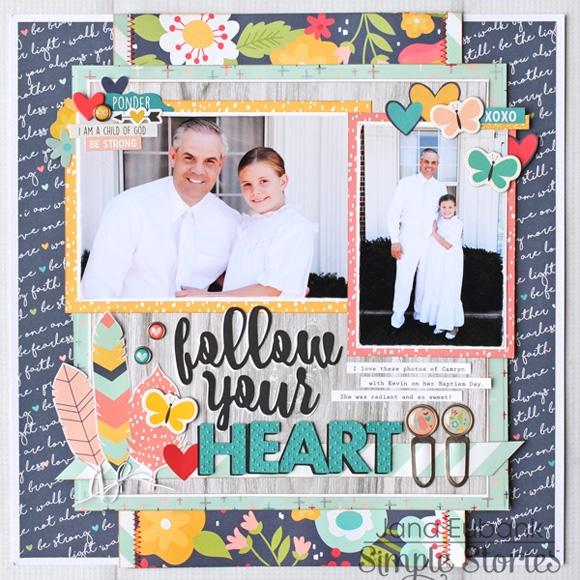
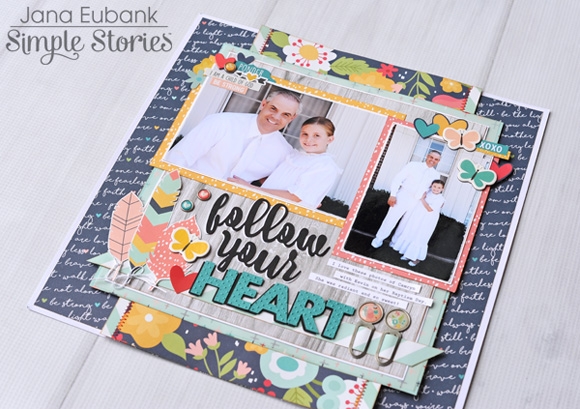
When my daughter turned eight years old, she was baptized by my husband. I couldn't wait to use the adorable Faith collection to record her special day and into our memory books!
 
 
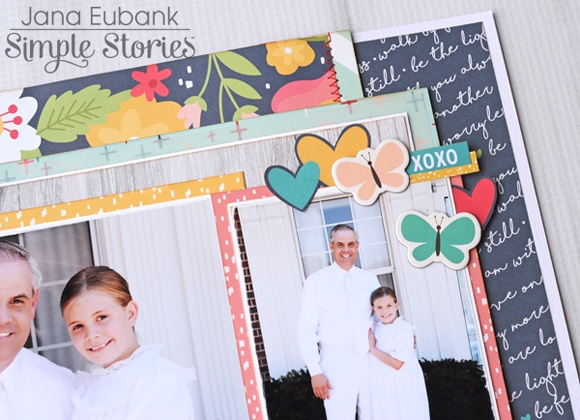
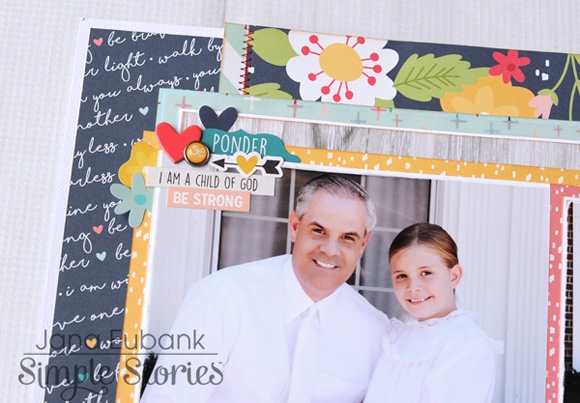
I loved the navy Shine Paper with all of it's inspirational messages and decided to use that paper as the base to my layout. I clustered together several fun phrase stickers and hearts in the corners of my two photos to help tie them in with the title and draw your eye around the page.
 
 
I love these photos of my daughter and my husband, they were just radiating with goodness that day and the hearts and flowers perfectly convey my full heart and emotions as I looke at these two special people in my life!
 
 
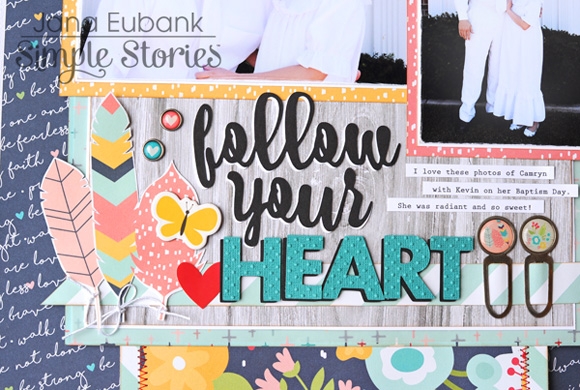
I die cut my title using my Silhouette Cameo machine. I cut each phrase/letter out of two colors of cardstock to create a shadow effect. The letters of the word "heart" are embossed with an embossing folder to add more texture. I think they help repeat the cute fleck pattern of the pink and yellow photo mats at the top of the page, too!
 
 
To the left of the title I fussy-cut some of the feathers from a journaling card to use as a page accent. I added white crochet twine to the stem of each feather for more texture. 
 
The feathers and title are all anchored on a strip of striped Grace paper. On the right side of the strip I added two of the epoxy metal clips. Aren't they cute?! I love adding in different textures, like metal, to my pages. The epoxy at the top of the clips and on the decorative brads add a bit of shine, too!
 
 
I hoped you enjoyed seeing my pages today and that they inspired you to scrapbook some of your favorite family memories!
 
Thanks for coming by! See you again soon!

Supplies

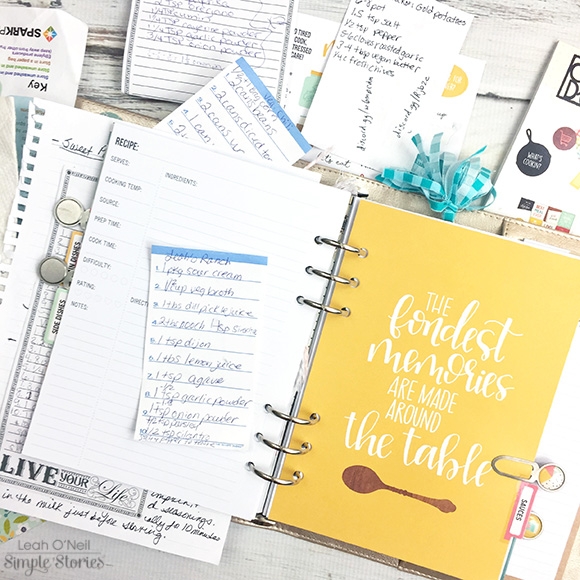
Hello everyone! Leah here with you today, excited to share a new planner setup with you! When I saw the new Recipe Planner Inserts from Simple Stories, I was super excited to put them to use! For years, I have been scribbling recipes onto whatever pieces of paper I could find. I kept meaning to organize them all in one place, but just never seemed to get around to it. As a result, I often misplace recipes and have to go searching for them online again, or I have to remake my own recipes and try to remember how I did it the first time. I have finally gathered all of my written recipes and am beginning the SLOW process of copying them into my new recipe planner.

I set up the Recipe inserts in my platinum Carpe Diem planner. The Recipe planner collection only comes with a few products other than the insert pack, so I also used several products from the Domestic Bliss collection to decorate with. As always, I started setting up this planner by decorating the front pockets. 
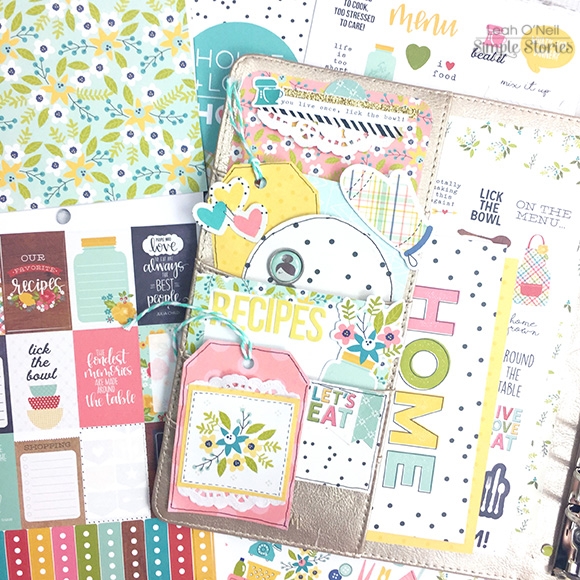
In the pockets, I used several cards from the Domestic Bliss SN@P! pack. I rounded the corners of some cards, punched a circle out of another and made a couple of tags. I also used several of the die cut pieces. In the top pocket, I layered some washi tape and a couple of stickers from the Recipe sticker tablet.
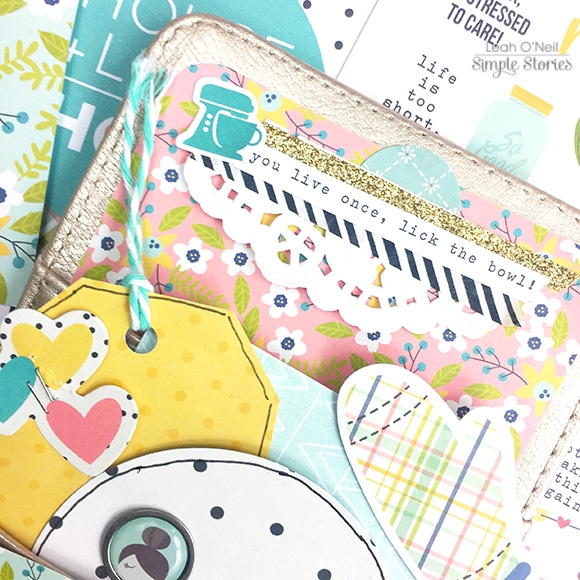
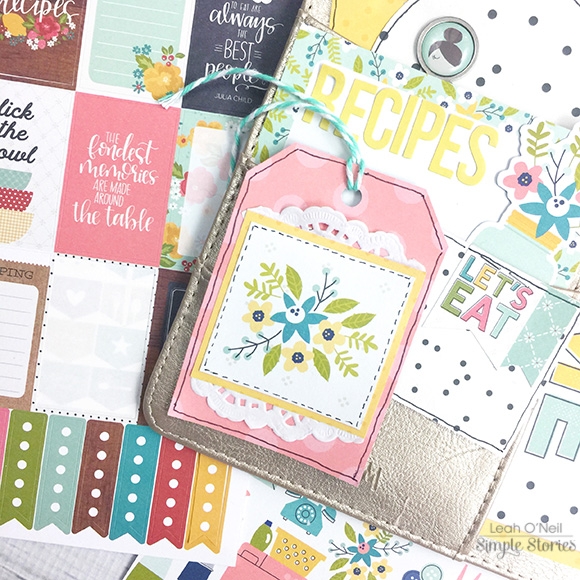
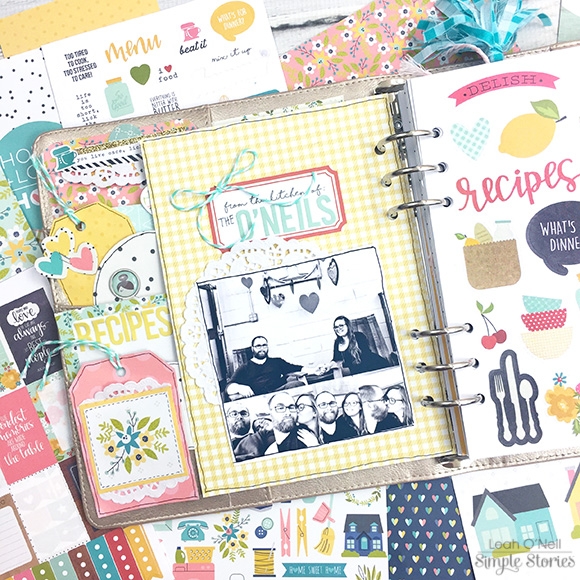
I love how this little tag turned out! I cut the tag from a 3x4 SN@P! card and the flower is one of the 2x2 cards. I layered some doily pieces behind the card to add some texture and interest. 
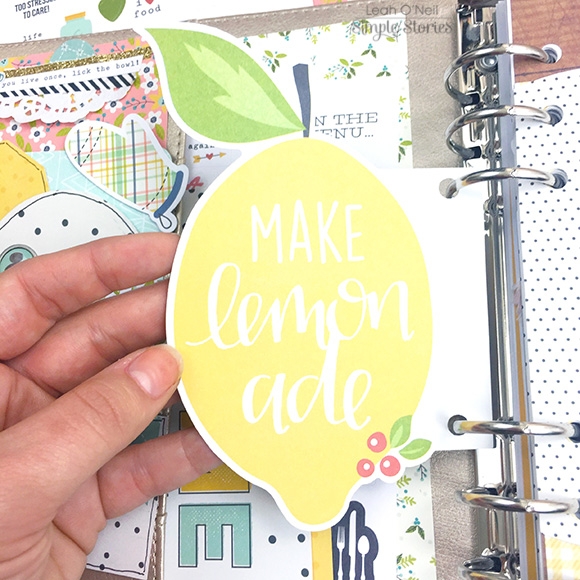
On the right side of the planner, I have a few decorative dashboards from the Recipe insert pack. This is my favorite one because I LOVE lemons! 
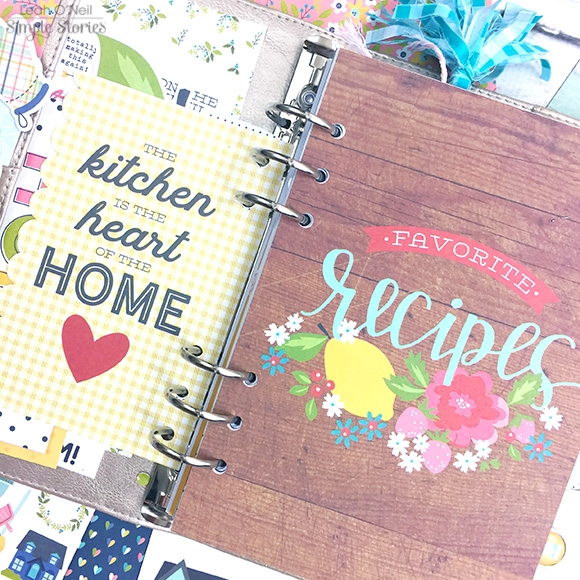
The front cover dashboard is so pretty, I didn’t need to add any extra décor! 
I labeled my dividers using stickers from the Recipe sticker tablet. I have the planner sectioned into favorites, salads, main dishes, side dishes, desserts and sauces. I felt like most of my recipes would fit within these categories. Similar to my last blog post about my wellness planner setup, I am again using metal epoxy clips on my dividers to make it easier to open up to each section. These clips are from the Domestic Bliss collection. 

One of my favorite pages from the Recipe inserts is this simple one that says “from the kitchen of” with a blank for you to put your name or family name. I used some alpha stickers to spell out “The O’Neils” and included a few photos of my husband and I, then added a bit more interest with a doily and some bakers twine. 
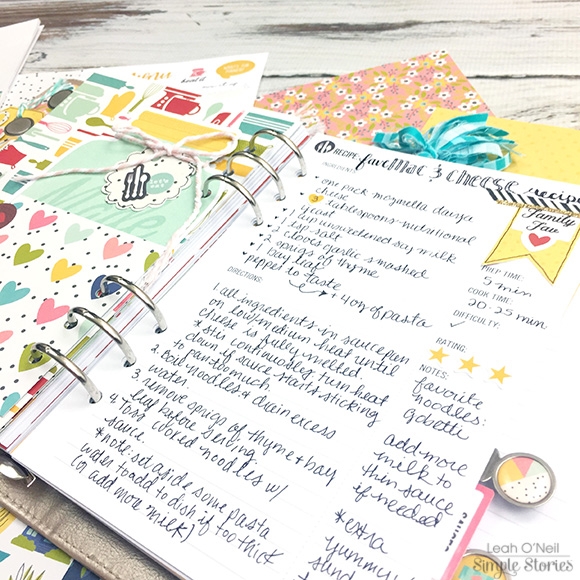
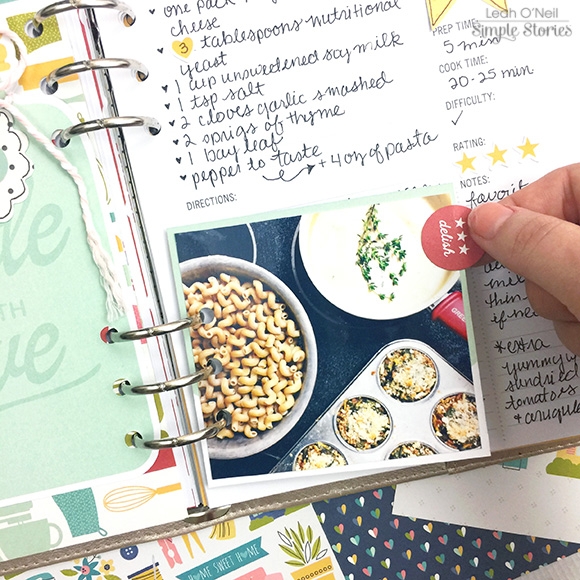
The first recipe I put into the planner, in the “side dishes” section, was our favorite mac n’ cheese recipe! I included a photo of the dish but glued it to a card and added a tab. Underneath are the instructions for making the dish.
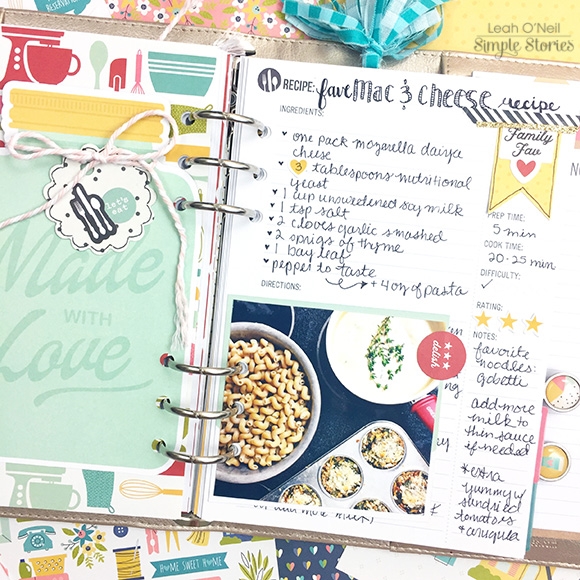
On the left side of the planner, I added another one of the decorative dashboards from the Inserts pack. Isn’t this Mason jar adorable?! I even gave it a little tag and bow to dress it up!  
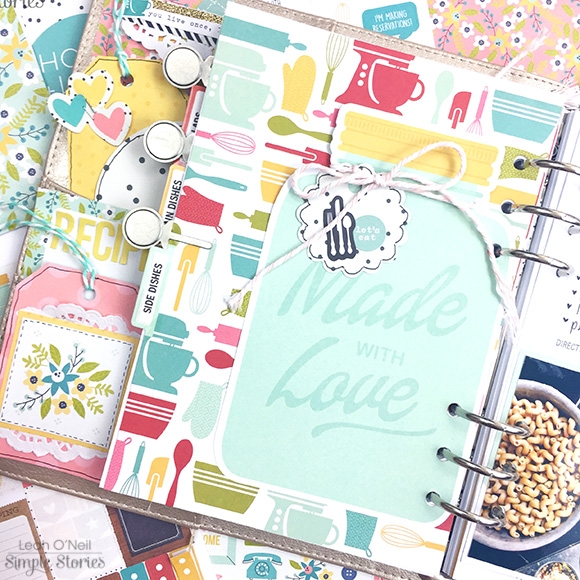
I am really in love with this planner and am so happy to have a place to organize all of my favorite recipes and future recipes to come! It will take me some time to get all of them transferred into here, but I know it will be so worth it in the end. No more lost recipes! I hope to be able to take photos of each finished recipe eventually and create my own family cookbook.   
I am so happy to be back with Simple Stories creating for another term this year! I look forward to bringing you lots more inspiration for how to use your Carpe Diem planners. The possibilities for the many ways you can use your planner are endless and Simple Stories is giving us so many great options with all the new insert packs from the Spring collection. Check them all out here! I hope you will come find me over on Instagram @sunny.leah and say hello. Also, if you haven’t seen the Simple Stories Instagram lately, be sure to hurry over and check out the AMAZING giveaway going on right now! 

Pages