June 2018 Blog Posts

Hello Friends!

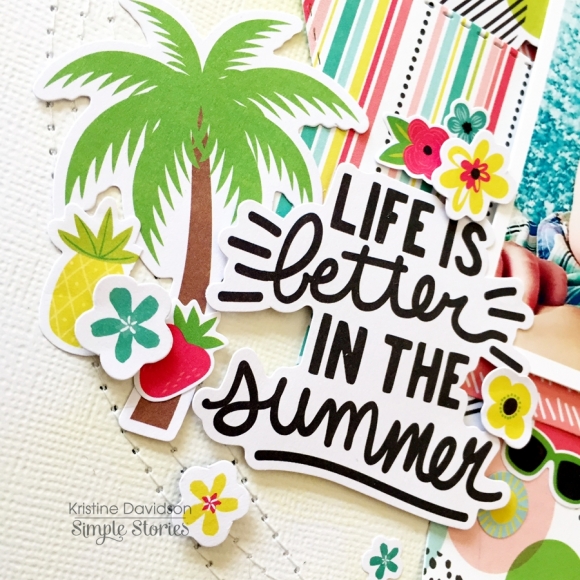
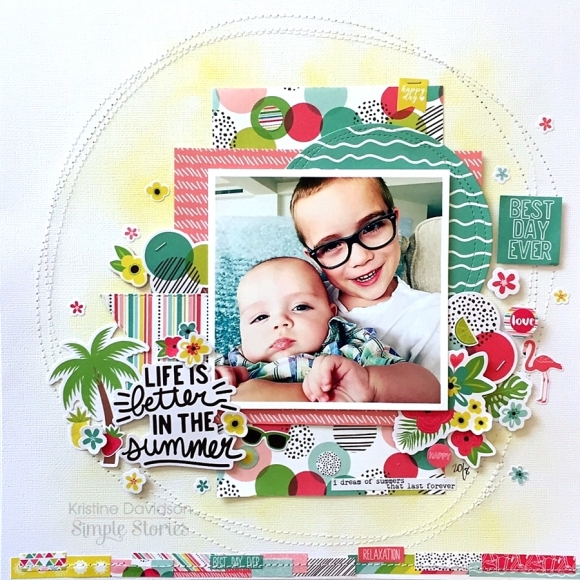
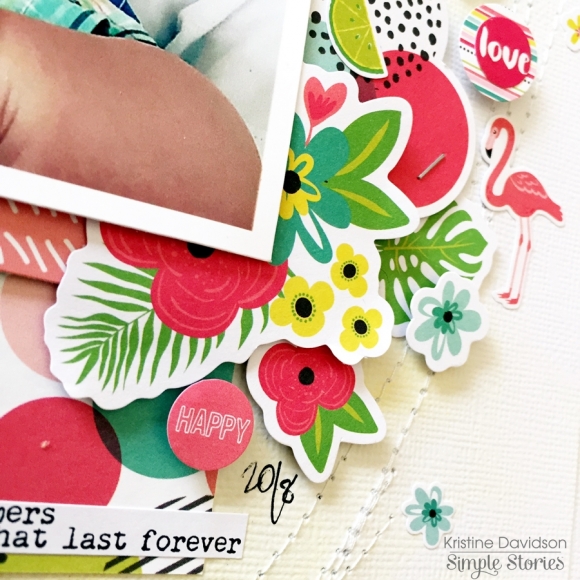
It is Kristine Davidson here today and I am sharing a nice and vibrant layout using the Hello Summer Collection. This collection is super cute because it has so many fun summer elements such as palm trees, strawberries, flamingos, and that red just pops with any photo. 

I created this with the 6x8" paper pad, some chipboard and stickers. I didn't have the 12x12 paper so instead I created my own background using yellow distress ink and some sewing.  The photo is too precious and might not have anything to do with summer but those cute cheeks and smiley face was hard to resist!

I really like the 4x6 sticker sheets that are available with this collection. I always have difficulty using the strips and find myself only using one or two small ones with sentiments. This time I decided to use the stickers at the bottom of my layout.  This acts as a border and provides even more color at the bottom of my page. 

I hope you find time to create today or this week and enjoy a little SUMMER fun with friends and family !

Come visit us on Instagram @SimpleStories_ & @KristineDavidson

Hi planner girls! It’s Cara here today with some inspiration that’s both fun and functional.  Grab your Good Vibes collection and let’s start creating!

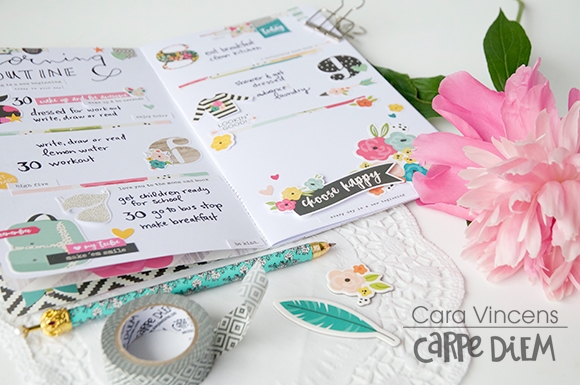
I wanted a place where I could record my routines in my planner. Routines make life so much easier, you don’t have to think about what comes next or what you should do. You just do it. Routines make going after your goals easier, so I created an insert myself, dedicated solely to my routines. So far, I’ve included my morning routine but I’ve got room for afternoon and evening, weekly, monthly and with pages left over for any other routines that I want to include later on.

I used the Good Vibes collection, which I thought suited the theme of the insert well, both in name and the colours and motifs.

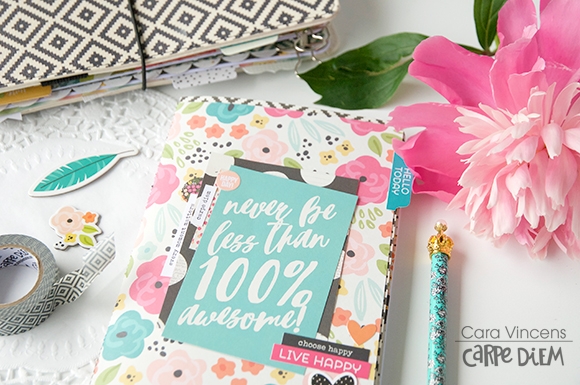
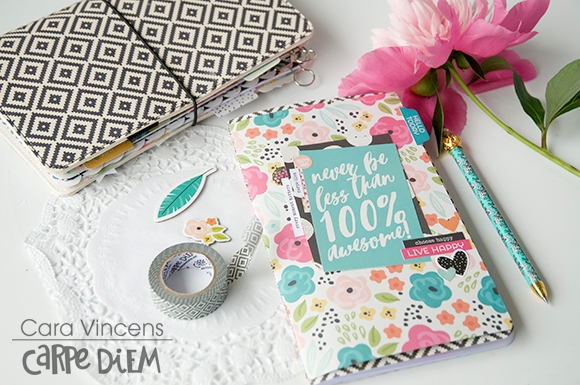
For the cover I wanted to use one of the pretty florals from the 6x8 paper pad but it wasn’t big enough. If I want something bad enough, I can usually figure out a work-around! In this case, I layered the floral over the black chevron (Be Amazing) from the 12x12 paper collection. I layered in some heavy white paper and sewed down the middle to form the book. The floral doesn’t cover the back entirely, but all I needed was enough to be able to sew it in place. I layered some cards from the cut apart sheets and added a few stickers. the cover doesn't need much decoration since the floral is pretty fab all on it's own.

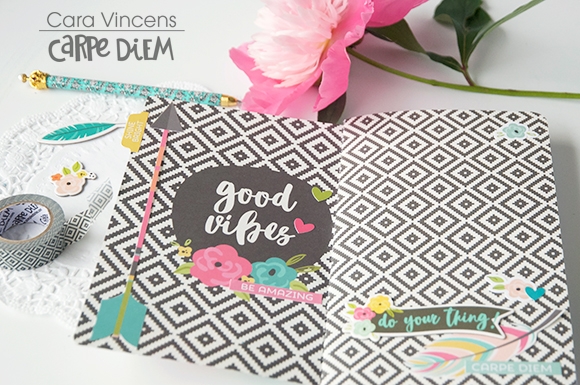
The flip side of the floral paper has the black chevrons again and a great ‘good vibes’ image which is a fab little surprise when you open the book! I fussy cut an arrow from one of the 6x8 papers and added some stickers and chipboard.

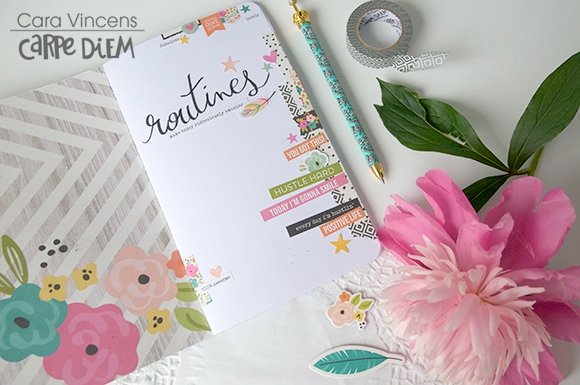
There’s a title page where I've handwritten ‘routines’ and layered stickers from the mini sticker tablet and 4x6 sticker sheets and a bit of washi.

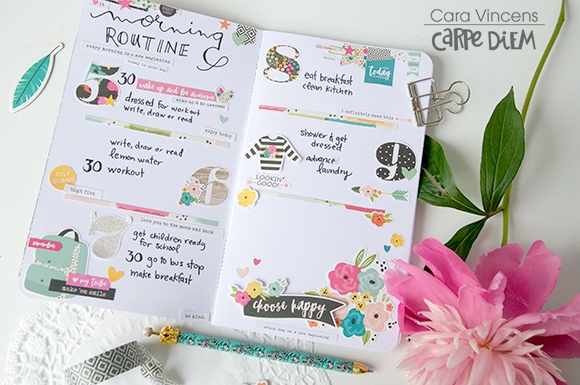
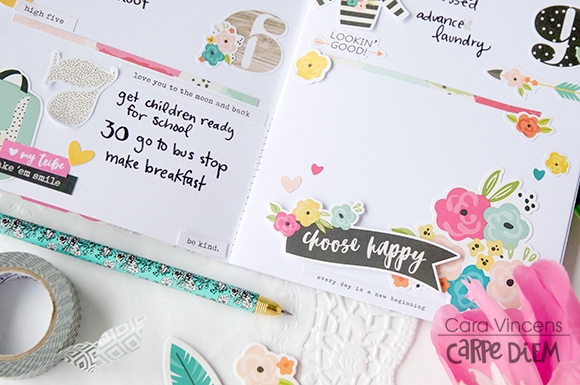
Then we get into the good stuff! My morning routine! Again I’ve used handwriting for the title and to list out my routine, and I sectioned off the hours with strips of patterned papers, adding the number stickers from the 4x6 sticker sheets. 

Layers and clusters finish of the spread and I used pop dots on the ‘choose happy sticker’ for depth and dimention and because I LOVE a fat TN!

Happy planning!

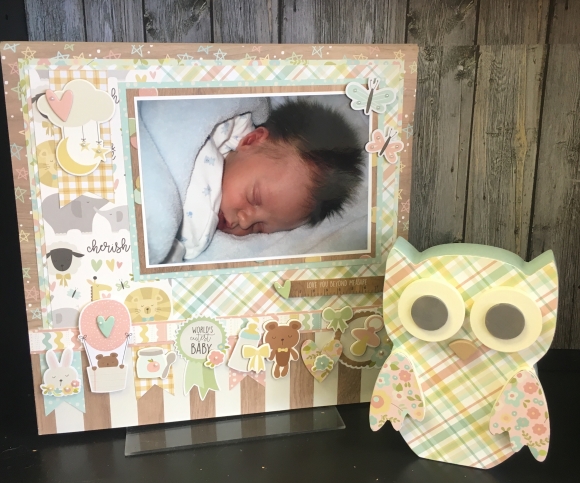
This Oh Baby line by Simple Stories is the absolute cutest!!! I was so excited to create with this darling project I just couldn’t stop!!! First I made this adorable page and cute wooden owl. 

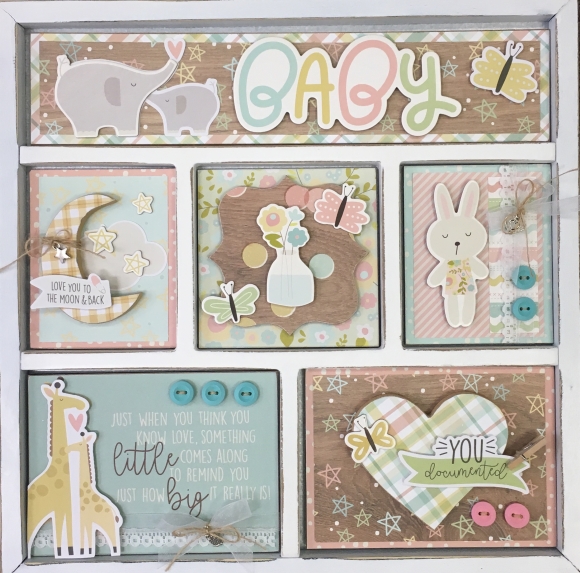
Then I had so many fun elements and chipboard pieces left, I made a cute shadow box for a baby gift. 

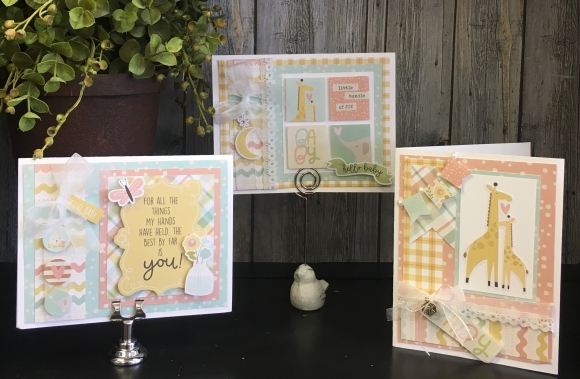
And I even made adorable cards to match. 

These projects were made using the Oh Baby kit Collection, Chipboard, element pieces and 4x6 sticker sheets. The wood owl and shadow box are by Foundations Decor.

Supplies

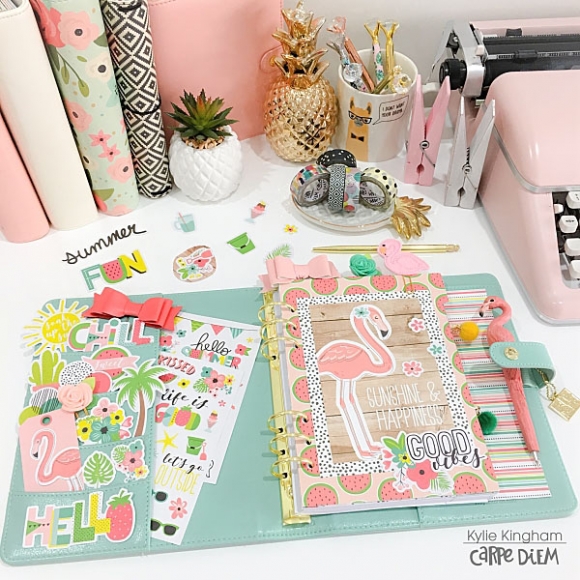
Hello everyone, its Kylie with you all today. We have just headed into Winter here in Australia but my Robin’s Egg, A5 planner is full of Summer fun and colour - to help me forget the cold! I’ve been busy with the new ‘Hello Summer’ collection from Simple Stories, and today I am going to share with you how I have used this collection in my June set up.

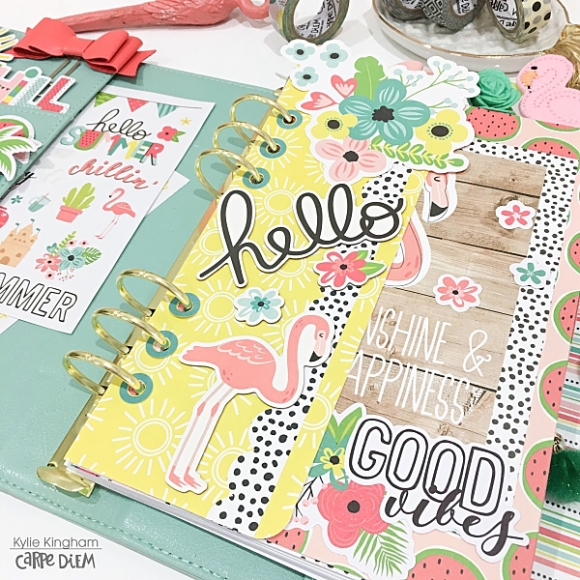
As always, I have enjoyed making some dashboards to add in with my planner pages.I loved layering many different papers, fussy cutting flower clusters and using lots of the Combo Cardstock Stickers.

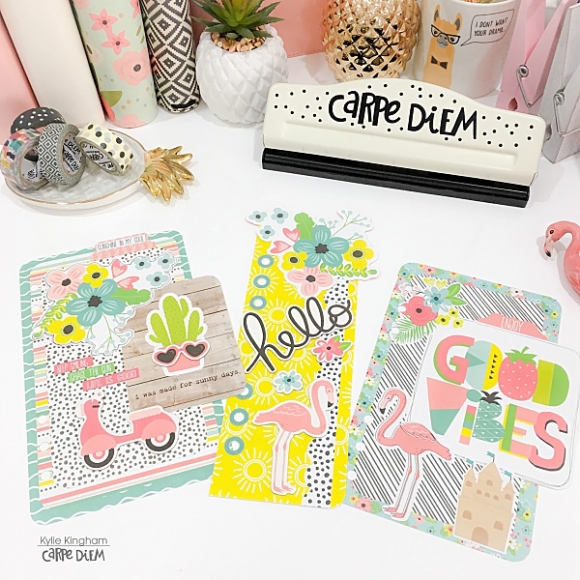
I couldn’t just stop with dashboards and had to create some tip in’s and page marks too. If you are wondering what tip in’s are – they are colourful little extras to add into your pages. Perhaps not necessarily for a practical purpose but more decorative.

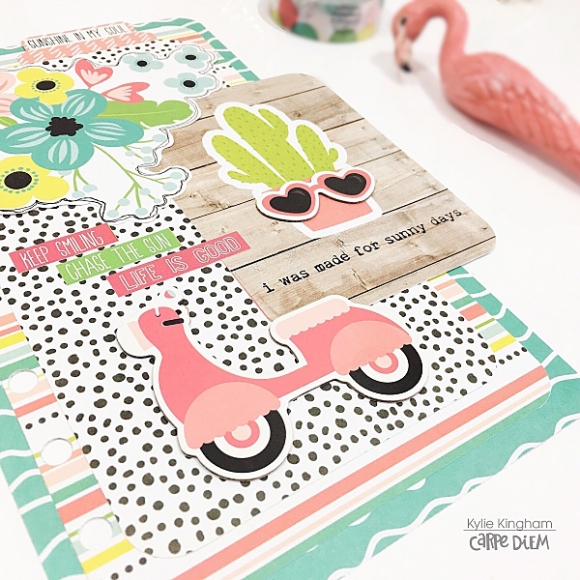
A closer look here shares all the cute elements I have layered. That scooter is SO cute!

The chipboard stickers were perfect for this page mark adding extra dimension without being bulky.Look at all this beautiful colour! So sunny and bright.

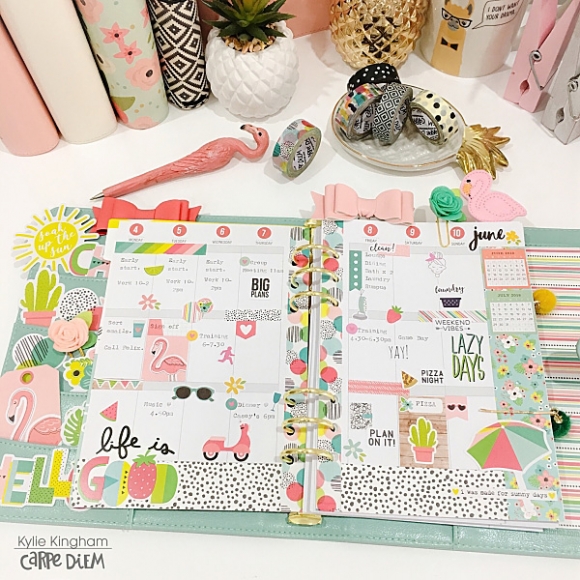
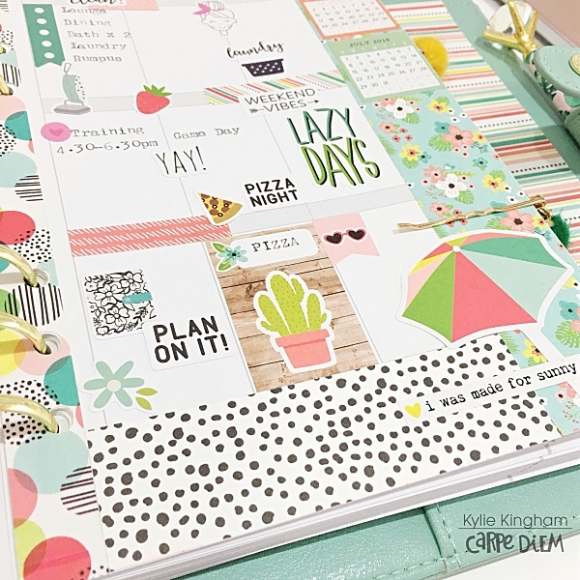
This month I have decided to use the Vertical Inserts which are perfect for the box stickers included in the 6 x 4 sticker pack. I have added washi tape to the centre edges and have cut down paper strips to add to the bottom and side panel. This gives lots of colour and interest to my pages.

I really find the mini Monthly Calendar stickers so handy and have added both June and July to my side panel. This helps to have a quick glance at future dates coming up so serves a very practical purpose.

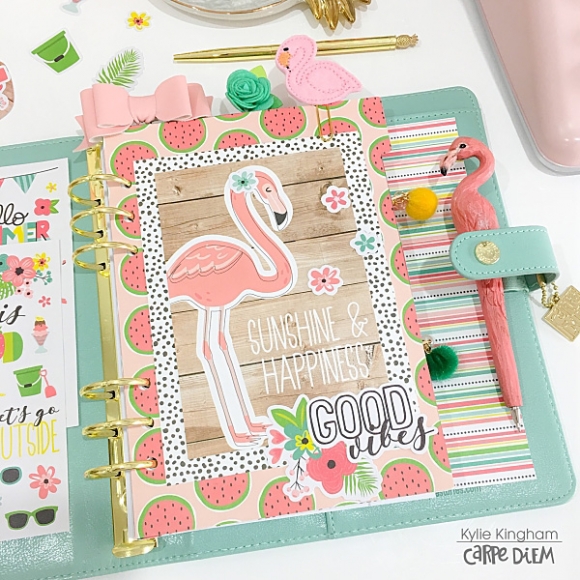
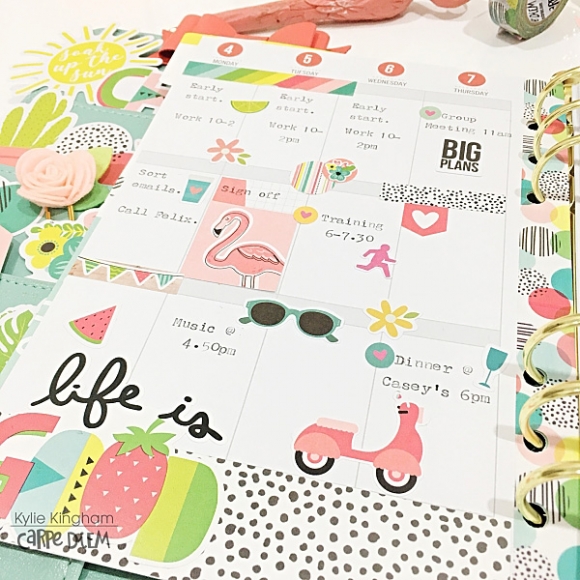
A closer look at my pages, shares my weekly layout. Besides using stickers and die cuts from the Hello Summer collection, I have also intermixed stickers from both the ‘Seasons’ and ‘Calendar’ sticker tablets.


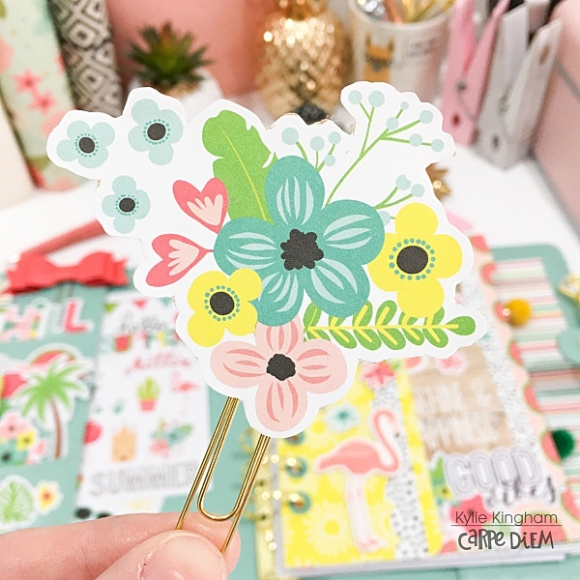
Another fun touch to my planner this month has been fussy cutting out one of the gorgeous flower clusters and making a sweet planner clip.

I hope you have enjoyed seeing my June planner set up today. Until next time,

Supplies

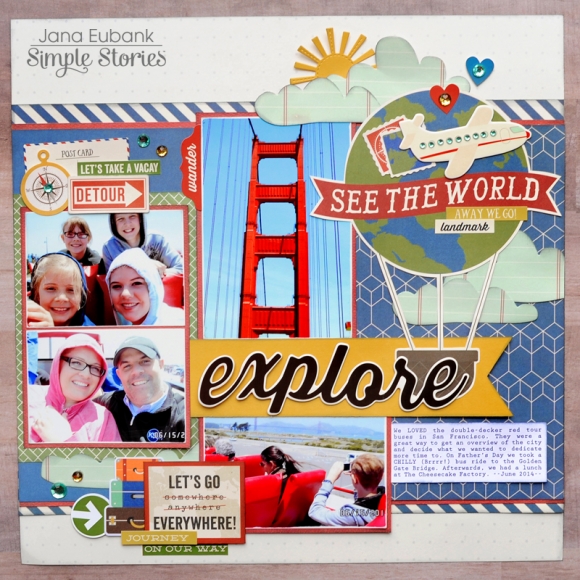
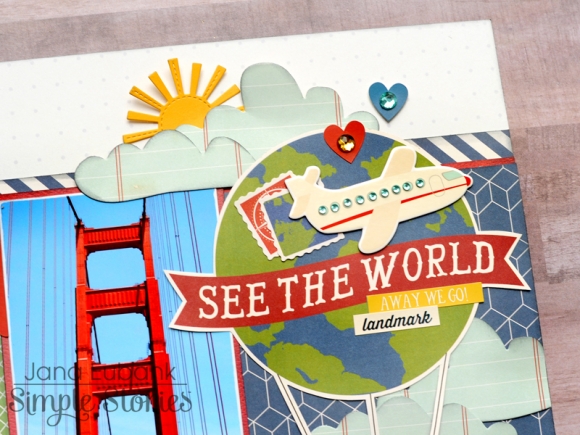
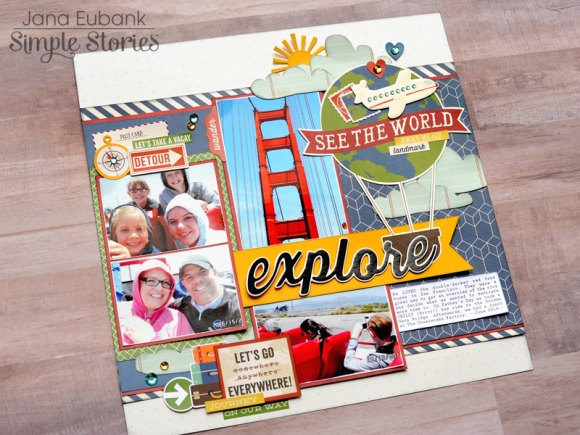
Hello, Simple Stories Friends! Jana Eubank here with a new scrapbook page using the Travel Notes collection. My kids are out of school and we are getting excited to head out on our summer family vacation. To get me in the mood to go, I have been scrapping past vacation photos. Today's layout features our summer family vacation from four years ago when we visited the wonderful city of San Francisco!

I had a blast creating a scene at the top of my layout using a cut out of the hot air balloon from the 6x8 Pad. I layered a few phrase stickers (Combo Stickers) below the banner phrase and the chipboard airplane above. The chipboard airplane gets the sparkly treatment with several gems from my stash. I also added some die cut clouds and a sun!

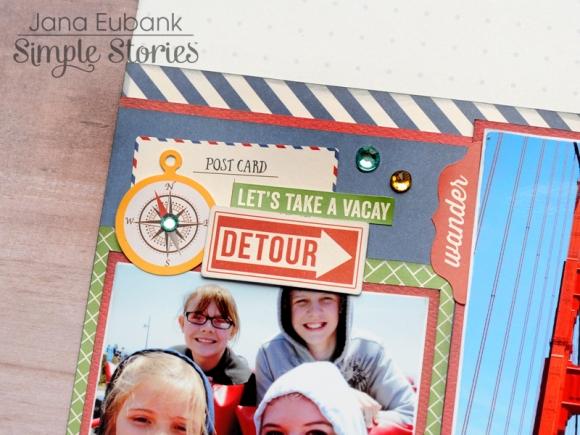
This little cluster on the left side of the page features several die cuts from the Bits & Pieces pack. That little postcard and compass are adorable!

I die cut another cloud for the bottom of the page from the light blue ledger paper in the 6x8 Pad to anchor a cluster of more stickers and die cuts. A stack of suitcases look so cute on this vacation page!

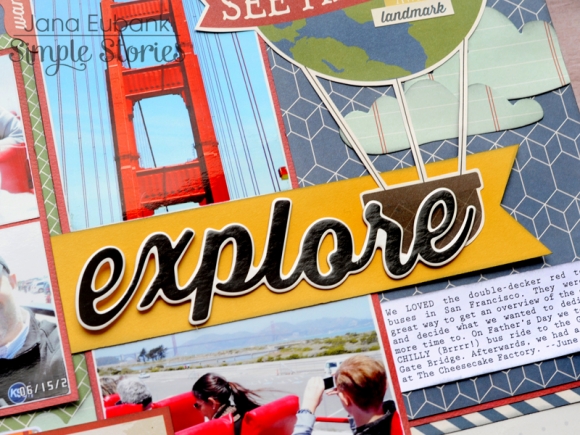
The large fussy-cut hot air balloon overlaps onto my page title in the center of the page. I placed the chipboard script "Explore" word on a strip of yellow cardstock with a dovetailed end. I then placed typed journaling below the title on the right side of the page. 

I hope my layout has inspired you to get scrapping YOUR summer vacation memories with the Travel Notes collection! Have fun!

Supplies

SOLD OUT!   Sorry if you missed out this year, the boxes sold out incredibly fast.  Mark your calendar for early June 2019 for our annual warehouse sale!

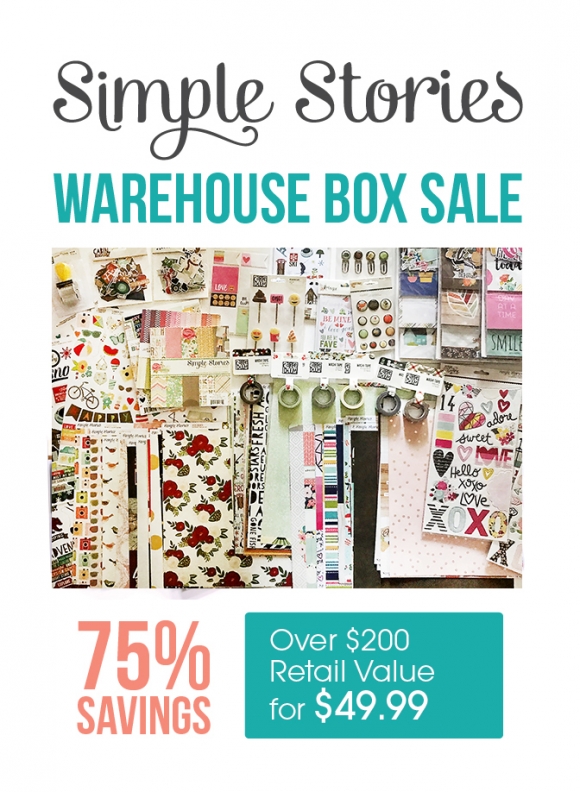
Hello friends!  We're super excited to announce our 3rd annual Warehouse Box Sale!

Each Warehouse Sale box contains $200 retail value of Simple Stories products including 12x12 papers, 6x6 & 6x8 pads, stickers, SN@P! Cards, brads, clips, washi, chipboard and more from collections including Posh, Romance, Sub Zero, Beautiful, Vintage Blessings, Very Merry, Oh What Fun, Summer Days, Cabin Fever, Emoji Love, Domestic Bliss & MORE!

To purchase a Warehouse Sale box, simply select a shipping/location option below and click BUY NOW!

Click HERE for a list of Frequently Asked Questions.

SOLD OUT- SORRY!

Hello Again! Rachel here, and I’m am so excited to share my setup for my work planner in my Black Speckle A5 planner using the Good Vibes Collection. If you follow me on Instagram, then you know I cannot get enough of this collection. I am in love with the pink, aqua and bold black and white accents of this collection. I feel like it was MADE for me! What better way to spice up my work planner than with some good vibes from this fun collection!

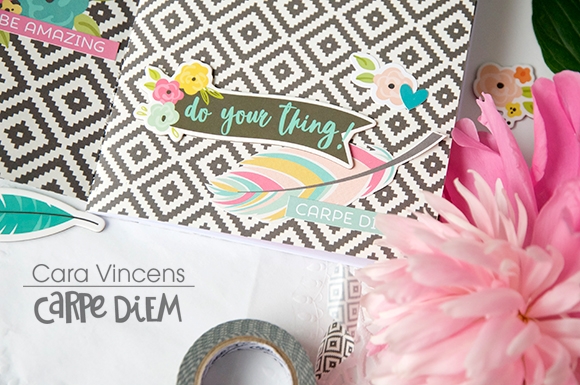
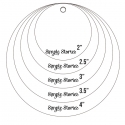
Let’s start with the pockets! As a planner girl, I love my planner pockets! Sometimes, it can be hard to keep all the cuteness contained in the pockets, so for this pocket setup, I adhered the chipboard stickers with removable tape to trimmed-down pocket cards for the 4X4 Elements paper. I like to mix up the background shapes in my pockets. For the circle, I used one on my favorite tools, the circle photo crop, to trim the circle out of paper from the element paper. I loved opening my planner this month and seeing these beautiful pockets! For the front divider, I used one of the 12X12 papers and the divider template to trim down the paper, and hole punch the paper to make a perfect divider (no measurments needed!). I decorated the front divider with 3X4 element cards and the combo stickers. The sentiment on this card is a good reminder at work to do my thing (which is, be friendly and help students!).

I used the same steps to make two more dividers for notes and important documents. Since this planner is for work, I need it to be very functional. But that doesn’t mean the dividers for each section can’t be fun!

  For this divider, I added some of the bits and pieces and the word strip stickers from the 4x6 sticker sheets. Again, some good reminders on these word strips stickers - “Work hard. Be Humble. No bad days. Let your life shine!” I work with college students every day and these sentiments remind me that I do my best work when I put the students first, and try to make everyday a good one.

I rarely decorate my monthly spread in my work planner but with this collection, I just couldn’t help myself! I started with that fantastic washi on the top and bottom and then filled in the days with stickers from the 4x6 sheets. I love how the box stickers fit perfectly in the daily squares.

My favorite decoration for the month was on the 30th. That’s right! In July, my husband and I are headed to Spain and I can’t wait!

While I do use weekly inserts in my work planner, my daily inserts are the real work-horse. Here is where I write down “all the things”. Sometimes I decorate them, other times I don’t. Either way, the daily sheets give me plenty of space to jot down notes, to-do’s and document the people I have spoken with throughout the day. This is super helpful for the reporting I have to do for my job. When I have time to work on my monthly report, I simply look back through my daily pages to update the report.

These pages are functional first, but I also love getting to decorate them, too! For this day I cropped a scrap of paper using the circle crop so that the “yes, please” was still included. I added stickers for 4x6 sticker sheets and even added a journaling 3x4 element card for decoration and function.


I hope you enjoyed getting to see a peak into my work planner. I have really liked this setup for the month of May. Tell me, do you use separate planners for specific areas of your life? Comment below and let me know!
Supplies

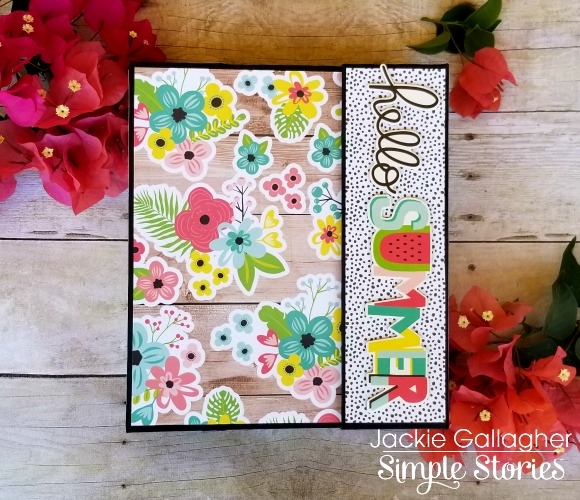
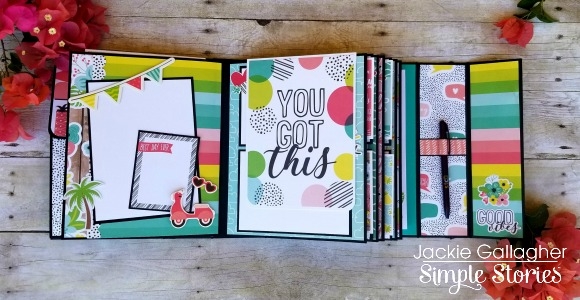
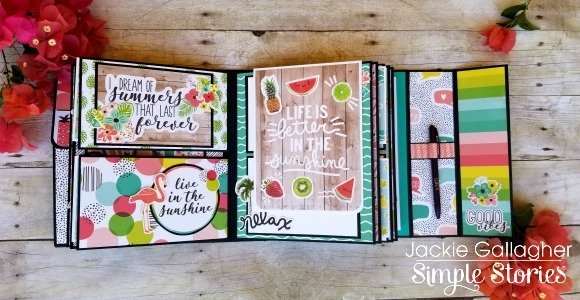
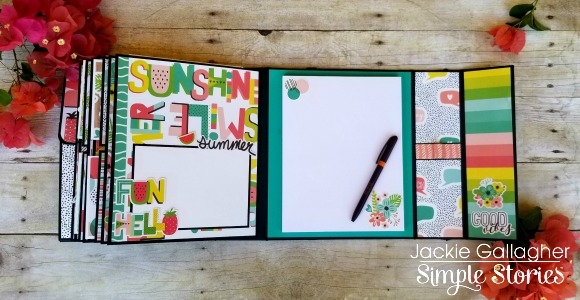
Hello everyone!!  Jackie G here to share a super fun summer project with you!! I’m super excited about this mini album…well, more like “not-so” mini album!!  Measuring in at 9” x 10” with a 3” spine…it’s a big one!!
I used the “Hello Summer” collection to make this beauty!!  Since it was so big I ended up using two of the collection kits, 6x8 paper pad, bits and pieces, and the chipboard stickers. 

So lets get started!!  I kept the front cover pretty simple.  Using just two of the chipboard elements to create my title “hello summer”.  I decided to keep it simple because this album will be traveling with us throughout the summer and I didn’t want anything to get snagged or torn off during transport. 

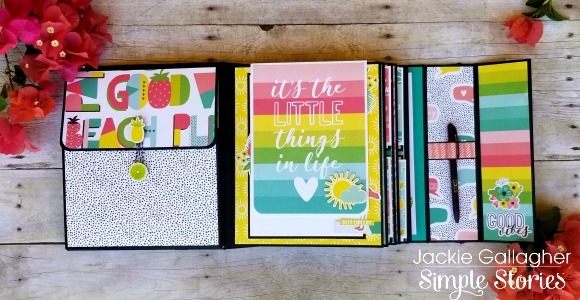
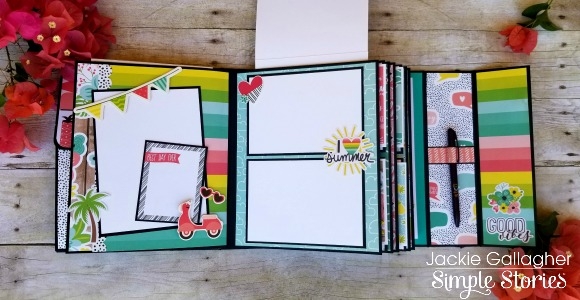
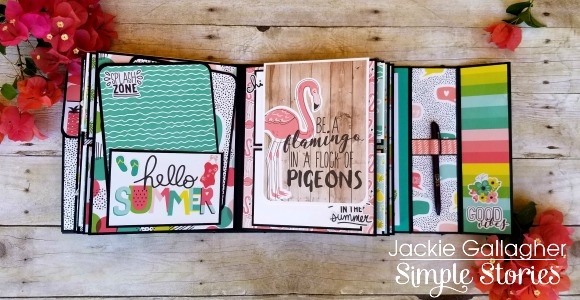
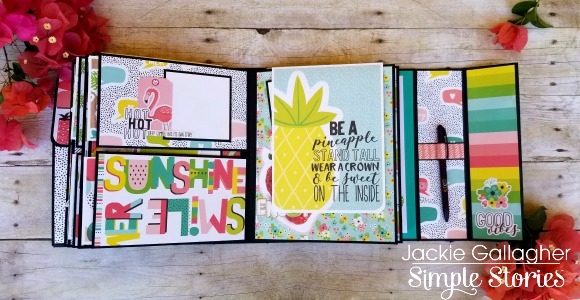
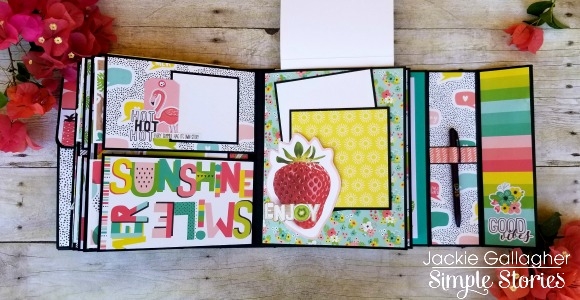
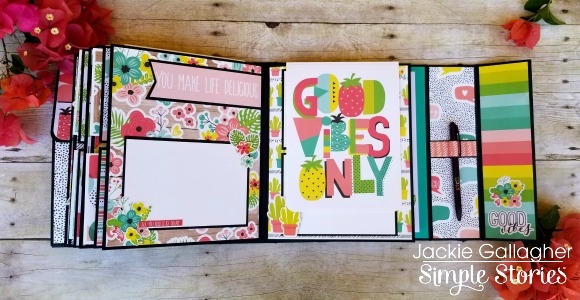
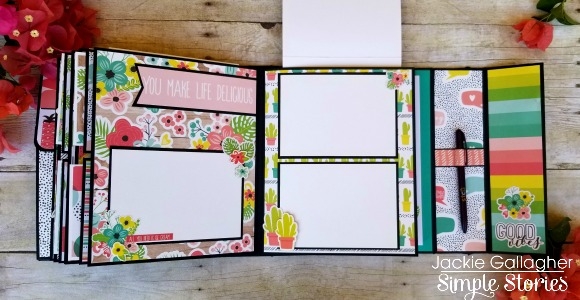
When you open the album I’ve got a HUGE accordian pocket on the left hand side of the album.  Inside I’ve placed a notepad for my children to jot down notes or drawings while we are out and about.  There is also a TON of room for extra photos or memorabilia to be stored.  On the right hand side I’ve created a fun little pen holder.  Each of the pages are pocket pages with top inserts.  So again, LOTS of room for photos!!

This page is super fun with a cute little scooter to hold a journaling card. 

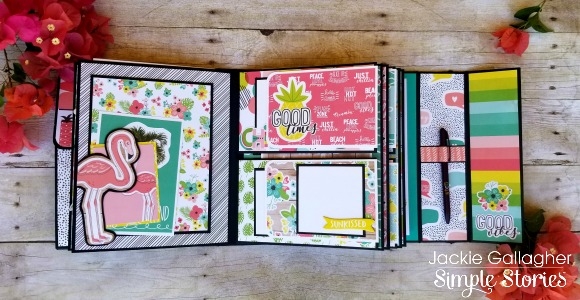
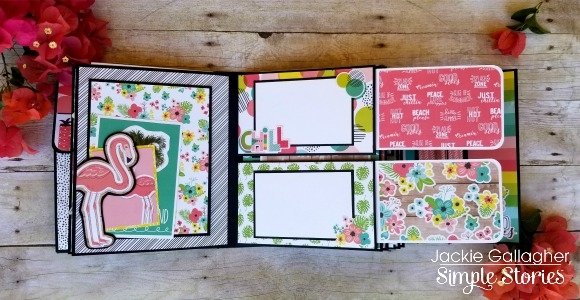
Can’t go wrong with summer and flamingos!!  This guy holds a couple different size photomat and journaling cards.  I was very cautious about keeping all the mats an easy size so all I have to do is print photos and stick them on with little or no cutting involved.  This spread has two smaller pocket pages with side inserts.  The pull out for lots of extra photo or journaling storage.

I love this spread!!  “I dream of summers that last forever”!!!  LOVE it!!  I’m a summer girl so this collection really has my heart!!

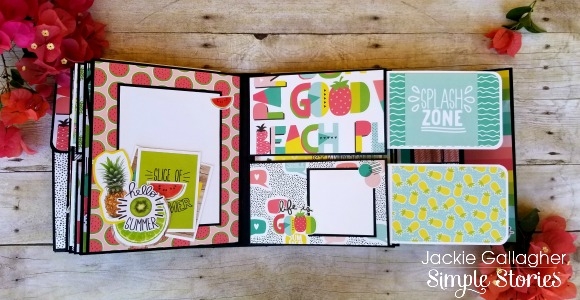
These two inserts I made specifically for using a white gel pen on the back of the black cardstock for some journaling!!  I know my boys will enjoy helping as this house is in full blown “splash zone” here!!! haha

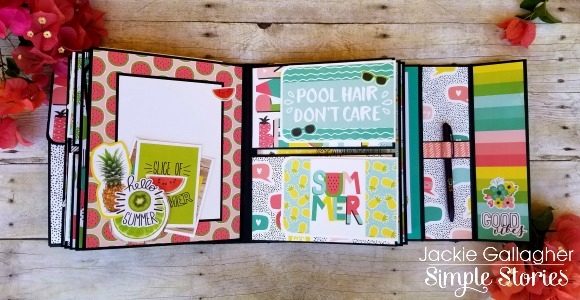
Here’s another spread with the side pockets.  Pool hair, don’t care, and the last of the pages. 

And lastly, we’ve got a big notepad on the back cover for lots more journaling, drawings or whatever else we need!!! I’m so incredibly excited to fill this album up!! 

You can also watch a full walk-thru of this mini album HERE

Thanks for stopping by!!  Hope you have a wonderful day!!!

Supplies

Pages