July 2020 Blog Posts

Hello paper crafting friends! Anya here today to share another project for a super fun Kate & Ash collection! I really enjoyed the color palette and patterns in this line! Typewriters are still very popular icons these days and I wanted to make little mini book in its shape.

For the cover I needed more subtle patterned, since there are a lot of die cut details, therefore I used coordinating solids and textured dots papers for it. I also used a few flowers I had on hand to decorate the cover and cut a few leaves with Silhouette to finish the floral cluster.

Next, I cut a bunch of patterned paper overlays for all of the pages and paired them up to coordinate with each other nicely. I always like to see how a little book comes to life in this process step. 

After I add patterned papers to all of the pages, I like to add a few element pieces cards and white frames for photos.

One of my favorite steps is going back and forth adding little details with ephemera, stickers, chipboard and more. Little phrase strips are my most “go to” embellishments in this type of projects! They are perfect to add a little color and meaning to almost any spot!

If you can't remember the last time you made a mini book, maybe it's time to create one. There's just something so satisfying in holding a fresh new handmade mini album! Having a collection of mini books is even more exciting and rewarding! Thank you for visiting and happy crafting!

Supplies

Teenage boys can be hard to scrapbook about!  Then you add a tough situation and it gets a little more challenging.  Bro & Co was perfect for helping me tell the story of my oldest son waiting for an MRI after having a seizure.  It's not really a moment a mom wants to ever encounter, but since we did, we need to tell the story!

One of the cool things about this collection is that it has so many on-trend items.  I know it will make it easy to scrapbook a lot of everyday moments.

You simply can't go wrong with stars for those boy layouts, no matter what their age is, they work so great.  The colors in this collection really make these ones shine for teenagers.

Patterned papers are also abundant in style and colors for this one.  I couldn't resist this retro striped one.  After cutting it out into a circle, I cut out the stripes on another sheet of it.  Then I layered the circle onto white paper with the additional stripes continuing outward on both sides.

The colors in the stripes then guided me in choosing embellishments and title colors.  My title combines both Foam Stickers and Color Vibe Letters.

While there aren't a ton of elements on this layout, I really gave a workout to the ones I did use.  If you'd like to see more detail on how it came together you can check out my YouTube channel for a full process video.

Thanks so much for stopping by today!

Supplies

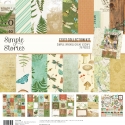
Hi everyone! Odessa here. Toady I am sharing some SN@P! pages I made using one of the new Flipbooks and the Simple Vintage Great Escape Collection. I love camping. Planning where we’re going to pitch our tent throughout the summer is one of my favourite things to do in the spring. We have so many beautiful places within a few hours of us and I like to check out as many as I can. Where we live it’s a lot of forest-y campgrounds so Great Escape is perfect to go with all my camping trips!

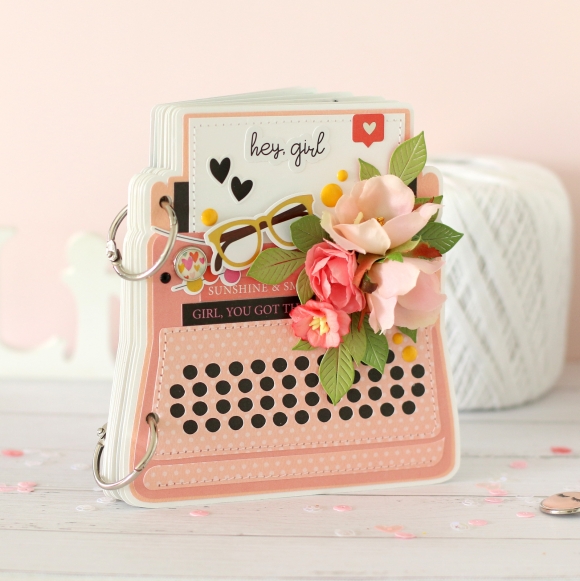
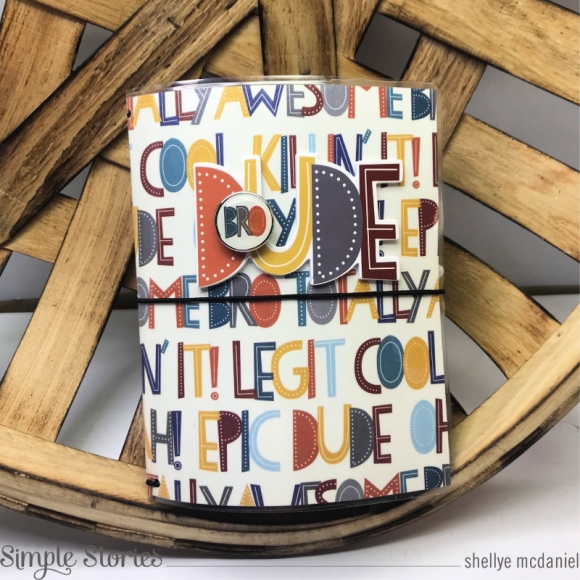
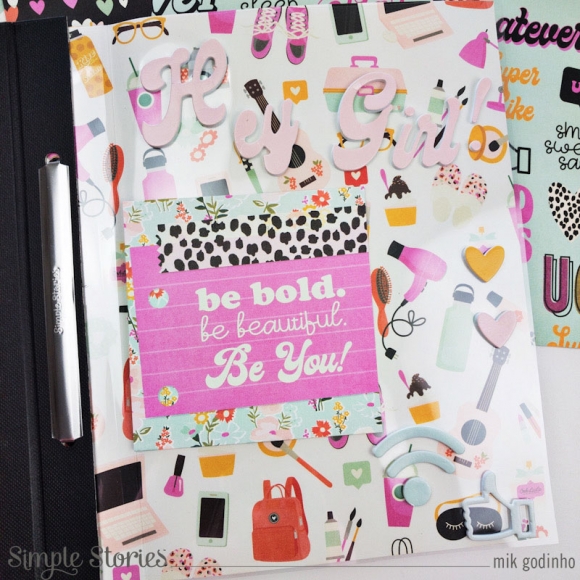
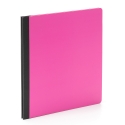
The new Flipbooks are such a great way to make mini albums that don’t take up too much space on my shelves and work great with the SN@P! cards and embellishments I use in my albums. I used the Simple Vintage Great Escape Wild & Free cardstock to make a cover for the Green Flipbook I chose to match the collection. I was going for kind of a field notes kind of feel with the cover and added a strip of the Time for Adventure cardstock down the edge to mimic a notebook.

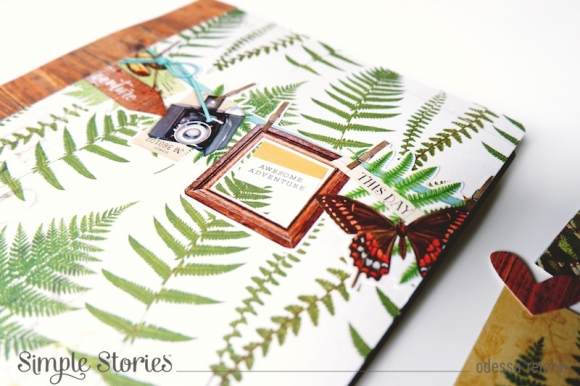
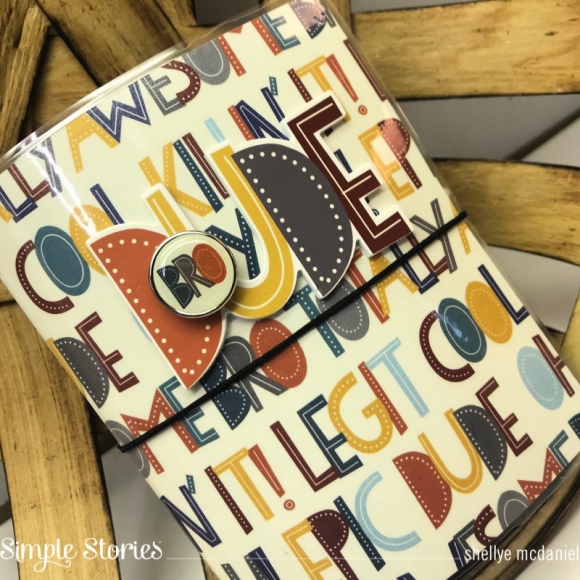
To embellish the cover I used one of the Simple Vintage Great Escape Banner Stickers across the front. These stickers are packed with imagery so I kept it simple and used one of the paint chips from the Combo Sticker sheet to fill in the empty frame.

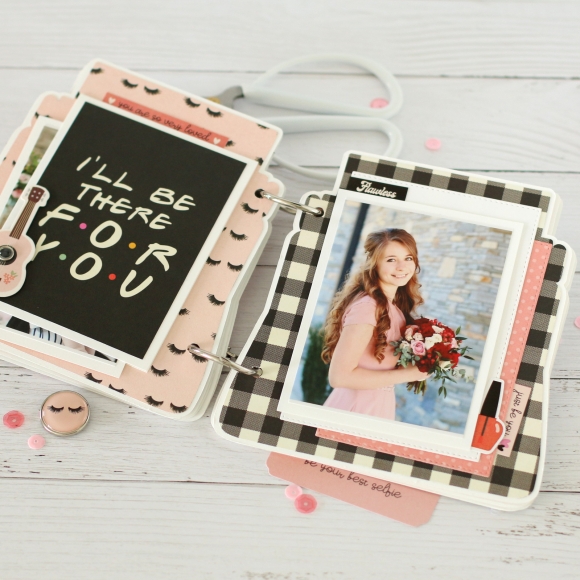
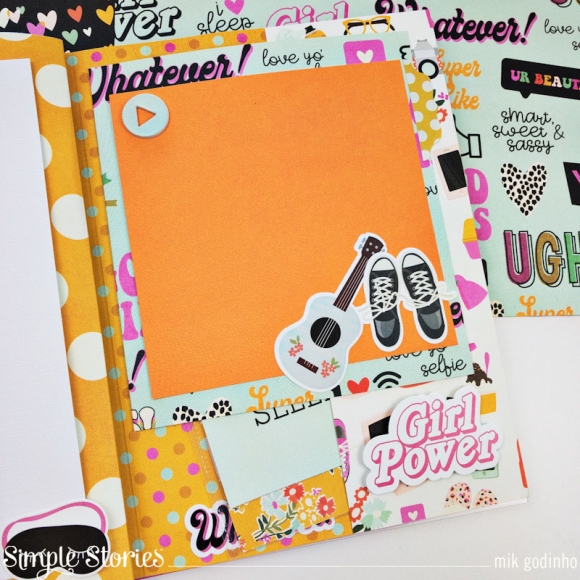
On the first page I have a 4x6 Journal card from the 4x6 Elements card stock with a big tree filled photo underneath it.  I love all the woodsy colours of Great Escape!

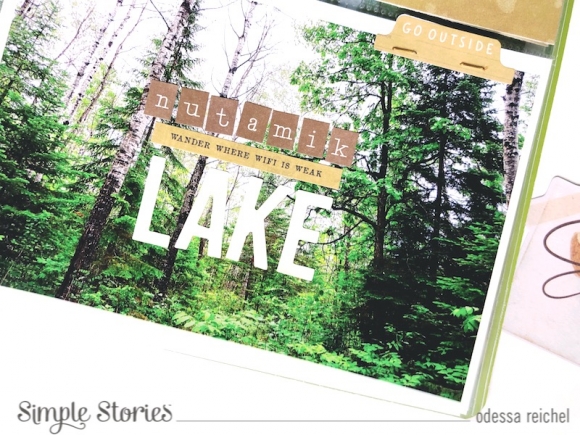
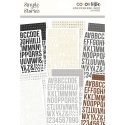
I used a phrase sticker and a tab from the Simple Vintage Great Escape 4x6 sticker book to embellish my photo and added in a title using the Basics Alpha Sticker Book. There’s a great range of sizes in some basic colours that make making this title easy.

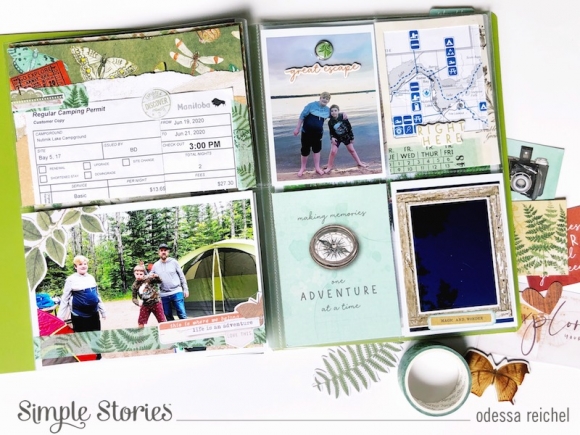
I love incorporating maps and things like that in my albums, especially from camping trips. I pulled out a map and camping permit to use on this page along with some photos. I used a mix of Washi, Bits & Pieces, stickers, chipboard and brads from Great Escape all over this page. I layered a few different cardstock papers under the camping permit to make it go with the vintage-y look. On the right side I used frames to highlight things. On the night sky photo I used one of the frames from the Combo Sticker sheet. So easy!

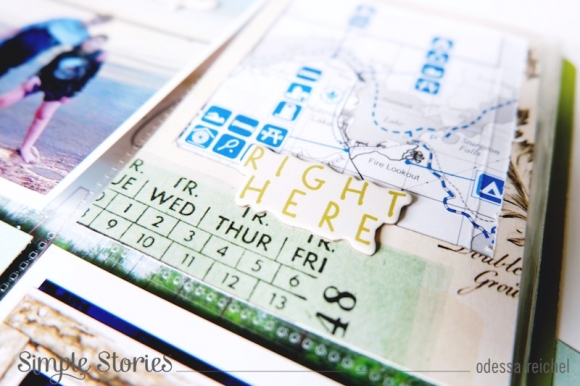
One thing I’ve been doing a lot lately is adding instant photo style frames to photos in my layouts. I used the Loose Yourself cardstock to cut a 3x4 frame for the campground map to make it blend in with the page better and added a sweet script chipboard sticker along the bottom. It really helped make the map work with the rest of the layout.

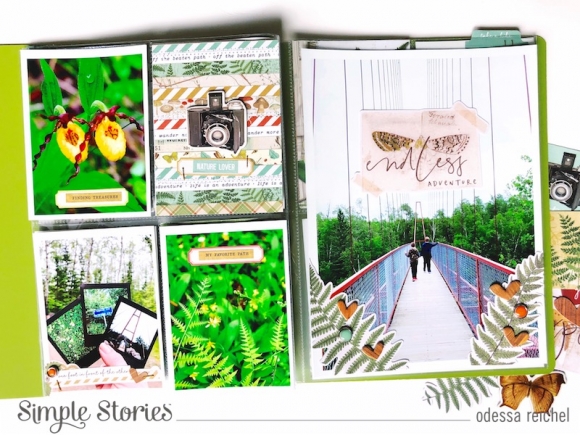
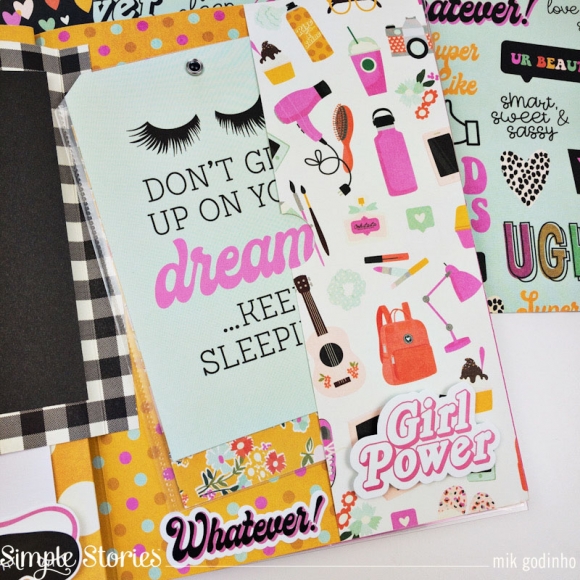
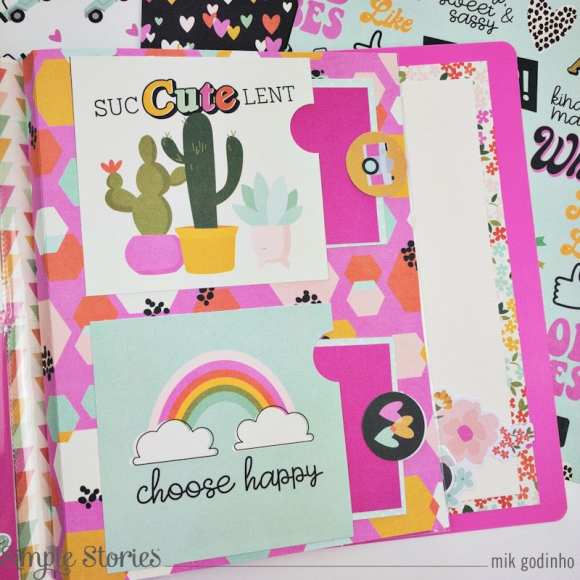
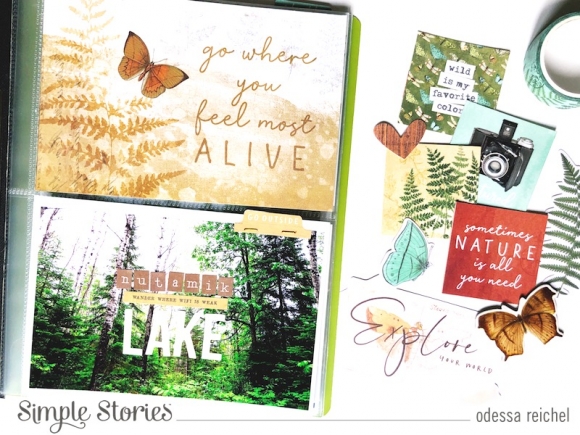
Another reason Simple Vintage Great Escape was so perfect is that I’ve become obsessed with documenting and identifying flowers and plants lately. I used some labels and phrase stickers from the Great Escape 4x6 Sticker book to label my photos in a vintage-y sort of style. I finished it off with a cute 3x4 Journal Card with a chipboard vintage camera stuck on top. It goes great with my plant pics!

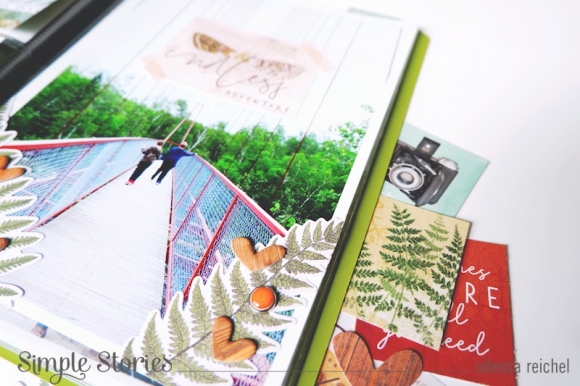
Big photos make me so happy! I printed this 6x8 of my boys and kept the embellishing simple with some Bits & Pieces for a title and the ferns and the chipboard hearts and brads along the ferns for a nice border. So simple and sweet.

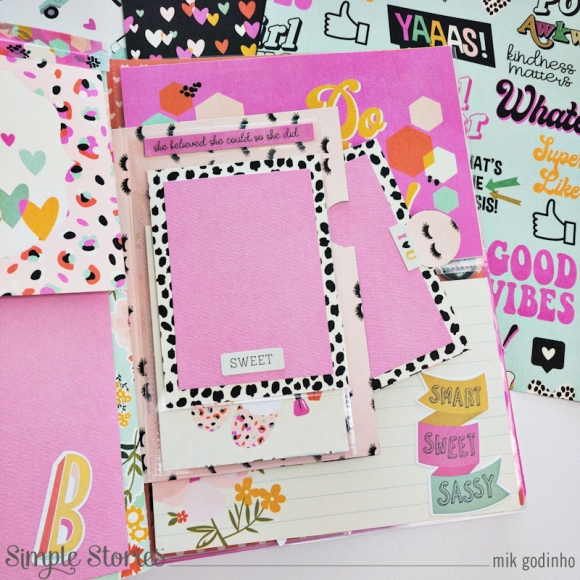
The last page has a nice trio of photos of my fav guys. I used one of my favourite Simple Vintage Collection things on the 4x6 photo - those little paint chips with colour matched embellishments on top. I think I’ve done that with every collection that’s had them. 

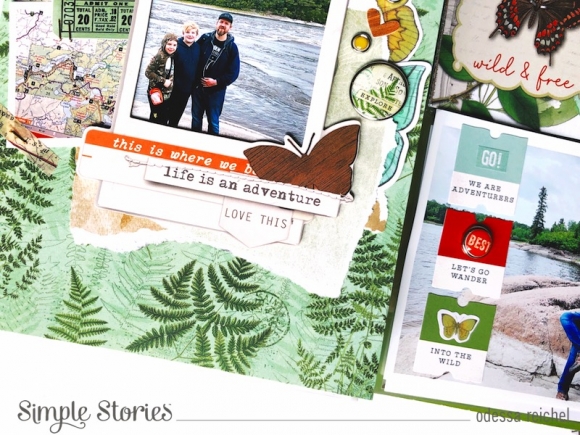
I did another 6x8 layout here, but with a smaller picture. I started by picking out a cardstock background, the hues in Born to Roam are so delicate yet wild. Then I used one of the easy to use Simple Vintage Great Escape Layered Frames over my photo. These frames are an instant way to embellish a photo. I could have stopped there, but I added in some torn paper layers, a couple of small photos and lots of brads and stickers and Bits & Pieces for even more layers!

I hope you enjoyed this look at my SN@P! Flipbook! They are already on their way to becoming a memory keeping staple for me.

Supplies

Several years ago paper bag albums were all the rage. Today I'm sharing a different take and incorporating the handsome "Bro & Co." Collection! I also have a YouTube video available of the steps to create this unique album!

For the cover, I laminated patterned paper and strung the spine with round elastic cording to hold the pages in place.  

Moving to the inner pages:  I took four standard paper sacks and removed the bottom from two of them so they measured 7.5" wide.  The remaining two sacks were left in their original size and folded along the bottom gusset to create a pocket (see video).  

Between the paper bag pages, I added journal cards in various sizes to make the pages staggered.  Tags were tucked inside the pockets.

This is such a fun take on a classic album and I love the kraft paper look mixed with Bro & Co.!  Again, don't forget to see a complete tutorial on my YouTube Channel.  

Thank you for stopping by!
Shellye

Supplies

Hey everyone! It’s Jen today with a layout using the fun, new Kate & Ash collection. I cannot even begin to tell you how much I love these papers and embellishments . . . they are the perfect mix of sass mixed with tons of inspiring sayings! Let’s take a look at what I created.

For this project, I selected the elements that I feel best describe me today. I began by layering patterned papers that I cut on an angle and adhered to white cardstock. My goal was to create a banner that includes my photo with tons of embellishments.

There are so many fun elements in this collection that I had a difficult time narrowing down what I wanted to use.

To give the banner more texture, I machine stitched everything in place as well as around the border of my photo and along the bottom of the layout.

Once I was done with the stitching, I added more of the chipboard, die cuts, and stickers to the banner and on the bottom edge of my project. While the majority of the embellishments lay on the banner, I wanted to be sure to add balance by adding a few elements below it as well.

To complete the layout, I added enamel dots and stamped hearts throughout before placing the simple title above the photo using a foam sticker. This project is so fun and each of the elements truly represents my personality, and I cannot wait to create again with this amazing collection. Thank you so much for stopping by today!

Supplies

Hi there friends! I hope you are all doing well! Tya here today and I am up once again sharing my latest batch of handmade cards with you. I got the pleasure of using the awesome “Bro & Co.” collection and I have to say – I LOVED working with this collection so much!  Maybe it’s because I have a 19 year old son who lives with me so this collection just “spoke” to me. All the funny sayings and icons were like they peeked into my son’s bedroom and read his text messages – it was so fun.

I made 8 cards with this collection. I had a ball using all the different pattern papers as well as the Bits and Pieces Ephemera, the chipboard, foam stickers, combo stickers, decorative brads and a stencil as well. All the products mixed and matched so well! Here are some close ups!

I loved the big, bold words in the Bits and Pieces- like this card with the big “cool” sentiment!

This is the card that I used the stencil on. I laid the stencil over some of the Cream Color Vibe cardstock and used some yellow ink to get the triangles on the paper. I love this geometric look!

If your teenage boys are anything like mine, they are bottomless pits when it comes to food right? I thought the addition of the tacos and this cute tag made for a fun card!

I had some fun with my watercolor paints and made a paint splattered background on this card base. Sometimes the little extras you add to cards tie into the theme and make the cards that much more fun!

This card features one of the super cool foam stickers that are part of the collection. It made for an “awesome” sentiment indeed! The foam is great for dimension on the card as well!

This card shows off some of the fun pattern papers in the collection. The denim and black and white checkerboard papers were some of my very favorites!

My son has those exact checkered Vans in his closet that are on this card as we speak! This is such a trendy collection - it has so many great icons that match exactly what teenage boys are into right now in their lives!

This last card was just a fun way to use some of the products that had the same color scheme. I challenged myself  to only use gray, red and black embellishments and papers and I think it turned out  pretty cute, if I do say so myself!

If you have a teenage boy in your life – you HAVE to pick up this collection today! Sometimes teen boy scrapbook collections can be hard to come by and this collection knocked it out of the park! It is one of my very favorite collections to date and I can’t wait to create more projects with it! I hope I have inspired you to make some of your own cards with the “Bro & Co.” collection. It would be great for birthday cards, or anytime you want to send those little studs some love with a little hello telling them how awesome they are. Thank you for stopping by today! Happy Crafting friends!

Supplies

Thanks so much for stopping by the blog today. It’s Kylie back with you all to share a fun new layout I have been working on featuring the divine Simple Vintage Great Escape collection. This is a lovely ‘outdoorsy’ themed range perfect for scrapbooking and documenting any camping, picnic, bush walking or hiking photos you may have. I’ve documented some photos of my kiddos from when they were ‘much’ smaller, when we took a walk through some botanical gardens.

I love to layer papers together to create a frame. For this page I layered together ‘Made To Wander’, ‘3 x 4 elements’ and ‘4 x 6 elements’. I measure these purely by eye and cut them slightly smaller as I layer them together. I really love seeing a hint of a co-ordinating pattern and colour between layers. I always use double sided tape to adhere them together as I find glue can make the paper warp a little. Using the ‘Fern’ paper I added a decorative punched strip to the top and bottom edge of my page.

Both of my photos were printed in colour to 3.75” x 3.75” and backed with some of the ‘Nature Lover’ paper. I cut an extra 2 squares of this paper and lined them with ‘Time For Adventure’.

Each square was adhered in a grid format to the centre of my page. Using a scalloped circle punch I added a ‘Terracotta’ circle to each blank square. I wanted these to be a fun layered cluster of embellishments and add more colour to my page, so have used a combination of stickers and chipboard stickers to do so.

Oversized titles are my favourite so I couldn’t resist finishing off my page with the large ‘Wander’ word title from the chipboard stickers. Once completed it added a lovely balance to my overall design.

Thanks so much for taking a look at my layout. I hope it has given you a little inspiration for your own scrapbooking. Perhaps you have some ‘Nature’ themed photos of your own for preserving….In which case the Great Escape collection will be perfect!

Until next time!

Kylie.

Supplies

Hello friends! It’s Mik here from Papermiks on the blog today! As soon as I saw the Kate & Ash collection, I remembered my teenage years and how amazing it was. There are always those people who are more like us, who like the same music, the same clothes, the same tv shows ... sometimes sisters, sometimes it’s friends, isn’t it? Now I ask you: how many times have you taken pictures of these moments you passed together with your friends and left the photos lying there, “lost” in your phone? Now the perfect collection has arrived for you to record these special and unforgettable moments!

Today I’ll show you a flipbook mini album inspiration that will get you along printing those photos that have been forgotten in your cell phone.

I love adding pages to my albums and here I’ll give you a tip.

If you look closely at the plastic folders that come with flipbooks, they are different from the SN@P.

You can use the Snap plastic on a flipboook, but you’ll notice that they are a little bit tight when it comes to turning the page. Which is why the flipbook pages have an extra mark. That mark makes a difference when you make the paper pages to add in the flipbook mini album.

So, here is the tip: when you make a regular page 8” ½ x 7” ½ you will need to mark the height in two places on the left side: 1º:  5/8, 2º: 1” ¼. With these marks you’ll have the perfect fold for your page, as well as the plastic folder ones.

On some of the pages, you can see that I made paper pockets and tags to add more photos.

For this pocket I used two pieces of paper 5” x 6” glued around leaving only the top part open. I marked, on the same side that I drilled at the time, 5/8 and 1 ”1/4 so that the pocket had a perfect fold to the point of leaving my pocket free.

I love to use pocket pages and some flip pockets. This gives me more space for photos and it also gives my album an interactive touch. Here's another tip. To give my card a special something, like this black and white detail, I just cut a piece of the black card and left the bottom of the card behind it showing. See how it looks different? It seems that I glued a piece on my card when in fact I just cut it out and let the card decorate the space that is missing. It was pretty cool, don’t you think? I loved it!

If you have any questions, would like to talk some more about mini albums or watch a video showing the inside of the album, come and check out my IG account. I hope you’ve got some inspiration from this idea and enjoyed it!

Thanks for stopping by and have a creative day!

Supplies

Pages