Do Your Thing By Mik Godinho!
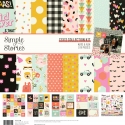
Hello friends! It’s Mik here from Papermiks on the blog today! As soon as I saw the Kate & Ash collection, I remembered my teenage years and how amazing it was. There are always those people who are more like us, who like the same music, the same clothes, the same tv shows ... sometimes sisters, sometimes it’s friends, isn’t it? Now I ask you: how many times have you taken pictures of these moments you passed together with your friends and left the photos lying there, “lost” in your phone? Now the perfect collection has arrived for you to record these special and unforgettable moments!
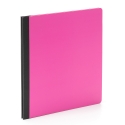
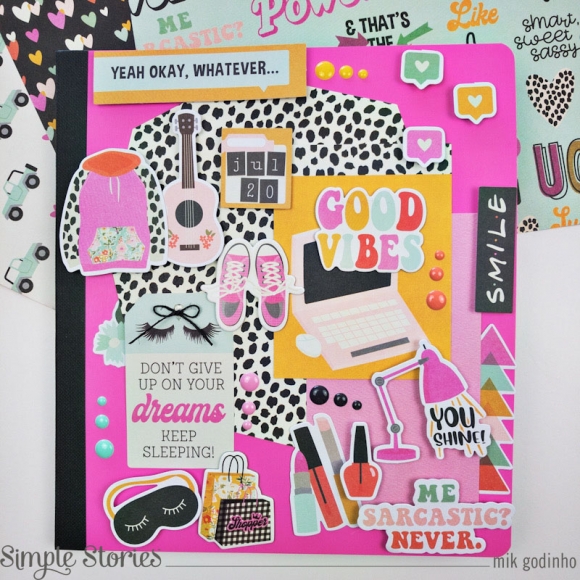
Today I’ll show you a flipbook mini album inspiration that will get you along printing those photos that have been forgotten in your cell phone.
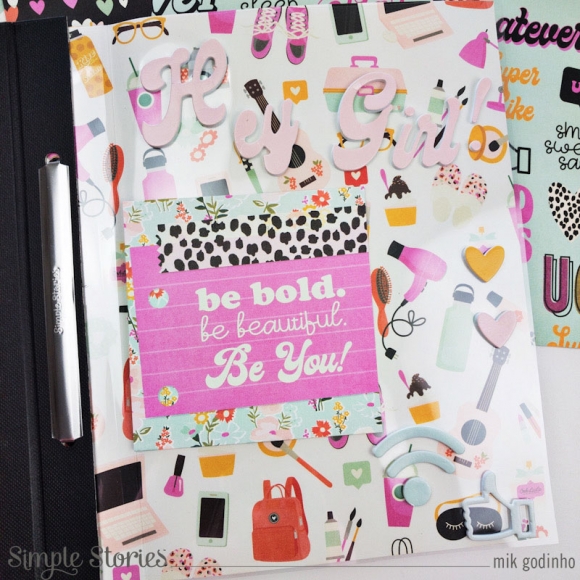
I love adding pages to my albums and here I’ll give you a tip.
If you look closely at the plastic folders that come with flipbooks, they are different from the SN@P.
You can use the Snap plastic on a flipboook, but you’ll notice that they are a little bit tight when it comes to turning the page. Which is why the flipbook pages have an extra mark. That mark makes a difference when you make the paper pages to add in the flipbook mini album.
So, here is the tip: when you make a regular page 8” ½ x 7” ½ you will need to mark the height in two places on the left side: 1º: 5/8, 2º: 1” ¼. With these marks you’ll have the perfect fold for your page, as well as the plastic folder ones.
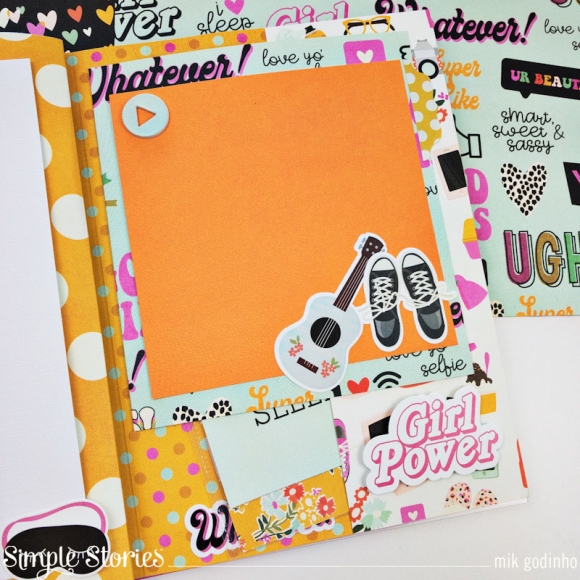
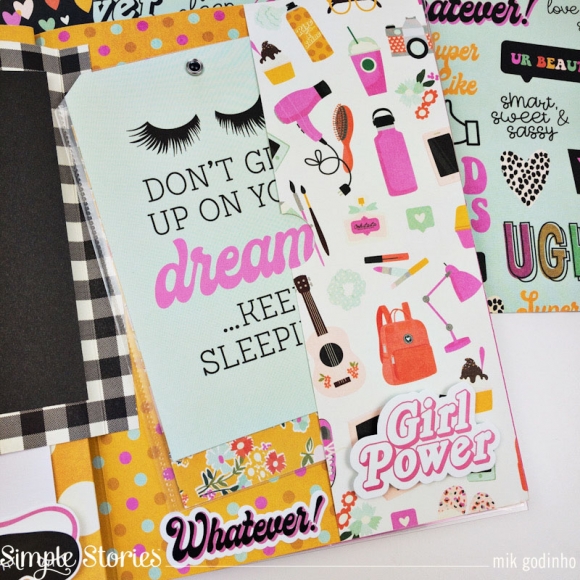
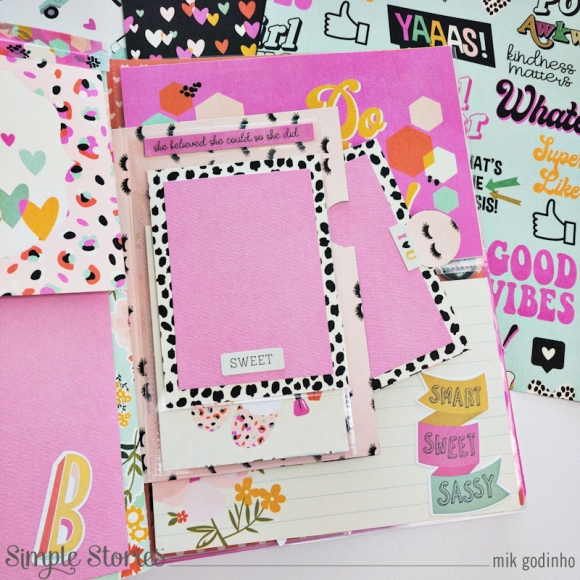
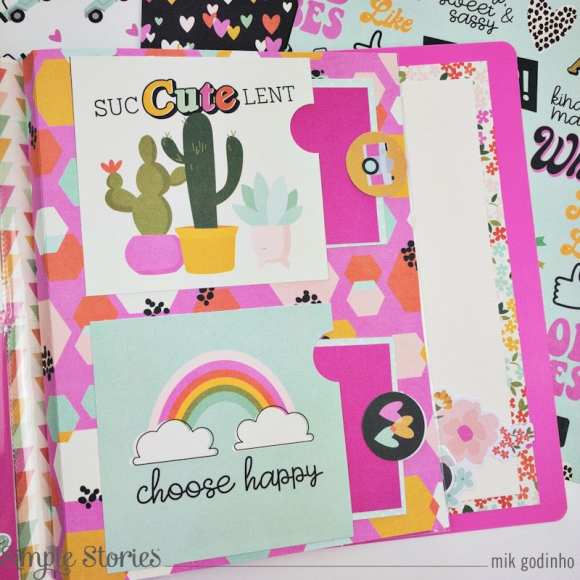
On some of the pages, you can see that I made paper pockets and tags to add more photos.
For this pocket I used two pieces of paper 5” x 6” glued around leaving only the top part open. I marked, on the same side that I drilled at the time, 5/8 and 1 ”1/4 so that the pocket had a perfect fold to the point of leaving my pocket free.
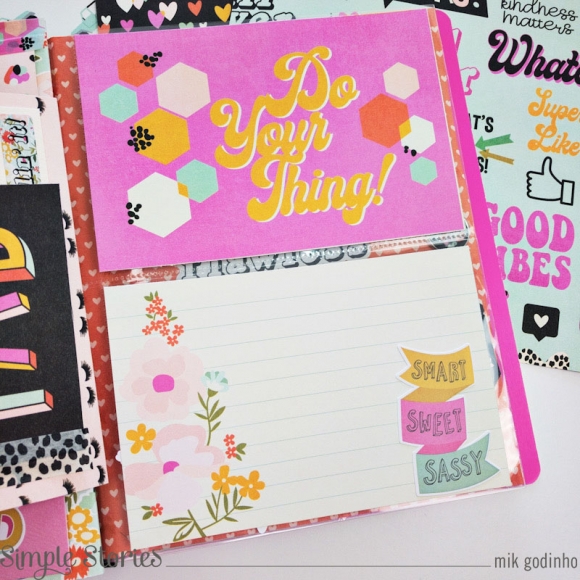
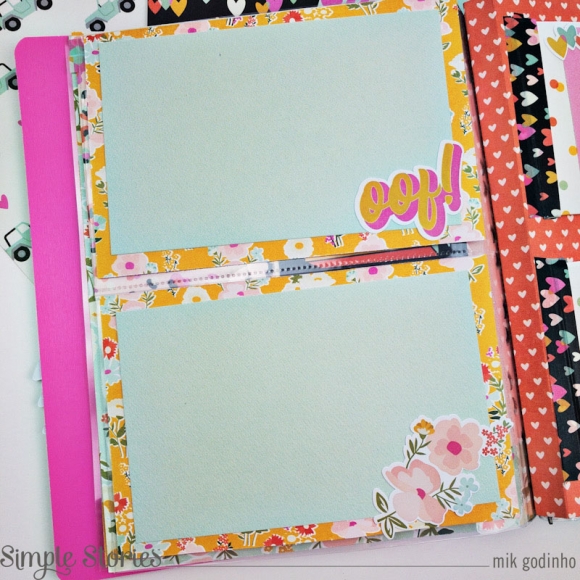
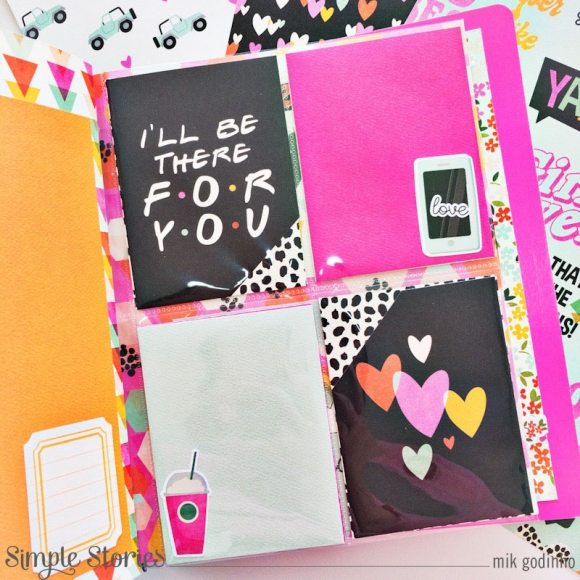
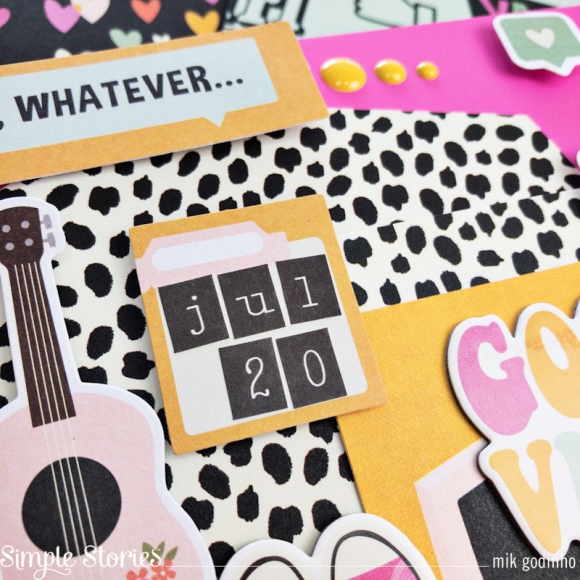
I love to use pocket pages and some flip pockets. This gives me more space for photos and it also gives my album an interactive touch. Here's another tip. To give my card a special something, like this black and white detail, I just cut a piece of the black card and left the bottom of the card behind it showing. See how it looks different? It seems that I glued a piece on my card when in fact I just cut it out and let the card decorate the space that is missing. It was pretty cool, don’t you think? I loved it!
If you have any questions, would like to talk some more about mini albums or watch a video showing the inside of the album, come and check out my IG account. I hope you’ve got some inspiration from this idea and enjoyed it!
Thanks for stopping by and have a creative day!

