Adding Pocket Pages to Your Planner
Hello creative planners! It’s Leah, back on the blog today showing you a few ways to use 4x6 pocket pages to personalize your Carpe Diem planners! When I saw the Summer Days collection, I was immediately inspired to create some new decorative elements for my planner to dress it up for summer time. The tropical designs in the collection reminded me of my honeymoon to Hawaii that I have yet to scrapbook, so I had the idea to print out a few photos from the trip and incorporate them into my planner pages using a few 4x6 pocket pages.
I always keep photos in my planner that remind me of happy times or loved ones. My photos from Hawaii are a couple of years old now but they immediately make me feel happy when I look at them. Since I open my planner every day, I get to be reminded every day of those special memories.
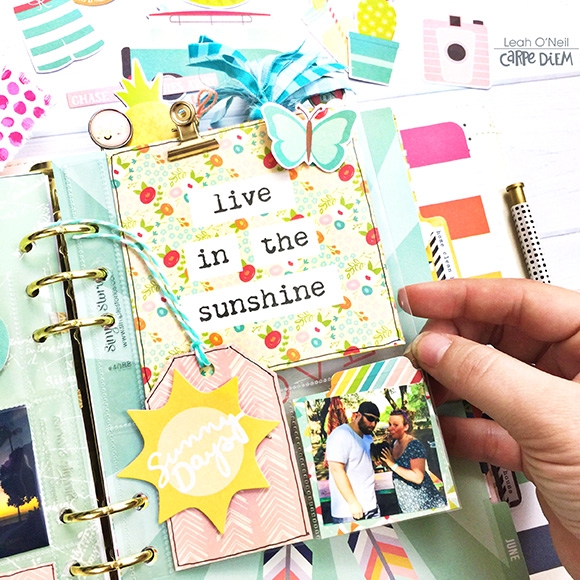
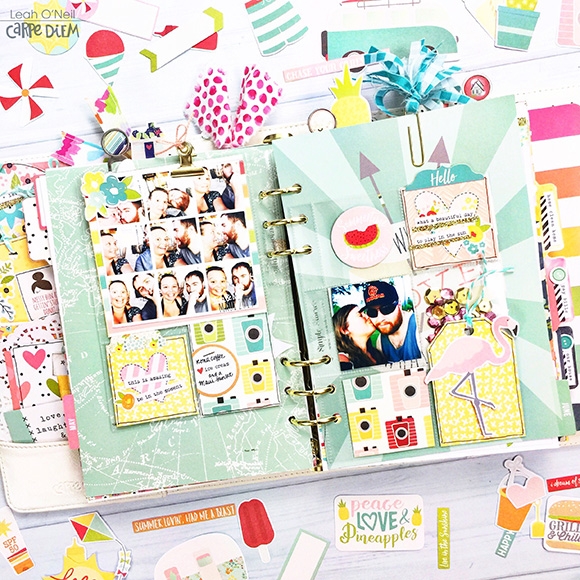
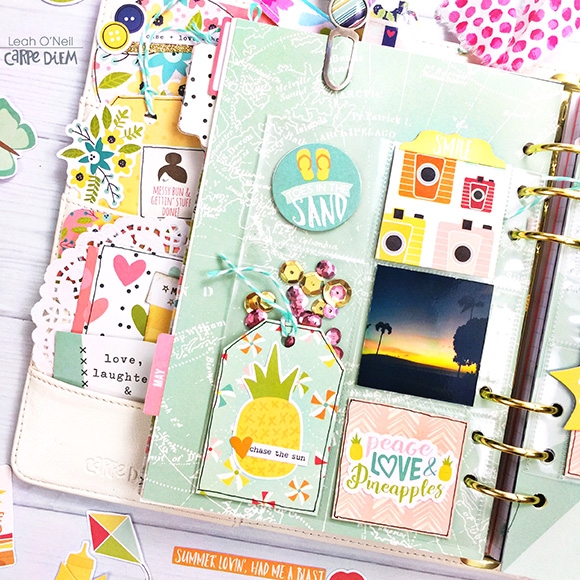
The 4x6 pocket pages fit well into your Carpe Diem planner, you just have to add a few extra holes for the rings. The first pocket page I decorated has one 4x4in pocket and two 2x2in pockets. The 4x4 card inside is cut from this Summer Days 4x4 Elements Paper. I added a butterfly die cut to the outside of the pocket to add some dimension. I made a small tag to fit in the bottom left pocket and added a sun die cut to the outside of the pocket so I didn’t have to trim it down. In the bottom right pocket, I measured and cut a 2x2 square from some patterned paper and added the rainbow tab. I printed a 2x2 photo of my husband and I, and then trimmed it down a bit so that you could still see the patterned paper behind.
On the back side of this pocket page, I printed a collage photo that I made using a mobile app called Pic Stitch. I printed the photo 3.8x3.8” in size. This allowed me to trim the photo down to fit in the top pocket but also let the paper underneath show which added a colorful frame. Instead of gluing the photo down, I used a gold clip to hold it in place. In the bottom pockets, I added a couple more die cuts from the Bits and Pieces pack and a few word label stickers.
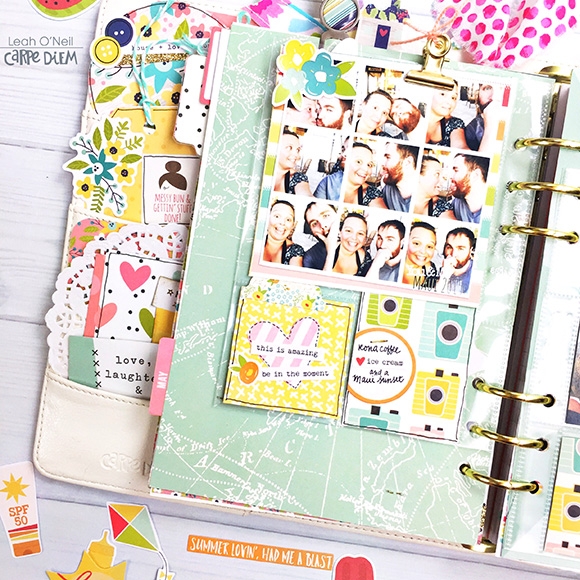
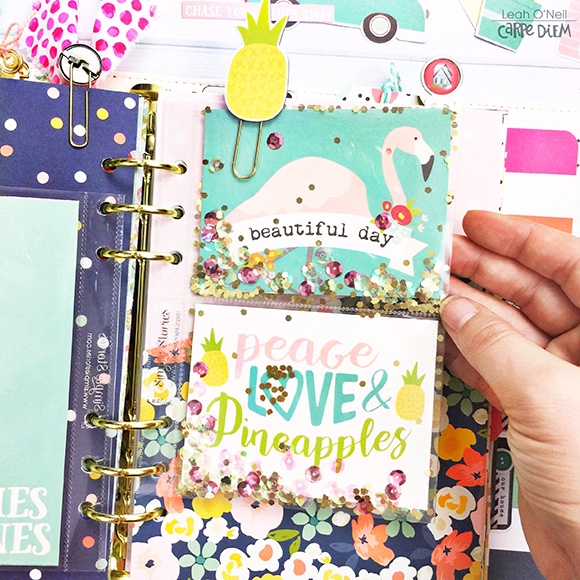
For my next pocket page, I used a page with six 2x2in pockets. Using the same process as before, I cut a few patterned papers down to fit in the pockets and made another little tag. I added some sequins to one pocket and taped it shut with clear Scotch tape. I printed the photo in a 2x2in size.
On the back side of this page, I just printed another 2x2 photo and embellished the other sides of the patterned papers that were in the pockets.
Here are a couple of other fun ideas for how you can use 4x6 pocket pages in your planner:
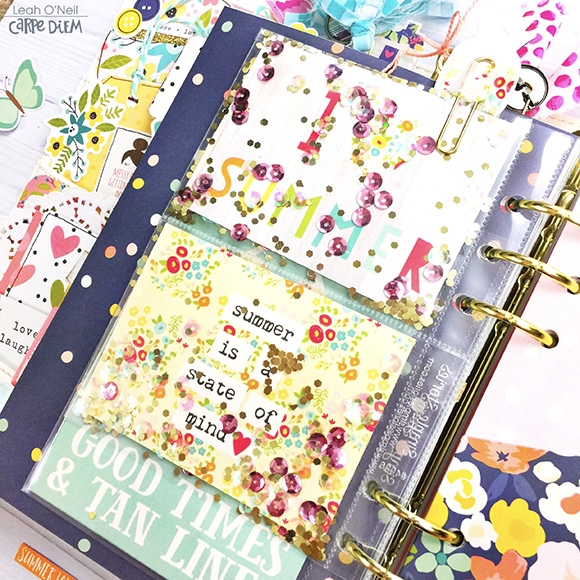
· The pockets on the page below are 3x4 in size. I cut out some of my favorite 3x4 journal cards from this 12x12 paper, then added some sequins and taped the pockets closed to create a super cute and super easy double-sided shaker pocket!
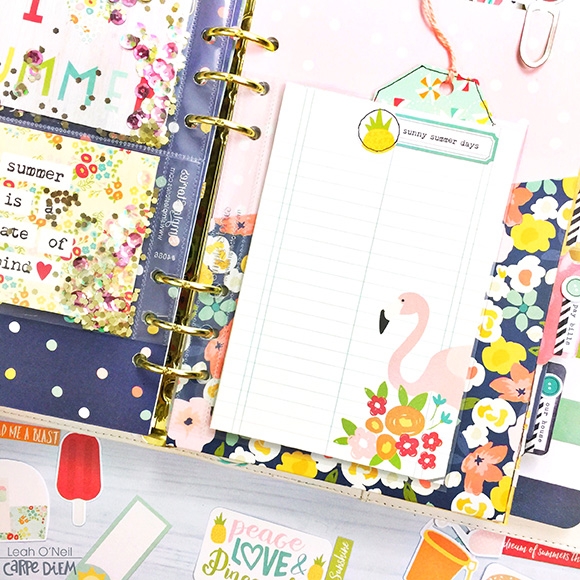
· The pocket page below has one large 4x6 pocket, so I used the flamingo notecard from this 12x12 paper. Putting a journal card into a plastic pocket page is a quick way to create a dashboard that you can write on with a wet erase marker. You could create the same effect by laminating the card, but this process is way quicker and allows you to change out the journal card later if you want.
Now for a little bonus content on this blog post…
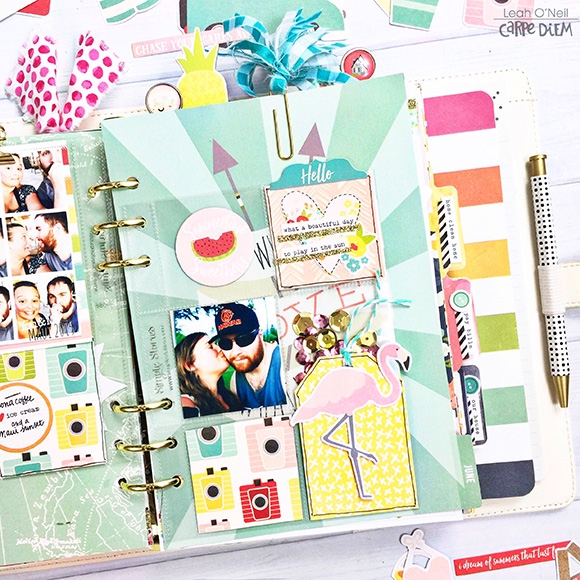
Check out my June monthly layout! The Summer Days collection is PERFECT to kick off my summer planner layouts! Hop on over to my Instagram to see the layout all filled in.
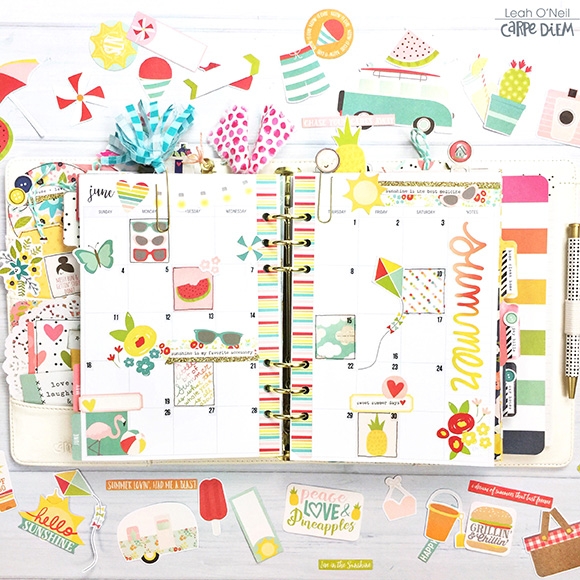
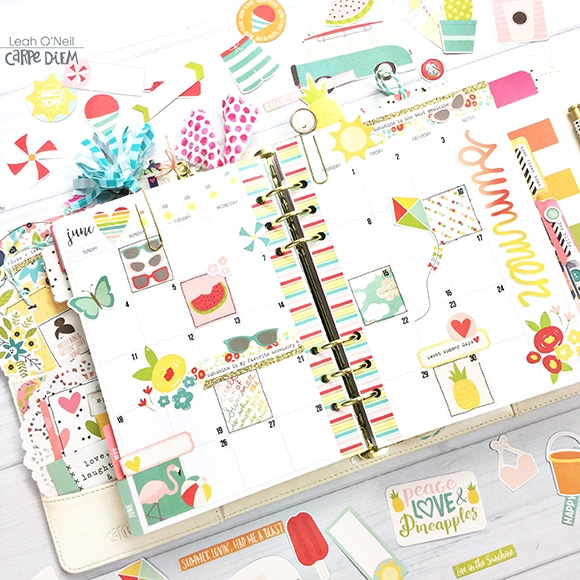
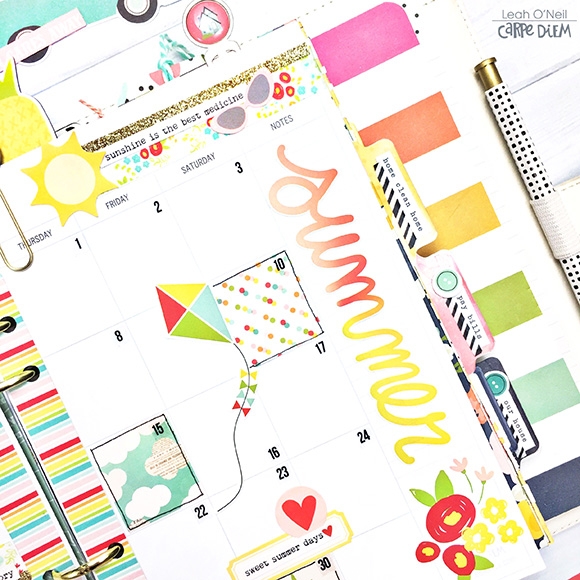
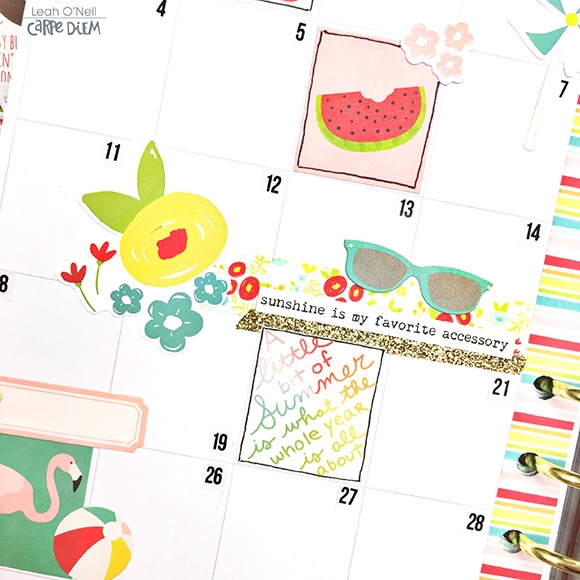
Here are a couple of close up photos!
I hope this post has given you all some inspiring ideas for how to use pocket pages in your Carpe Diem planner. For lots more beeeeautiful planner inspiration and peeks at all the new planner products rolling out this summer, check out the Carpe Diem Planners Instagram! I AM SO EXCITED! What products are you the most excited for?
