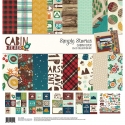
Cabin Fever & Carpe Diem
Hello again, It's Emma. My blog today is all about making dividers using the fabulous new A5 Carpe Diem hole punch! I've chosen to use the Cabin Fever collection for my Marigold planner.
I have to admit that this collection is not the style or colours I would normally turn to but that being said, I always like to try to push myself out of my comfort zone and explore new ideas!
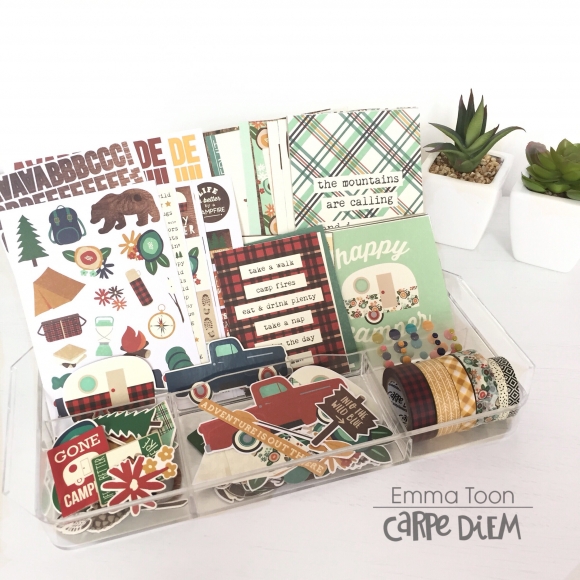
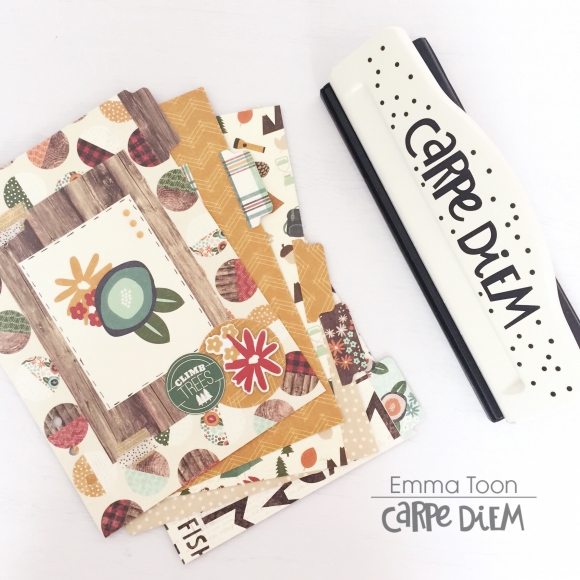
This collection, as all the Simple Stories collections, is positively overflowing with products. The first thing I did was cut the element pieces from the 12x12 paper collection kit, pop out all the chipboard stickers and fill this handy tray with everything I needed, so it was all at hand.
I picked out the coordinating washi tapes I wanted to use, filled a section with the bits & pieces and was all set to start creating!
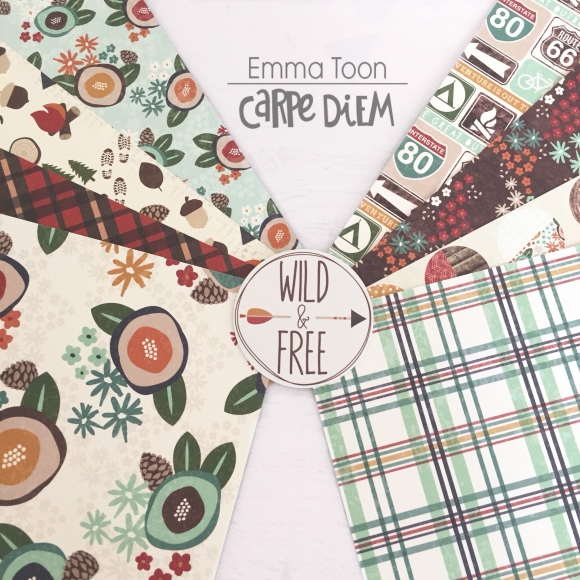
The 12x12 papers are just perfect for divider making as they are double sided and a good quality cardstock so there's no need to laminate.
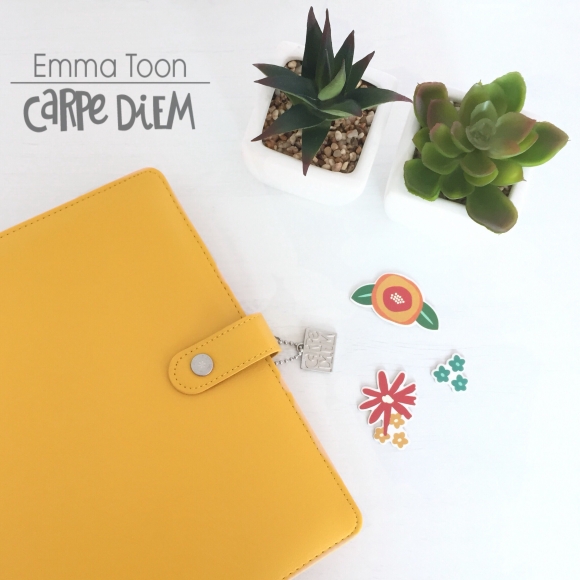
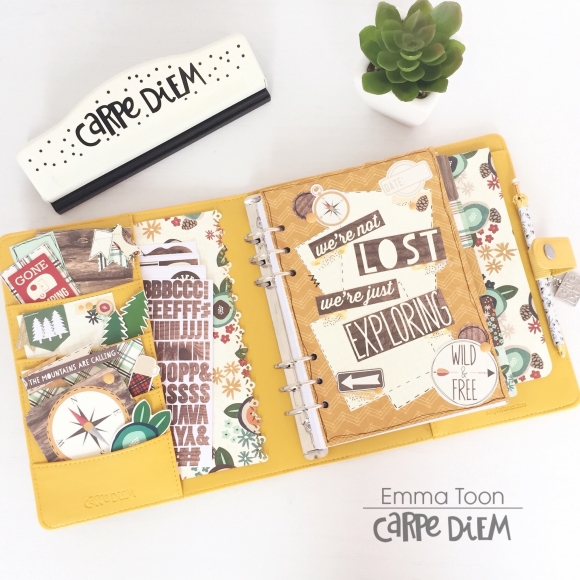
I choose the Marigold planner for this collection as the colours work perfectly with it.
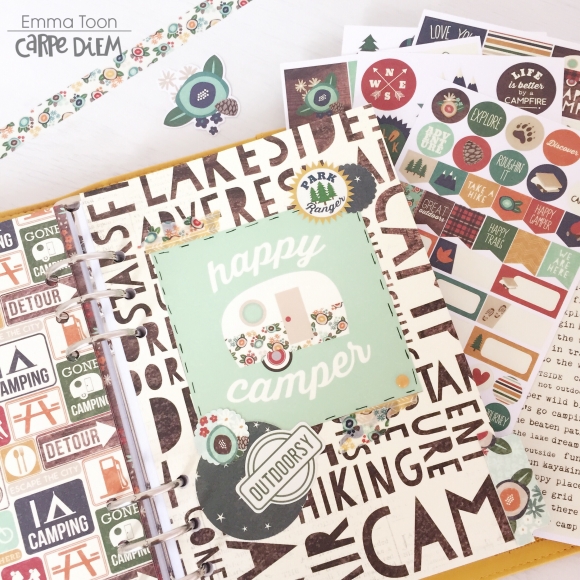
I chose a selection of chipboard elements, bits & pieces and cut up some of the papers to fill the front pockets, I also used a border punch on another piece of co ordinating cardstock and tucked it in the large front pocket, I like to do this just to tie in all the colours. I do also like to keep the sticker sheets tucked in this large pocket so they are always to hand when I'm setting up my weekly pages.
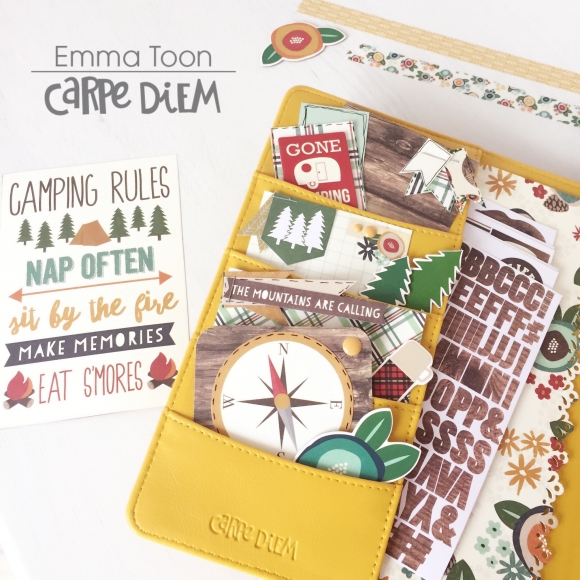
The dashboard is one of the first things you see when you open your planner and I like to imagine it being like the front cover of a book, it's what makes you want to look inside and turn the pages!
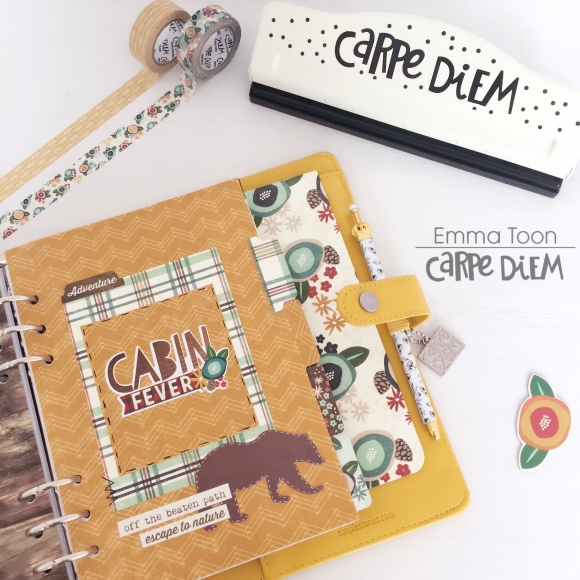
Now, I just can't tell you enough how awesome the new A5 CarpeDiem punch is!!...I've tried using many different punches over the years and had many disasters!! This punch is so easy, there's no messing around trying to line it up as it does it all for you, literally slide your paper in until it won't slide any more, this means it's in position, punch, and away you go!!
Making these dividers was an absolute pleasure using the punch!
To make the dividers I draw round an existing divider on the cardstock I want to use to get the size and then I cut out with scissors, this is purely because I'm useless with a trimmer!! I use a tab punch but it's really not necessary, you can again just trace the tabs and cut by hand. I make the holes in all the dividers before I begin decorating.
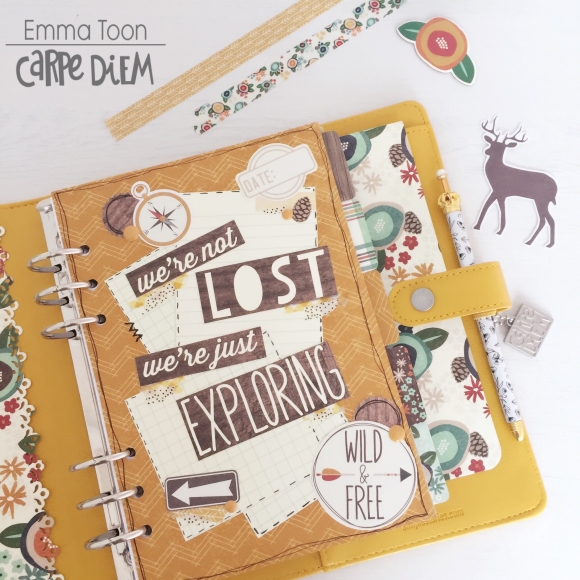
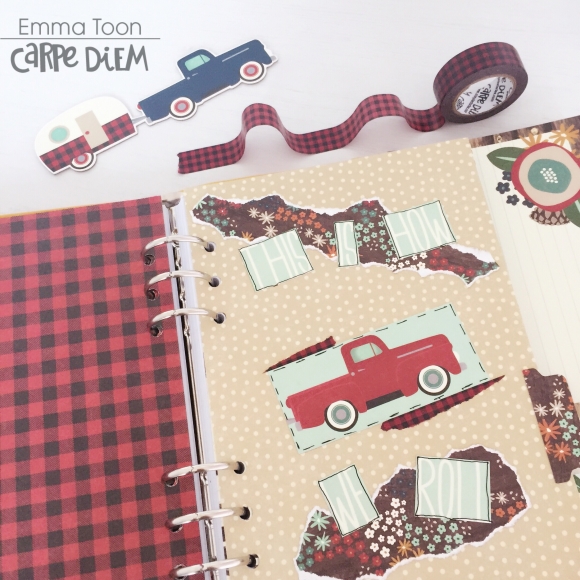
You'll see from the pictures that I like to use lots of layers on my dividers and I also like to mix the designs up by using differing techniques, for example I may layer with papers that are cut with nice clean lines for one divider but on the next I'll use papers that I have ripped roughly.
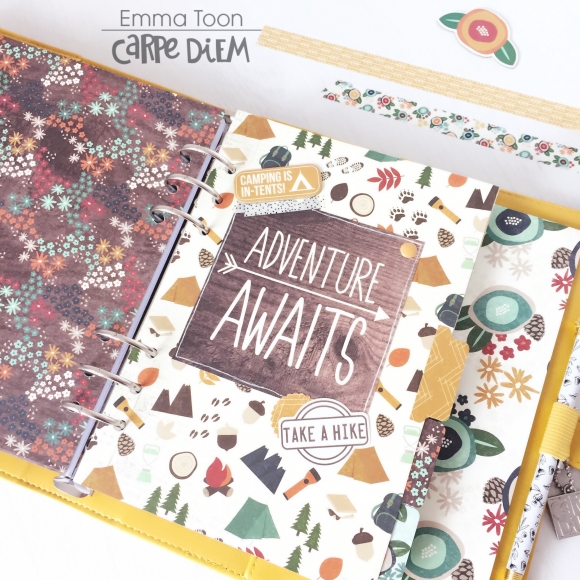
To make the different layers pop I like to add 'faux stitching' around the edges, and I'm quite happy to do this with quite a rough, some might say 'messy' finish, but the homemade effect appeals to me.
We all have our own styles and that's what's so nice about making our own dividers because we have free reign to make them however we like!
So to say this planner is very different from my usual style I actually really like the finished look! ...it just shows, we should all try and push our boundaries and try new things!
I hope you have enjoyed reading this blog and possibly taken a little inspiration, if you would like to see more of my projects then please pop over to my Instagram account https://www.instagram.com/heartsbyemma
Supplies