Domestic Bliss Planner Setup
Hello everyone, my name is Kelly and I am one of the new Carpe Diem creative team members! I live in the Netherlands and I am totally addicted to decorating my planners, you can find me on Instagram as createplannernl. For this first blog post I decided to show you how I setup my Ivory Carpe Diem planner using the Domestic Bliss collection.
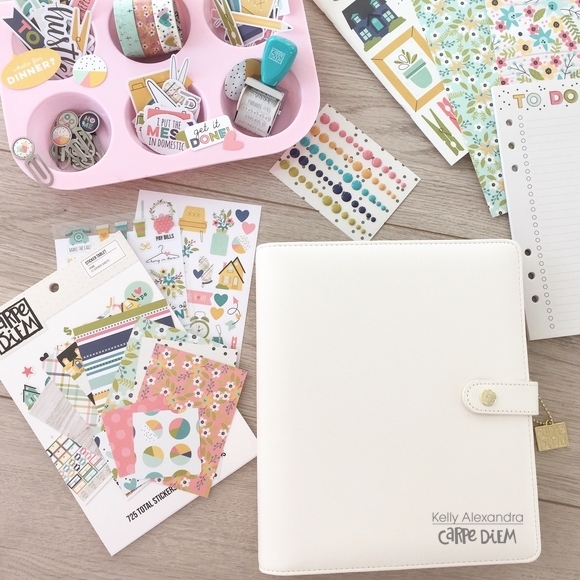
The first thing I do when I am setting up a new planner is place all the supplies I want to use (such as clips, washi, bits and pieces, stickers, paper, etc) around me so I can see everything. I have a little cupcakeholder which is perfect to put in all the smaller items so you can easily look through them and see them. Now the fun can begin!
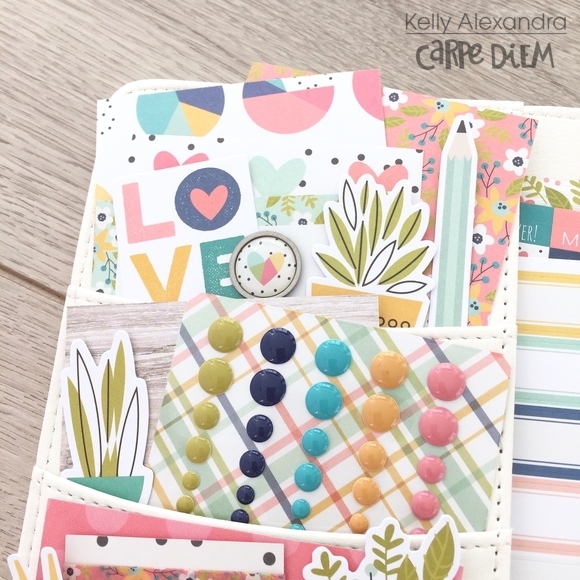
I always start by filling the front pockets, this is one of the things I love about these planners. I try to use all the different patterns of the collection by adding journaling cards, clips and bits and pieces. The enamel dots fit perfectly in one of the pockets, so I decided to put them in there.
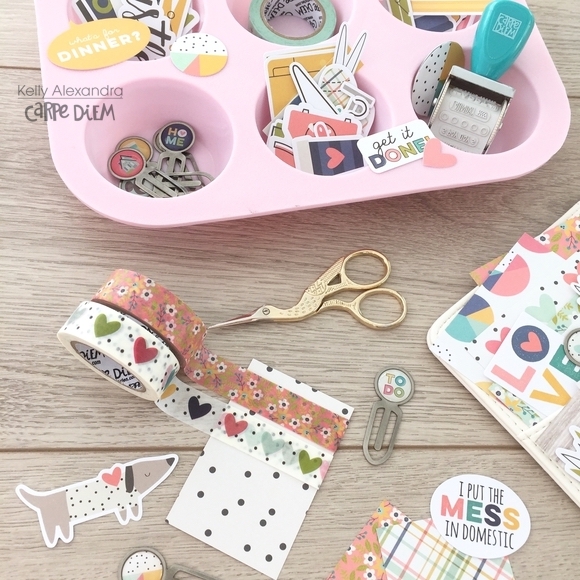
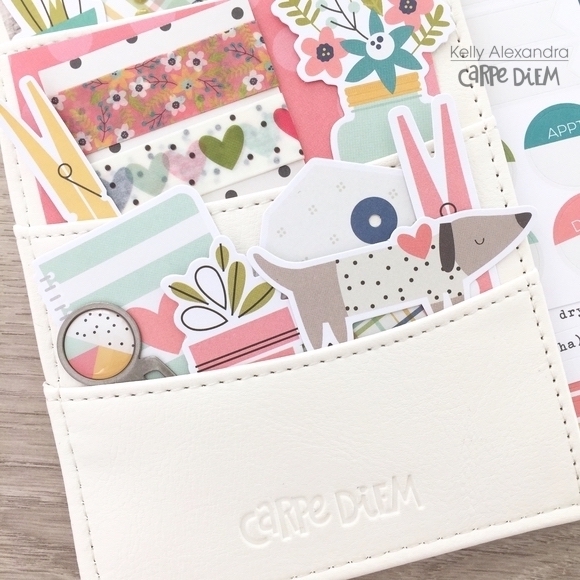
I added a little sample of the washitapes in one of the pockets. I cut down a little card and wrapped the washitape a few times arround it. It’s very easy to create and this way you always have your washi on hand when you take your planner with you.
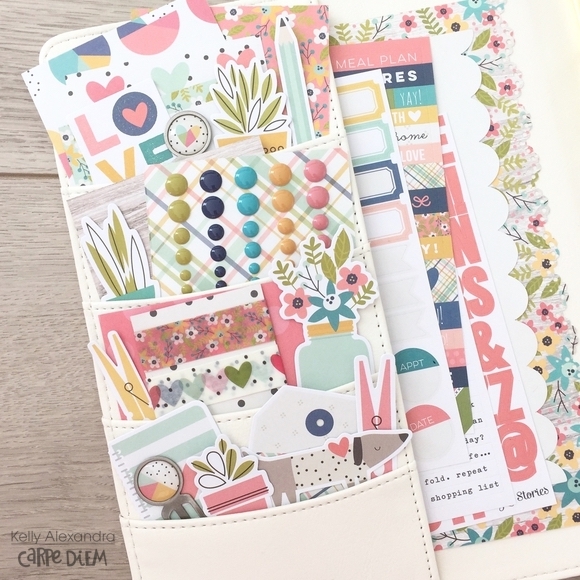
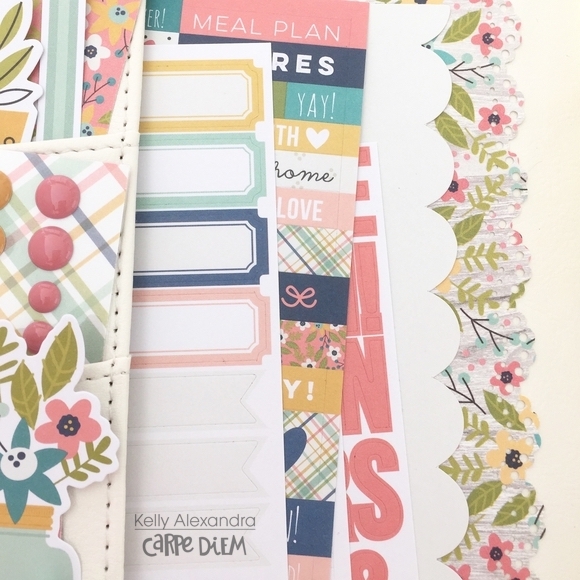
In the large side pocket I like to store a few stickersheets which I want to use in my planner. For decoration I used a borderpunch to create the doily lace effect on the scrapbook paper in the back.
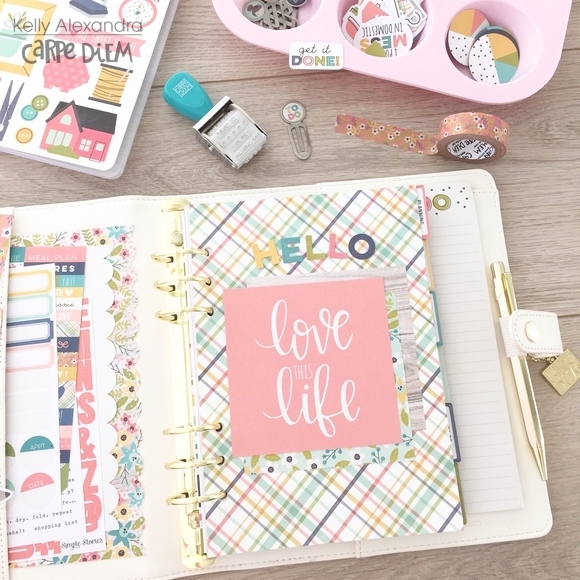
Now that the front pockets are done, it’s time to start on a front dashboard! Since this is the first thing you will see when you open the planner, this is very important. I selected a scrapbook paper, cut it down to size and punched some holes. Because in my opinion the front pockets are very busy, I decided to keep the front dashboard a little bit more calm this time. I used the letters ‘Hello’ and three 4x4 cards from the SN@P pack.
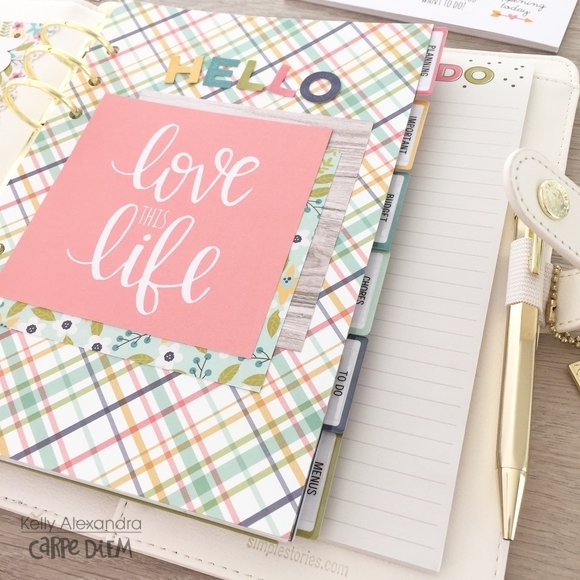
With the Domestic Bliss A5 planner insert set you get six dividers, which you can customize to your own needs by choosing your own tab headers. I chose these sections: Planning, Important, Budget, Chores, To do and Menus.
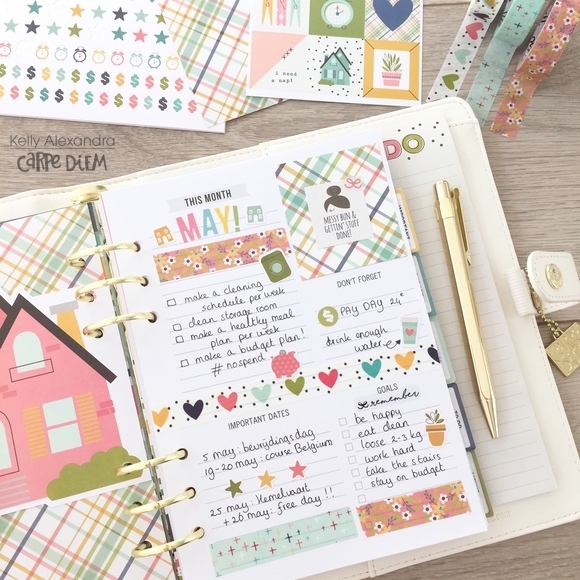
After the first divider I put some undated monthly and weekly plannerpages. I decorated the ‘This month’ page with some washi and stickers and wrote down a few important appointments and goals.
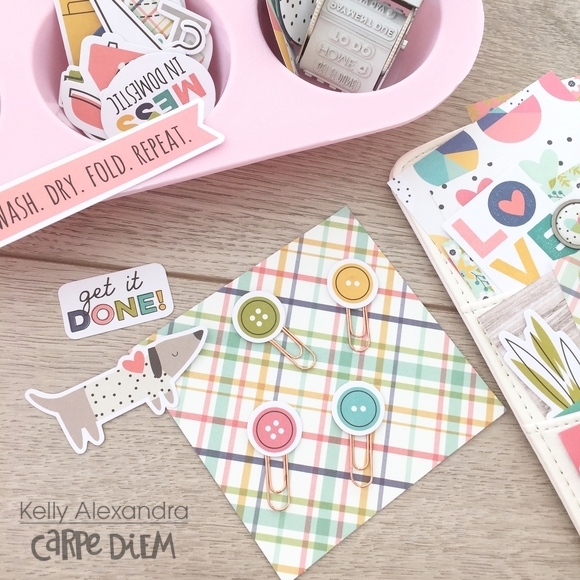
In the ‘Bits and pieces’ pack I found four little button pieces and I immediately figured they would look amazing as DIY paperclips. I just glued them on rosegold paperclips and let them dry overnight. This is a fun and easy way to make you own paperclips!
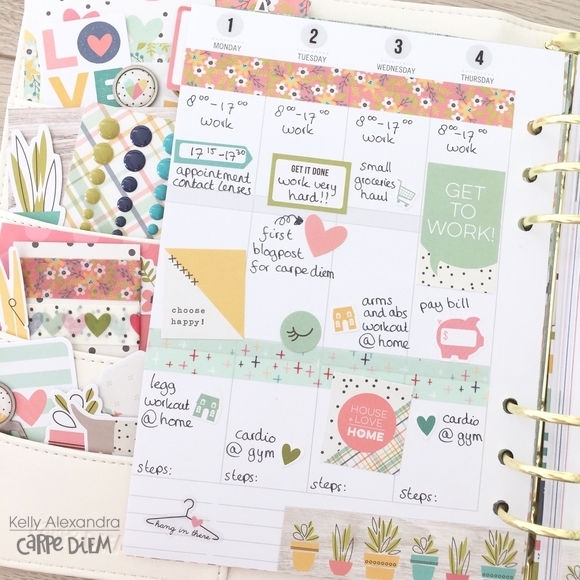
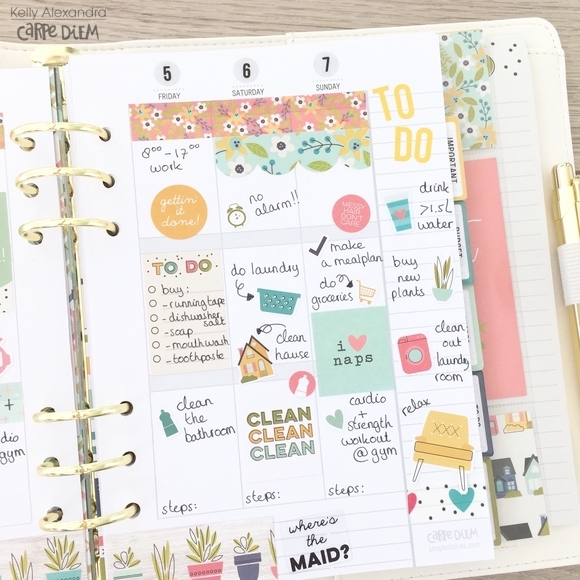
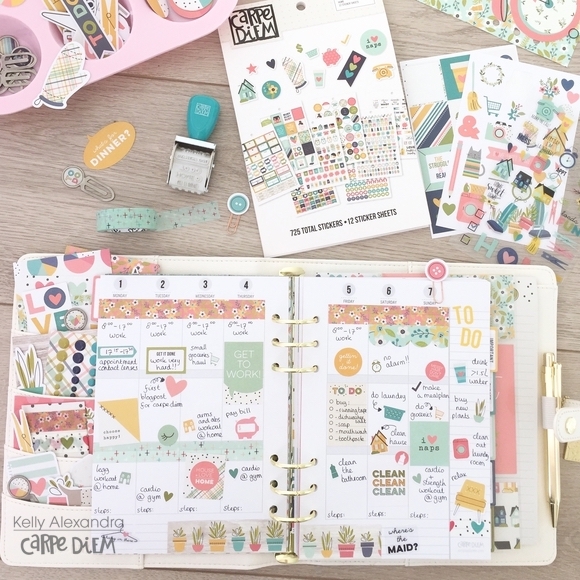
On this blog I wanted to show you how I decorated the first week of May. I always begin with placement of washitape strips, thereafter I write down important appointments and then I decorate blank spaces with stickers or little cards.
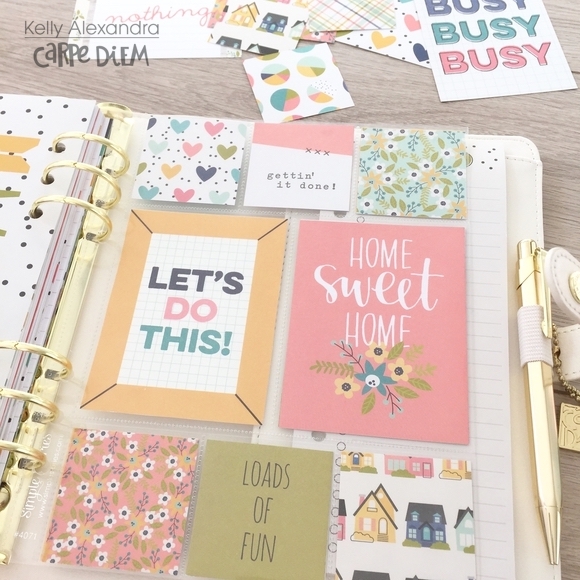
I love using pocket pages in my planners and because I don’t have a tool to make them myself, I decided to use a pocket page that are originally designed for the SN@P albums. I punched four extra holes so it fits the planner perfectly! I selected some 2x2 and 3x4 cards with quotes and patterns to give it a pop of color.
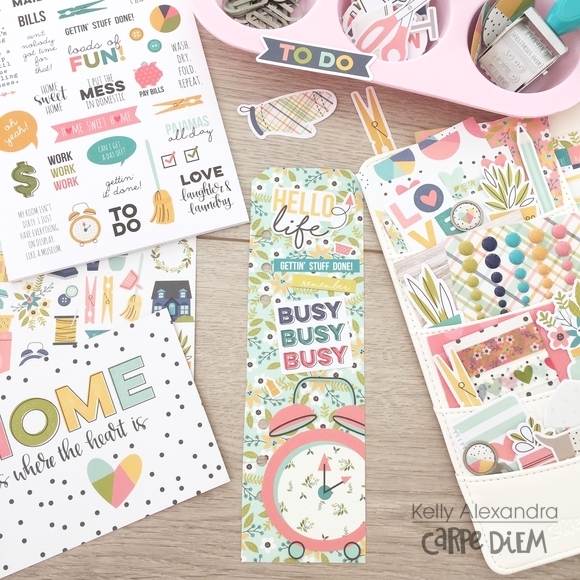
When I setup a planner, I always create a DIY bookmark. I selected one of the scrapbook papers (‘Loads of fun’), cut it down to size and punched six holes. To decorate it I used some pieces and stickers.
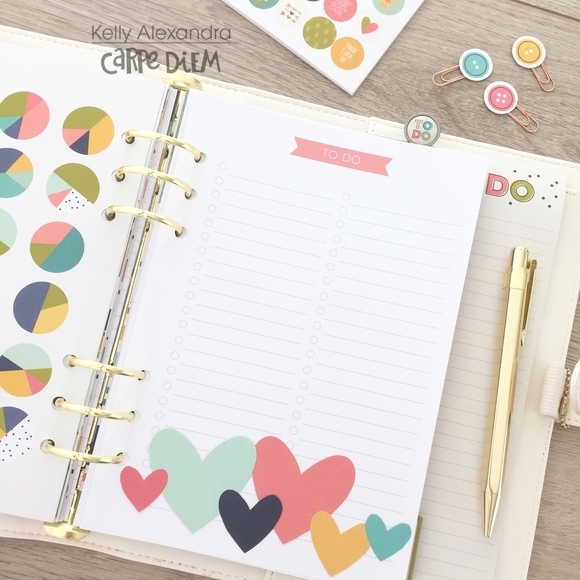
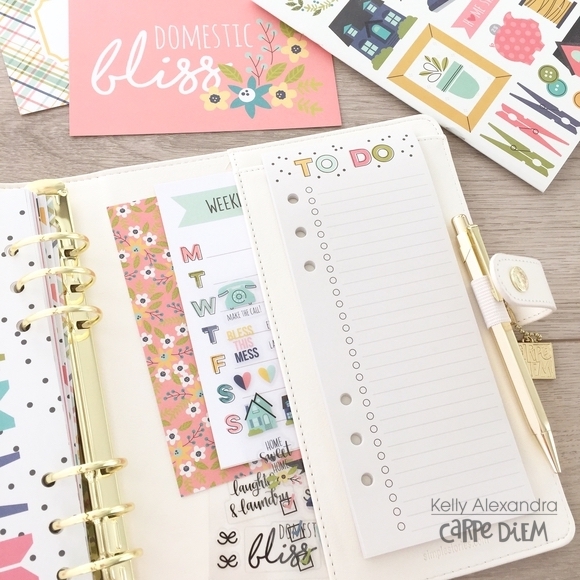
I love these ‘to do’ pages and the ‘to do’ bookmark! In the back pocket I put some extra 4x6 cards and clear stickersheets.
Now the setup of this planner is complete, I can start using it every day. I hope I have inspired you today on this blog and see you next month. Have a great day!

