Good Morning Cardmakers By Anya Lunchenko!
Good morning cardmakers! What is your first go-to product when you are creating a card? I love to check 2x2”, 3x4” and 4x4” elements in the paper collection and find the ones that I like to use on my card. They are always a great starting point for a card! Anya here today, and I would like to share six different ideas how you could incorporate some of those elements into your cards.
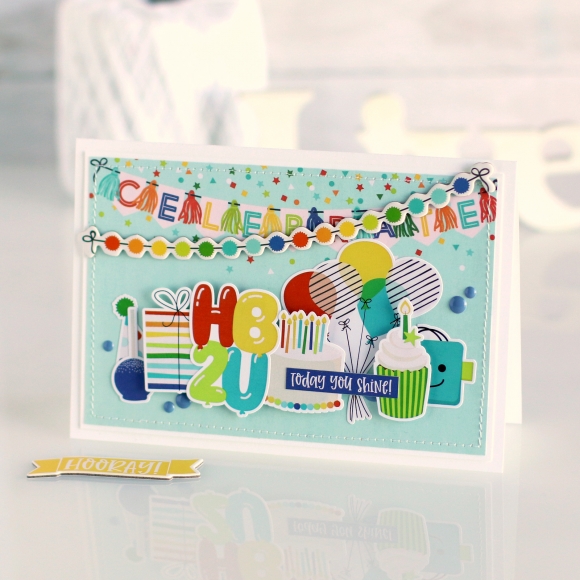
1. Use a 4x6” element as a foundation piece on your card. For my first card I used a 4x6” element in horizontal orientation. I added stitching before adhering this piece down and decorated the bottom portion with plenty of ephemera and stickers using pop dots for some of them. I also added a chipboard garland to the top of the card to emphasize the design. All of my cards usually measure 4.25” wide by 6” tall and that is a perfect size to incorporate larger elements.
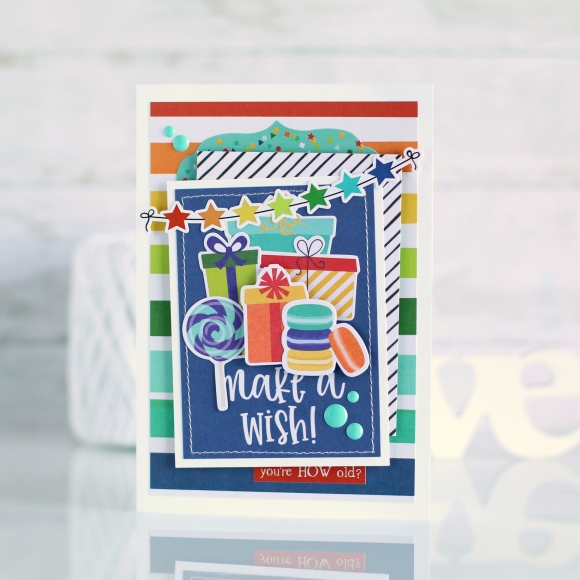
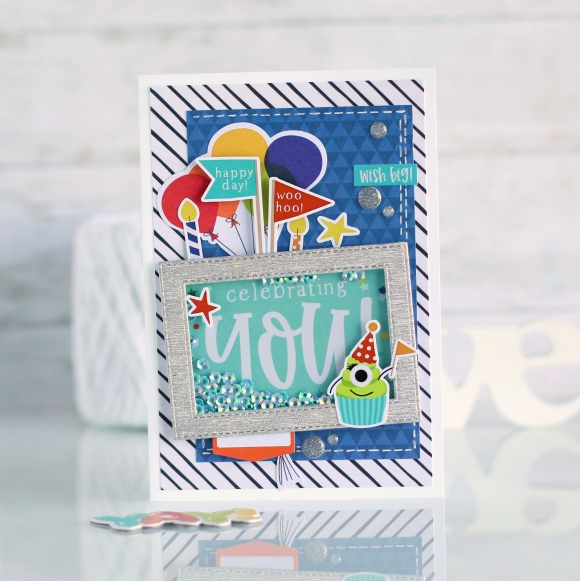
2. Use a 3x4” element as a focal point on your card. This is probably my most loved and used method when I am creating cards. A nice 3x4” piece gives a great starting point and it's usually easy to build a card from here by adding a few more layers underneath and decorating the card with different details.
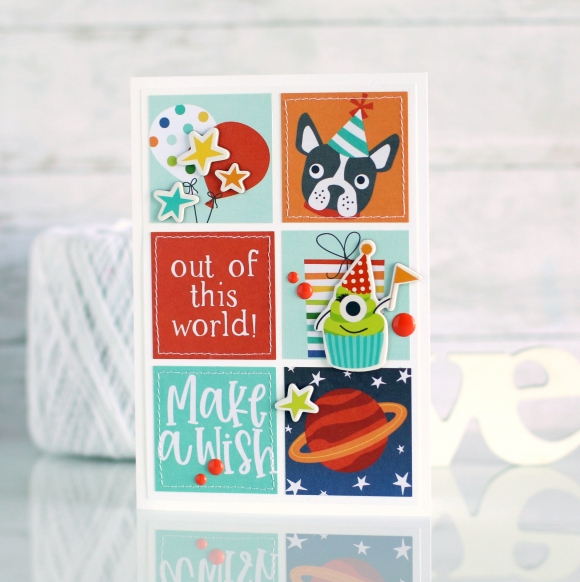
3. Use six 2x2” elements to build a grid. I never get tired of this design. It is so much fun to pick 2x2” pieces for the card that coordinate and they create a nice design so effortlessly. Usually you can make up to three or four cards from one sheet of paper with 2x2” elements. I added stitching to some of these squares and finished the card by adding a few pieces of chipboard stickers and enamel dots.
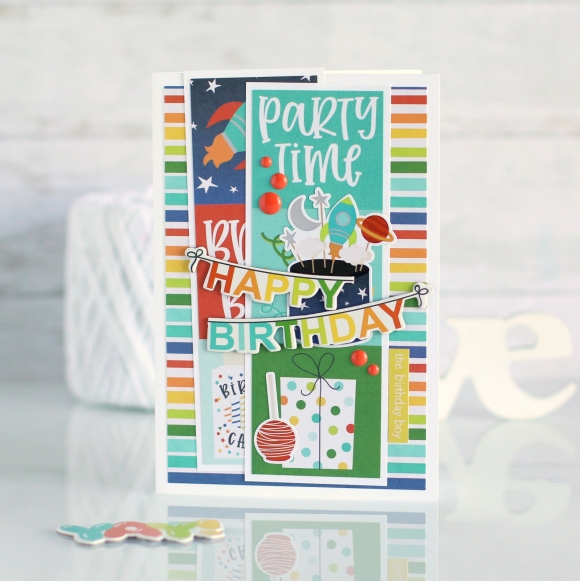
4. Cut 2x2”elements into strips of three and use one, two or three on a card. This is another fun and easy idea to try. I started by looking for a row of three 2x2” elements that looked good together, trimmed them with a trimmer, added white border to each strip and added them to my card. A few stickers and enamel dots is all you need to finish a card.
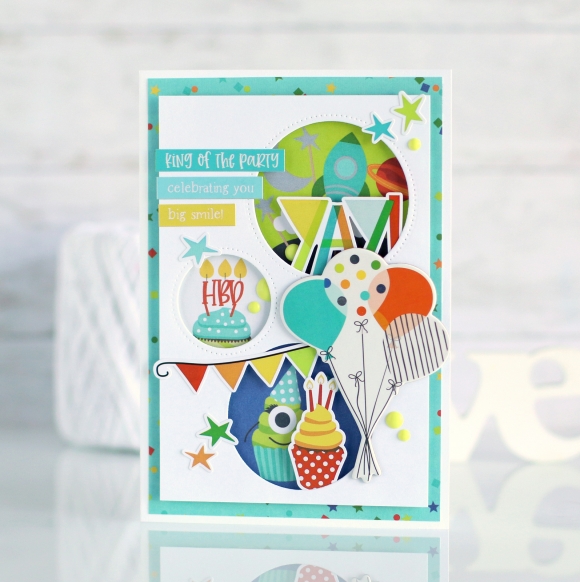
5. Use a few different size elements to fill cut out windows. For my next card I trimmed a piece of white cardstock and cut out three circle windows using manual dies. Then, I picked three elements to be used behind these windows. I added pop dots to white cardstock before adhering it to the card and decorated the top.
6. Use an element for a shaker card. For my last card today, I used one of the 4x4” elements to create a background in a rectangular shaker. It looks more detailed and complete with a decorative piece inside the shaker window. Again, a few decorative pieces finished another card.
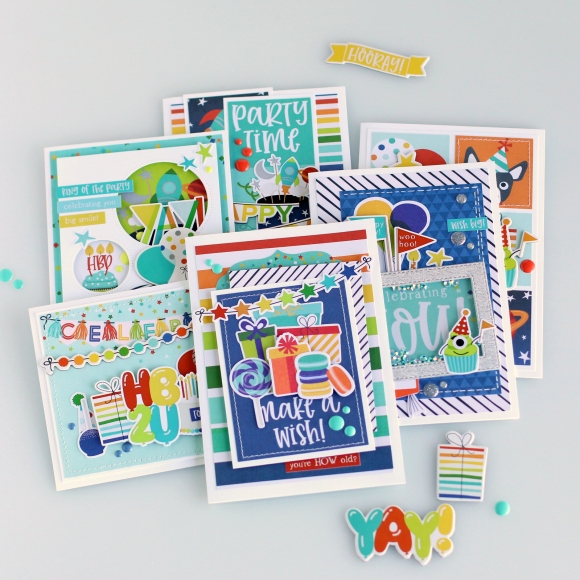
I hope I've inspired you to use the elements from a paper collection next time you sit down to create some cards! Have a great day and stop by for more inspiration!
Supplies
