01.17.15
A Little Bit of Magic
Hello hello! Chantalle here and I’m so excited to be sharing my first Simple Stories projects with you! Adding to this thrill was seeing one of two of my layouts on display in the SS booth at CHA. I’m sure you will agree that the new collections are absolute must haves!
Today I would like to show you more of this page (which you may have spotted on social media). I love to include interactive elements on my pages, so let’s take a closer look…

The new Enchanted collection is perfect for the little Princess in my life. The main image has been mounted inside a chipboard frame. (I actually did a little dance of joy when I saw these for the first time!) and then together they have been mounted onto a 4x6 Sn@p card that I have folded in half. Tip: Round the edges once you are done to get a neat finish.

To the left of the framed image, I have another teeny mini you can open. I created this by using a 4x6 Sn@p card (they are so versatile!) and folding it in half again. To extend the inside and make a gatefold, I have taped another 3x4 Sn@p card to the right hand edge with some Enchanted Washi Paper Tape. I love the tape as the sheets include patterns, punched circles as well as sentiments! Machine stitch over the top for extra hold.

Under the mini, I have used one of the gorgeous silver camera die cuts from the Enchanted Bits & Pieces. Don’t be afraid to alter things to suit your project. Here, I have punched out the centre of the camera to let the detail from underneath show through.

Lastly, to tie the butterfly theme together, I have used some die cuts as well as fussy cut extra butterflies from the patterned papers available in the collection. Some hand stitching adds a special touch and you can easily use a die cut shape as a template! Simply place the shape on your page, and using a hole piercer, punch at regular intervals around it. I like to use embroidery floss as it stands out a bit more than regular thread.

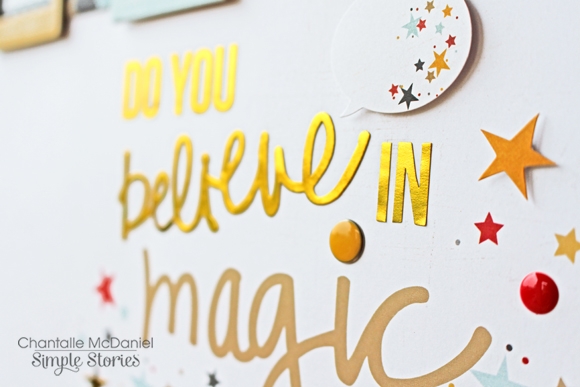
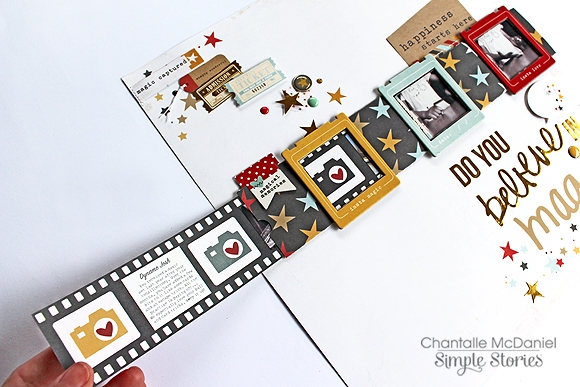
The next page I would like to share with you, is this one, using the stunning new Say Cheese II collection. The gold foil is absolutely lush! My DS is very into his magic tricks at the moment and loves to put on little shows for us. I have tried to include a bit of a magic trick on my page with some photos that change!
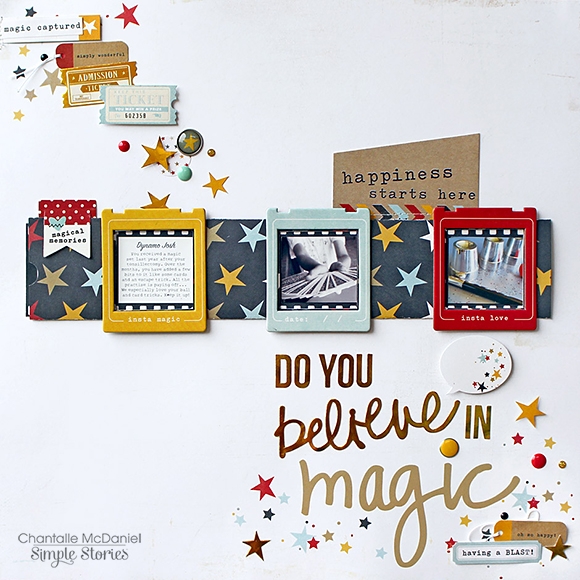
For my ‘trick’ I have created a sleeve from a strip of ‘Let’s Ride’ paper, that I have folded into three equal parts. Before I taped it closed, using the chipboard frames as a stencil, I have cut out three squares the size of the inside of the frames into the middle folded area. Once they were removed, I adhered the frames over the holes.
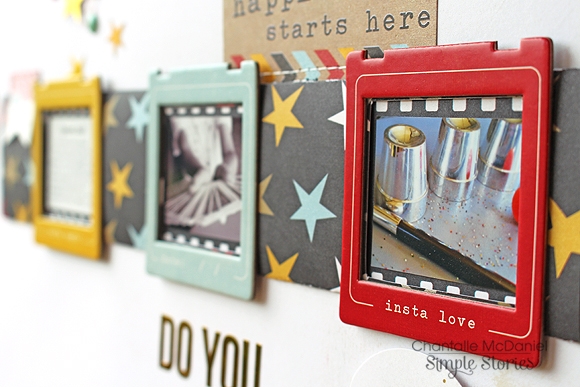
For the removable strip, I have used the film strip print from the 6x12 Element paper. The sizes matched perfectly with the inside of the chipboard frames. Along lengths of the filmstrip, I have replaced with print with some small photos and some journalling.
Now, to make the images change as if by magic, I marked out with a pencil, through the cut out squares, the area where some more pictures could go. These lie behind the pull-out strip IYKWIM and are fixed in position. I printed the additional images out and glued them down. I then folded the sleeve and taped the back shut, not too tight, so as to leave a bit of breathing room for the filmstrip, which I then slid inside the sleeve.
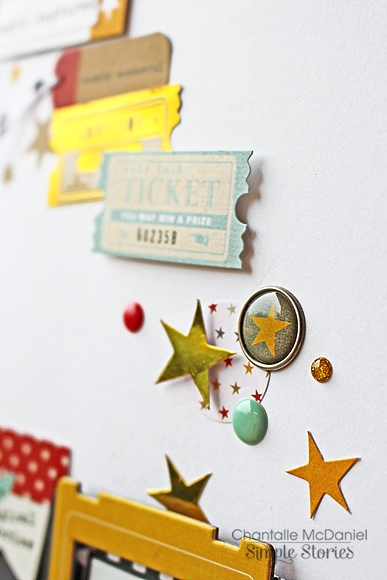
Finish your page off with some ‘pixie dust’ in the form of gleaming alphas, die cuts and glittering enamel dots!