Planning A Spooktacular October!
Hello friends! It’s Kylie back today sharing some of my October ‘Spooky’ themed planning pages that I’ve really had loads of fun creating!! This month I am using my lovely Persimmon A5 Carpe Diem planner teamed with the new ‘Simple Vintage Halloween’ collection by Simple Stories. Such a perfect combination!!
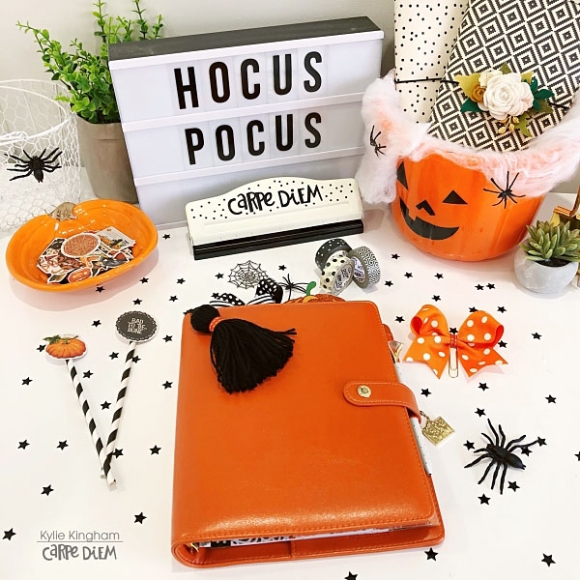
I loved all the varying paper prints and how well they all teamed together, making one very Spooktacular planner for the month.
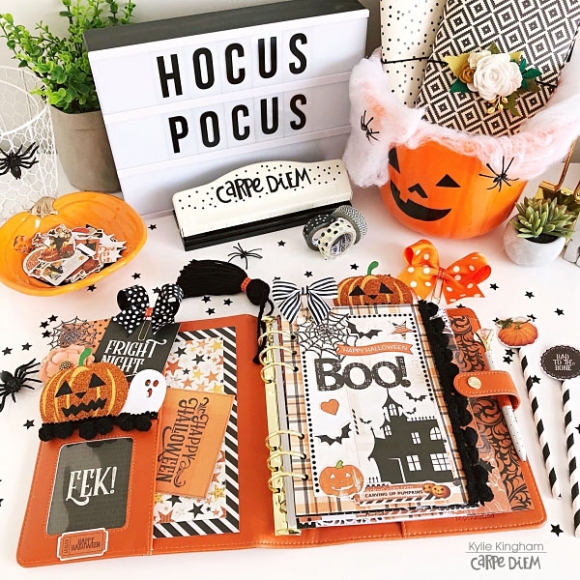
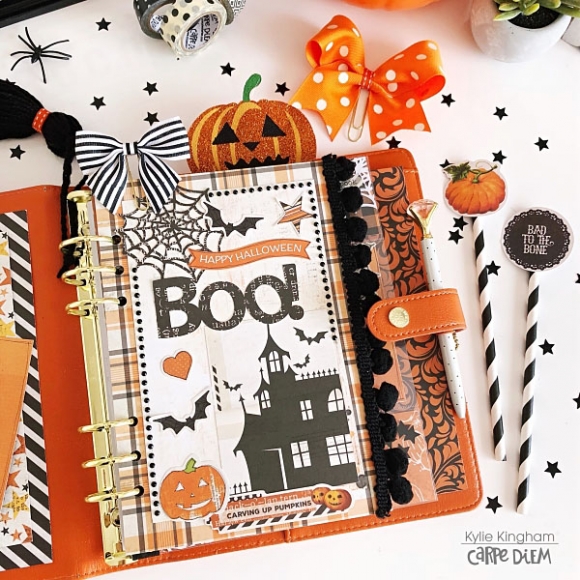
As you will see as I take you through my planner, I have really enjoyed using a lot of the 3 x 4 element sheets. I love to cut apart each card to use and as you can see here I have put some of my favourites in my front pockets. So fun!
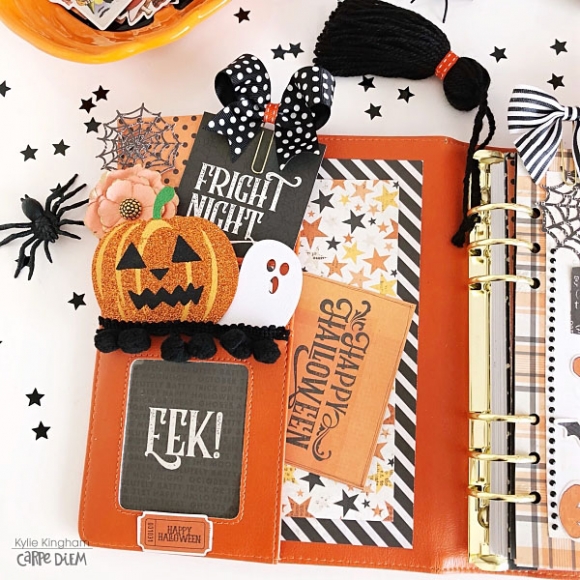
I really wanted to create a fold out dashboard for the front of my planner. This was so easy to do as I will explain in a moment. I added lots of fun elements from the collection as well as some rhinestones that I had in my stash. I also had some black pom pom trim to add to the edge of my dashboard. The lettering and spider webs were a cut file I found from the Silhouette Store, that I cut from one of the printed papers.
Here you will see my dashboard folded out. To create it I used my A5 planner divider templates to trace two together side by side so it is double the width. Next I cut it out , and folded it in half before punching the planner ring holes down the left side with my A5 Carpe Diem hole punch. Next, with the top set of ring holes only, I cut a tiny slit from the edge into the ring hole so that it will snap in place when folded back together over the rings. This way you do not need to open the rings to fold it out. A really fun and easy technique and I love being able to add a mood board or some photos to my dashboard.
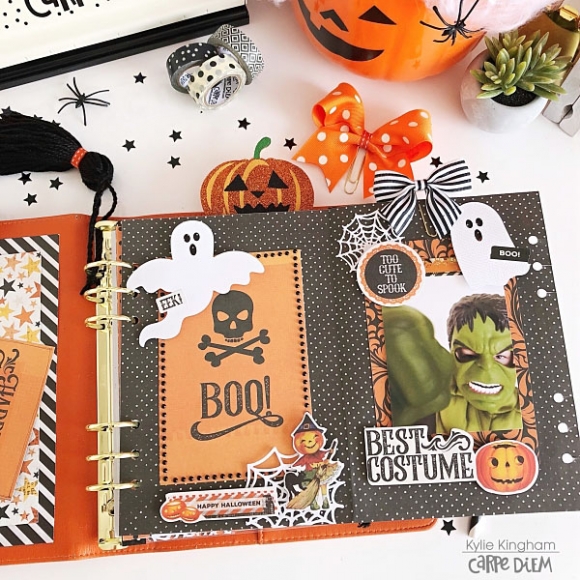
The back side of my dashboard has yet another 3 x 4 element I have added with some stickers and die cuts to. The flowers were also from my stash.
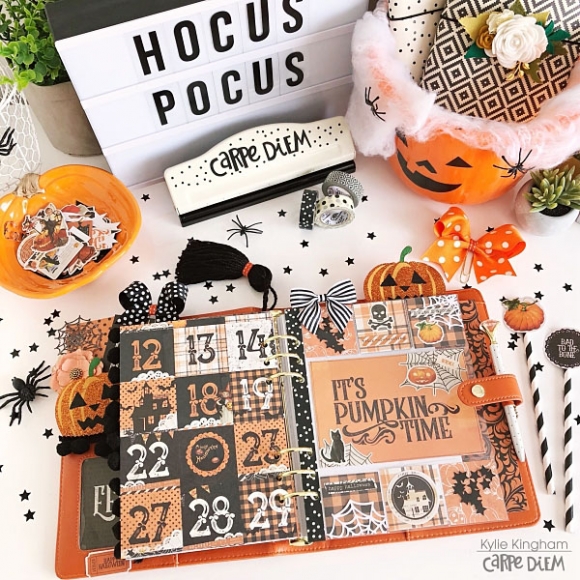
Do you use your monthly task page?? This is one of my most favourite to fill out thanks to having everything in place to look over at a quick glance.
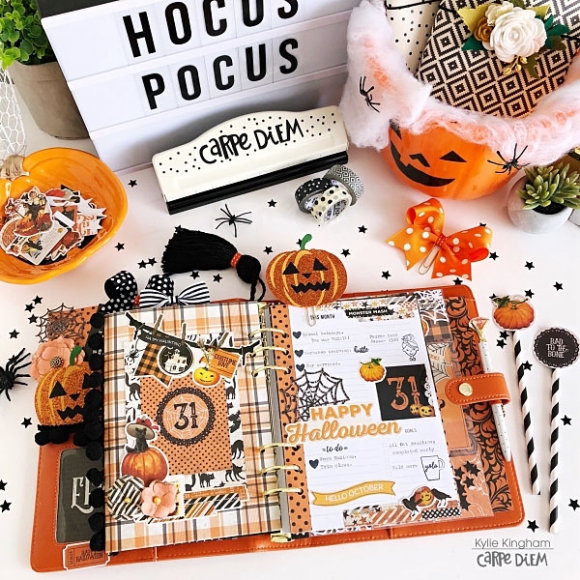
This closer look shows how I have set my page out. I was totally obsessed with the orange and black polka dot paper so have cut some thin strips to run down the ring side of my pages to look like washi. I also love to use some of the new stamp sets for my pages. I’ve added a few from the Mug Life and Plan it sets.
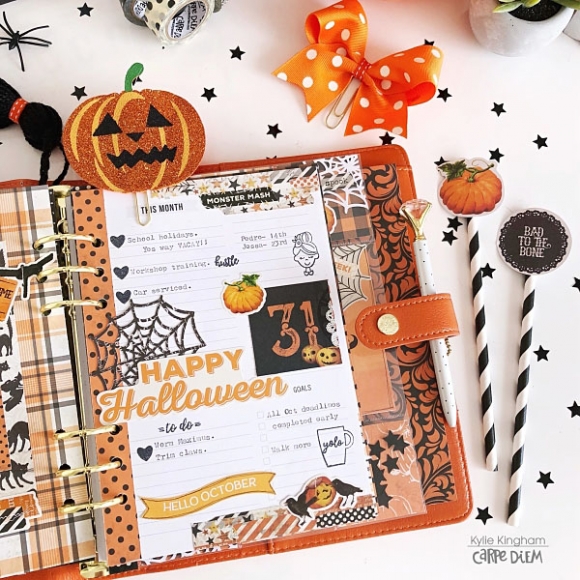
This month I am using the horizontal inserts again, where I have added more of the polka dot paper to the spine of my pages. Also I have added some of the striped paper to the bottom of each page for some extra colour. I didn’t need the extra space on my inserts for note taking so it was fun to add some more décor to my pages.

I’ve teamed the Bits and Pieces with some more spooky cut files to add décor to my pages as well as elements such as rounded date stickers and more stamps.
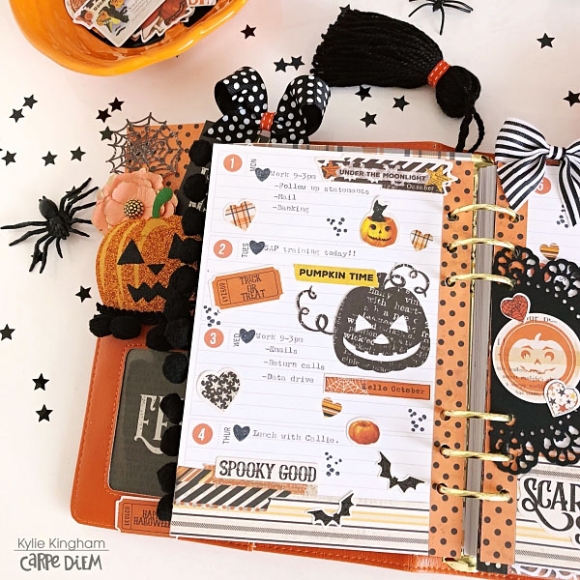
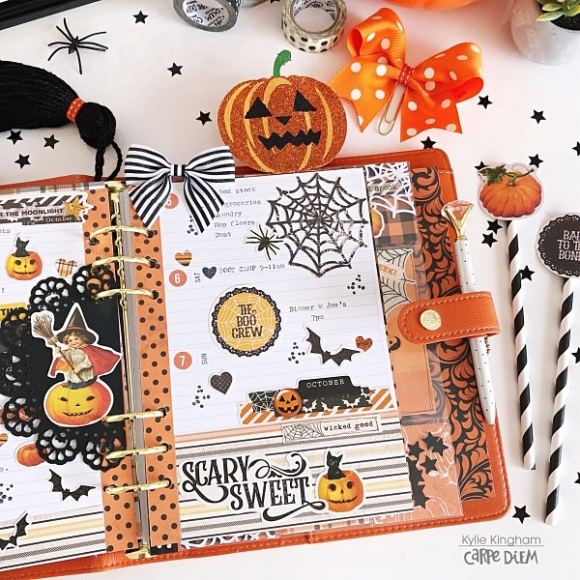
I like to use the ruled pages for my note taking each month and have added some strips of paper to opposite corners to co-ordinate with my theme.
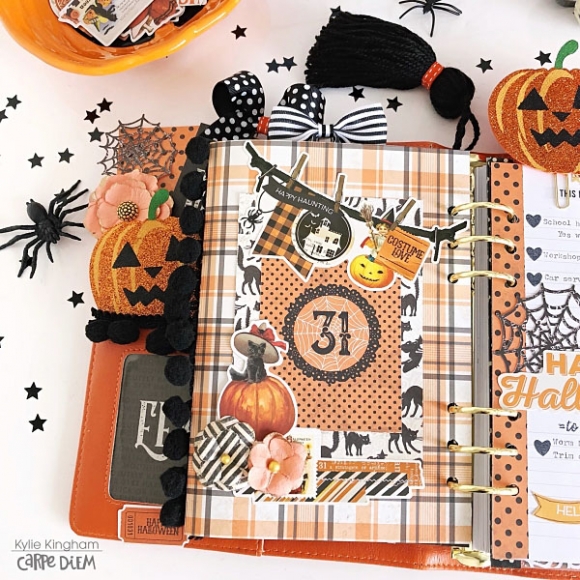
Because I can’t resist any of the papers I also made another dashboard featuring both the 3 x 4 elements and 4 x 6 horizontal elements sheets layered together.
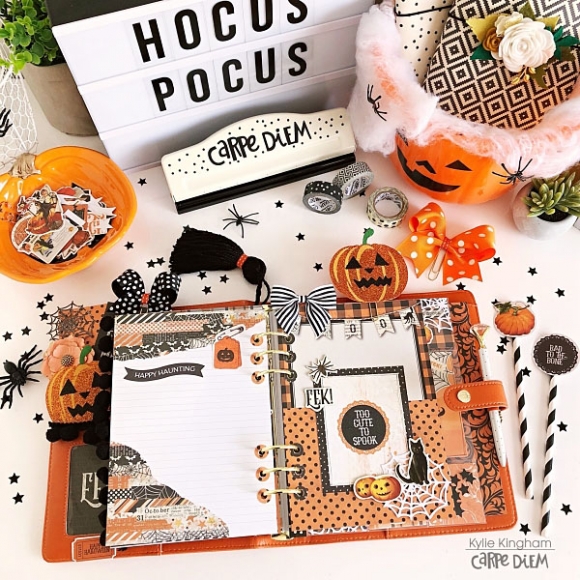
Do you like to add mood boards to your planners?? I love to in the form of the 2x2/4x6 Insta-Pocket Pages. Perhaps not so much as a ‘mood’ board but as a creative means of adding a theme for the month. I have used another 4 x6 horizontal card from the elements sheet as well as cutting down some of my favourite papers. I finished it off with some star confetti sealed in some pockets with my fuse tool. These pages are great in your A5 planner. They sit a little wider than my planner and I usually add washi down the spine before re-punching the ring holes.

That concludes my little planner tour for today. I hope you enjoyed seeing it and it has given you some inspiration towards your own ‘Spooky’ Halloween planner. Thanks for stopping by,
Kylie xo
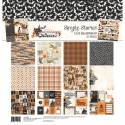
Supplies