Refreshing Your Carpe Diem Planner Setup
Hello Carpe Diem planner lovers! This is Leah again, and I want to show you how I’ve set up my brand new Ivory Carpe Diem planner!

We are over halfway through 2016… the exciting time when all the new planners start coming out! For me, with a new planner came my urge to refresh and reorganize my planner setup. My planner setup for the first half of the year worked very well for me, but toward the end of June, I found myself not using my planner very much. I was just making to do lists and working with blank paper – which is okay! That was working really well for me because I think when I was feeling extra busy, it was nice to start with a completely blank page and then brain dump all my “to do’s” on it. There are so many things I love about the new planner products being released by Simple Stories, that I became inspired to revamp my planner setup to make it more functional for my current needs.
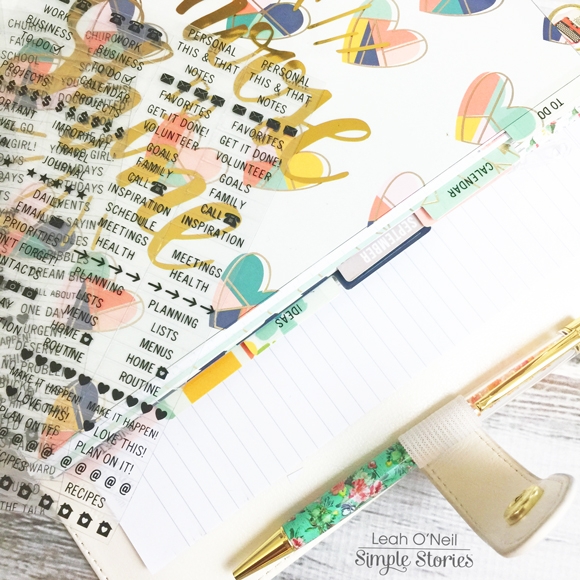
As a disclaimer, I want to say my new planner setup is in its rough draft stage. I plan to use it frequently over the next month and I might tweak things depending on how well they work or don’t work – I will keep you updated! Future changes to my planner sections will be SUPER easy thanks to the new clear label stickers from the Planner Essentials collection. When I started brainstorming what sections I needed in my planner, I picked the labels I wanted for my dividers. The label stickers are really easy to remove and there are TONS of words, so I can easily switch up the labels later.
Currently, I am using the Dividers from the Posh collection; there are 6 dividers. For now, I have decided to divide them up into the following categories: To Do, Calendar, Schedule, Ideas, and Budget. I have one divider left that I have not assigned a category to yet. In each section, I am using different inserts and I want to show you how I’m using them. By the way, ALL of the new inserts from the Spring release are 140gsm. Maybe I get a little too excited about stationary, but the weight of the new inserts is a paper lover’s DREAM! My favorite pens are felt tip and I usually can’t use them in planners because of bleed-through. However, I have been using them on the new inserts with zero bleed-through or shadowing! I am really excited to try painting with watercolor on them later!
The first section of my planner is the “To Do” section. I have this at the front because it is where I plan to jot down quick lists: to do lists, grocery lists, reminders…lists that I need to access quickly. I am using the plain lined inserts in this section, which come in the Basic Inserts.
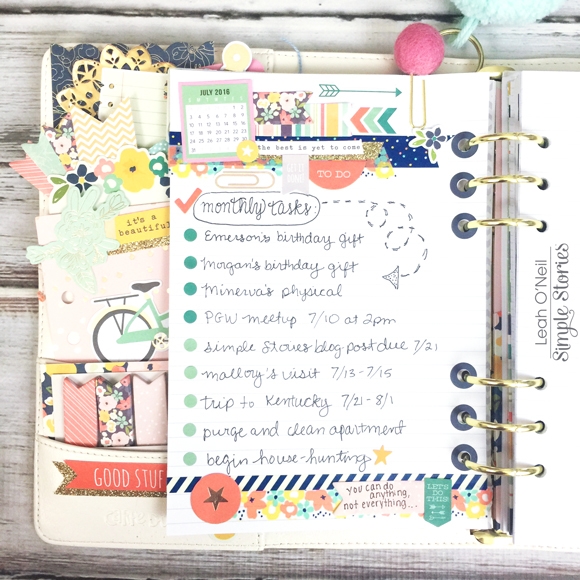
This is a list of my important tasks and events for July. I had a lot of fun layering all of these washi tapes and stickers from the Posh collection! How cool is the mini July calendar sticker?
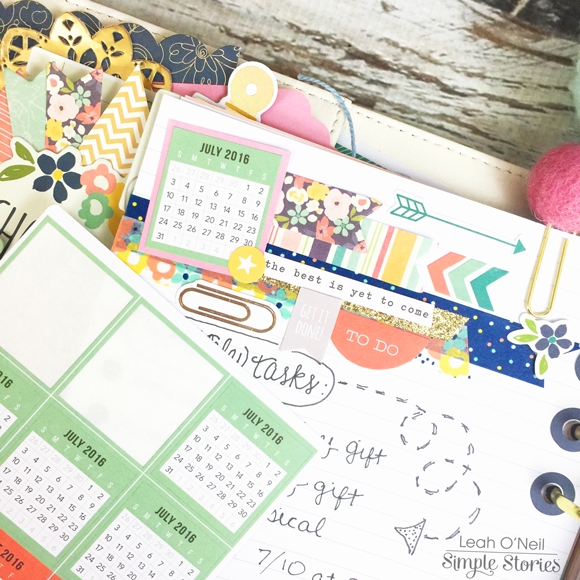
The pack of Mini Monthly Calendar Stickers has 18 months, from July 2016-December 2017 (6 calendars per month), so these stickers are going to last a long time! There are enough to add one to all of your weekly inserts for each month, and a couple extra for projects like the one above. Another idea I have for using these is to make a year-at-a-glance calendar for the front of my planner. Pictures of that project will be coming up on my Instagram!
I also like the colorful ring reinforcements that come in the Planner Basics Sticker pack, which add a pop of color to the page. Instead of throwing away the middle portion of the ring stickers, I used them as bullet points for my list.

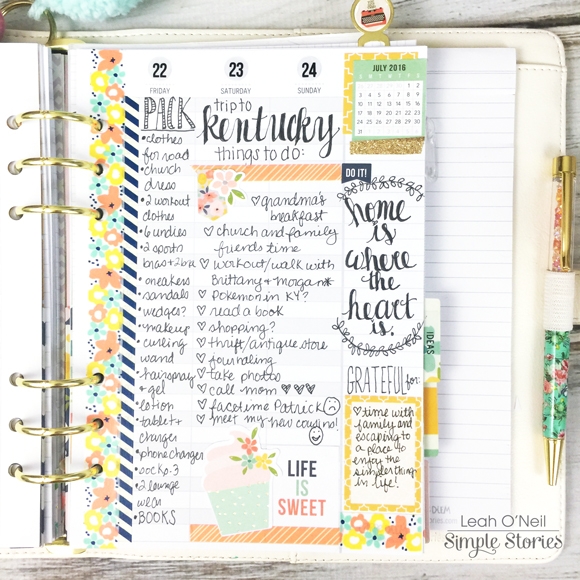
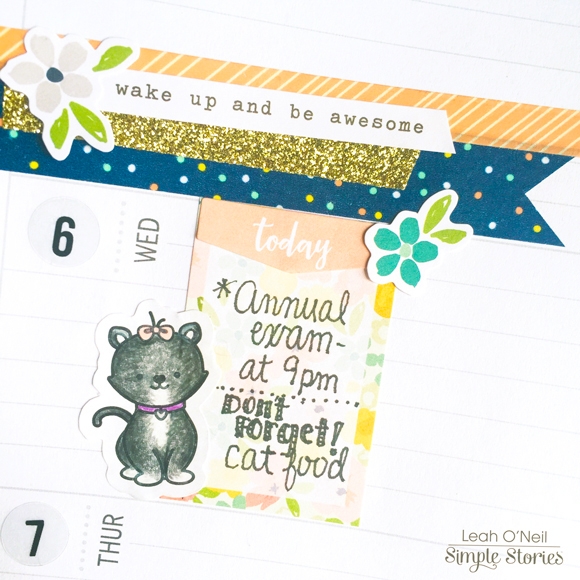
The next section of my planner is the Calendar section. I currently have the new horizontal inserts in here (not shown) – usually horizontal layouts are what I prefer. However, the following “Schedule” section has the Vertical Appointment Weekly inserts. I am still deciding which inserts I want to use for daily planning so I want to spend the next month using both. This will be the first time I’ve ever tried hourly inserts. What I like about these is that I can use the hourly time slots to plan out my day in more detail. I am hoping this will help me become more intentional and efficient with my time. Plus, there is always the option to cover up the times on days that I just need to make lists – like this week, since I am traveling and don’t have a detailed schedule. I just covered up the times with a thin piece of washi tape.
If these inserts work out, I may convert to hourly for my daily planning and use my horizontal inserts for memory-keeping and journaling. If they do not work for my daily planning, then I will move them to another planner I am setting up as my Business Planner.
All of the inserts being released this summer fit the different stickers from both Planner collections REALLY well. I love that Simple Stories thought about those little details.
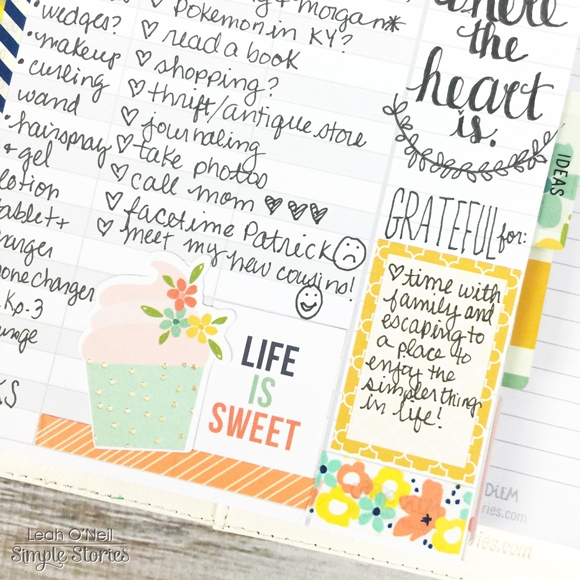
For example, the square “Life is Sweet” sticker and yellow rectangular box I wrote in above, would both fit within the lines of the hourly (same width). The rectangular one fits exactly into the boxes on the Vertical Weekly Inserts, and it is also just the right height to fit the Horizontal Weekly Inserts too (pictured below).
I fully expect that I will be mixing and matching inserts in my planner, and I love that all of the stickers from the new collections are going to work on all of them.
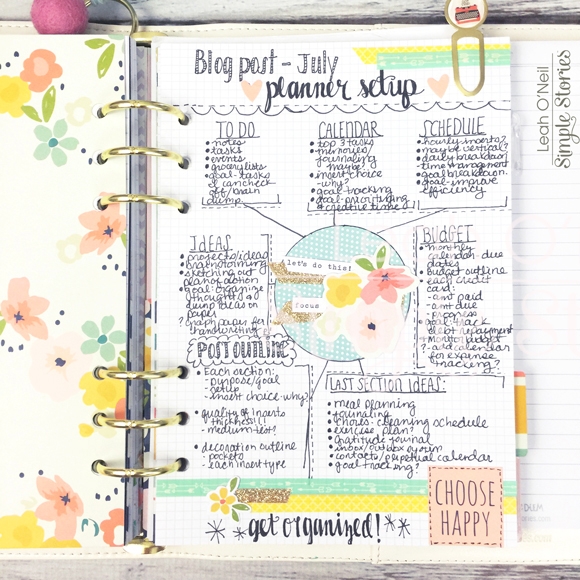
The next section of my planner is for “Ideas.” I have the graph paper inserts from the Basic Inserts pack in this section. I plan to use this part of my planner for project planning, brainstorming ideas and sketching out plans of action to achieve my goals. Below, you can see where I sketched out some ideas for this blog post. I laid out the sections I wanted in my planner and then wrote down ideas for how I plan to use each. I also jotted down some ideas for how I can use the unassigned divider, but truthfully, I think 5 sections are plenty for one planner. I may end up designating an entirely separate planner for some of those other ideas.
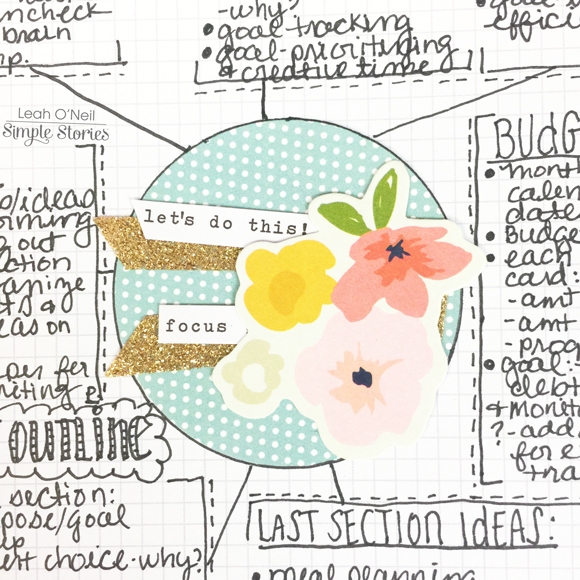
At the center of the brainstorming “web” I created on this page, I just punched out a circle of patterned paper and added gold glitter washi tape with word strip stickers, and a beautiful floral from the Bits and Pieces pack.
The next section of my planner is the Budget portion. In this section, I have our household monthly budget broken down, debt repayment details, a savings plan, and a monthly calendar to mark bill due dates. I don’t have any pictures of this section because it has a lot of personal information.
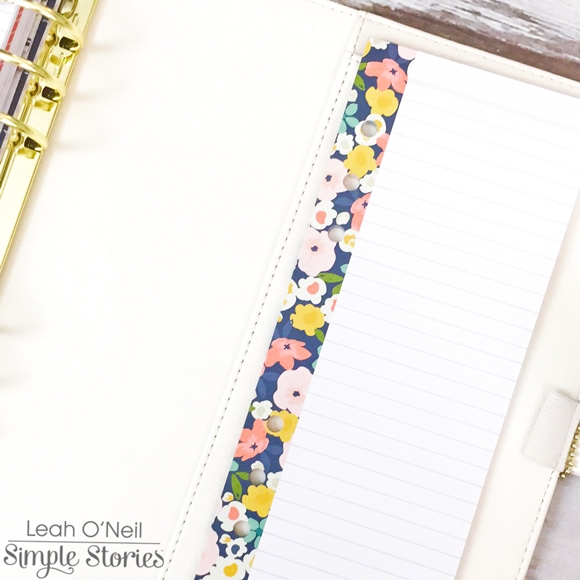
In the back of my planner, I have this Bookmark Tablet notepad from the Posh collection that slides into the top pocket. I also love that there is a larger pocket that could hold a traveler’s notebook if I decide to do my journaling/memory-keeping that way.
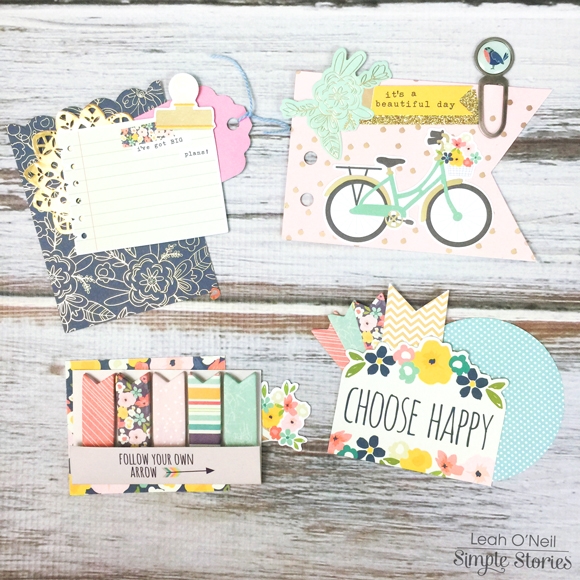
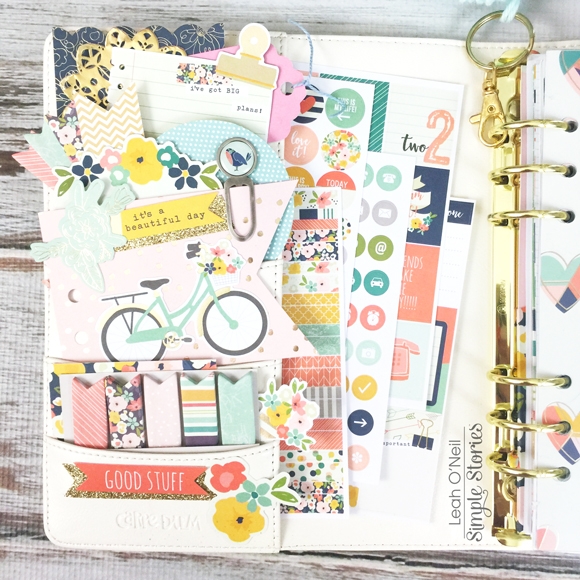
Last but certainly not least, my planner just wouldn’t feel right without decorated front pockets! I put together a few elements from the Posh collection Bits and Pieces Pack and Dashboards and Pocket Cards pack. I also added a set of Page Flags and a Decorative Clip!
I can’t wait to see how this setup works out for me! It is slightly different than my last setup but I find that as our lives and goals change, our needs for a planner change. It is important to revisit your setup if it stops working for you – even if certain inserts have worked for you in the past, it may be time to try something new if you realize you have not been using your planner regularly. Fortunately, Simple Stories now has lots of choices for you to pick from, so hopefully everyone will be able to find inserts that work with their planning style! Check out the Carpe Diem Planners Instagram for more Creative Team inspiration using all of the inserts that will be available in August!
