02.11.16
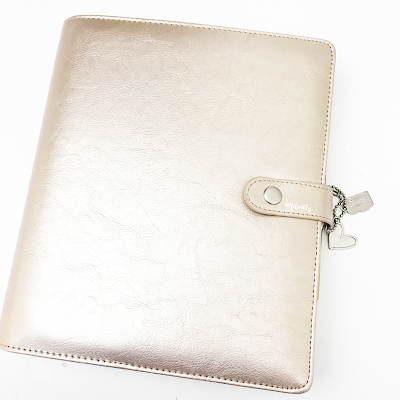
Setting Up Your Carpe Diem Planner
Hi guys! Thank you so much for stopping by to check out my blog post! Today I will be showing you how to set up your Carpe Diem Planner!
This is my first time using an a5 sized planner and I am loving all of the extra space it gives me compared to a personal size or smaller planner.
As you can see, I love decorating my planner and stuffing it with cute stationery that I can use when I am away from home and on the go! One thing I love about the Carpe Diem Planner is all of the pockets including the back pocket to slide and store things in. Right now, I keep lots of cute little cards, clips, sticky notes and page flags!
I also like to keep lots of tabs in my planner for easier organization and management. I love the tabs that come with the Carpe Diem Planner! They are so bright and colorful. I also love using the Pocket Inserts. They match the overall look of the Carpe Diem inserts and match perfectly with the planner!

Another fun item that Simple Stories offers for these planners are the charms! I put a couple on the Inside strap and I love the extra bling and character it gives to my planner. It also adds a nice custom touch since you have a variety of chains to choose from in the package!
Another fun item are the cute Clips. I have these spread throughout my planner for easier access to different sections. If you are looking to customize or simply make your planner cuter, these clips are a must!
And lastly, I love these cute bookmarks! I am using this one to mark my month at a glance page just before the month on two pages. I use the other one for decoration in the front of my planner since it has a cute quote on it!
Thats it for today! Thank you so much for taking the time to read my blog post. Please don't hesitate to ask me any questions! Make sure you are following me on Instagram @filoally and of course the Simple Stories pages at @Simplestories_ and @carpediemplanners! Happy planning!


