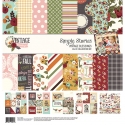
Vintage Blessings Part One
Hi there, it's Emma here to share with you the utterly beautiful new collection, Vintage Blessings. Well, where on earth do I start?? I know every time I say how fabulous the collection I'm showing you is, and that, let me tell you is what I adore about Simple Stories, but, this collection, oh my word, I have had so much fun!! You may have noticed that this blog is titled 'Part One', I have done so much using Vintage Blessings that I've had to make it into a two parter!
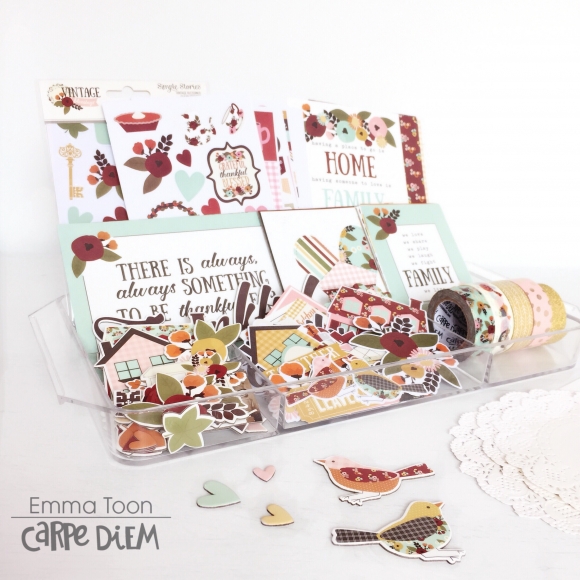
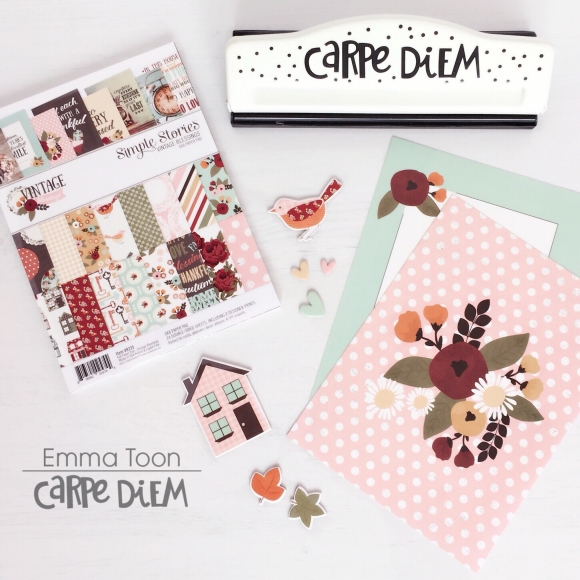
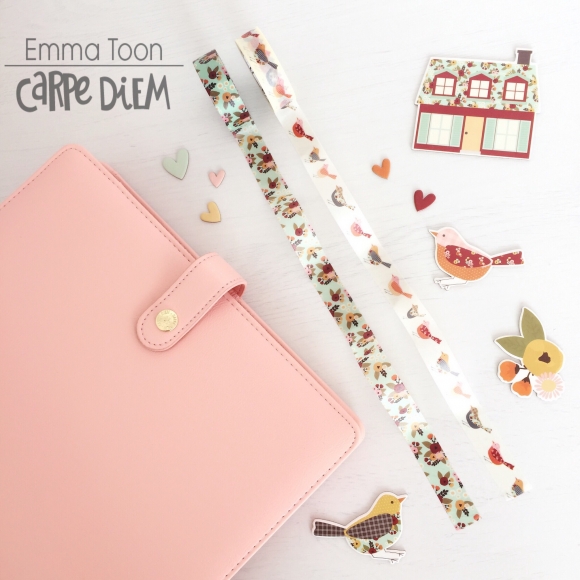
As I always do, I cut out all the cut a parts from the 12 x 12 paper pack and placed them in a container along with the stickers, chipboard stickers, bits & pieces and a selection of co ordinating washi tapes, this is so I have everything at hand.
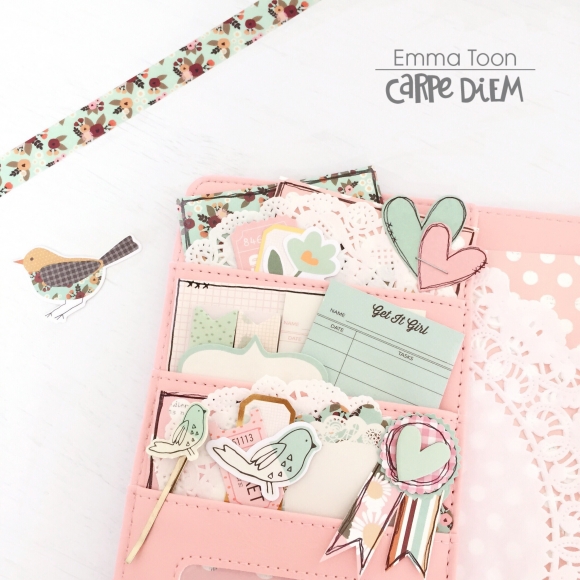
Decorating the pockets was so much fun, I picked out a few items from the Reset Girl collection too which I thought went well, love how the colours work so nicely together in the Ballerina CarpeDiem planner.
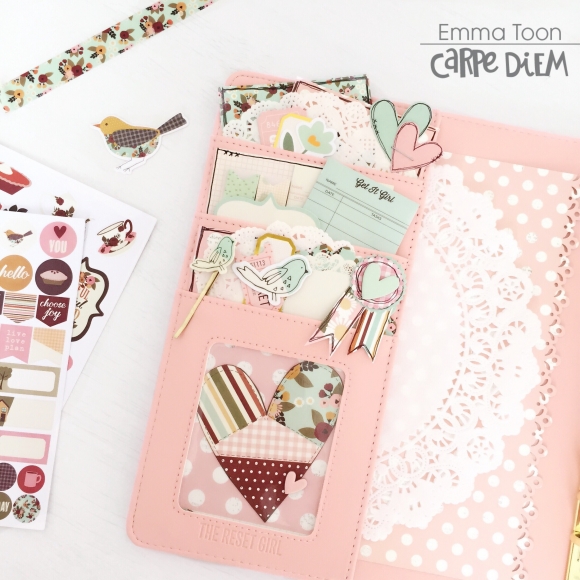
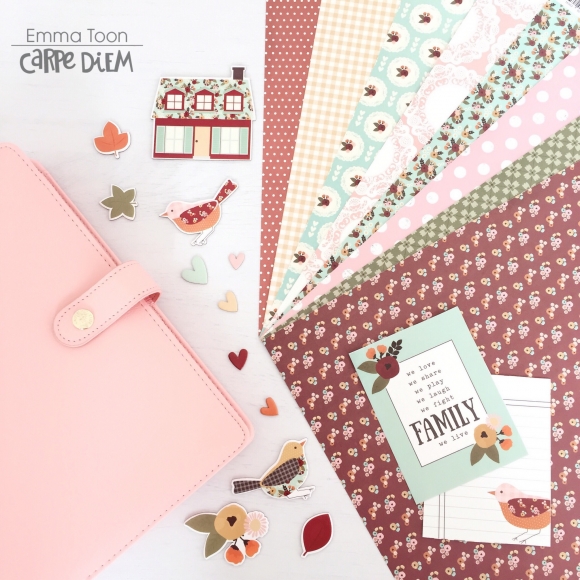
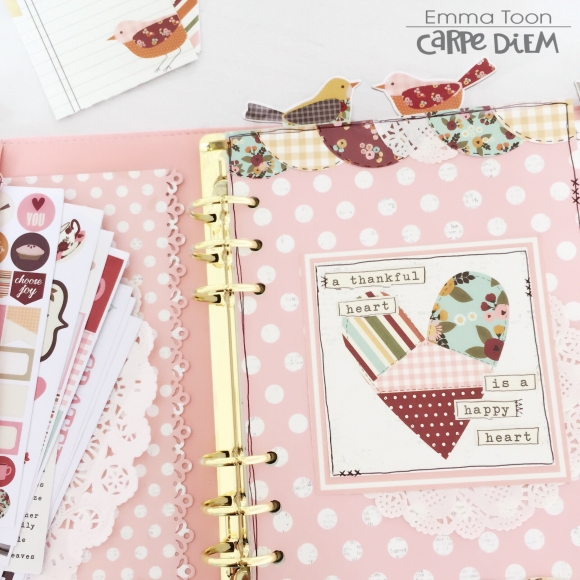
Just look how cute these little birdies are, you'll find them popping up throughout the Vintage Blessings collection. I've used two of the chipboard birds to make into paperclips, I love how they sit proudly at the top of my pages!
A super easy way to make dividers for your planner is to use the 6 x 8 paper pad, using the CarpeDiem punch you simply choose the picture you want, punch the holes and away you go! You can use paperclips at the side or top of each divider if you don't want to have to add tabs to them.
Next month in the second part of my Vintage Blessings blog I'm going to take a much closer look at divider making, I can't wait to show you!
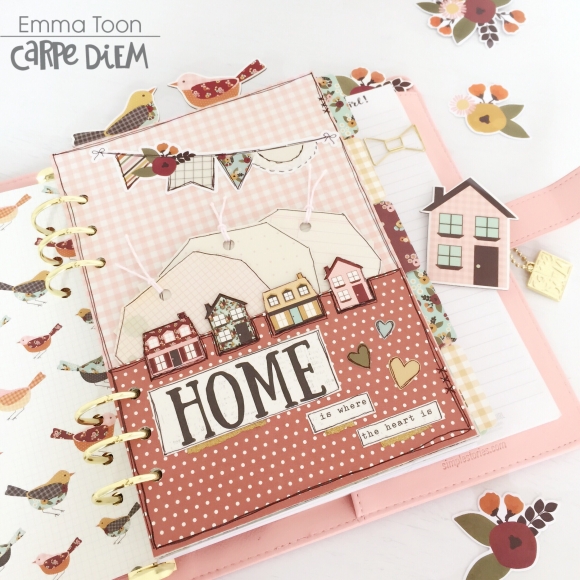
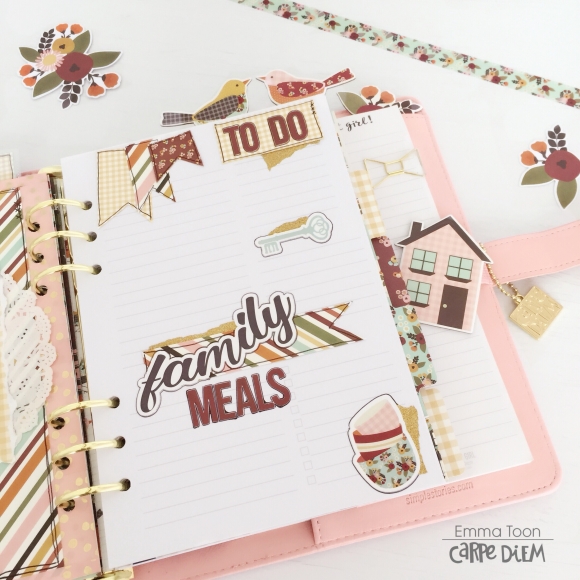
Here's a pocket divider I have made, I thought the houses were just so gorgeous that I had to use them everywhere! I fussy cut these out so they sit prettily at the top of the pocket.

I used some journaling cards from the reset girl collection which I snipped the top corners off, punched a hole and attached some twine, to make a set of tags to fit in the pocket. These can be used for anything you fancy, journaling, list making or even to store some washi on.
Along with decorating my pages with the stickers I also enjoy cutting up bits from the papers and making little flags and banners, you can see here how I've done that and then used a black fine ink pen to draw around the edges for a faux stitching effect. I do this a lot, you've probably noticed!
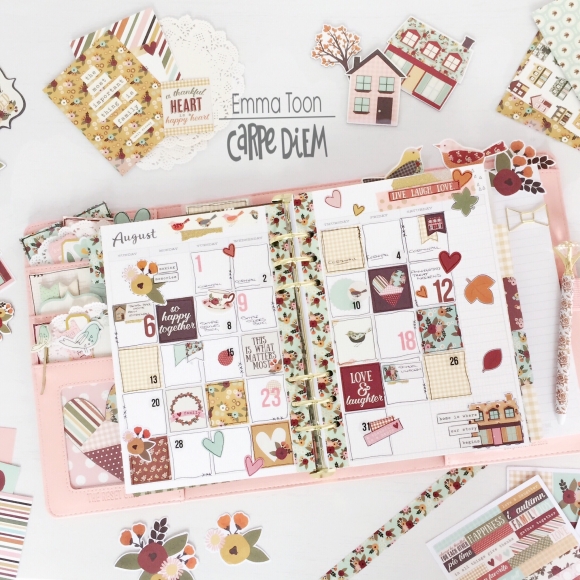
This is how I decorated my August monthly pages, I've used washi, stickers and again I've also cut up pieces from the 12 x 12 papers to fill some of the boxes.
I hope you've enjoyed seeing the first look at how I've used the Vintage Blessings collection, I do hope you'll join me next month for a closer look. Until then, if you would like to see more of my projects then please pop over to my Instagram account https://www.instagram.com/heartsbyemma
Supplies