Week-to-week Planning
Hello again creative souls! Leah here with you on the blog today. It’s been quite a while since I’ve shown you some weekly planner layouts! That’s what I have for you today, two vertical planner layouts with accompanying process videos. Yes, TWO plan-with-me videos! I am still using up lots of tidbits from the new Carpe Diem collection and have a few cool ideas to share with you all for your planner spreads.

In this first planner spread, I had a lot of fun layering the Carpe Diem stickers!

I like layering the patterned stickers that have no words, behind stickers that have quotes on them. It draws focus to the quote and adds a pop of color. I added a couple of these die cut stars to my layout that I made using a paper punch during my last planner setup video (you can watch that here).
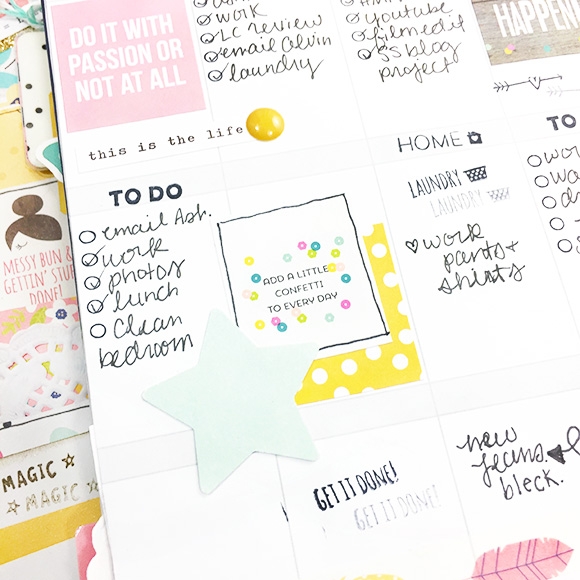
I’m using the space at the bottom of the page to do a little mood tracking. The hearts are from the Domestic Bliss roller stamp. I rate my mood at the end of the day on a scale of 1-5, color in the corresponding amount of hearts, and make a little comment about why.

As I am writing this post, the second half of the week has not happened yet. Though I already have my week planned, I will continue add in the mood info at the bottom at the end of each day.

Also during my planner setup video last month, I fussy cut these clouds out of a pocket card to make die cuts. With the star die cuts on this layout, I really feel like the clouds add the sweetest whimsical touch.
Here is the process video of this week’s layout coming together.
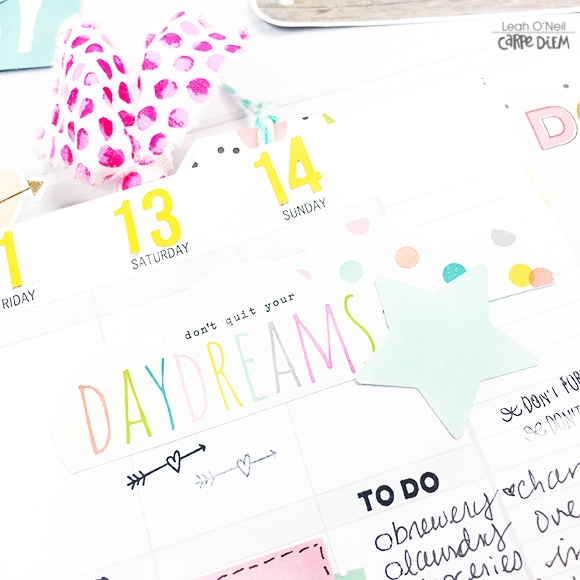
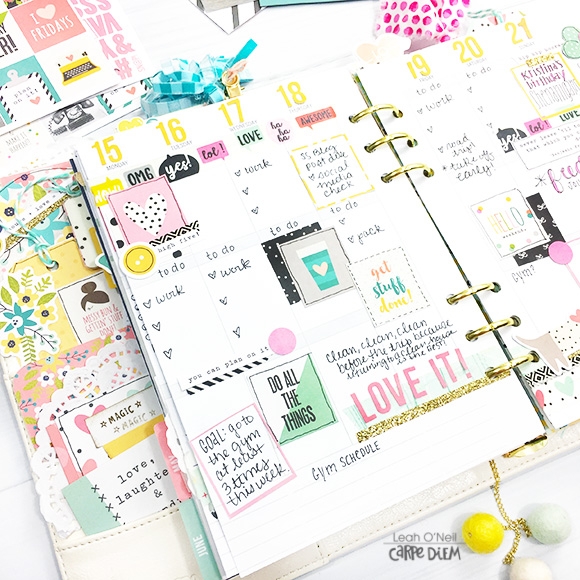
For my second weekly layout, I went a little bolder with the colors, but using the same collection. You can see how just changing out the washi tape I used, allowed me to bring out those bolder colors from the new Carpe Diem line that I didn’t use as much in the last layout.
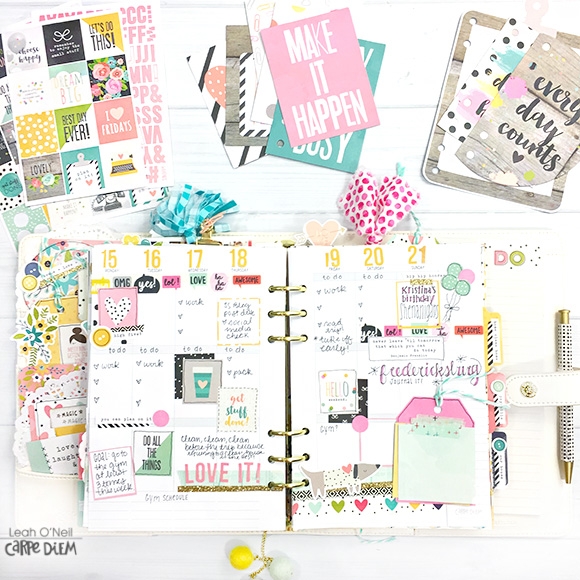
You might notice this week looks incomplete but that’s because I sometimes like to “pre-plan” and decorate a few weeks ahead and then fill in the plans as they come. In addition to decorating, I will also go ahead and write in plans I know are happening ahead of time. For example, I know I am going on a weekend trip during this week. So I dedicated a space to documenting that.

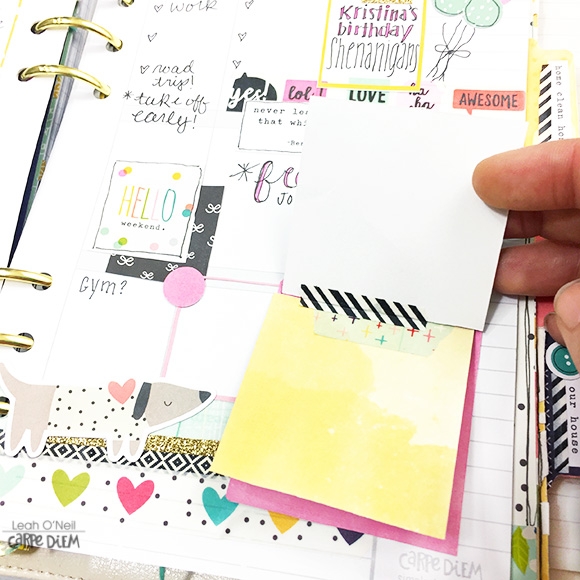
I even made this cute little interactive booklet with a few paper scraps, so have a place to add some photos and journaling after my trip. When you don’t have enough real estate to write a lot on a planner spread, adding a “flippable” element can give you more space for memory-keeping.
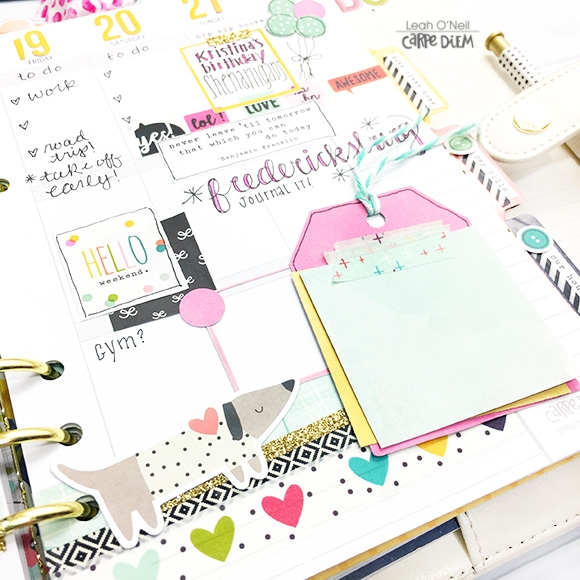
While we are talking about fun planner tips, get two stickers out of one by cutting out the border from around those box stickers you’ve been using, to get a little frame sticker that you can write in. You’ll be able to see how I do this in the video below!
Check out the process video for this second weekly spread!
To me, this is the most fun detail of the entire layout – and this is why you should always come check out the blog post in addition to the process video, because there’s always more content here! You may have noticed in the video, that I used a small ½ inch circle punch to cut out a few circles from one little square sticker. I did that so I could turn them into mini balloons. Aren’t they adorable? What a fun way to mark a birthday in your planner! Also, here is another example of how I’m using the border of a used sticker as a box to write in.
So I am curious friends, do you like to decorate ahead a few weeks? Or do you plan and decorate as you go? Sometimes when I get in the creative zone, I just don’t want to stop after one layout is complete, so I keep going. Let me know your style in the comments below! Be sure to check out the Carpe Diem Planners Instagram and Facebook for lots more planner inspiration, and come say hello over on my Instagram @sunny.leah. I hope you will tag me if you try any of the tips/techniques from this post. I LOVE seeing you all get creative with your Simple Stories products!
