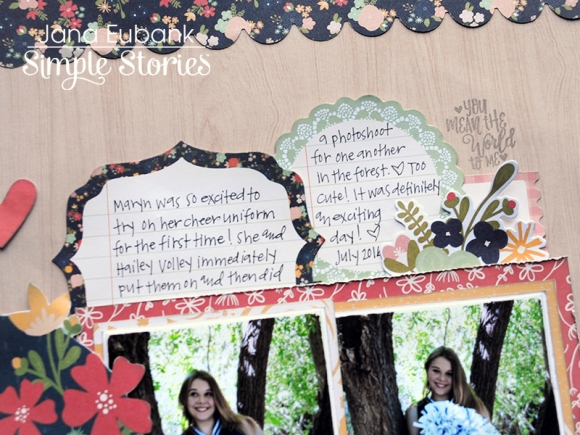
Every year I look forward to the Christmas cards that come from family and friends. It's a wonderful way to send a small "gift" to someone each year letting them know that you are thinking about them and are grateful for the impact they have had in your life, even if you haven't seen then for awhile!

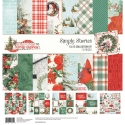
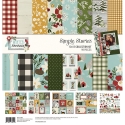
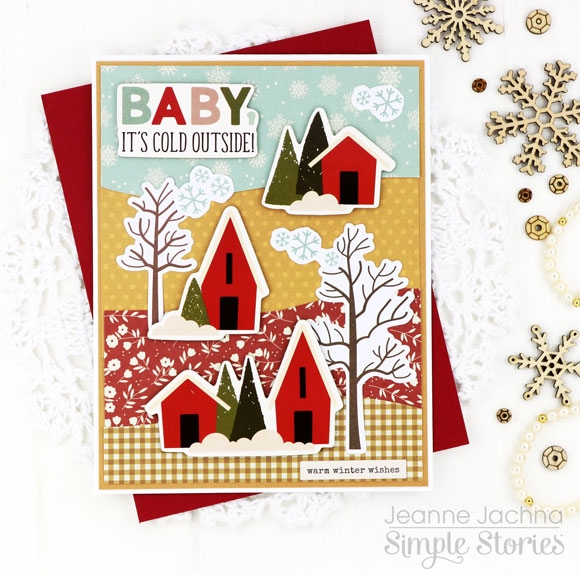
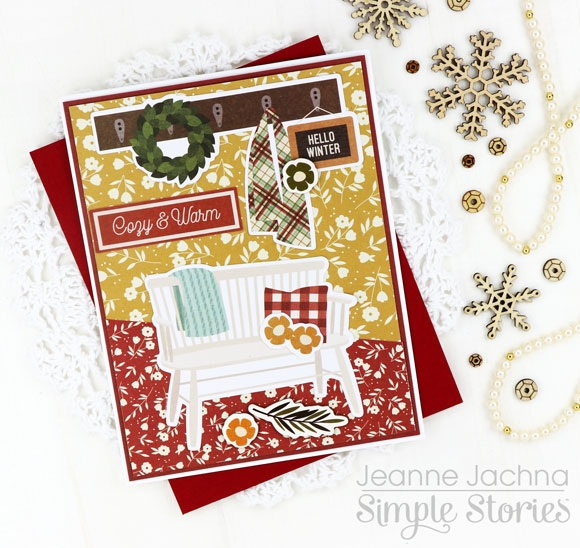
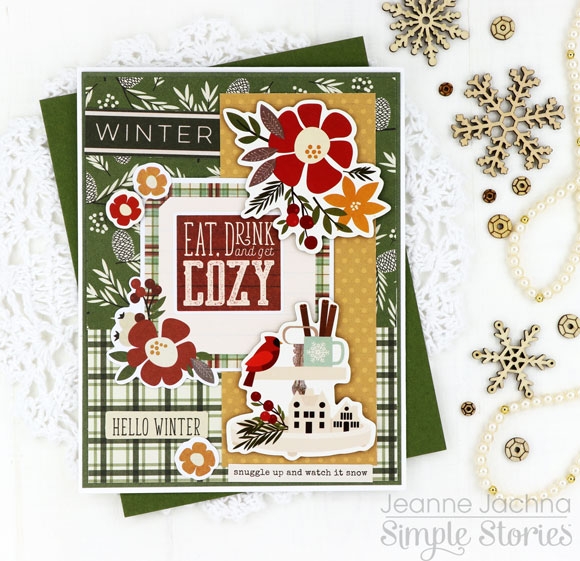
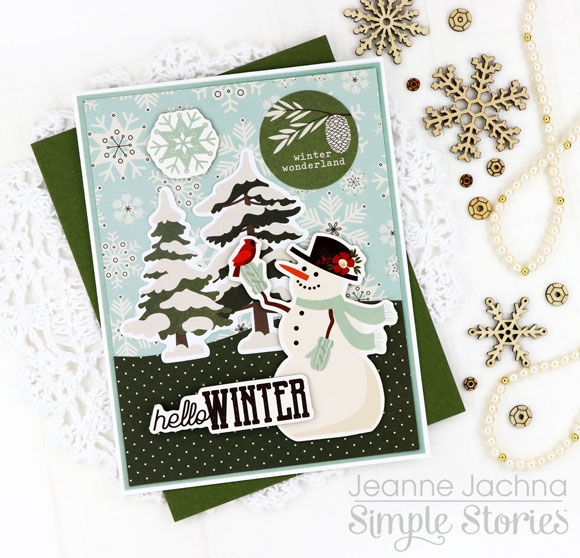
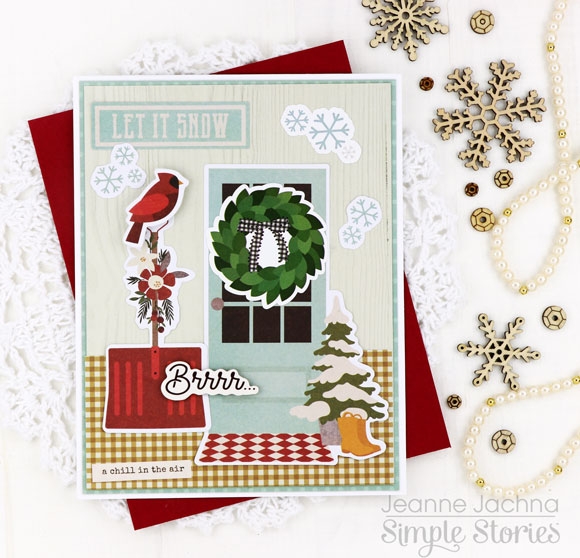
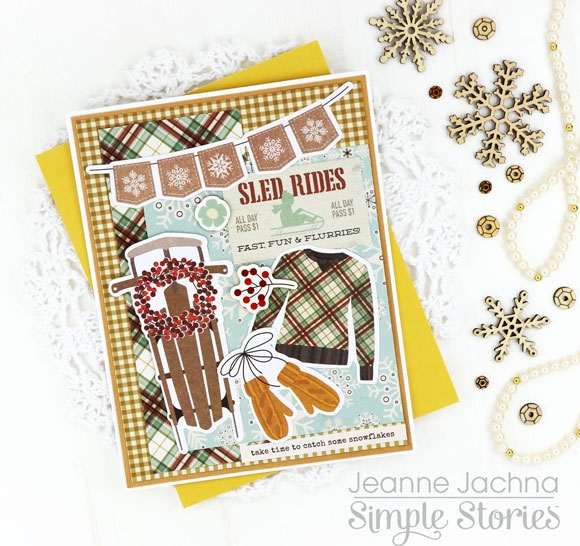
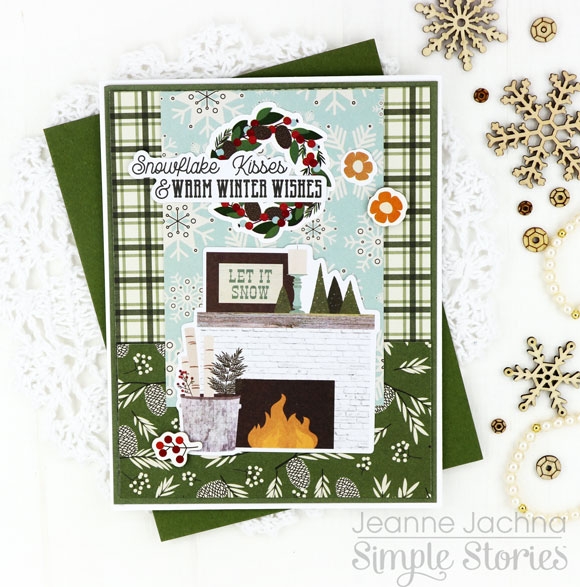
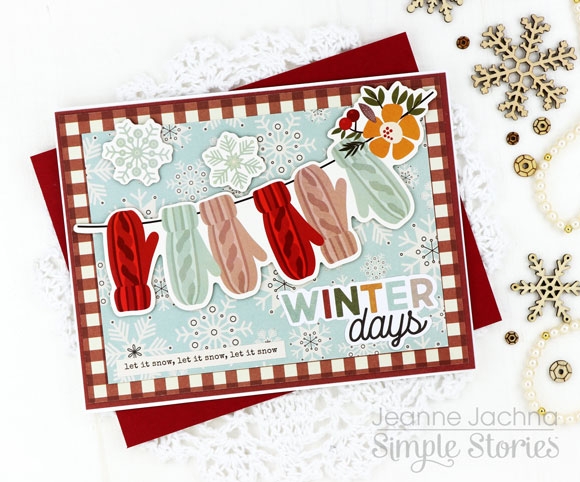
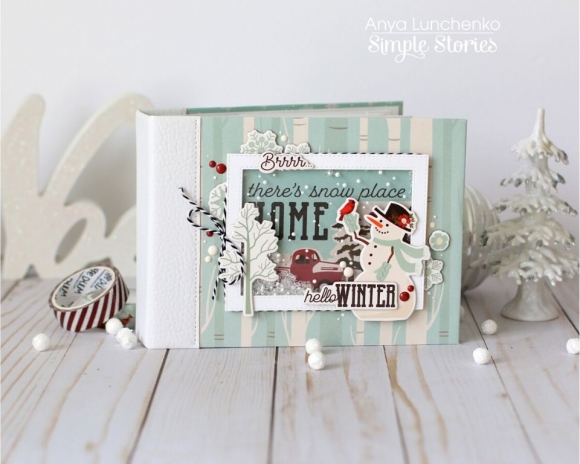
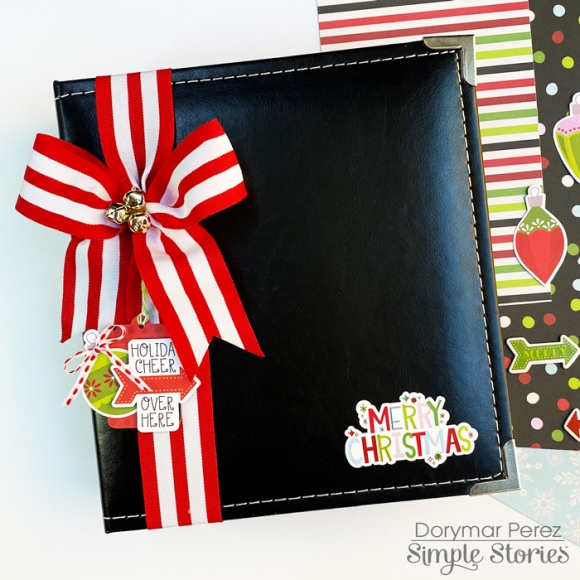
Hello! It's Jana Eubank and today I wanted to share a few Christmas card ideas using the beautiful Country Christmas collection.

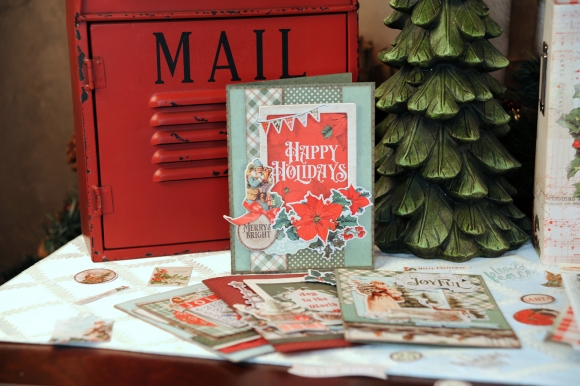
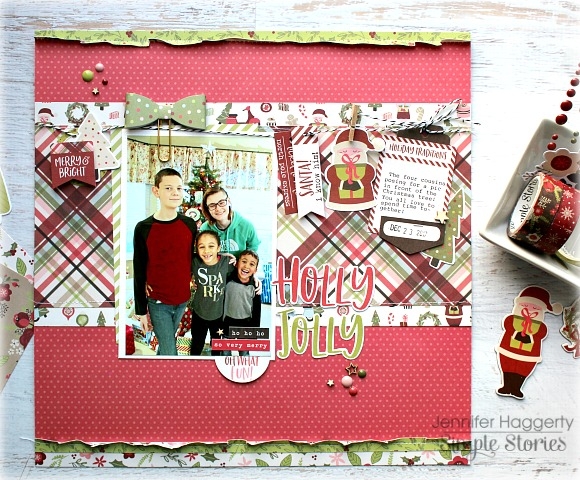
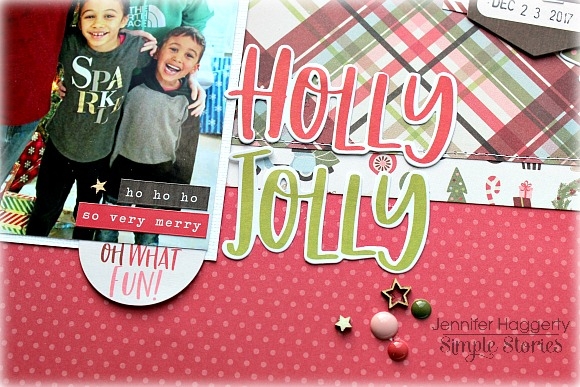
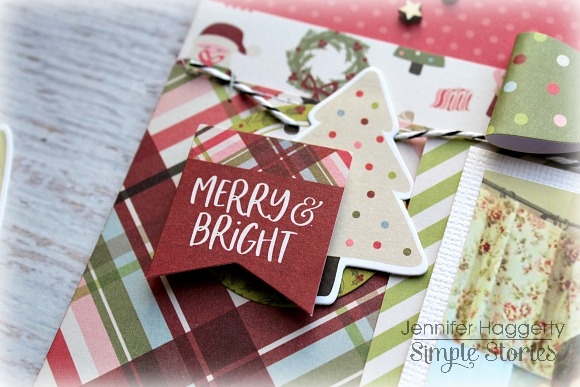
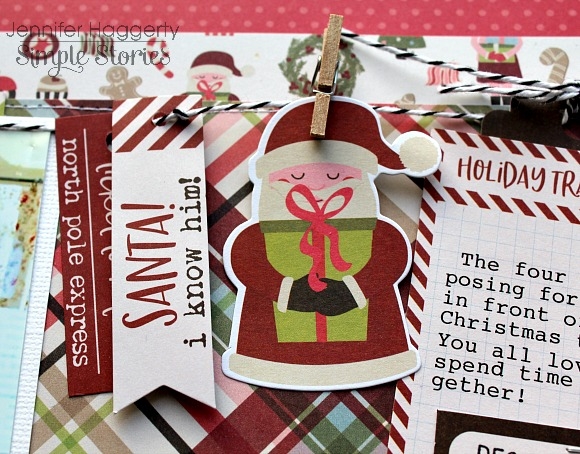
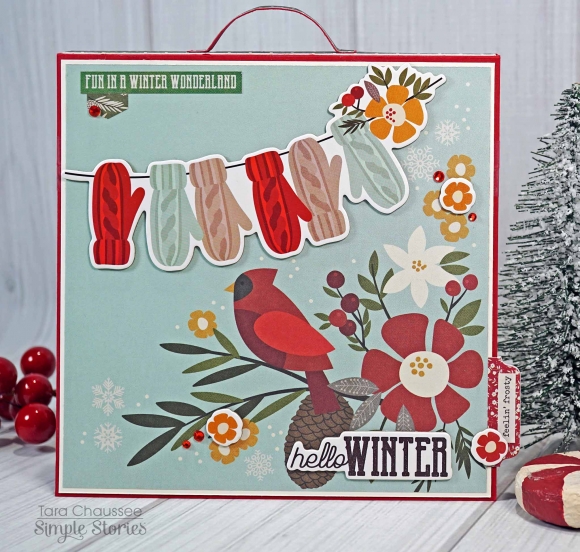
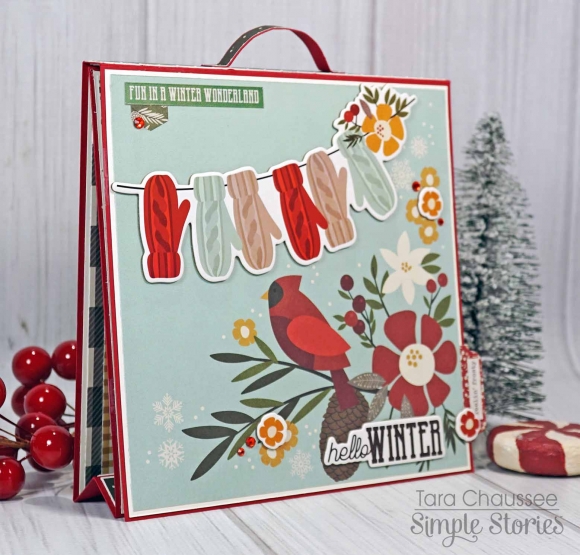
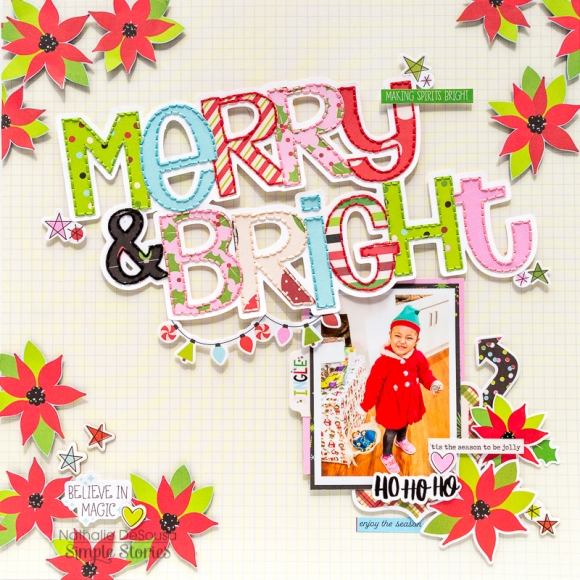
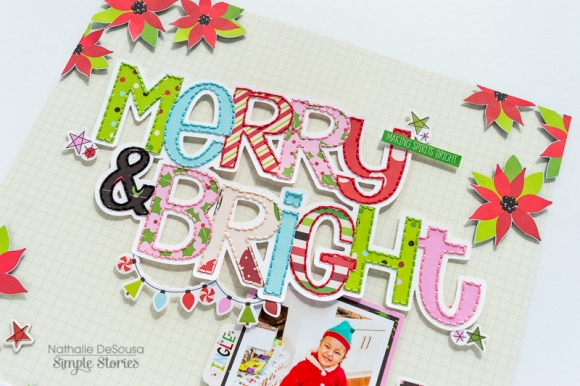
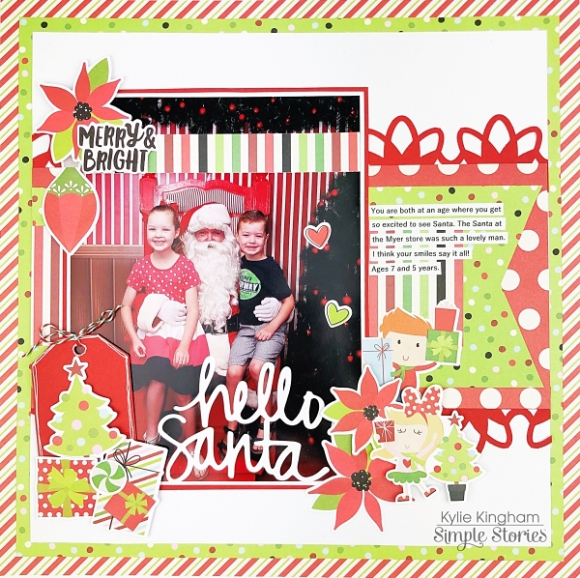
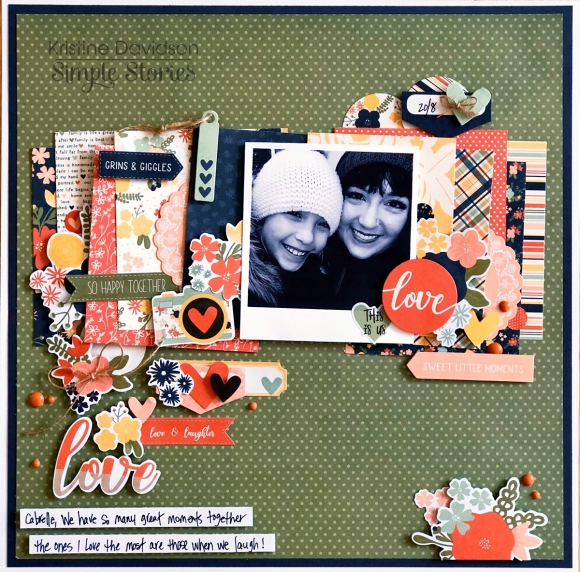
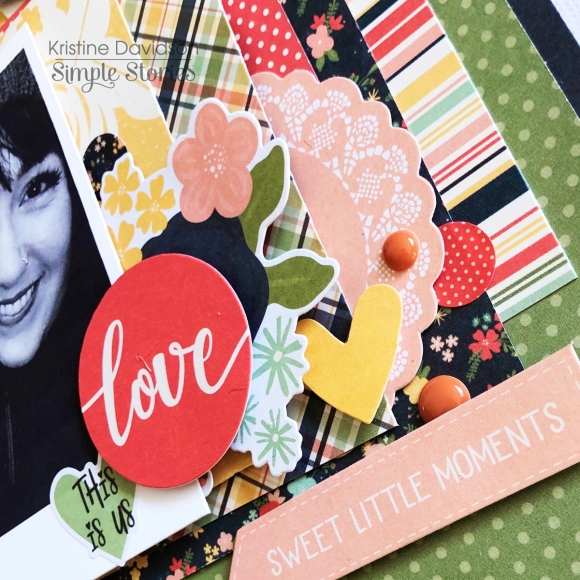
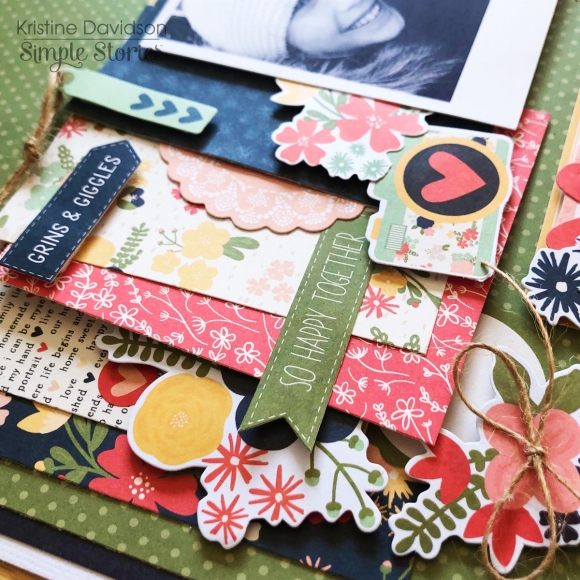
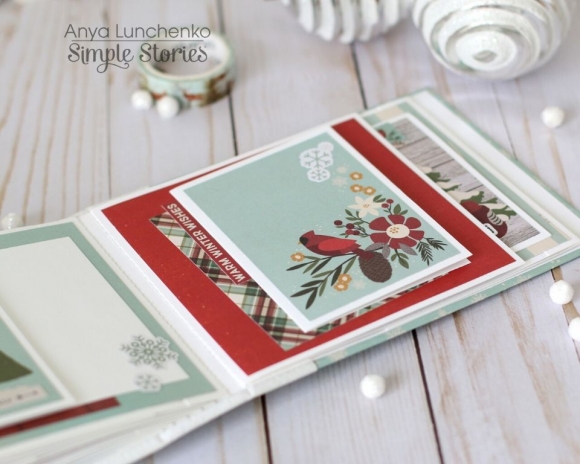
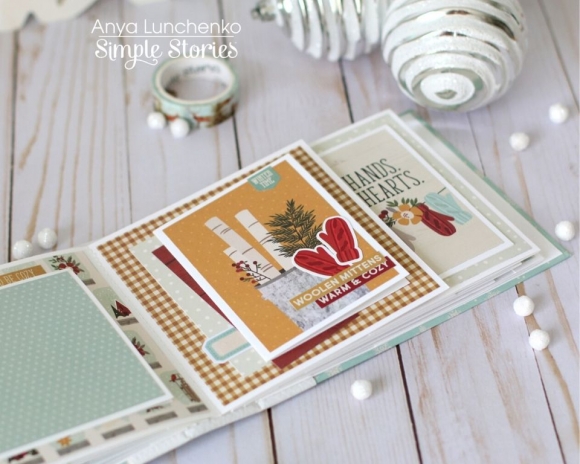
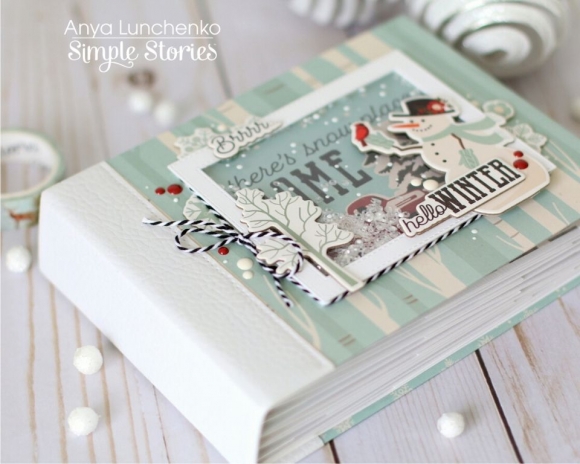
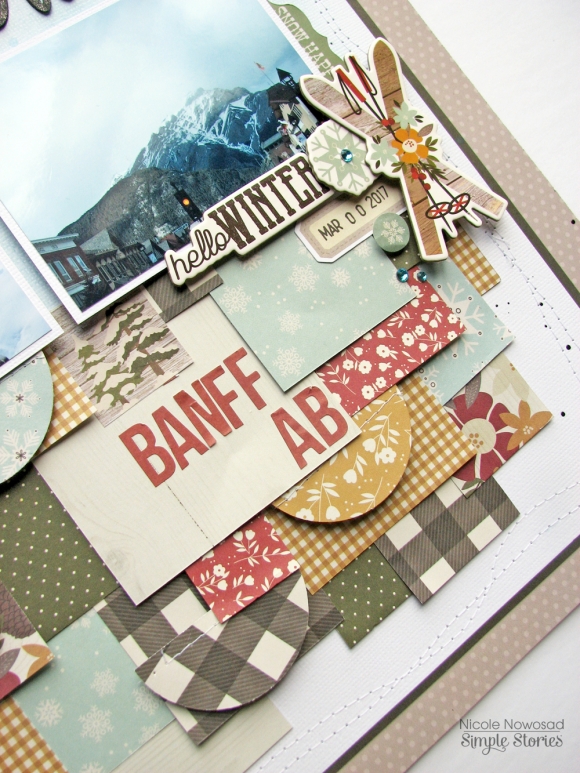
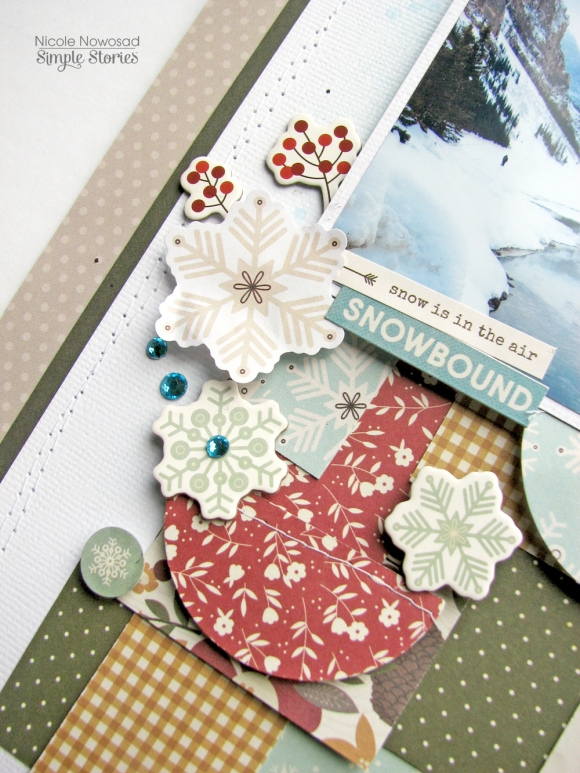
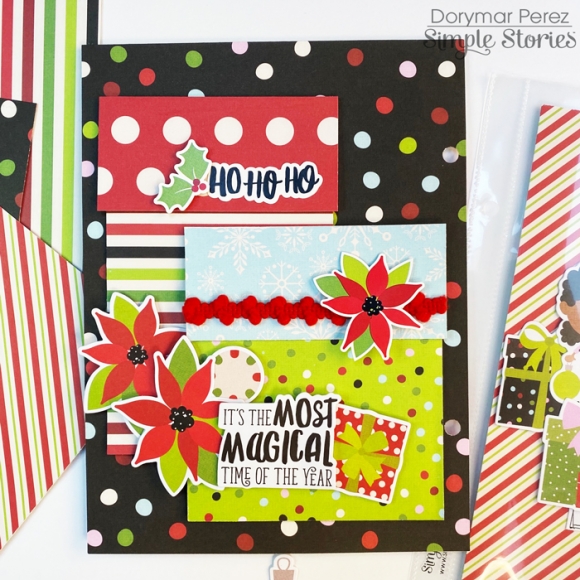
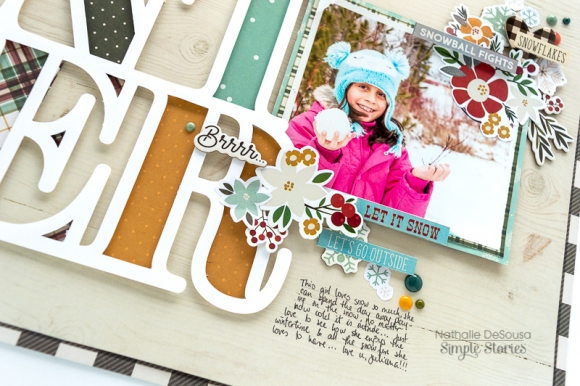
When I am designing cards, I like to design the focal point of the card first and then move backwards to the paper layers and card base underneath.

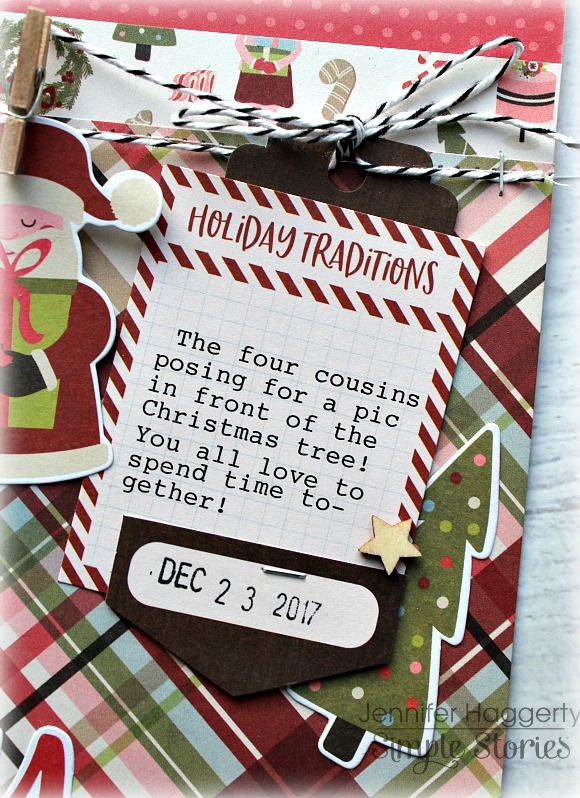
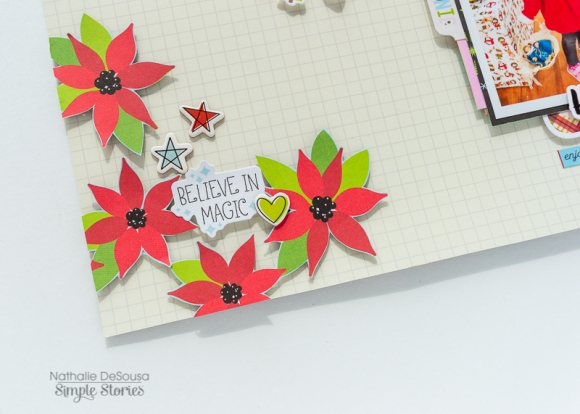
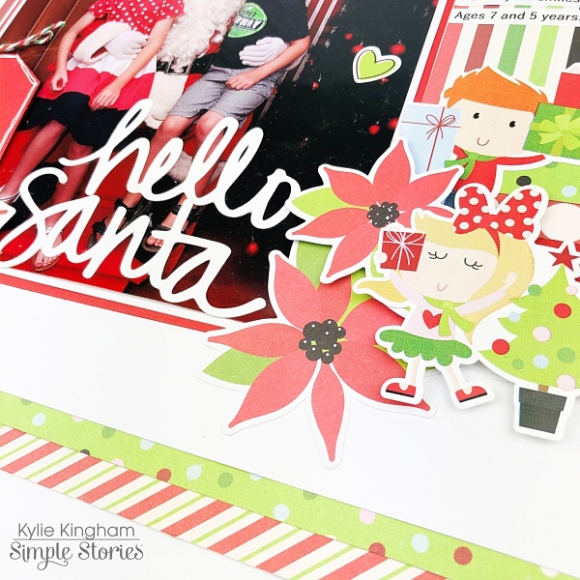
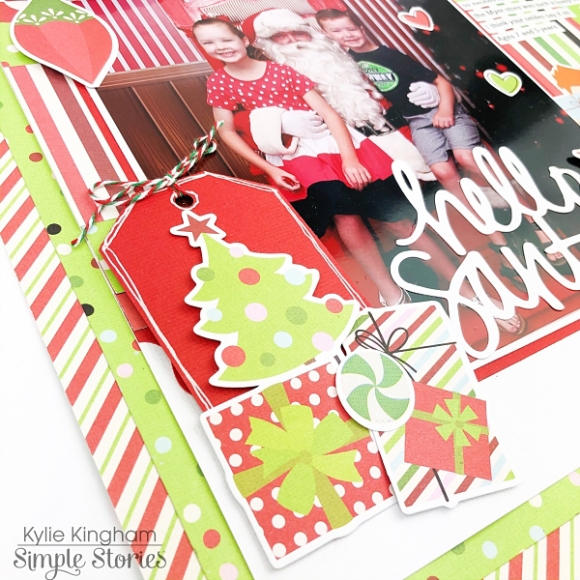
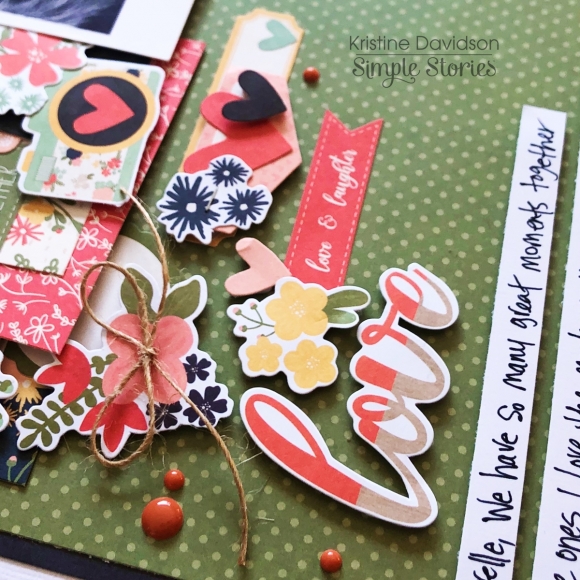
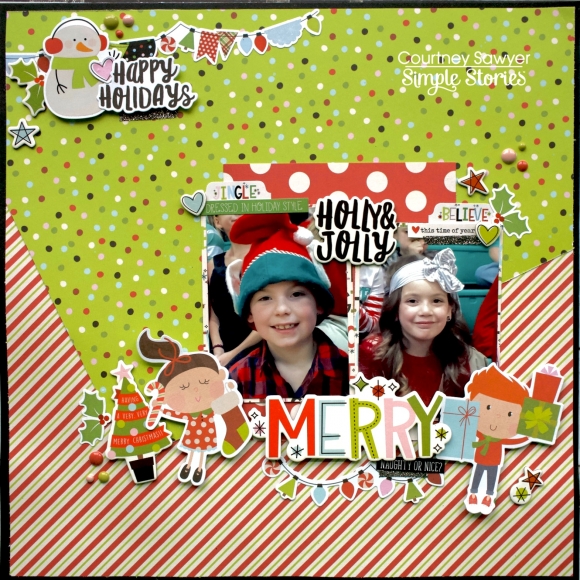
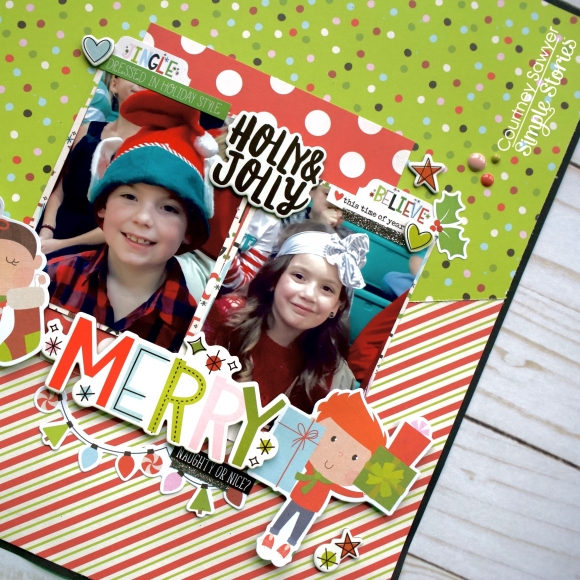
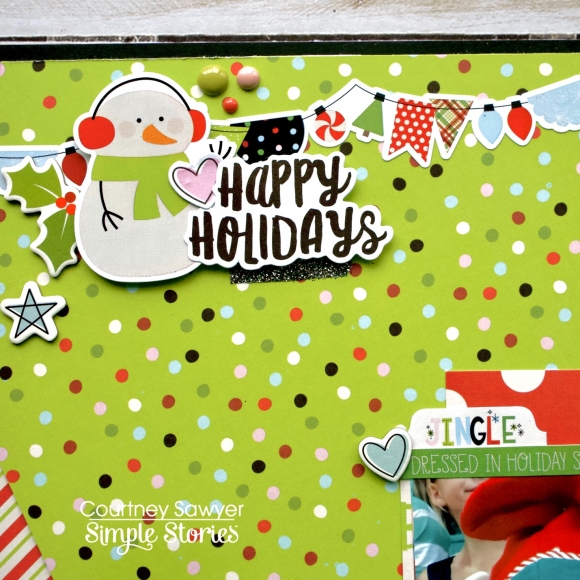
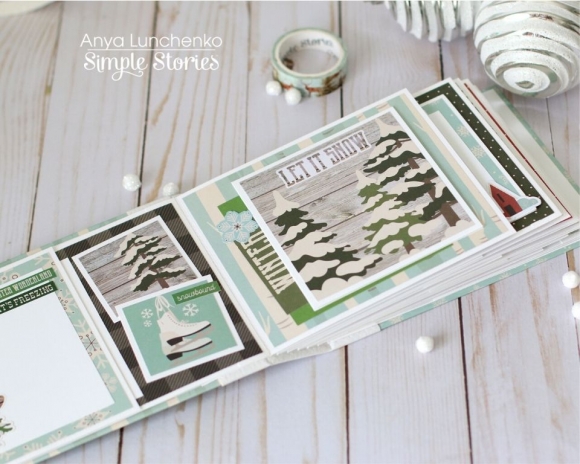
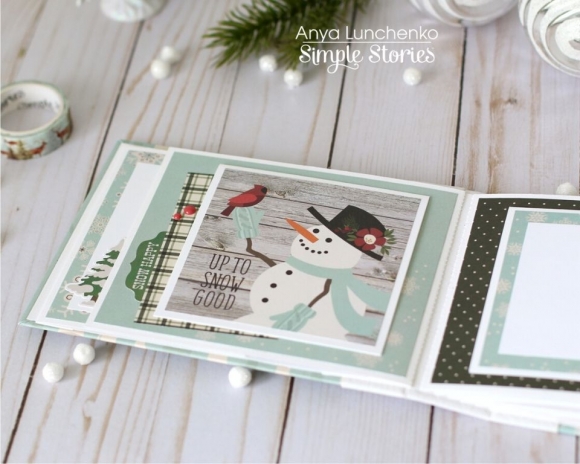
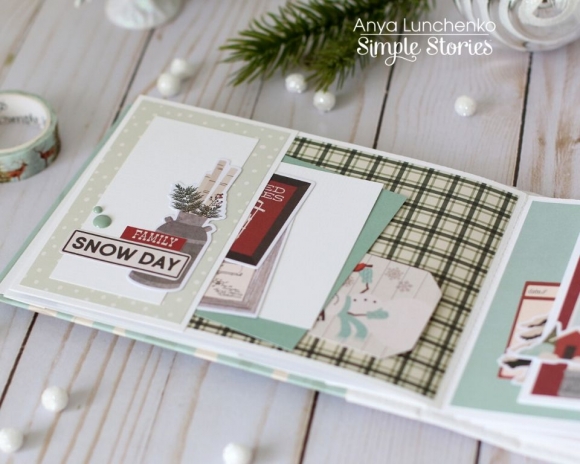
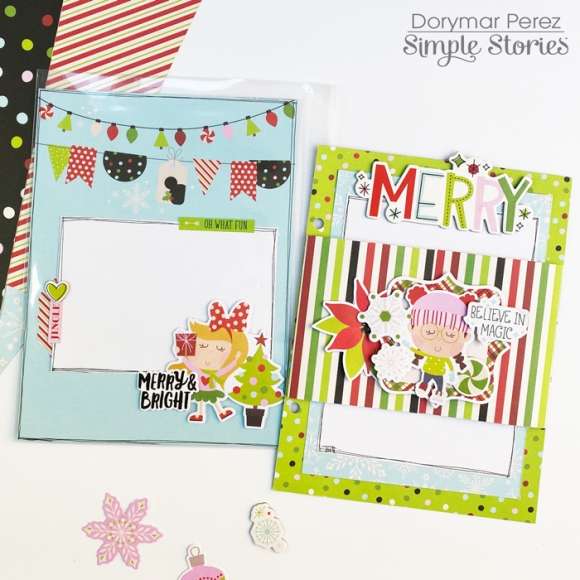
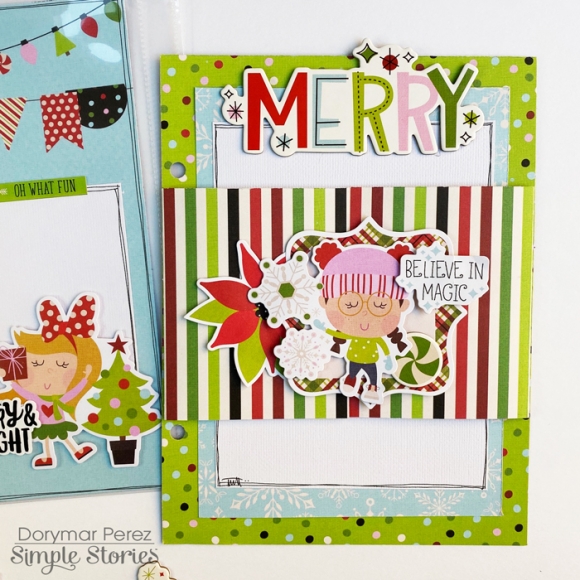
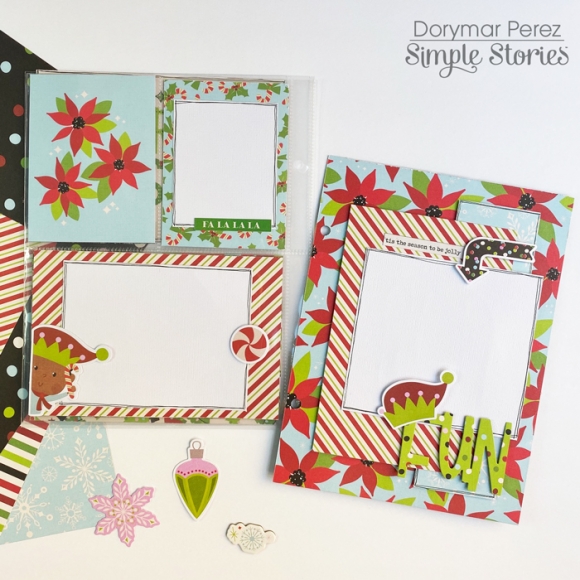
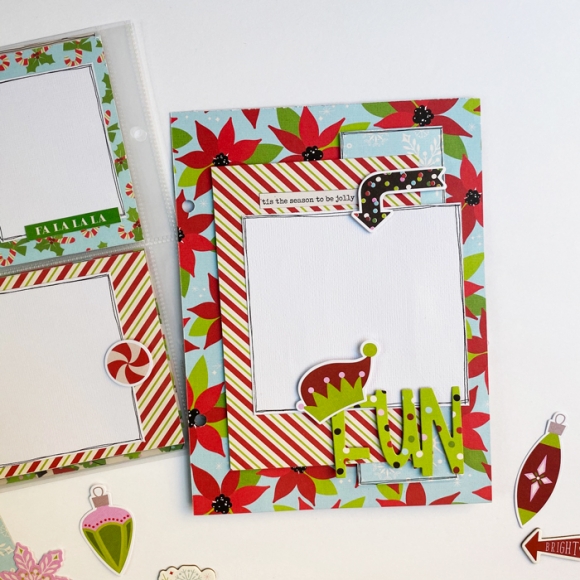
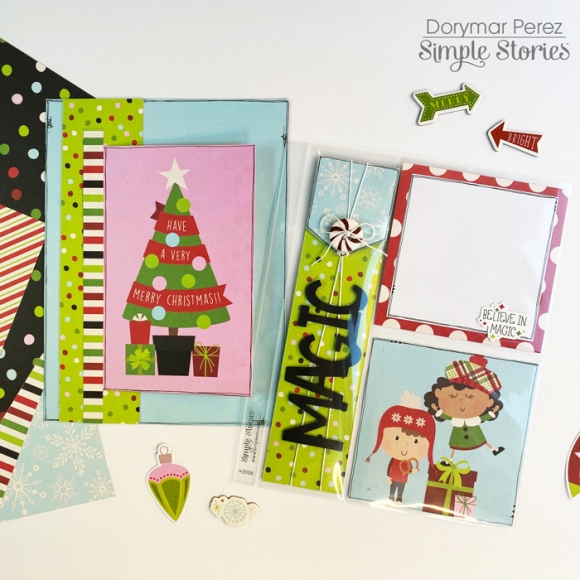
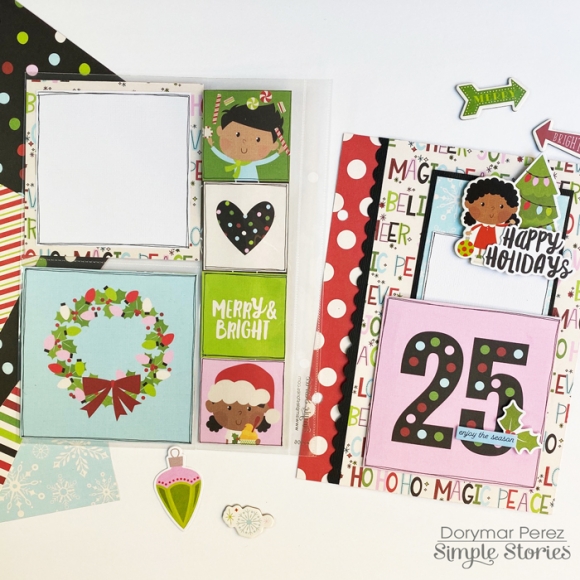
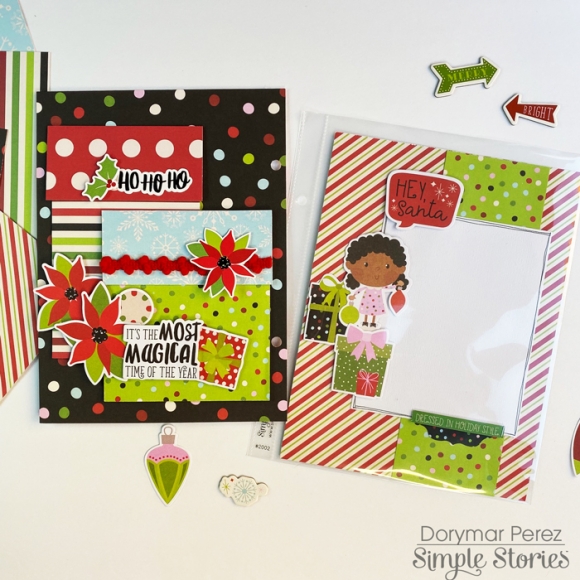
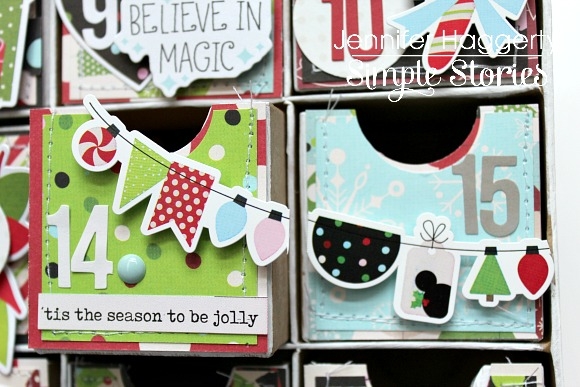
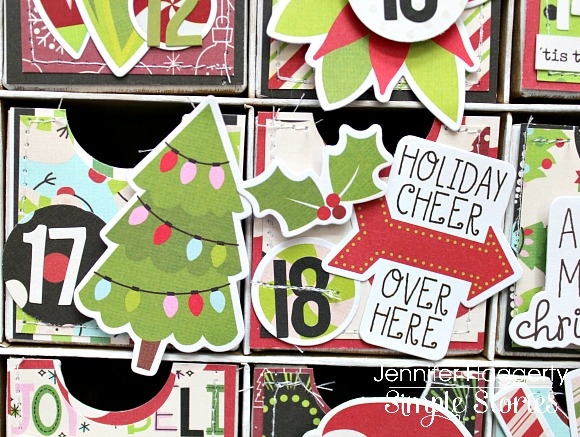
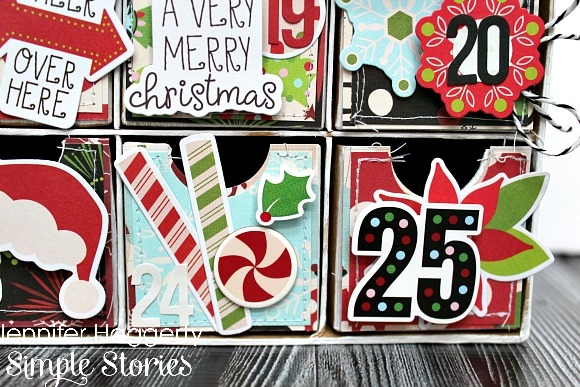
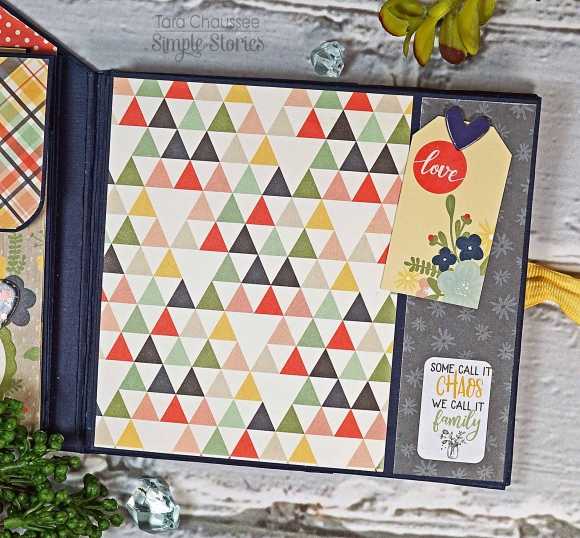
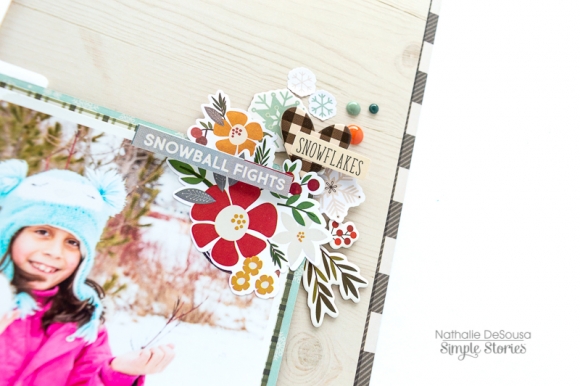
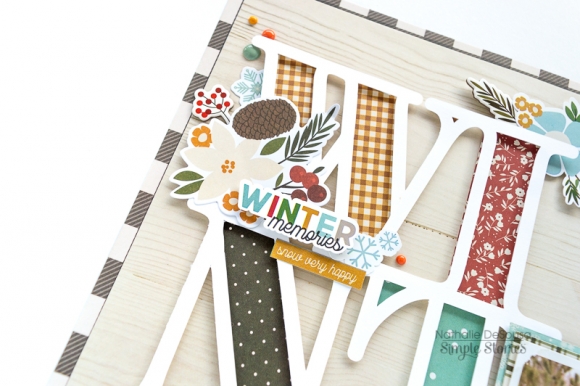
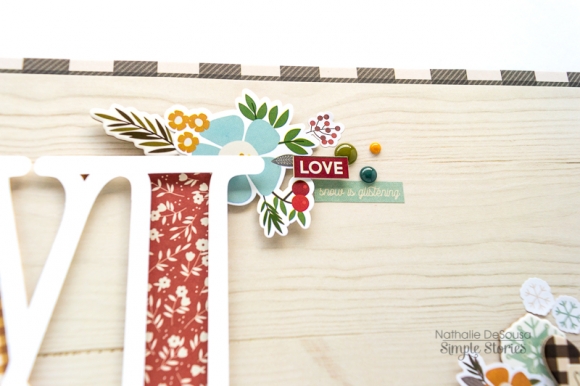
I spread out the embellishments I plan on using over the surface of my desk. It looks best (and is the most fun!) to combine a variety of materials, like paper die cuts, stickers, and chipboard elements. From there, I shuffle things around, auditioning pieces in different ways to create a variety of embellishment clusters. Sometimes I start with a 3x4 card or a frame as a background; other times I choose my favorite Bits & Pieces die cut that I really want to use as the focal point of my design. The fun part is playing around and combining things together. Don't overthink it too much. Listen to your creative heart and go with the flow!

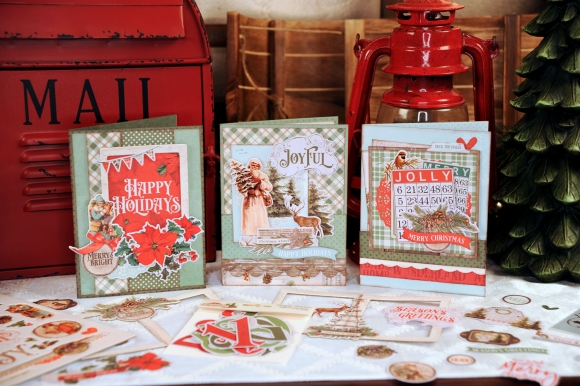
Once I have my clusters and focal points put together, I am ready to decide what size card base I should put them on. I try different colors of paper layers underneath each clusters and add decorative paper strips as colorful accents. My final step is to add additional detail, if needed, like twine, enamel dots, or buttons.

I hope you'll give this technique a try this year! Turn on your favorite holiday album or Christmas movie, keep a mug of hot cocoa nearby, and spend the afternoon playing with your supplies! It's a great way to create special cards (gift tags, too!) for loved ones.

Merry Christmas!

Supplies

Hello friends! It's Jennifer on the blog to share another awesome Simple Stories Christmas collection! Holly Jolly includes the traditional red and green holiday colors along with touches of pink and black for contrast  I  began with the Red/Dots sheet from the Simple Basics Kit as my background. I then adhered the eye catching plaid of Cozy Christmas along with Oh What Fun in the middle of my page. 

 I  used the whimsical die cut words from the Bits and Pieces pack for my title; they look perfect adhered right next to my photo! For accent, I  added a few Enamel Dots as well as wood veneer stars from my stash. 

I  wanted to document a favorite Christmas Eve photo of my kids with their cousins from a couple years ago!  The Journal Bits and Pieces includes these little half circle sentiments that are perfect to tuck under pictures or other embellishments! I  also added two sentiment stickers found on the bottom half of the Combo Sticker sheet. 

Once I  adhered my photo, I  created a banner of sorts with bakers twine and embellishments from the collection! I  combined three pieces in the Journal Bits and Pieces to create a tag for my journaling.  I  adhered a cute multi-colored Christmas tree from the Bits and Pieces behind the tag to add dimension.

I  love the little pennants with sentiments from the Journal Bits and Pieces! I  adhered one with foam tape layered with a journal circle and multi-colored tree.  I  used a hole punch on the circle so I  could string it through my bakers twine.  

It was tough to decide on which die cuts to use as there are so many cute shapes and sentiments!  Here, I  affixed this Santa with a mini wood clothespin to my bakers twine.  

Thank you for stopping by the blog today! Check out Holly Jolly in its entirety by going to the Products page! Plus you can see what's coming soon from Simple Stories! Have a great day!

Supplies

Hi everyone! Tara here with Secretbees Studio.  Cold weather and snow may be here again (ugh!) but that means staying inside and crafting with beautiful paper collections like Winter Farmhouse. It's full of rich colors and great patterns in wonderful wintry images.

To show off this gorgeous collection, I made an adorable mini album that also adds charming Winter decor to your home! This tri-fold mini measures 6x6 square and folds out to three sections on each side. It will hold a total of five large photos of your favorite snowy memories! Here is a photo of the album opened up to the inside.

The other side has the cover and two additional sections for photos. Each page has been decked out in a mixture of the gorgeous patterned paper and embellished with the darling winter themed stickers, chipboard and sentiments!

Once you have viewed all of the photos in this super cute album, just fold it back up and display it with your other winter decor. It is created with a fold at the bottom so it stands perfectly and looks awesome!

Supplies

Hi there Simple Stories friends!  Nathalie with you today with a new project that brings the joy of the Christmas season to a layout.  When I saw the new  Simple Stories Say Cheese Christmas, I knew that the colorful designs and papers will be perfect to document this picture of our Goddaughter as an elf last Christmas.

I started by creating a fun title for the page. I chose an alphabet from the Silhouette store, and cut each  letter from different papers from the Say Cheese Christmas collection.  In addition, I arranged the letters in order -for the title- and created an offset around the words.  I cut this offset from white cardstock and used it as a base to handstitch the letters of the title together.

For the background of the page, I chose the Sn@p Basics Hickory/Cream grid paper . I chose to fussy cut a few florals form the Making Spirits Bright paper and attached them around the  outer edge of the background using foam adhesive

Once the title was glued to the background, the layout came together quickly, First i used a few of the papers to frame the picture and add layers behind it. I tucked the picture under the title, and started to add small embellishments around it,

All the cute and festive stickers and ephemera pieces were perfect to add sentiment to this page. Plus they are so easy to combine that it makes this page come together in just a few minutes.

I hope this has inspired you to check the new Simple Stories Say Cheese collection.  You are going to fall in love with the designs, colorful images and how versatile it can be.

Til' next time

Supplies

Hi friends!  It’s Jeanne here today!  You know I love to make cards, and making is easy with lots of printed die cut images (Bits & Pieces), beautiful pattern paper, and loads of embellishments all perfectly coordinated to work together.  I like to send cards with long notes tucked inside to friends all year long.

Today I’m sharing EIGHT cards made with the Simple Stories Winter Farmhouse collection.  The images are a breath of fresh air, like a trip to the country.   Living in Indiana, there’s a lot that feels like home in this collection for me.

I scissor cut wavy hills from pattern papers to look like a patchwork quilt of farm fields  and others with straight edges to make cozy indoor scenes – half carpet and half wallpaper.

I like to lay out all the printed die cut bits and pieces and chipboard images  and arrange them on sheets of plastic the same size as my card base. Some of the pieces just seem like they’re meant to be together like the snowman and pine trees on my card below.

The Mini Sticker tablet is perfect for adding small sentiments and embellishments after your cards are arranged.  The thick chipboard pieces add dimension and add an expensive look to your cards.

This collection has lots of traditional reds and greens for the holidays with a contrasting cool pale blue that’s 100% country.  The addition of mustard gives a warm comfy cozy feel.

I love that you’ll find everything you need for a little outdoor play – old fashioned wood sleds, cozy mittens and sweaters, snowmen and snows hovels.

When you’re done playing outside you can head for home and warm up by the fire with a warm cuppa and a soft throw to keep you cozy.

Capture your winter play and the comfy cozy feeling of “no place like home” with the Simple Stories Winter Farmhouse Collection.

Supplies

Hi friends! It’s Kylie on the blog with you all today with my first layout as a part of the Simple Stories Design Team. With Christmas fast approaching I couldn’t resist scrapbooking a photo from several years ago when my kiddos were quite a bit smaller! I immediately fell in love with the ‘Say Cheese Christmas’ collection. There are so many cute elements to this range and I knew it would be a perfect match for my photo.

I chose to work with a white background for my layout, just so all those Christmas colours would really pop! I did however add a double border with papers MAGICAL HOLIDAYS and SWEET MEMORIES. A strip of BEST CHRISTMAS EVER and MAGICAL HOLIDAYS were also added throughout the middle of my layout. Using a punch and red cardstock from my stash I added a fun border to the top and underside of these pieces.

Lately I have become quite a fan of using larger sized photos in my layouts. This photo measures 6”x 8” and I have backed it with both some white and red cardstock. I also cut the ‘Hello Santa’ title from a Simple Stories cut file. You can find it in the Silhouette store HERE. Since my photo was a little on the dark side it help make the title really stand out.

Using some of the adorable die cuts and stickers I have created some neat clusters supporting my photo.Some of them were added with foam tape so that they added some height and dimension to my design.

A cute tag was created from more red cardstock and layering the tree die cut over the top. It was finished off with a cute string bow.I also added some printed journaling strips which completed my overall layout.


Thank you so much for stopping by today. I hope you have enjoyed seeing my layout and it gives you some inspiration for your own scrapbooking.

See you next time!

Supplies

Hi, Odessa here with a fun project I love been working on with the So Happy Together collection from Simple Stories! Full of gorgeous patterns, fabulous colours and all kinds of icons and phrases and more perfect for all kinds of everyday family stories.

I’ve been into mini albums a bit lately and wanted to try something new. The Blush SN@P! Binder goes so well with the colours in the collection that it was an easy choice. Because the binder has a chipboard cover it was really easy to turn into a 3x8 binder! I just measured (twice of course) and cut it down. So easy! I then covered the chipboard with the dot pattern from the Happy Heart cardstock. I love how it looks. There are so many good patterned cardstock sheets in So Happy Together it was hard to choose which one to cover my binder in!

Once it was covered I added some of the chipboard stickers from the 6x12 Chipboard sheet to embellish it. 

On the inside I had fun playing with different kinds of pages and layers. Here I have a full sized photo and one of the Vertical Page Protectors with spots for 3x3 photos. I cut a 3x3 square from the 2x2 Elements Cardstock to make a card to fill the pocket. I added some cute hearts to finish it up. I love a collection with lots of hearts! Finally I used the tab stickers from the Combo Sticker sheet. I like to use those on smaller layers.

I kept it simple on my full photo with some phrase stickers to add some words to my layout while keeping it neat. And a nice chipboard heart that matches the cardstock I used to cover the album.

Here is the other side of the vertical page protector and one of the larger page protectors I cut down. It normally has 2- 4x6 pockets but I cut it in half and used the scallop border from the Combo Sticker sheet to close it up. I love the added layer that edge adds! 

For this 3x3 pocket I layered torn strips of the coordinating Simple Basics cardstock to create a rainbow of the main colours in the collection and used one of the Bits & Pieces with a camera on it in the middle. 

My final layout has more of those gorgeous dots. I can’t get enough of them! I cut down and hole punched a page from the 6x8 Pad for a more traditional layout.

I tore some cardstock strips to put on top of my background. I love a good torn edge! I used some Bits & Pieces and various stickers from the So Happy Together collection to add some journaling.

The doily shape in the Bits & Pieces is so cute, I had to use it! Using other die cuts and cardstock from the collection I turned it into a cute ribbon! I had so much fun documenting some family memories with the gorgeous colours and style of So Happy Together.

Supplies

Hello Everyone!

It’s Kristine here today to share one of my latest layouts using the So Happy Together Collection. This collection is so perfect for a variety of pages and projects. It contains cute little flowers, word diecuts, colorful houses and so much more. Going to a house warming party soon? Perhaps an anniversary? Or just want to document the love your shared with your family a few weeks ago? All of these topics and more can be documented using this collection. My 12x12 layout is called Grins & Giggles.

My cousin spent the afternoon with her daughter and all They did was laugh and play outside. The most memorable moment of that day was this sweet selfie they took. I love the smile they both have and the laughter they shared together. I started my page with a piece of Green paper from the Basics Kit. I backed it up with a Blue piece of paper from the same Basics Kit and both of these then added to a piece of white cardstock. This created a great base for all those pieces of patterned paper I used.

I had an 6x8 paper pad and used quite a few of the papers included in this collection. I created layers and started embellishing with the Bits and Pieces.

Adding a small die it for my title “grins and Giggles” was perfect for this picture. I wanted to add a few sentences of journaling but decided to keep it simple with two strips of journaling as I usually do.

This was really a fun layabout to created and I absolutely loved creating with this collection. Don’t forget to share your layout using some Simple stories by using the #simplestories and tagging us @simplestories_

Have a great day!

Supplies

 
My family and I are a huge Disney Fans. The Say Cheese collection was one of my favorite, but now there's a Holiday version so I was really giddy and jumping up and down with joy.
 
 Let me tell you that I am a scrapbooker at heart who is also a planner girl who loves creative planning and memory keeping. You can probably guess that I will be using this collection to set up my planner.
 Being a planner girl, I love to show my desk view. I love decorating my desk with the current collection I am obsessing over. So guess what? I am obsessing with this collection at the moment.

I want to share with you what I love using in setting up my planner. First, I love love using the bits & pieces and the chipboard pieces. I normally use them to decorate and stuff my planner pockets so when I first open up my planner, I have a view that I can stare at all day long, well not all day but it gives me the chance to adore my set up.
 Tell me you don't think these bits & pieces aren't cute? They are so adorable especially when I use them in my planner as decor.
 I also love using the combo stickers. I mostly use them in my monthly and my weekly layout. As I mentioned, I love creative planning and memory keeping. Think of it as scrap booking but instead of creating 12x12 layout, I use the monthly and the weekly view and I just have fun and start decorating. You can also think about it as portable album that I carry with me everywhere.

I use the 12x12 double sided papers to create my insert cover. I would then decorate the front cover with embellishments.
Thank you for stopping by and I hope you love this collection as much as I do. Well then, off I go to set up my planner.

Supplies

Hey y’all Courtney here. Today I am sharing a layout that I created with the Say Cheese Christmas Collection. This collection is so adorable with all of its icons. I love matching my kiddos up to them.

For this layout I used two pattern papers to create my background. I used Magical Holidays and Sweet Memories. The layering that I did here was a happy accident. I had just put everything on my desk and was starting to pick embellishments. I saw how I stacked my papers and loved it. I trimmed them down and layered them on to a sheet of black card stock.

I then began to create my clusters using the ephemera, chipboard, and combo sticker sheet. I layered everything up to frame my pictures. I finished my layout with a cute little cluster in the top corner to help balance out the layout.

I then began to create my clusters using the ephemera, chipboard, and combo sticker sheet. I layered everything up to frame my pictures. I finished my layout with a cute little cluster in the top corner to help balance out the layout.

Supplies

Hello everyone! Anya here today with another mini book inspiration. Patterned papers in the Winter Farmhouse collection so beautifully coordinate with each other that it makes the creating process very easy and enjoyable.

This book measures 5x7 and was made from scratch. I created the cover for the mini book using three pieces of heavy cardstock. Front and back pieces I covered with patterned paper and the binding piece I adhere to a piece of faux leather, to which I also adhered the other two parts of the cover and stitched them down with a sewing machine.

To create the inside of the album, first I cut all the pages, scored them and using a sewing machine again stitched them down to a piece of paper that was later added to the binding of the mini book. For a fun look I kept some of the pages shorter, others longer and some with a little flap that opens for more photos.

This mini album can fit up to forty five photos in different sizes. When I an ready to fill it with photos all I would have to do is to measure the spot, trim down a photo a bit smaller to leave a white border and adhere it.

I used a lot of stickers and bits and pieces to decorate all of the pages inside this mini book. The front of the album I decorated with a shaker window, filled it with snow-like sequins and added chipboard pieces on top. A few enamel dots and a piece of backers twine finished the design.

I hope you'll give a handmade mini book a try if you haven't made one yet.

Supplies

Hi there! Nicole here today to share with you a project using the gorgeous Winter Farmhouse collection. I couldn't resist mixing this collection with some wintery photos of a travel destination in Canada I visited a while ago, it was perfect for those wintery moments.

I chose to add my photos along the top of my page in a row and then wanted to mix up various patterns from the 6x8 paper pad to create the design for my page. I cut several different sized of squares/rectangles and layered them under the row of photos, to add a pretty layered feeling to the bottom area of the page. 

To add some extra dimension, I added in some chipboard and mini element stickers along with some punched half circles into the layered paper design! I added a simple digital diecut cardstock title along the top edge of the photos.

Supplies

We are pleased to announce TWO new collections for Winter 2019! 

You’ll go weak at the knees over the new SIMPLE VINTAGE MY VALENTINE collection featuring time-honored images of heirloom roses, heart-shaped doilies, candy hearts and cute kids sending cards to their secret crush. Pretty patterned papers and a wide array of embellishments in shades of red, pink, aqua, and blue will make this year's Valentine papercrafts sugary-sweet!

View the full SIMPLE VINTAGE MY VALENTINE collection HERE. Visit us on Facebook & Instagram for chances to WIN the new SIMPLE VINTAGE MY VALENTINE product before you can buy it!


Celebrate all the happiness of craftiness with the new HEY, CRAFTY GIRL! collection from Simple Stories. If your motto is “a craft a day keeps the crazy away,” then you will love the clever and witty sayings honoring your favorite pastime, the icons of cute girls absorbed in their creativity, and the pretty, candy-colored floral accents. Whether you use this collection to scrapbook about your favorite hobby, keep a log of your creativity in a SN@P! album, or make decorations for the cutest crafting party on the block, this collection is a must-have!


View the full HEY, CRAFTY GIRL! collection HERE. Visit us on Facebook & Instagram for chances to WIN the new HEY, CRAFTY GIRL! product before you can buy it


Hello, Simple Stories Fans! It's Jana Eubank. Today I have a layout to share with you using the happy and cheerful So Happy Together collection.

For the title of this page, I fussy-cut the globe with the quote "Life is about the Journey" from the 6x8 paper pad and added it to the left of my photos.

I like this quote because my daughter had never taken a dance or tumbling class in her life, yet she was determined to try out for the cheerleading team at her school. I tried to prep her for the disappointment that would inevitably come, but to everyone's surprise her hard work paired with her incredible team spirit and sparkling personality earned her a spot on the team! It was quite the journey with a happy ending. I was so proud of her for persevering and going for her dream.

I used the "Hello Love" woodgrain paper as the background for this page and added a scalloped border piece across the top cut from the "Our Story" paper.

I added the photos to several different layers of patterned paper and then added several Journal Bits & pieces to the top to write the story about the day she received her uniform for the first time. I also used the 4x6 Clear Stamps to add a sentiment to the upper right corner of the journal blocks.

I used the 4x6 Clear Stamps again to stamp the phrase "life is beautiful" across the bottom of the globe. 

I layered together several flowers, hearts, and the word "HAPPY" from the Bits & Pieces in the lower right corner of the photos. I also fussy-cut the wreath from the 4x4 Elements paper and tucked it behind the right edge of the photos.

I love that scrapbooking gives me the opportunity to celebrate all of life's challenges, victories, and lessons. This page about my daughter achieving her goal will always serve as a reminder to *ME* to work hard for my dreams and goals, too, even when it seems impossible. I will always learn something along the way. Like the title for this page says, life is about the journey!

Supplies

Hi friends, It’s Dorymar today I’m back to share with you a super colorful and fun mini album with the Say Cheese Christmas Collection.  This collection between the bright colors has a touch of black, this is why I selected the 6x8 Black Leather Album .

For the cover I used a red and white stripe 1.5” ribbon and created a big bow in the top edge of the album.  I added three jingle bells in the center of the bow and hanging with twine I added a tag with a Christmas feeling. For the title I used the Merry Christmas Sticker.

This album doesn’t include the page dividers so I went ahead and incorporated my own.  To create the page divider on the right I selected the b-side of the Magical Holidays paper and cut it at 6x8.  In the top, I added a 3¾x12 stripe folded at 3 and 6 to create an open side belly band.   The belly band hold a 5x7 card to add my pictures and journal.

I created a fun cluster of die cuts at the top of the belly band to open it.  The inside of the belly band has space for three pictures (one 5x3” and two 2.5x3”).  For the title of this page I used the “merry” word from the chipboard stickers.

In the following pages I incorporated de Fun Words metal dies to from the Say Cheese 4 Collection.   I think they are very practical, and you can use them as many times as you can.  For the right page, I had to cut the FUN word from the Magical Holidays paper and then, I used the Making Spirits Bright as a base and two more different patterned papers for additional layers.  Then I decorated it with die cuts and phrase stickers.

These pages are one of my favorites in this project, on the left page I created a flap that opens to the side with one of the 4x6 cards that the collection includes. For the pocket page on the left I had to cut the word "magic" in black and created a beautiful background incorporating twine and buttons.

I created the page on the right reducing the "Best Christmas Ever" paper to 10 ¾ x 8” and folded it in 6” to create an open side page.  On top of the page, I created a 4x4 pocket with one of the 4x4 journaling cards.  I added some of the fun die cuts with foam tape to decorate it.

One of the traditions of Christmas is to give gifts to your family and friends, that is why in Christmas collections gifts can’t be missing. For the left page I made some gift pockets and when you pull up the top of the gift you discover space to add your photos and your journal. Its super cute and fun. 

I decorated the top of the gifts with the beautiful poinsettias flowers that the bits and pieces pack includes, all are glued with foam tape to give the dimension that I love so much.

I can't stop incorporating the beautiful 2x2 cards that the collection includes, all are full of beautiful designs. I added to my album one 2x2 Insta-Pocket Pages to add space for this stunning 2x2 cards.  They look fantastic!

You will love this collection for any of your holiday fun photos, it’s colorful, bright, fun and so beautiful!!! Thanks for stopping by and I hope this project inspired you to create your own one!

Happy Crafting!

Supplies

Hi friends! It's Jennifer on the blog today to share an altered project I  created with the new Say Cheese Christmas!  I  picked up a chipboard advent calendar at a local craft store and thought this collection would be adorable! I  love the traditional red and greens Christmas colors as well as the pink and light blue!

I  cut 2x2 inch squares of a background pattern followed by adhering a smaller square on top. For both pieces, I  used a circle hand punch to create a notch to line up to the chipboard.  I  then used my sewing machine to stitch around the edges for extra accent.  

On each square, I  used embellishments from the Bits and Pieces and Combo Sticker sheet.  I  had SN@P Number Stickers in my stash and used different colors to mark each day.  

Here, I  used the cute banner from the Combo Sticker sheet and adhered it with pop dots.  I cut the banner where the two boxes meet.  I  also added some coordinating enamel dots from my stash! 

There are so many cute, whimsical shapes included in Say Cheese Christmas!  I  tried to use pop dots on the larger shapes and adhere them at an angle.  For contrast, I  adhered my numbers stickers to a circle embellishment or one that I  hand punched from patterned paper. 

For my last square, I  used the multi-colored "25" found on the Combo Sticker Sheet. I  adhered my number with pop dots adding a poinsettia die cut underneath.

Thank you for stopping by the blog today! Check out this collection and more by visiting the Products page! Have a great day!

Supplies

Hi everyone! Tara here with Secretbees Studio! When I saw the new Simple Stories So Happy Together paper collection I was smitten.This collection is a delightful mix of beautiful florals and colorful stripes and plaids in fun candy shop colors complemented with sweet and cute family themed embellishments. The perfect way to scrap about home and family!

This folding house mini is not only adorable on the outside, but it opens up to reveal oodles of spots for photos and mementos! I found the tutorial online and it's multi sections are perfect to showcase all of the gorgeous papers and ephemera included in this collection. 

The roof of the album comes off and is pretty enough on the under side for a couple of photos. Then the whole album unties and folds flat into four sections that each hold surprises of their own! There are pages that open, photo flips and even pockets! Such a cute way to hold all of the wonderful memories of friends and family!

Untie the doors of the first section to reveal a spot for photos and journaling. Plus the doors flip down for another photo spot and a small pocket!

The second section is interesting with lots of flaps that open in opposite directions to finally reveal a set of cascading photo flips! All decked out in the gorgeous So Happy Together paper and embellishments!

A sweet pocket for the third section that can hold journaling cards or more photos! There are folds in this section as well that flip up, down or open for more photos and even a hidden pocket in the back that holds a cute tag!

The last section has another photo flip under the first flap and behind that another photo spot and pocket with another tag!

To really see this album in all of its lovely detail, please visit my YouTube channel. I  describe and show all of the different sections so you can be inspired to make one of your own!

Supplies

Hi there!  Nathalie with you today with  a new layout that is all about combining the beautiful and rich tones of the new Simple Stories Winter Farmhouse collection.    I love this collection, and knew that i want to make a layout all about my niece and her love for snow.

It all started with a cut file from Paige Evans, which was enlarged to fit to the page.  I cut this from white cardstock and backed the empty spaces with different papers from the beautiful Winter Farmhouse collection.

For the background, i chose to trim a bit of the edges of the Feeling Frosty paper and framed with the 

Cuddle Up paper.   Here i glued the title on place  and started working on embellishing the page.

The picture was backed and layer with the Snowed In paper and paper from the 6x8 paper pad, and then nestled between the side letters of the title.  I used all the embellishments from the collection to create small clusters around the picture, just love the floral designs in the collection.

I also used a large embellishment cluster at the start of the title, just so that your eye goes through the entire page and brings all the charming detail forward.  I just love how this came together, and all the beautiful patterns are perfect to bring the outdoor feel to the page

I  hope this inspires you to check the new Farmhouse collection from Simple Stories, you will love all the patterns, colors and designs in this collection.

XO

Supplies

Pages