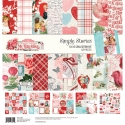
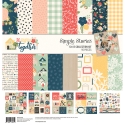
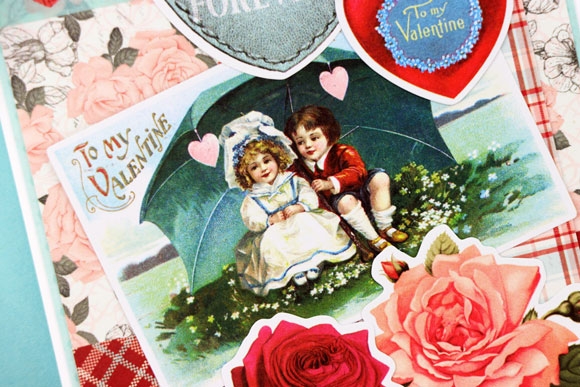
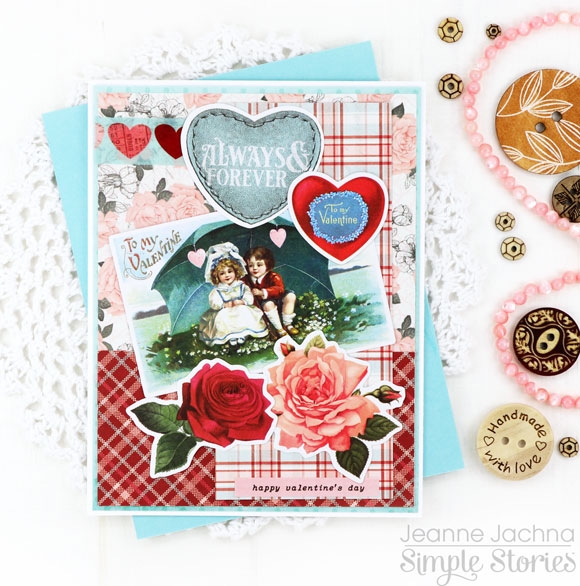
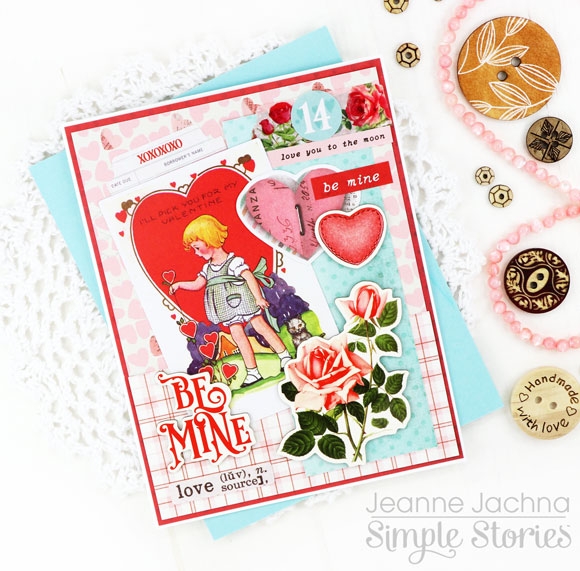
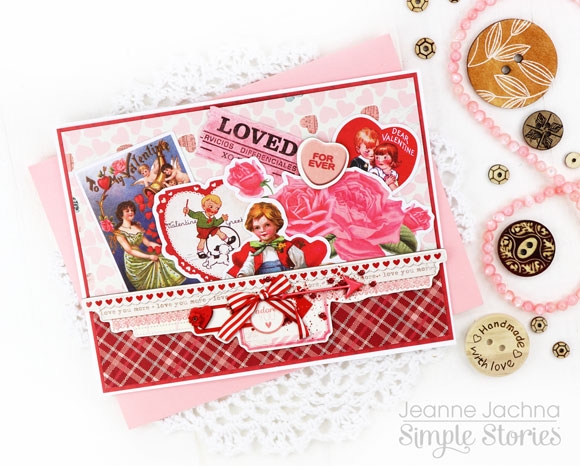
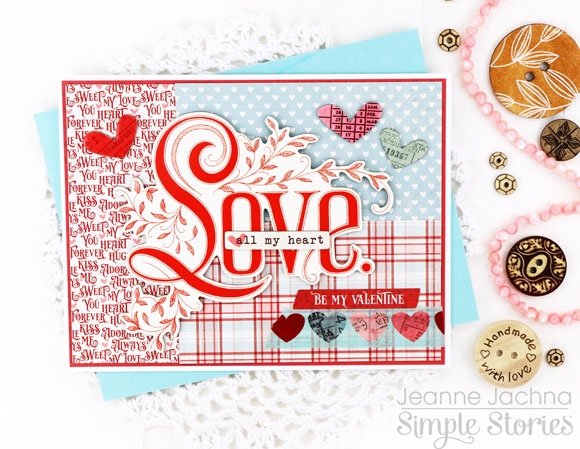
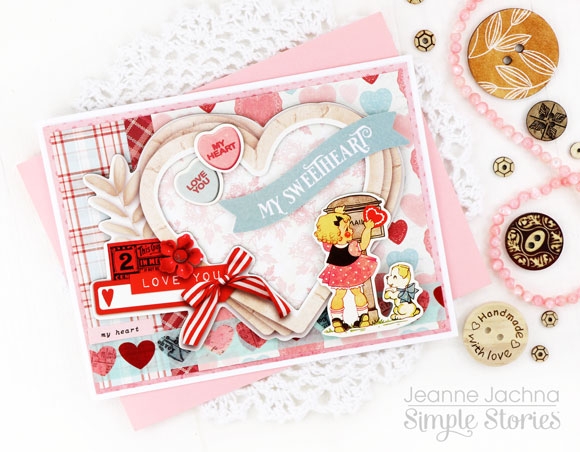
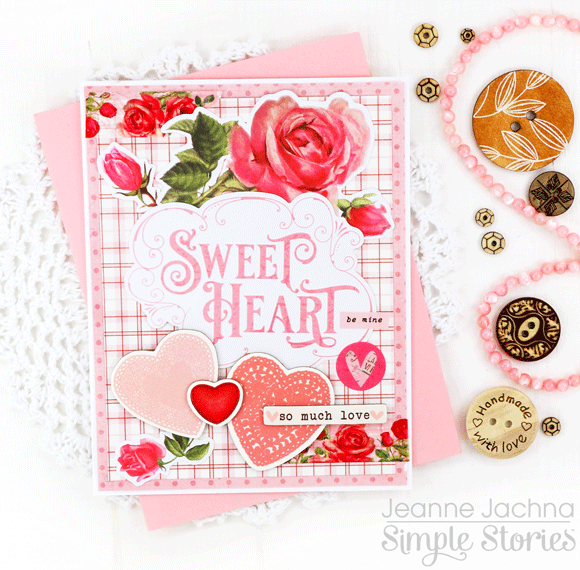
Good morning Simple Stories friends! Anya here today to share some Valentines Day card inspiration with you. To make these cards I used the gorgeous “Simple Vintage My Valentine” collection and created the cards in pairs of two.

This collection comes with a beautiful line of Bits and Pieces, but the “My Sweetheart” patterned paper in this collection is full of gorgeous flowers that can provide additional decorative pieces by fussy cutting them. I used a few of those in clusters on my cards.

Also, you can also create a variety of unique ephemera pieces by taking 3x4” cards and cutting them in different shapes. I used simple stitched circle dies to turn 3x4” cards into elegant sentiment pieces and backed them up with a larger die cut circles cut from white cardstock. I like finding ways to stretch my supplies, especially when I love the paper line so much! I hope you enjoy these cards as much as I enjoyed creating them!

Supplies

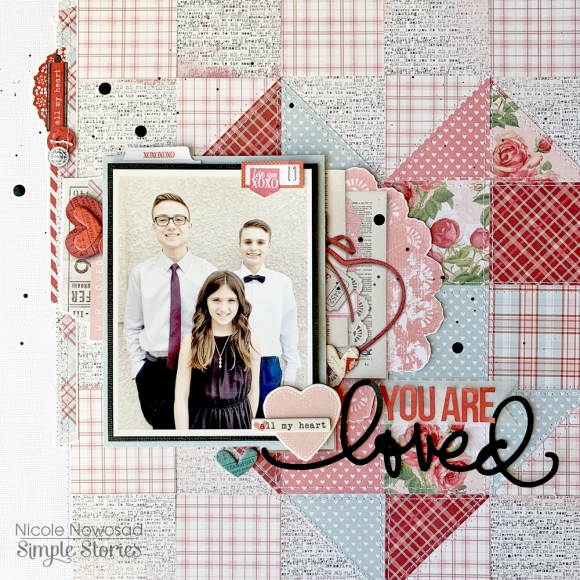
Hi there Simple Stories fans! Nicole here with a heart filled project using the new My Valentine collection!

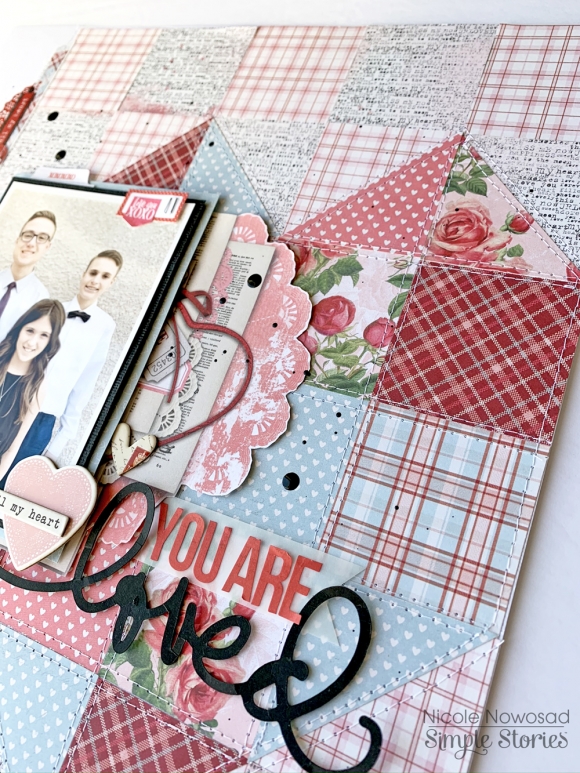
To create this page, I used a variety of patterned papers in the collection to build a grid like heart on the page. Using the My Valentine 6x8 paper pad, I chose some more neutral designs and trimmed them to 2" squares and started to place those in the top right corner of the page.

I chose a few more bold patterns and cut those to 2" squares also, using those to build the heart design on the page, trimming some of the squares into triangles for the top edges of the heart design. Once the heart was on the page, I filled in the empty areas with the neutral patterned squares, leaving a white border on the left edge of the project.

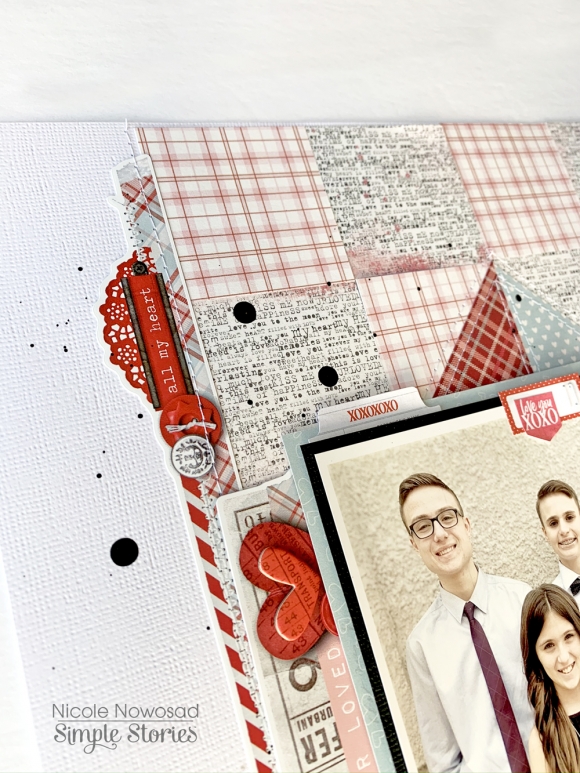
I love the large border stickers in the My Valentine collection and used one to overlap the edge of the quilted design and the white border on the left side. I love the easy layered look of this sticker and decided to add a bit of my own machine stitching overtop the design. Next I fussy cut the large doily design from the Just a Crush patterned paper and used it to layer to the right side of my photo.

I love the vintage feel of this collection and it is so easy to get the layered look with less by using some of the papers and stickers in this collection!

Supplies

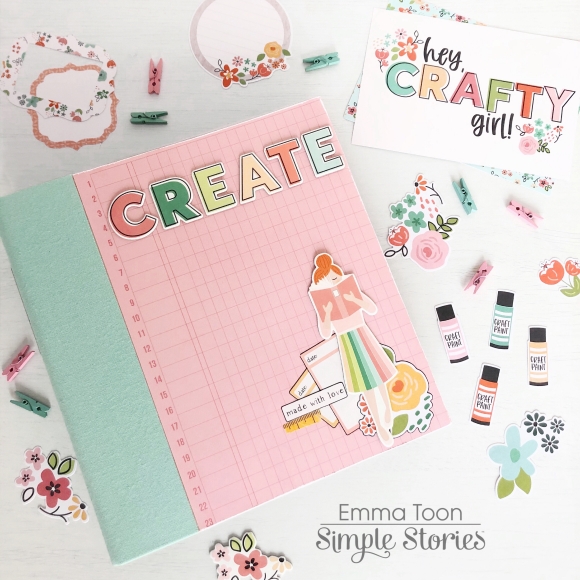
Happy New Year!! It’s Emma with you today, I’d like to share a look inside my ‘Creative Therapy’ binder!...what’s one of those, I hear you ask!?...well, like so many of us, I struggle to find time to take time out for me, and craft. So I came up with the idea of dedicating a Sn@p! Binder purely for ‘creative therapy’! It’s a place where I will fill it with prettiness, just for the fun of it! No rules!! 

Sitting down and crafting, even if it’s just for half an hour, is so good for my head!! I’m sure you understand what I’m saying!!...it’s like therapy!! Hence the ‘Creative Therapy’ title I’ve given it!  

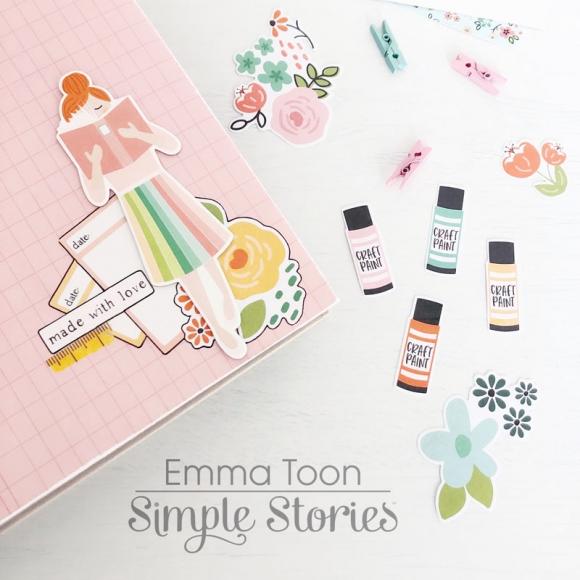
I covered the binder with a sheet of the ‘made with love’ 12x12 paper from the Hey Crafty Girl Collection kit. I used some of the fab chipboard pieces to decorate!! The Hey Crafty Girl collection is just so perfect for this binder!! 

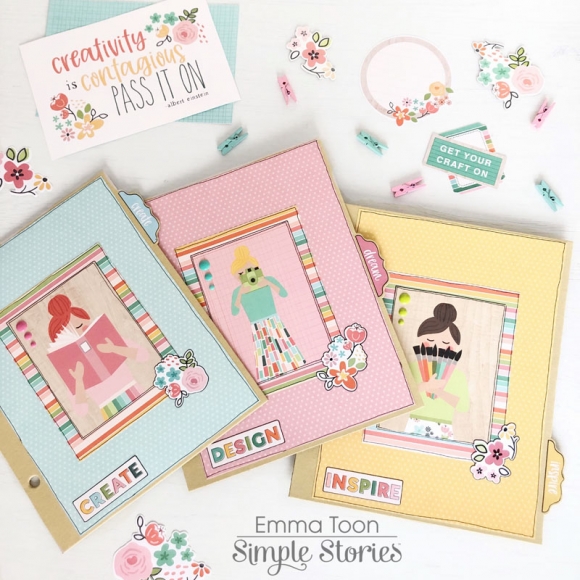
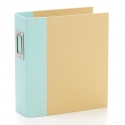
I’ve used the Robins Egg 6x8 Sn@p! binder, and I love how these come filled with lots of goodies to get you started!! Chipboard Kraft dividers, paper, pocket pages and patterned card! 

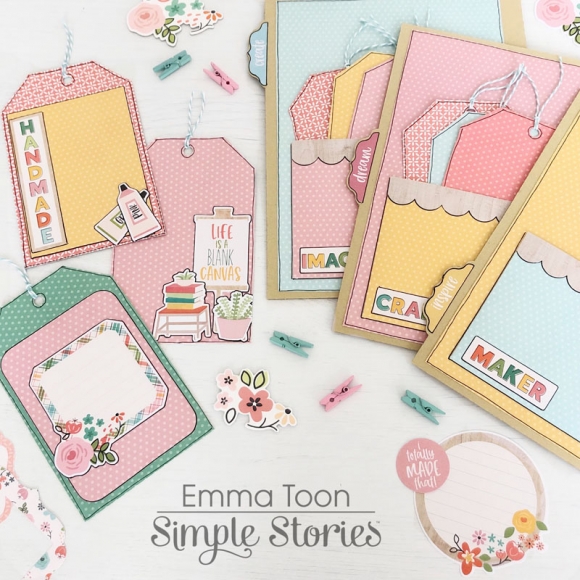
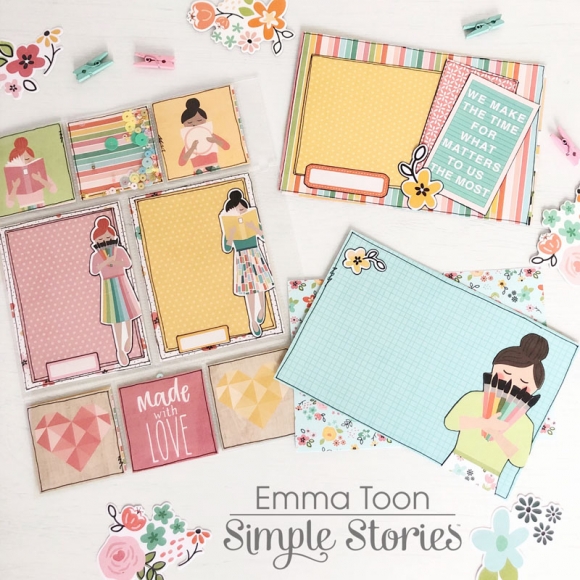
I’ve decorated both front and back of the Kraft dividers, for the tabs I used stickers from the 12x12 sticker sheet, these fit perfectly!! I made pockets on the reverse of all three dividers, and filled with tags! The tags are just right for those days when I only have chance to grab a few minutes to create, I can pull out a tag and decorate with some stickers or a few elements from the bits and pieces pack! 

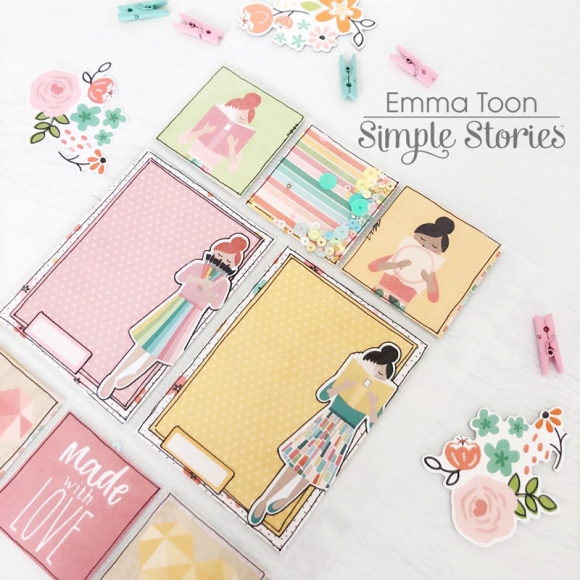
I love filling pocket pages with colourful designs! You can use stickers, chipboard, bits and pieces, even fussy cut some of the cut a part elements!!

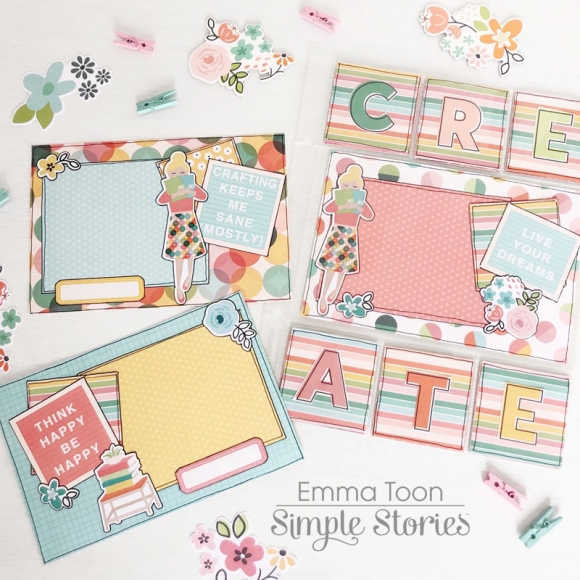
For this pocket page, I fussy cut the letters spelling create from one of the 4x4 cut a parts and stuck down on pieces of 2x2 paper, it looks really effective I think!! You can find a video of me creating this pocket page on my Instagram feed

I also like to add sequins in the pockets too, just remember to seal the tops of these pockets with a strip of clear tape!! I hope you enjoyed hearing a little bit about my creative therapy binder, there’s a full flip through which you can find here if you’d like to take a look.

Supplies

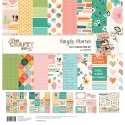
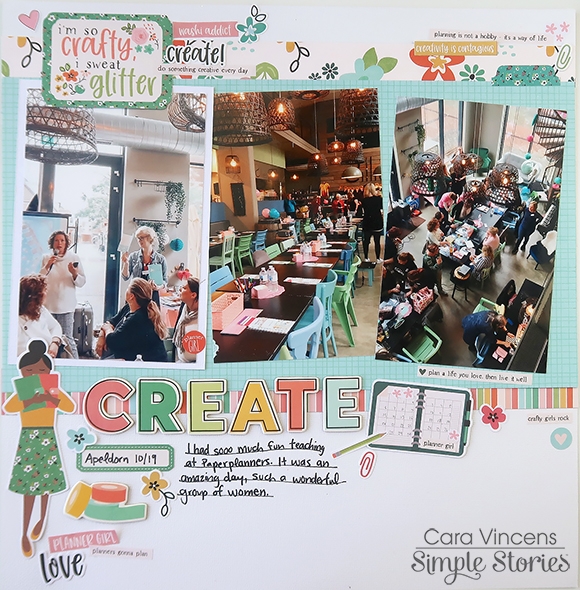
Happy NEW YEAR!! What better way can you think of to start off a new year and a new decade than with a bit of crafting! And better yet, scrapbooking! It’s Cara here today and I am so excited to get this year started, it’s going to be a year FULL of paper crafting.

I absolutely adore the Crafty Girl collection and I was already designing this layout in my head as I went through my box of goodies. I had barely shut the door on the mailman and I was running to my desk, excited to play with it all. Crafting has always been my favourite and these are my happy colours.

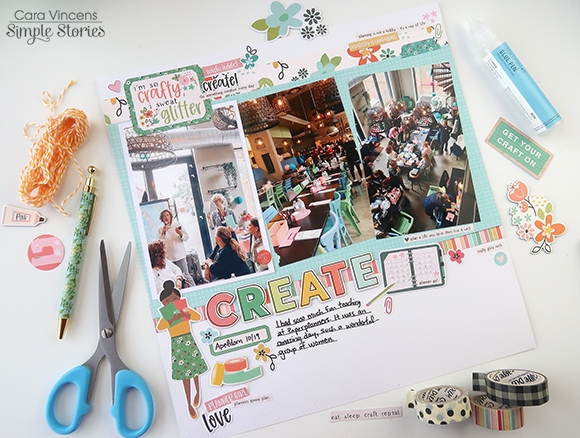
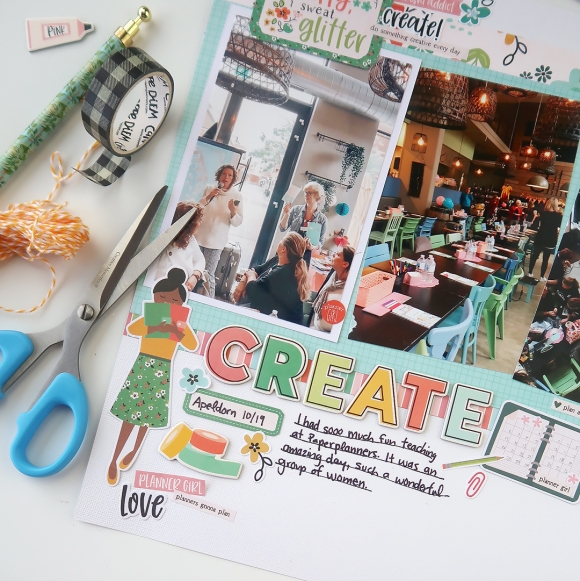
I recently went to a planner event in the Netherlands so I printed a few of my favourite photos for this layout. The chair and decorations at the venue actually matched the Crafty Girl collection! It’s like they knew ;) I trimmed the photos ever so slightly so that I could line the three of them up across the page, and still be able to have some of that pretty blue paper peeking out.

Lining the photos up left me lots of room to add all the stickers and die cuts I wanted (which was a lot!).

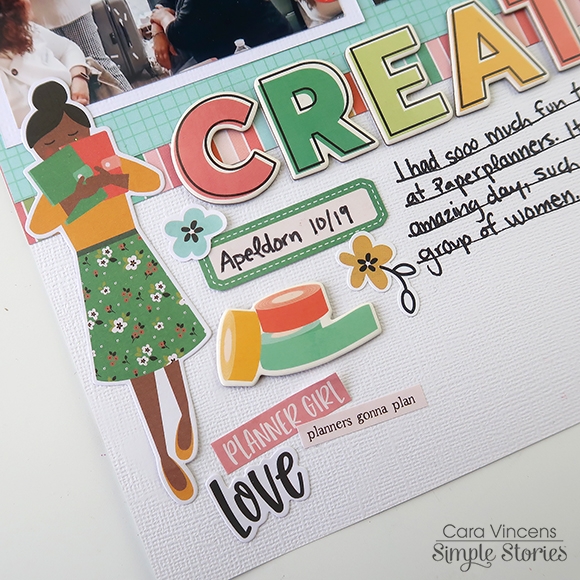
It’s rare when I love EVERYTHING in a collection, but this line is so amazing, every last sticker gets me giddy with excitement. I was happy to have planner event photos to help me narrow down my choices of what embellishments to use. I simply chose all planner related things and I’m saving the rest for other projects. I started with the layers of patterned paper and then that chipboard CREATE was the easiest title.

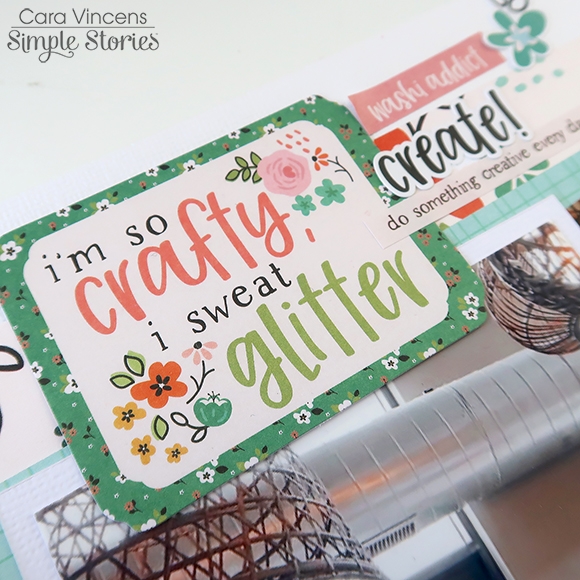
The glitter card was a fun call back to an event where I met a lot of these women for the first time. There was red glitter everywhere and it became an inside joke. I may or may not have squealed when I first saw this card ;)

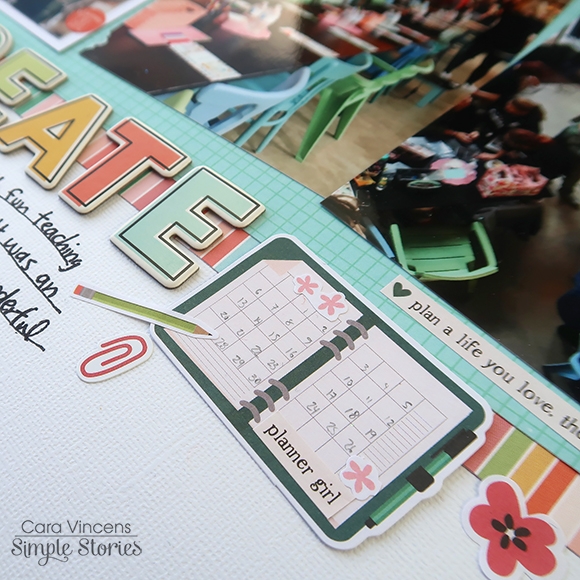
One of my favourite die cuts is that little planner! I added the dates, the ‘planner girl’ sticker and a couple of teeny flowers to give it that planner addict touch.

Again, Happy New Year! I hope that you are able to carve a little crafty time into your day today! 


Supplies

Hello, Simple Stories fans! It's Dorymar here sharing a lovely SN@P! Album created with the My Valentine Collection.  This collection is so gorgeous! It has a wonderful mix of vintage elements and beautiful colors.
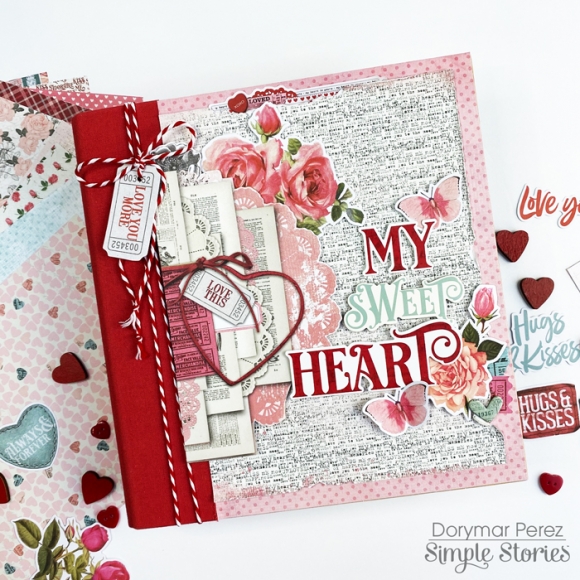
I selected the 6x8 Red Snap Binder for this project because it matches perfectly with the collection and highlights the beautiful colors. For the cover, I used many elements and added layers to make the project more fun!
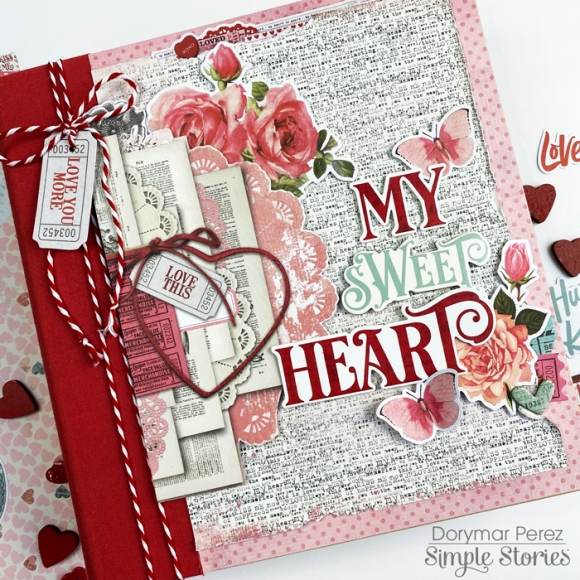
I used pieces from the Combo Sticker, Die Cuts, Chipboards, Mini Sticker Tablet and paper from the 6x8 paper pad to decorate the cover.   I love how the elements, colors, and designs combine perfectly to make a wonderful project.
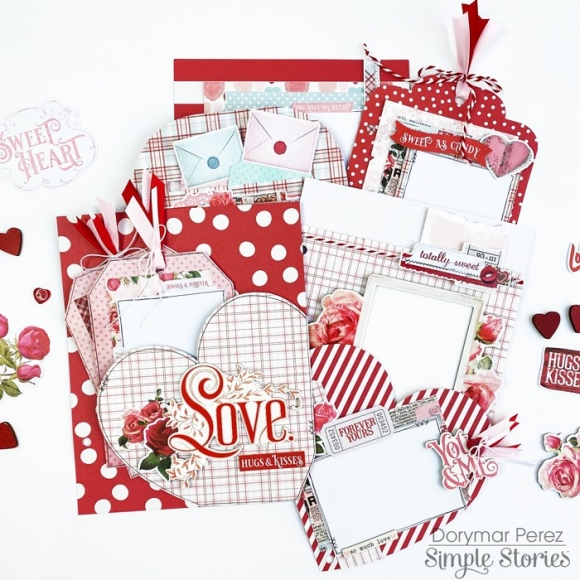
I love creating my own divider pages, in this case, I will share ideas on how you can customize the pages included in the Snap Binder. 
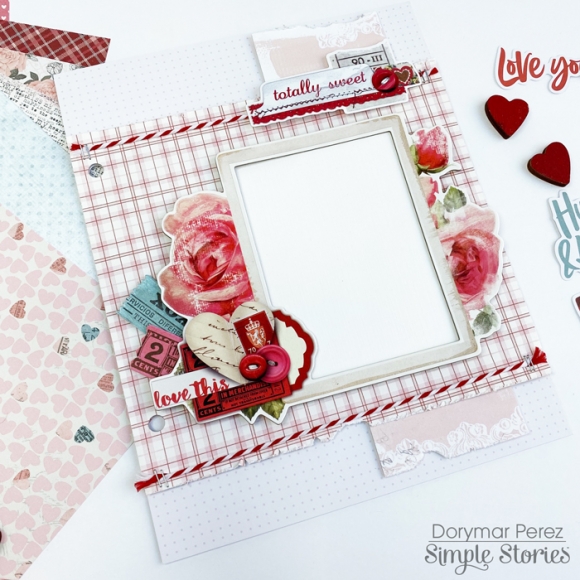
The collection includes beautiful layered frames with various designs that make the task of decorating easier.  I adhered all the die cuts with dimensional tape to create layers and highlight each element. I distressed the edges of the papers to continue giving the vintage touch to the project. Also, I added twine and staples to incorporate texture into the page.
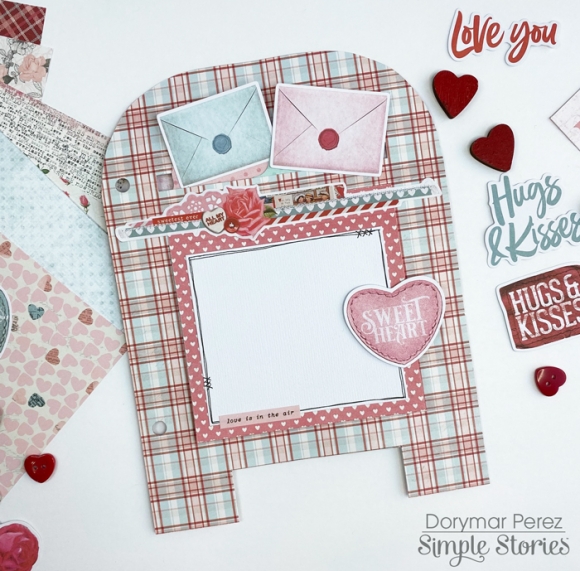
One of the typical things we see in the Valentine's collections are the mailboxes, because it’s one of the seasons that we send cards to our loved ones. I used one of the papers from the paper pad and drew a mailbox to create a beautiful page divider in my album.
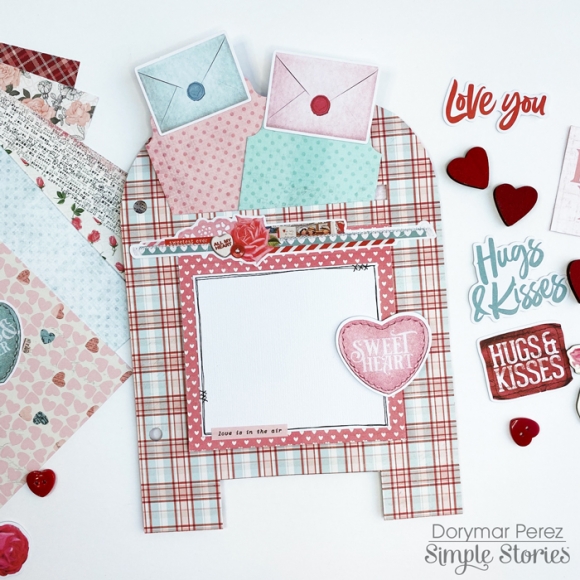
This mailbox has a pocket on the top and has two beautiful tags to add photos or journaling.  On the front it has a flap that opens and allows more space for memorabilia. It’s so gorgeous!
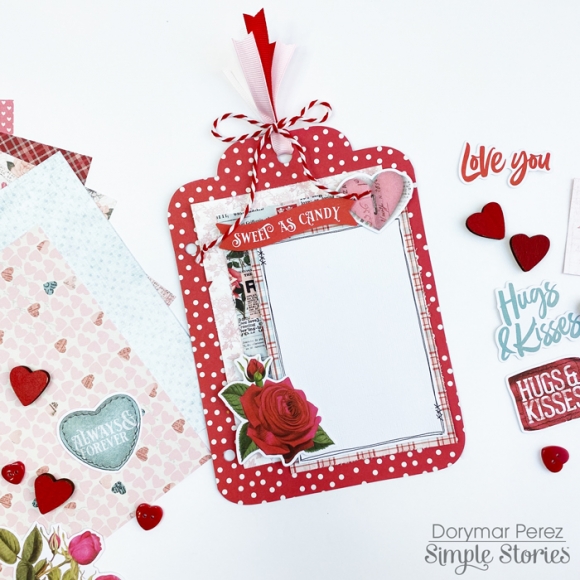
One of the things I love about snap albums is that the page dividers have various patterns and colors and allows me to play with them. In this case I created a giant tag to change the pattern of the album and make it fun.
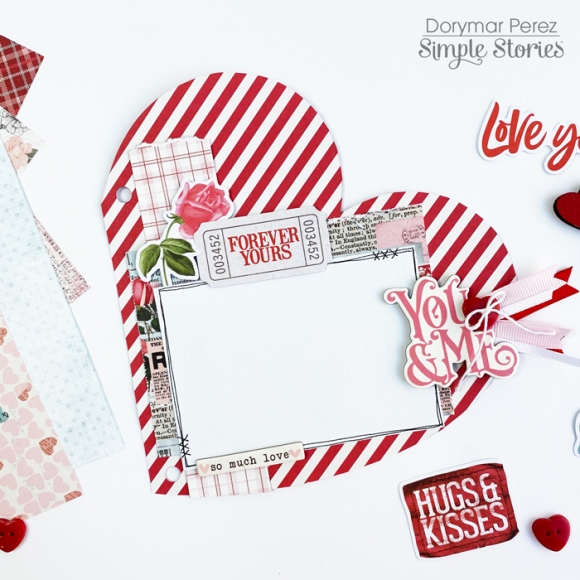
A giant heart couldn’t be missing in this project, I used another page divider and draw a heart to continue incorporating versatility and more space for photos to my project.
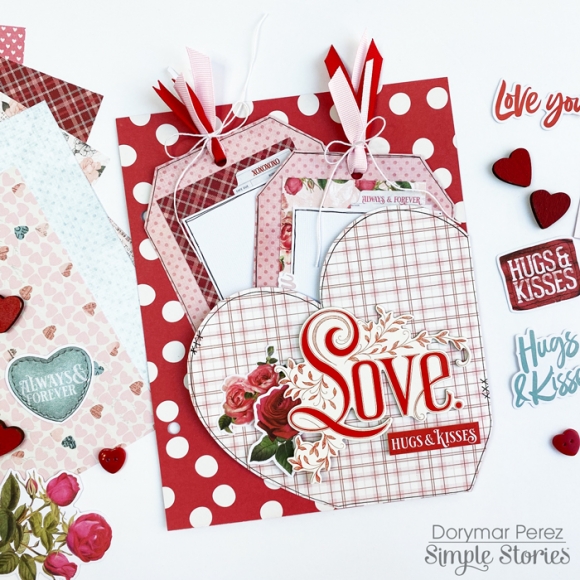
I selected one of the 6x8 papers and cut part of a heart to make a pocket, I decorated the front with the love word on chipboard and closer I adhered stickers flowers.
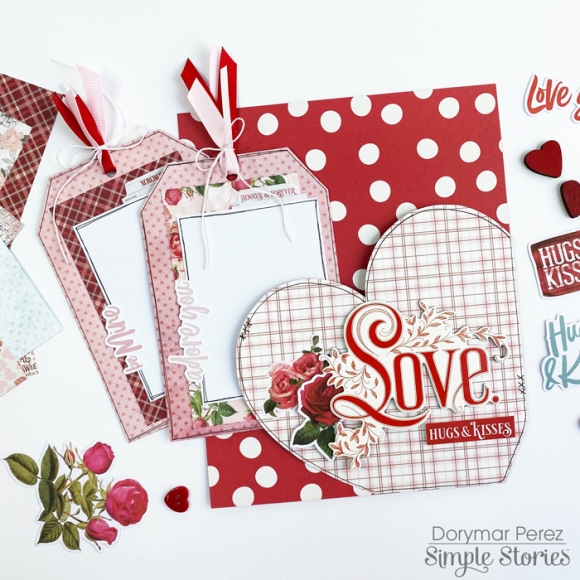
Inside the heart pocket, I included two tags, which I’ve decorated and created areas which will be perfect to add pictures or journal.
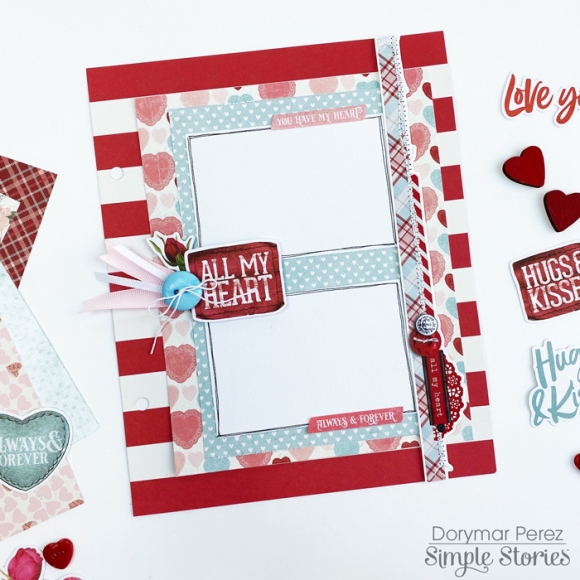
In this page divider, I created a big flap on front with space for a lot of photos, on the side I placed a beautiful border that includes the sticker sheet and on the side where there is space for the photos I incorporated die cuts, tape and a button.

I hope you enjoyed the project and I also hope it inspired you to use this fun collection. Please come join us on Social Media @simplestories_ and myself @dorymar_pl.

Happy scrapping!

Supplies

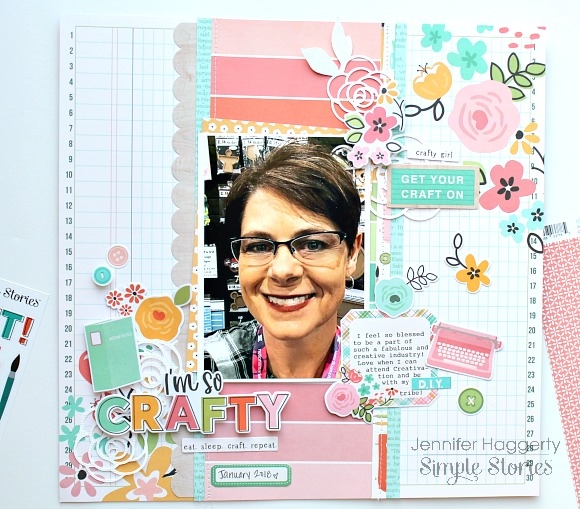
Hello friends! Its Jennifer here on the blog to share another awesome collection from Simple Stories!  The new Hey Crafty Girl line is perfect for your DIY projects and layouts all about your scrappy girl getaways!  The mint greens with turquoise, pinks, and yellows are beautiful! I  am a big fan of ledger print paper so I  began with Create Beauty as my background. I  then adhered a large piece of the multi-colored Crafty & Happy to the center of my page followed by thin strips of the B side of DIY Queen to each side. 

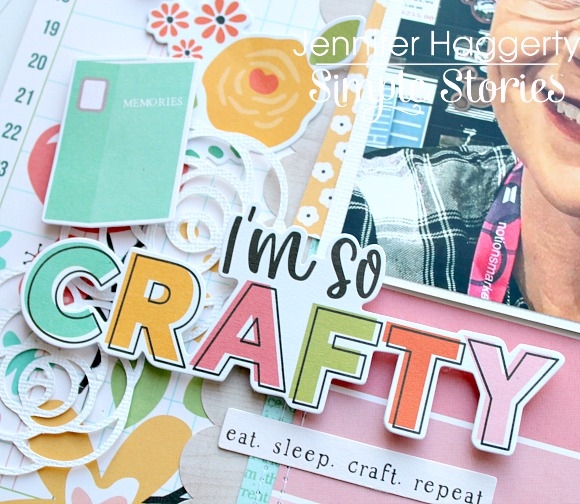
For my title, I  used the die cut out sentiment "I'm So Crafty"  from the Bits and Pieces and adhered it with pop dots to add dimension. Using my Silhouette, I  cut out floral pieces in white cardstock to layer under my title and embellishments (Bloom by JustNick).  You can see the floral cluster and mint scrapbook also found in the Bits and Pieces. 

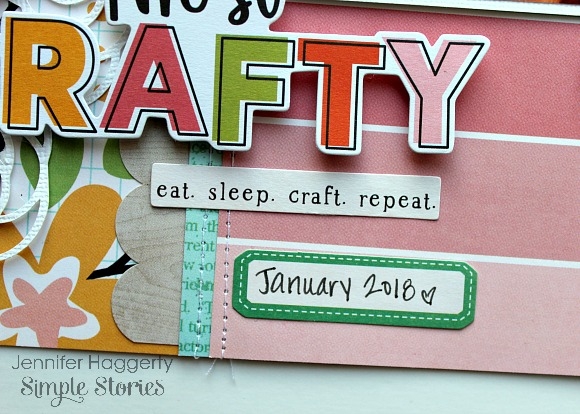
Under my title, I  added the fun "eat.sleep.craft.repeat." sentiment as well as a small journaling spot from the Journal Bits and Pieces.  These little accents are a nice way to add more to your title or make notes about your layout. 

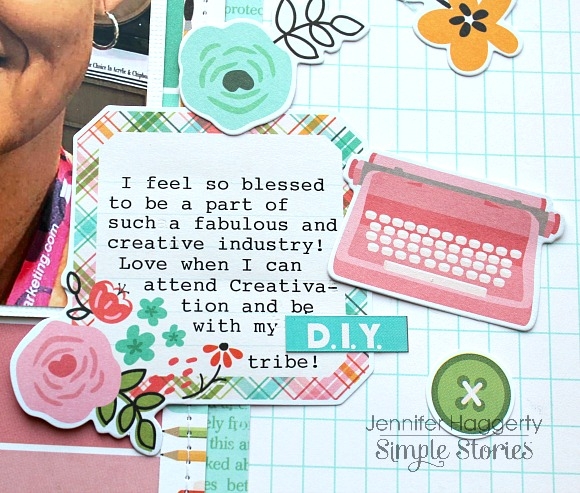
This particular journaling spot caught my eye due to the pretty plaid pattern around the edges as well as the delicate floral cluster at the corner. I  added the pink typewriter from the Bits and Pieces  as well as additional floral clusters.  

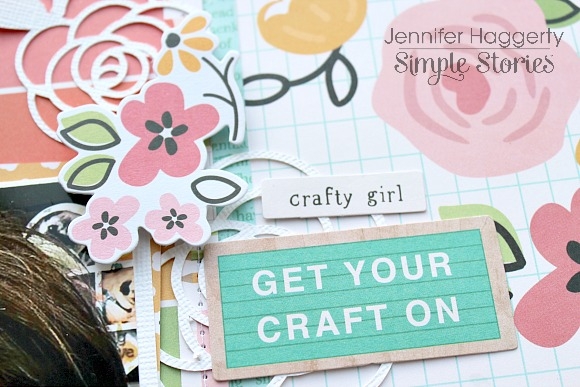
At the top of my photo I  added additional  ephemera such as this fun sign sentiment "Get Your Craft On".  I  will usually use pop dots/foam tape on at least one piece to add dimension to my page. 

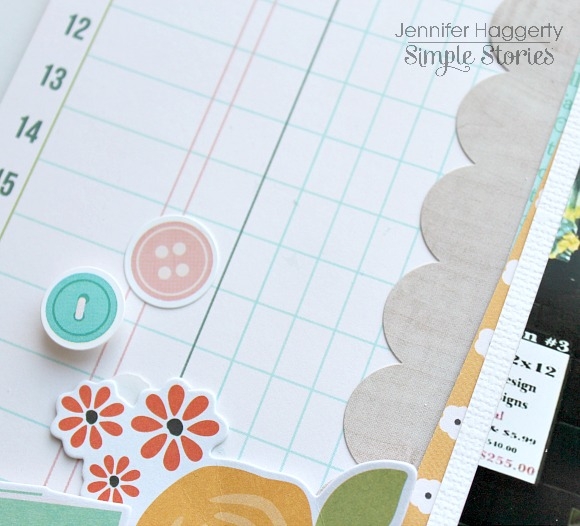
From the Combo Sticker sheet, I  placed  the wood grain scallop border sticker just left of the center patterned paper.  I  felt this was a nice way to add balance to my page as well as fill white space.  You can also see the cute button stickers I  placed as accent (of course adhering one with a pop dot!).

Thank you for stopping by the blog! Please visit the Products page to see Hey Crafty Girl in its entirety!  Have a great day!
Supplies

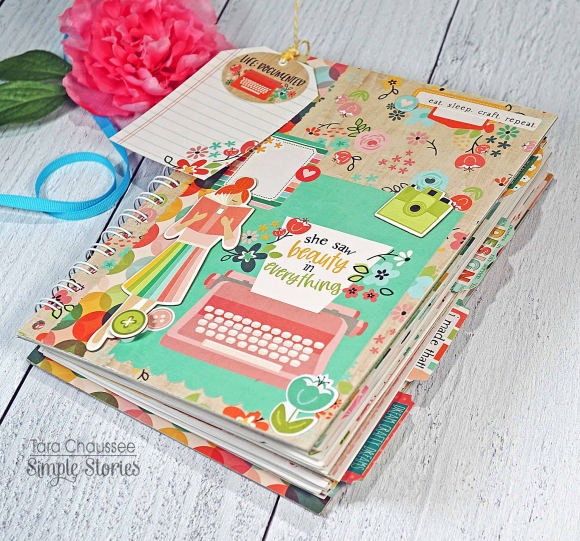
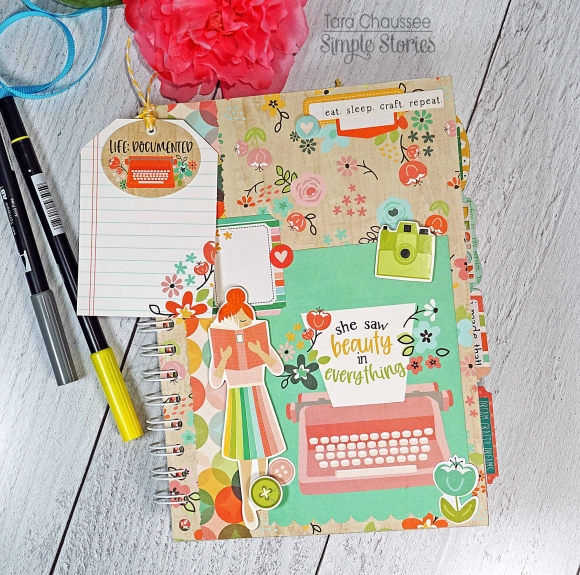
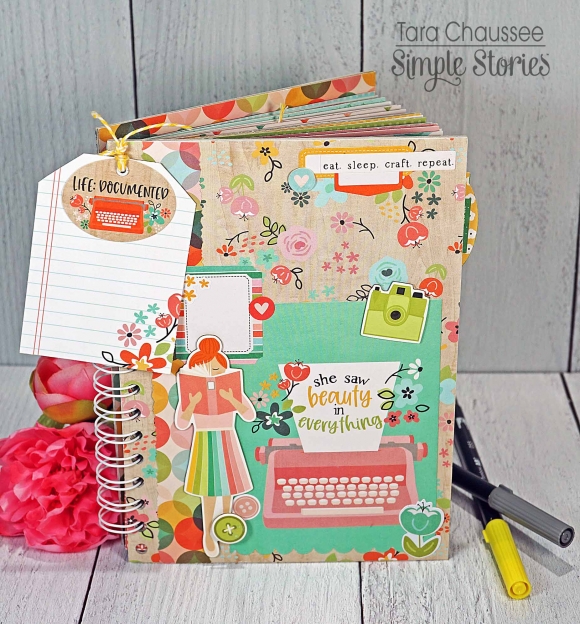
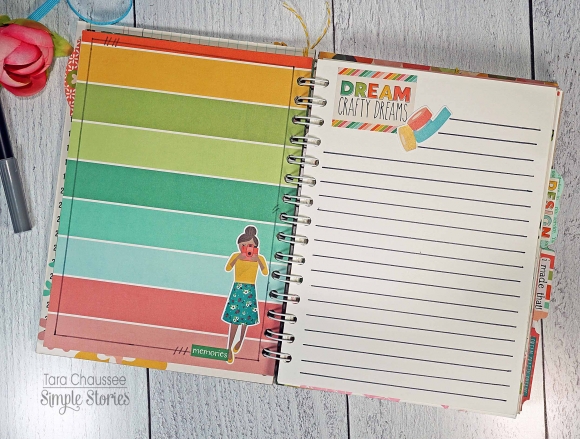
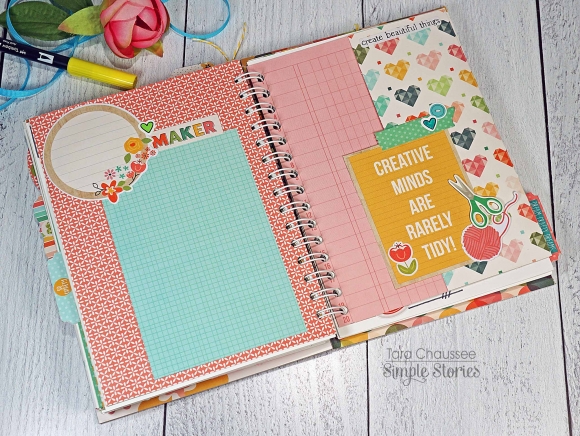
Hi everyone! It’s Tara with Secretbees Studio.  Christmas is over and now is the time to start thinking about those New Year's resolutions. One that is always good and productive is keeping a journal but wouldn't it be more fun to keep track of your art journey?!

The new 'Hey Crafty Girl' paper collection from Simple Stories is full of vibrant and fabulous patterned papers and the cutest embellishments for any craft you can think of! I took all of these papers, along with the coordinating Simple Basics paper pack, and made this art journal that is perfect for documenting my crafty endeavors throughout the year!

The front and back covers, which are made from heavy weight chipboard and measure 6.24" x 8.75", feature four different patterns of the gorgeous paper. It was so hard to decide which ones to use! I loaded up the front cover with a combination of chipboard, stickers and Bits & Pieces and layered them over a charming 4x6 element card. I even tied on a sweet tag at the top!

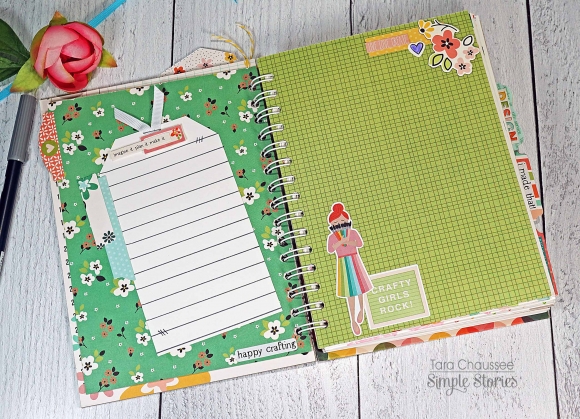
Inside are 30 patterned paper and white card stock pages. Four of them are tabbed dividers which have been highlighted with some fun sentiment stickers to help keep me organized. They, along with all of the other pages, have been decorated with the phenomenally cute embellishments, stamps and stencil of the collection. There are pockets galore, journaling pages and plenty of room for photos or mementos! Below are some of my favorites in the journal!

If you are a crafter of any sort, this dazzling collection is for you! The possibilities to create are endless and the papers and every other adorable piece of this collection will definitely put a smile on your face! I'm so excited for the New Year to start documenting my art journey! If you want to make an art journal of your own, please visit my YouTube channel for a tutorial and look through the entire journal!

Supplies

Hello Simple Stories friends!

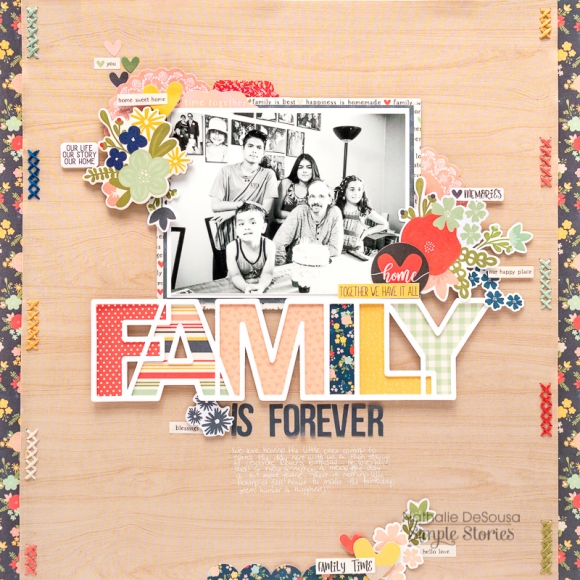
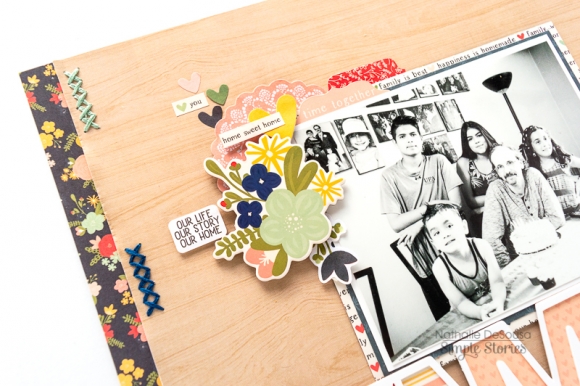
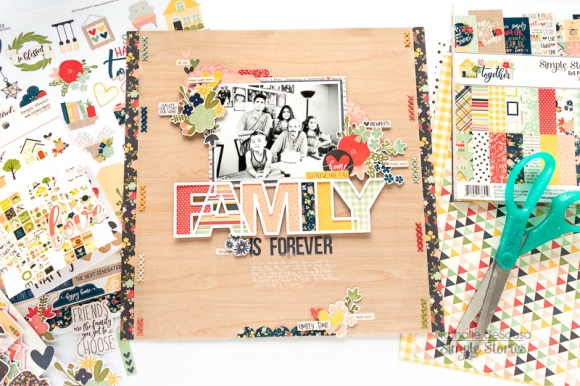
Nathalie with you today with an new project all about Family Love!  The new  So Happy Together collection from Simple Stories is the perfect combination of design and sentiment.   I couldn't resist using it to document a picture of my family at my husband's birthday.

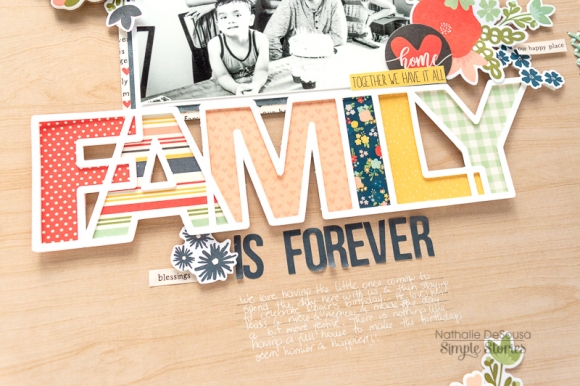
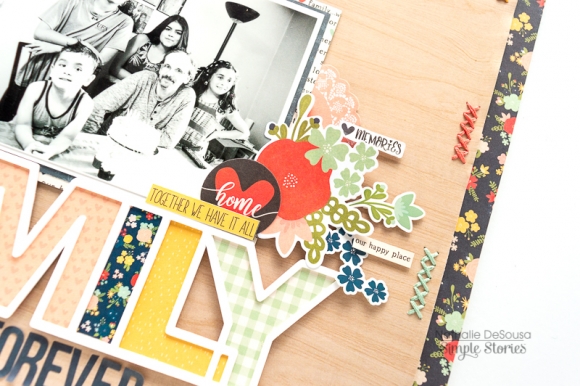
I started this page by using a cut file from Paige Evans to cut the word Family three times from white cardstock.  These were stacked and glued together to add dimension to the title, then backed each letter with papers from the collection.  The 6x8 paper pad is the right size to back the empty spaces.

The woodgrain paper - Hello Love paper- is the ideal background for the page.  I trimmed the paper to fit 11x12"and then glued it to the Our Story paper.   A bit of handstitching adds dimension and texture to the page

With so many beautiful sticker and sentiment embellishment in this collection, it was so easy to layer them in clusters around the picture and title.  

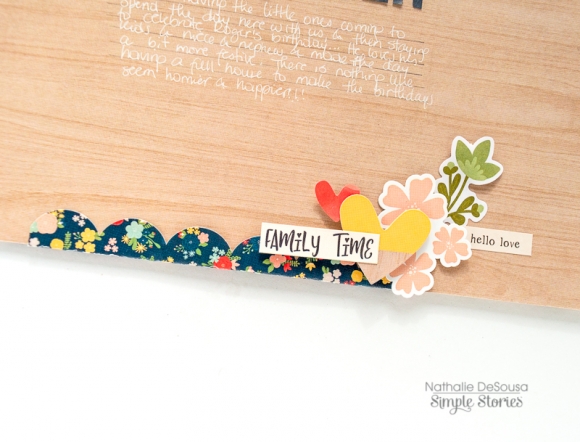
To finish the page, i added a cluster of embellishments to the bottom of the page.  The scalloped border sticker was a fine detailed that helped soften the edge of the page a bit.   All that was left to do was add my lines of journal.

I hope this has inspired to check the new So Happy Together collection from Simple Stories, you are going to love all the details and sentiments.   

Have a  Merry Christmas and a happy New Year!

XO

Supplies

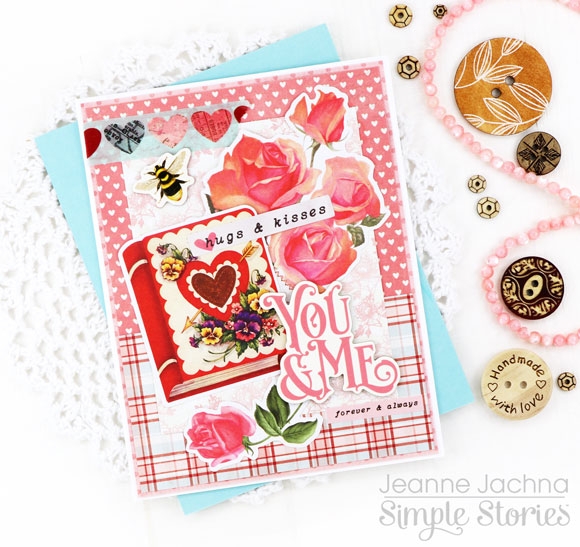
Hi friends!  I hope you’re having a great day!  Today I’m excited to share eight cards made with the new Simple Stories My Valentine Collection!  This collection is loaded with vintage victorian era images that are absolutely romantic!

You’ll also find lots of beautiful roses and fun prints to mix and match. There’s a fun twist of modern in this collection too – a pop of teal mixed in with the traditional reds and pinks.

This collection is loaded with embellishments!  You have your choice of 12” paper prints for page layouts or 6x8” paper pad sheets with smaller prints for card making.   

The die cut printed images include Bits and Pieces images, Page Ephemera for documenting, and my favorite – chipboard stickers that add dimension and a rich look to your designs.

A mini sticker tablet is packed with sentiments, images, tabs and so much more.  I love to use what’s left after my card making to dress up my calendar or decorate envelopes.

Because the embellishments are made to work together you don’t have to worry about colors matching.  Everything is perfectly coordinated!

This collection also has a fun pack of washi tape with 3 fun prints.  I used the heart print on the above card to add a border along the bottom edge of the card.  A Chipboard Layered Frame is the focal point on my card, but would double as a cute frame for a photograph.

The Card Ephemera die cut pack has lots of images to embellish your card while the Bits and Pieces pack features sentiments so you’ll find one that’s perfect for everyone on your list

Love is in the air with the Simple Stories My Valentine Collection!

Supplies

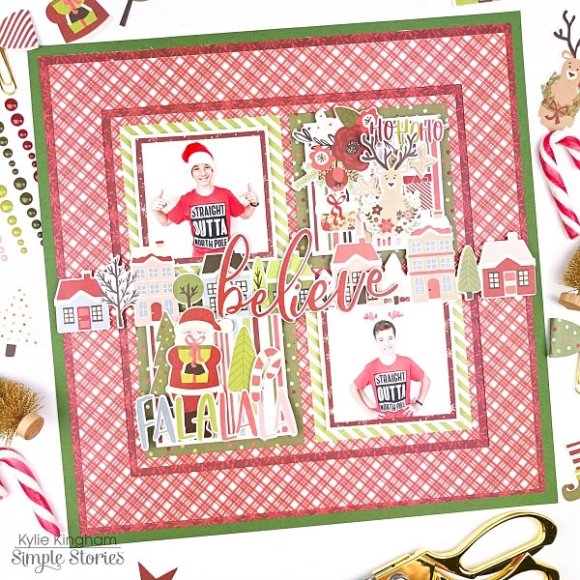
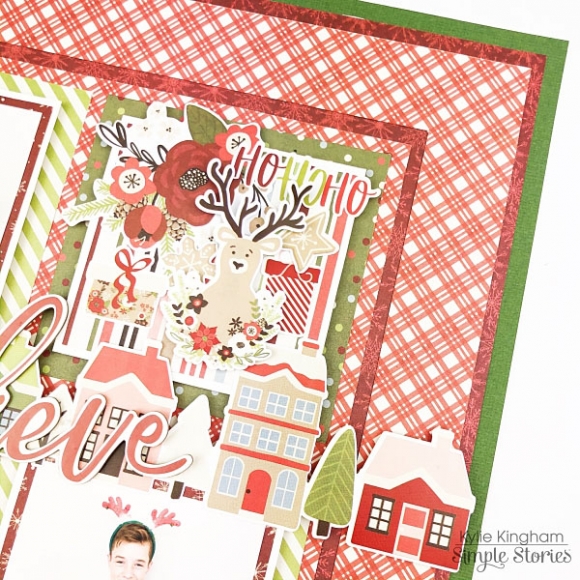
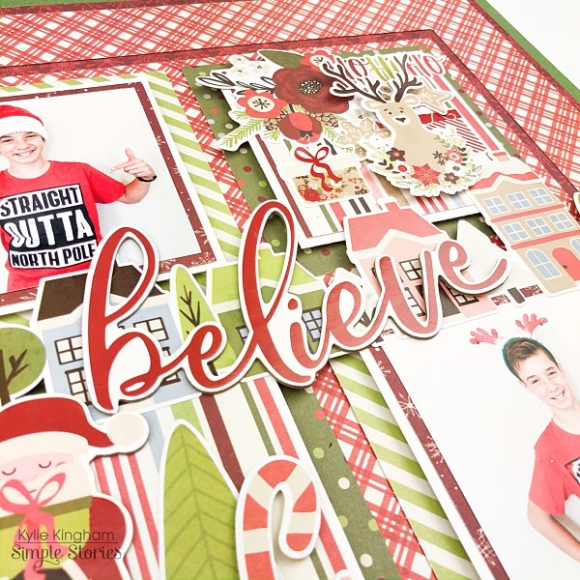
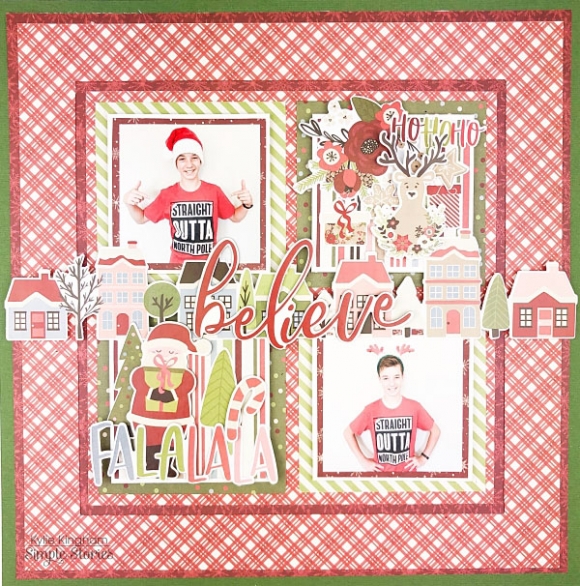
Hello lovely friends! It’s Kylie back with you today, to share a new layout I have been working on, featuring the gorgeous ‘Holly Jolly’ collection. I had some fun photos of my son wearing his Christmas shirt (*reluctantly….) and wanted to create something with lots of different layers.

To begin, I used some green cardstock from my craft stash as my base and adhered a sheet of WINTER WONDERLAND over the top. I had removed a 1cm edge from each side, creating a neat border effect.

I then trimmed a 2cm edge off the PEACE & JOY paper before measuring a 1 inch border all the way around and carefully cutting this out with a craft knife and ruler. The square piece I had once the border was removed, had a 1cm edge trimmed off each side.

Once I had completed these steps I adhered the frame/border piece and the inner square to my layout. This gave a lovely layered effect showcasing multiple borders.

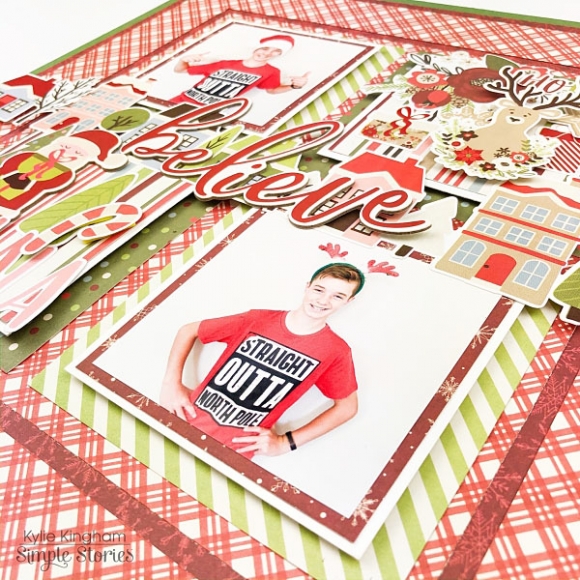
I printed two square photos and added them positioned diagonally to each other, to some layered blocks of square papers on my background. I did this with foam tape so that they sat up a little for dimension.

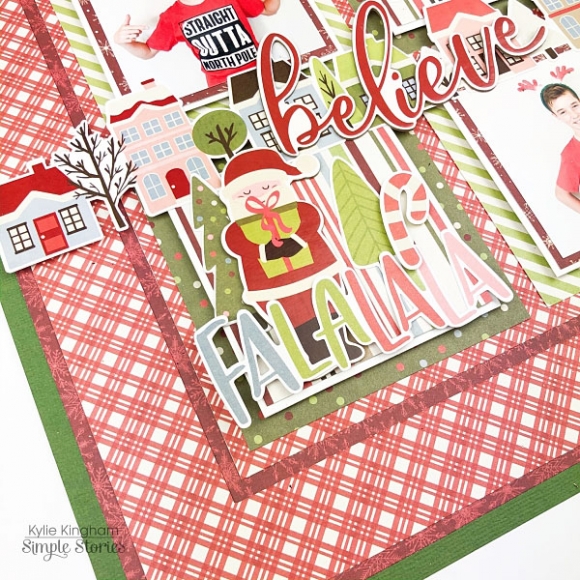
For the two remaining squares, I added some layers of die cuts and stickers to create a small ‘picture within a picture’.

To complete my layout I added the ‘village scene’ sticker strip throughout the centre of my layout, followed by the ‘Believe’ chipboard sticker as my main title.

I hope you have enjoyed seeing my layout today and it gives you a little inspiration for your own creating. Until next time,

Supplies

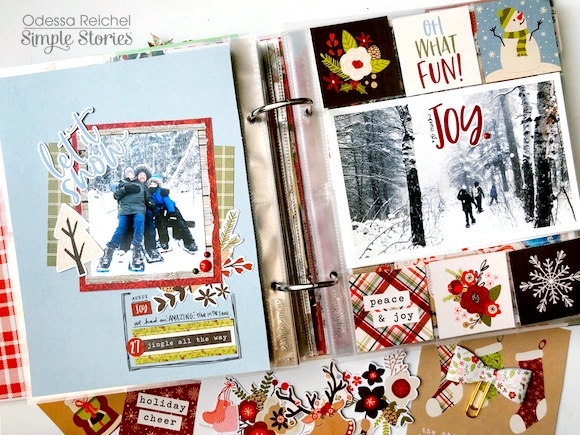
Hi, Odessa here with a couple of fun SN@P! layouts using Simple Stories Holly Jolly. It’s such a great Christmas collection - it’s pretty, full of bold colours and icons and just a little bit sassy. I’ve been using it a ton while catching up on my December 2018 album. Today Im going to share a couple pages.

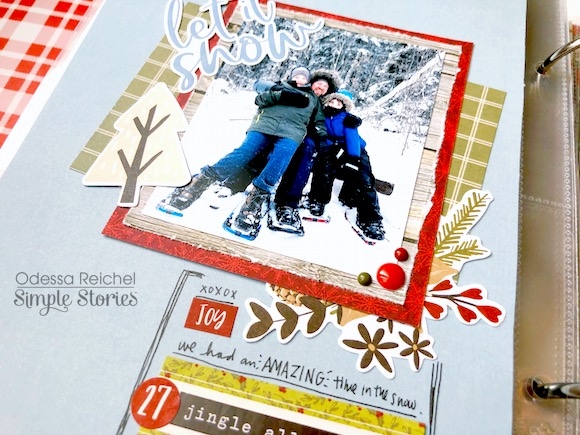
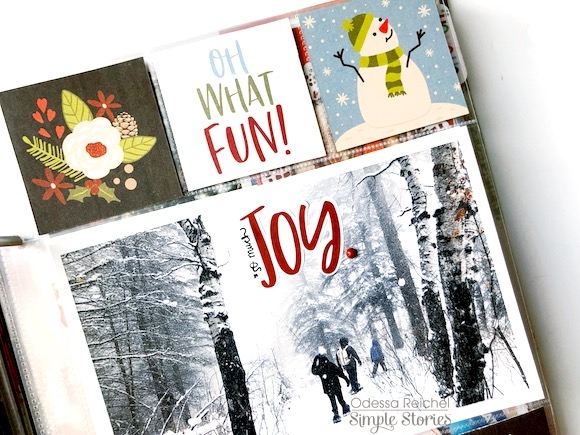
Here I did a full page layout next to a page with some cute 2x2 square pockets. I had too many great pictures from when we went winter camping and here I am highlighting a few favourites. The Simple Basics coordinating plain and subtly patterned paper made a great background for my 6x8 layout and the colours all go so great together.

I love clusters and layers and a full page layout is the best way to play around with them because there is so much space! I layered various torn cardstock from Holly Jolly under my photo and went from there I picked out a sticker from the Combo Sticker sheet as my title and worked around the photo layering Bits & Pieces, stickers of all kinds and those perfectlyy coordinated enamel dots. I sandwiched a floral Bits & Pieces die cut between some of the cardstock layers to create some balance with the title in the opposite corner.

I filled up the 2x2 pockets on the opposite pages with some of the SN@P! cards and cut outs from the 2x2 Elements cardstock. I kept embellishing on the photo simple with a sticker and enamel dot.

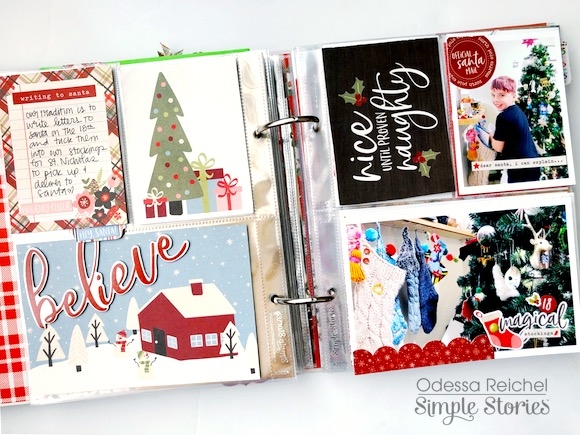
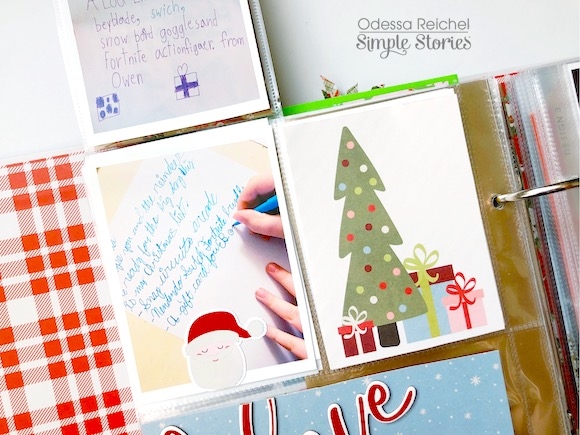
This SN@P! spread is about one of my fav family traditions, putting up our stockings and putting letters to Santa in them. I used a lot of reds around the page and love how they pop!

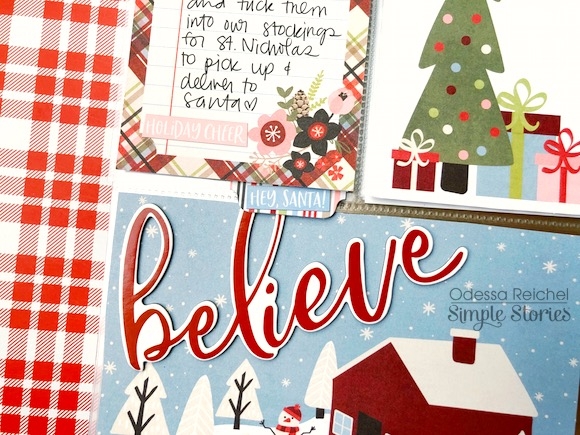
The corner of this 4x6 photo was totally in need of a little cluster of fun. I mostly used the Holly Jolly Mini Sticker Tablet because the smaller size of the stickers work great in a small area. I added an enamel dot and a border sticker from the Combo Sticker sheet to finish it off.

I added the “believe” chipboard sticker here and it looks so great on this cut out from the 4x6 Elements cardstock. I did some journalling on a SN@P! card and stuck it in a photo flip with a tab from the Combo Sticker sheet. I love using those tabs on a Photo Flip to play up the interactivity.

When the Photo Flip is opened up, my kid’s Christmas lists are revealed! I like to get those in my album every year to capture what’s hot, their handwriting and what they are in to. Using a Photo Flip was a great way to get them into this page without having to add a separate page for them.

I hope you enjoyed and are inspired by this look into my December Album! Christmas scrapbooking is probably my favourite kind of scrapbooking. It’s my second year using just Simple Stories collections to put together my album and I really appreciate the range in the wintery and holiday collections so there is one for any mood of layout.

Supplies

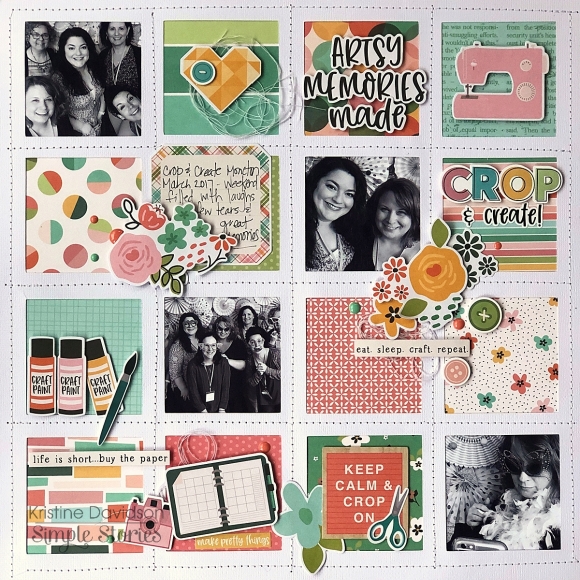
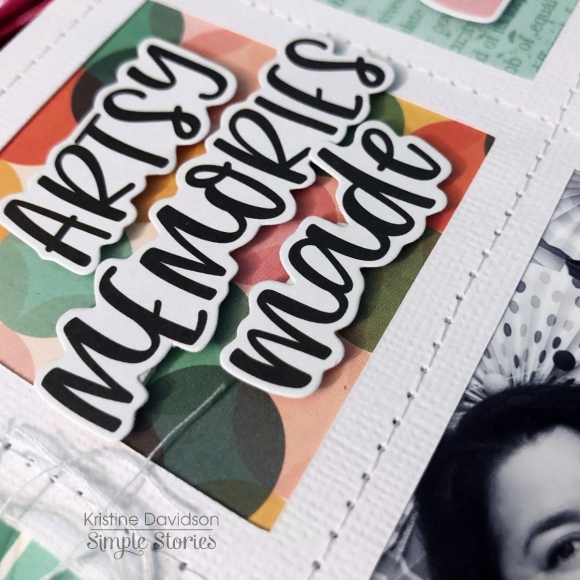
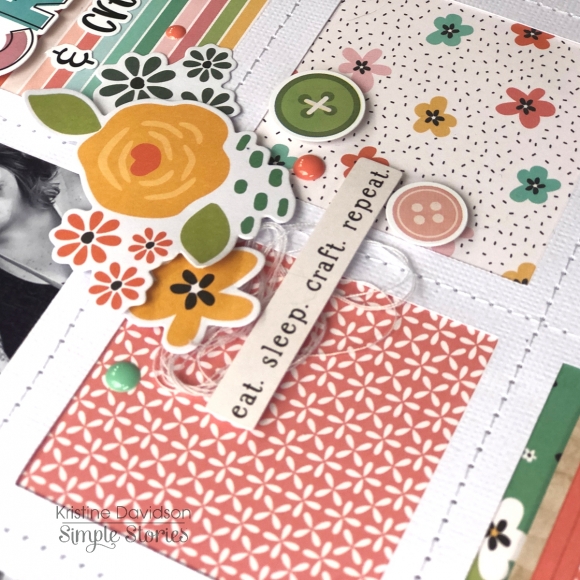
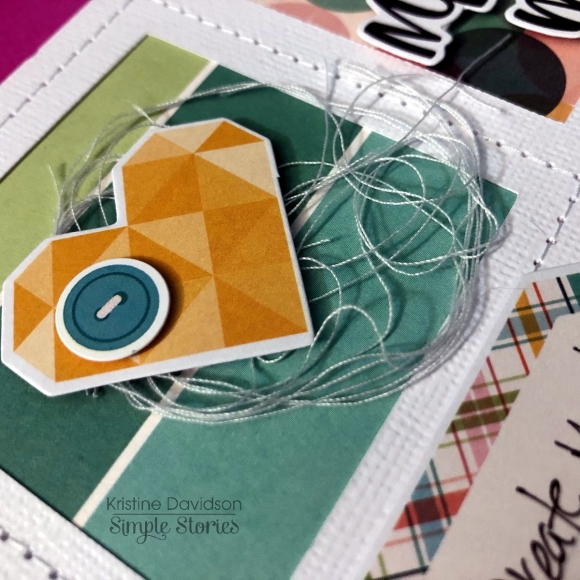
Hello Friends! It's Kristine here today to share a fun layout using the NEW collection called "Hey Crafty Girl!" It is filled with so many great elements such as sewing machines, flowers, paint bottles and so much more! It's super cute in color and you can really create fun pages with this collection. I can't wait to create a little mini album and a few more layouts with my kit. 

My layout is called Artsy Memories Made. My friends and I attend this Crop and Create event every year and we have so much fun together. This is a layout showing us being silly at a photo booth. 

I used a silhouette cameo to cut out a background for my layout, then i added small pieces of patterned papers, elements and cute little pics. To finish off my layout I added Bits & Pieces as well as a few pieces of thread to make it a bit more " crafty " of a page. 

I hope you get a change to play with " Hey, Crafty Girl" You will enjoy it!

Supplies


Hey there crafty friends. I am really excited to share my snap album I created using the "Hey Crafty Girl" Collection. As you can see, the elements and pieces speak for themselves. Everything about this is just beautiful.

 Every crafty girls should own this collection because it's just so amazing and perfect for all kinds of projects you can think of.
 I decided to use the Pink Stripe Binder to go with this collection since pink is one of my favorite color.
 There's just endless possibilities using this collection.
 I wanted to add interactive elements in my album so I created these tags from the basic kit card stock paper. I added twines from my stash. I stuck them behind so that they can be pulled out.

I finally was able to use my buttons that I have been hoarding during my scrapbook days. They are just perfect for this album.
I had so much fun creating this album and I am not even finish yet. I have more ideas and pages that I want to add. 
 Yaay for my buttons which added a little flair to this page.
 "Creativity is contagious, Pass it on" It truly is contagious. I love browsing through Instagram for projects and they give me inspirations to create my own.
You can't go wrong with mixing and layering the pattern papers since they all go so well together. Just play with each elements and always have fun putting them together.


So what are you waiting for? Get going to create, design, imagine and just have fun. Thank you for stopping by.

Supplies

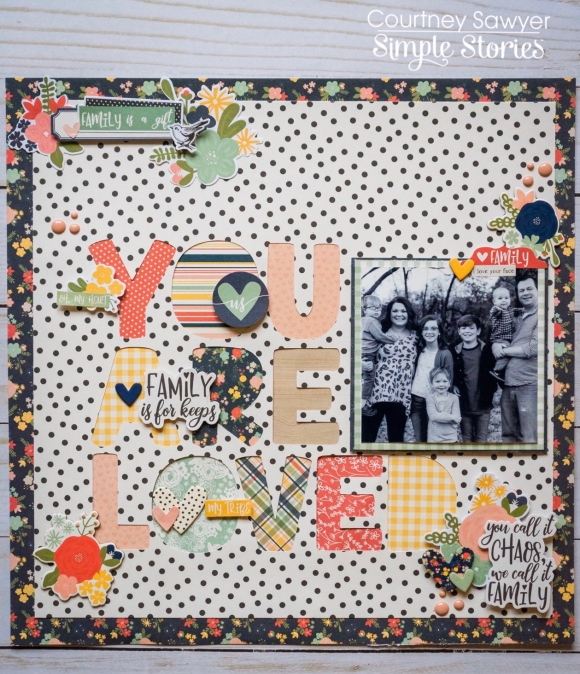
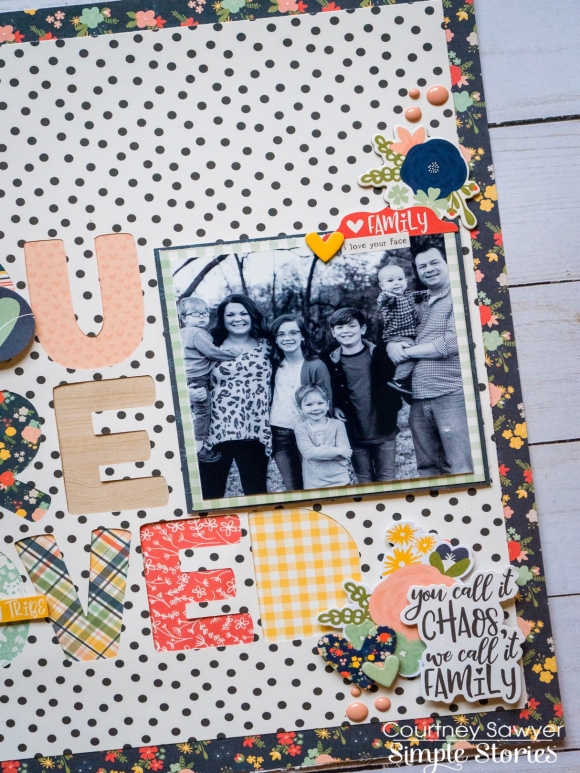
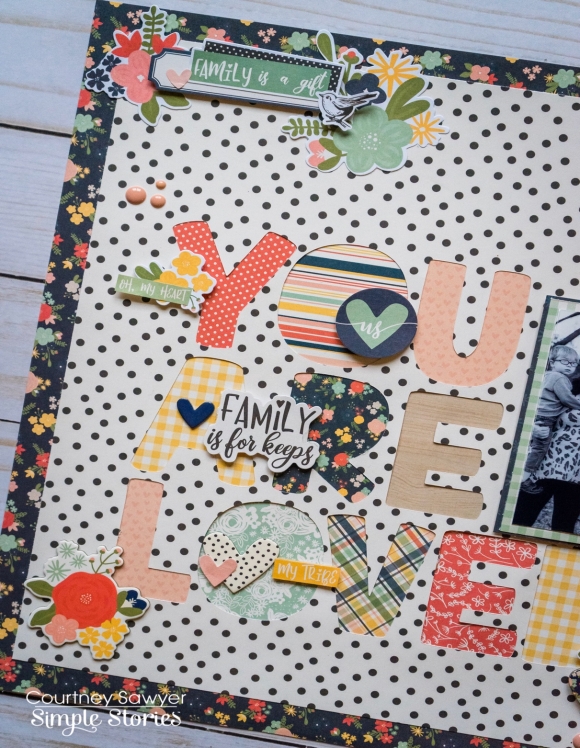
Hey y’all! Courtney here and today I am sharing the layout I created using the So Happy Together collection. This is such a beautiful collection and I wanted to put every single piece in the collection on my layout. I decided to go with a free cut file from Paper Issues so I could use a ton of patterned papers.

For backing my cut files I used a variety of pattern papers from the 6x8 paper pad. I love having the smaller prints to use with cut files. I cut my actual cut file on the Happy Heart paper, I am obsessed with anything polka dot and black and white. I cut about an inch ½ inch on each side so I could layer the beautiful Our Story paper behind it.

After I filed my cut file, I began laying a ton of ephemera, chipboard and stickers. There is a ton of great images and tiny word phrases.

I layered a 4x4 photo that I trimmed down to fit onto the gingham 4x4 card and then I layered it onto the My Family paper. Then I finished my cluster with a word sticker, chipboard heart, and a tan from the combo sticker sheet. I completed the layout with enamel dots, I’m pretty sure I include those onto EVERY layout that I create! I hope you love this layout as much as I do!

Supplies

Good morning friends! Have you ever had a moment when a certain theme or paper collection reminded you of a story you haven't told yet? Art and creativity runs in our family for at least four generations and I never thought of recording that story until I met this beautiful paper line by Simple Stories called Hey Crafty Girl.

Since there were a number of people I wanted to mention in this story, a mini book seemed like the perfect solution. I picked a decorative label shape as the base for the mini book and cut ten pieces from white cardstock. Then, I cut out twenty more pieces from patterned paper that were a bit smaller to cover all the pages.

For the front cover I cut a circle from one of the cards in the collection with the word “create,” which also served as a title for my book. I decorated the cover with another die cut piece, a few chipboard pieces and scattered enamel dots.

Most of the photos in this mini album measure about 2x3” and I printed them at home with a white border. I will be adding journaling to the tags and pieces that open like a card (behind the 3x4” elements).

I love decorating smaller format pages! As always, bits and pieces and some stickers make this step pretty easy. It was such a fun little mini book to create and I hope you will take a closer look at this beautiful collection if you haven't done so yet!

Supplies

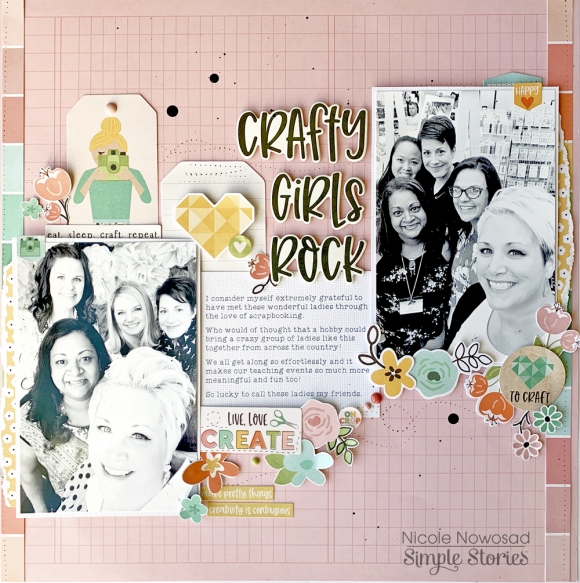
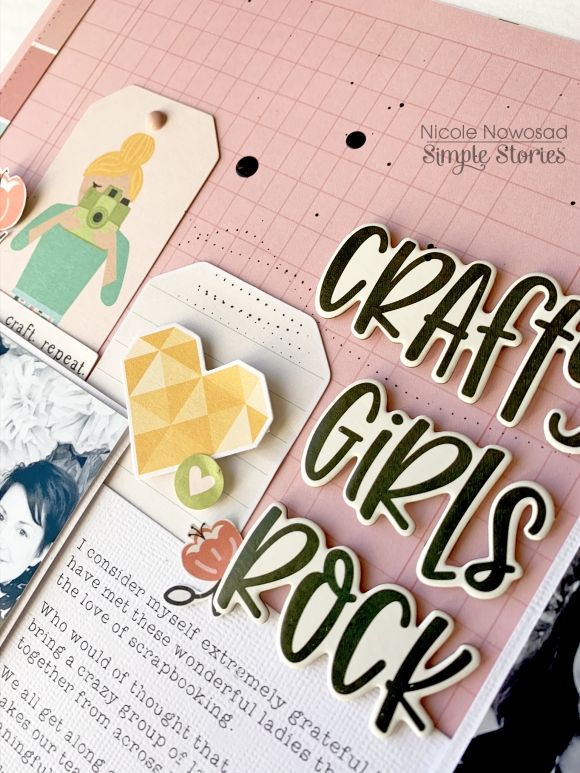
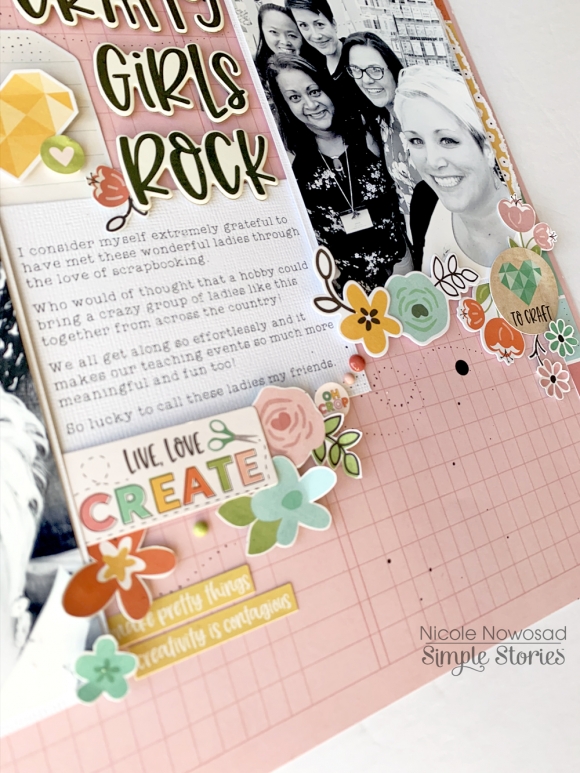
Hey there Simple Stories fans! Nicole Nowosad here with you today to share some inspiration using the new Hey Crafty Girl collection!

I just love all the colors in this collection - and a collection dedicated to all the craftiness - so perfect for those of us who have crafty friends!  I couldn't resist mixing in lots of different elements in this project from the collection, including a chipboard title using the 6x12 chipboard set and some of the die cut Bits & Pieces. 

I cut a few thin strips of the rainbow paper in the collection and used that along either side of my project, adding some photos and then the diecut elements, filling it all in with some fussy cut flowers from patterned paper.

This collection is just PERFECT for capturing those scrappy memories ! I hope you are inspired to create something fun with this collection too!

Supplies

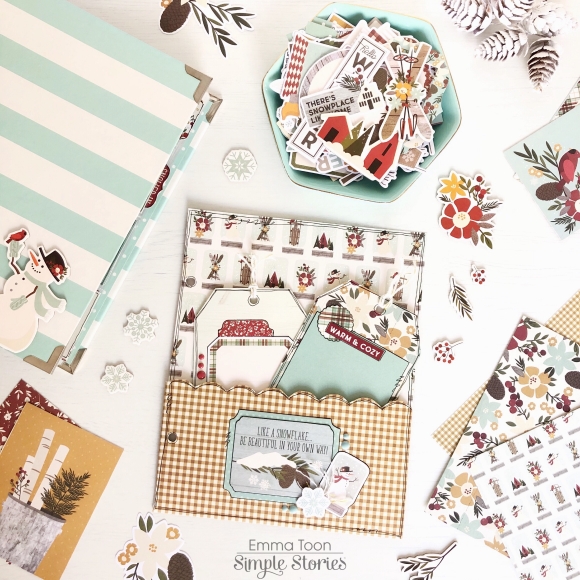
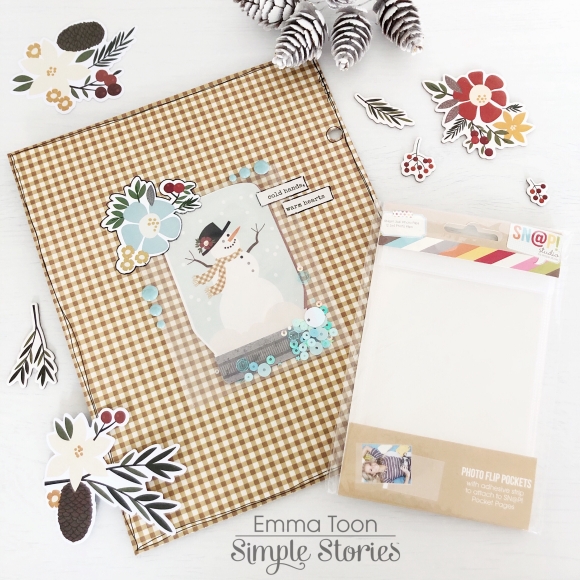
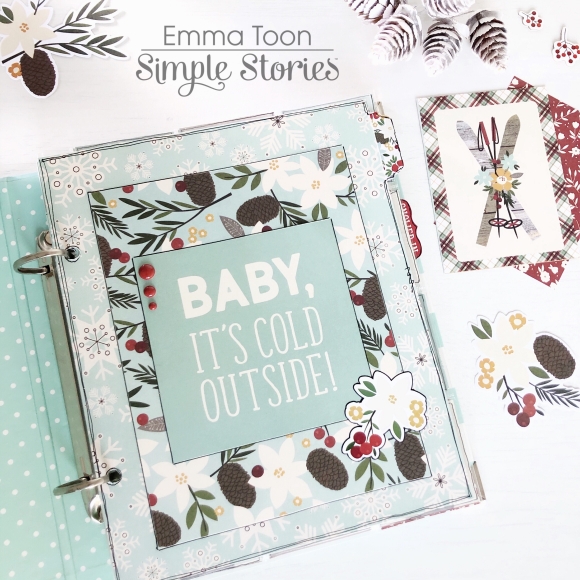
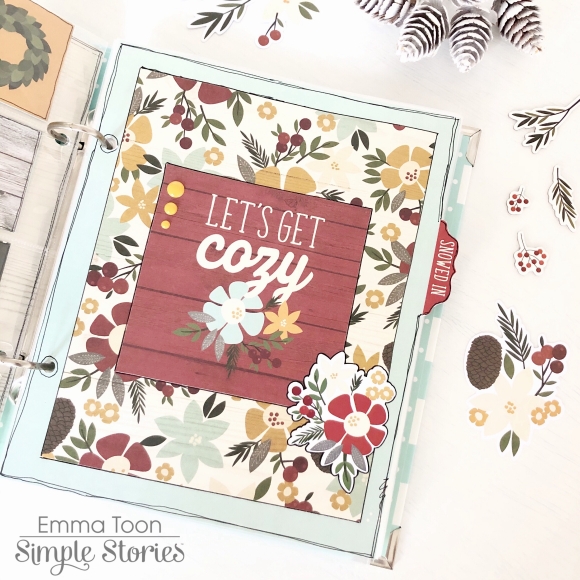
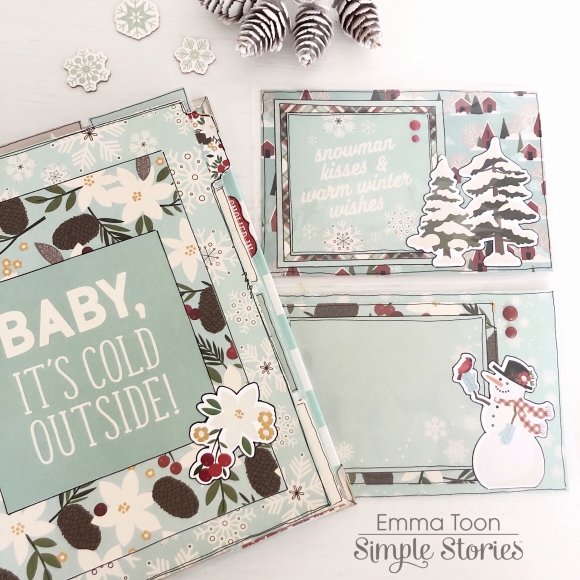
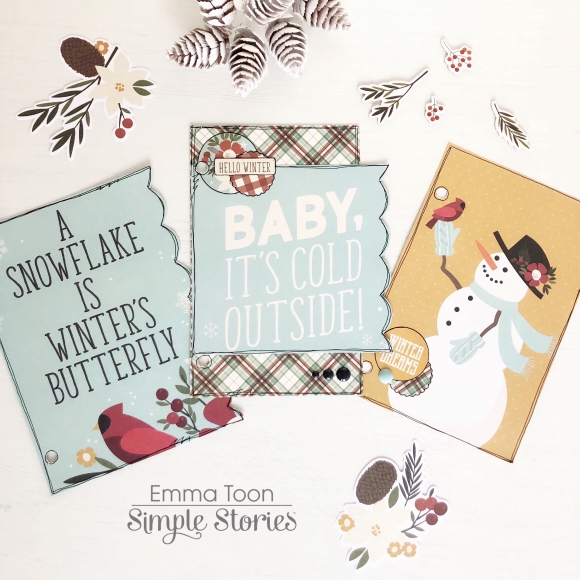
Hi there, it’s Emma with you today and I’ve been working on a fun new project. I’m now using Sn@p binders, it’s still all very new to me, so please bear with me! I’ve been using the fabulous Simple Stories Winter Farmhouse Collection, to set up my winter themed Sn@p binder. 

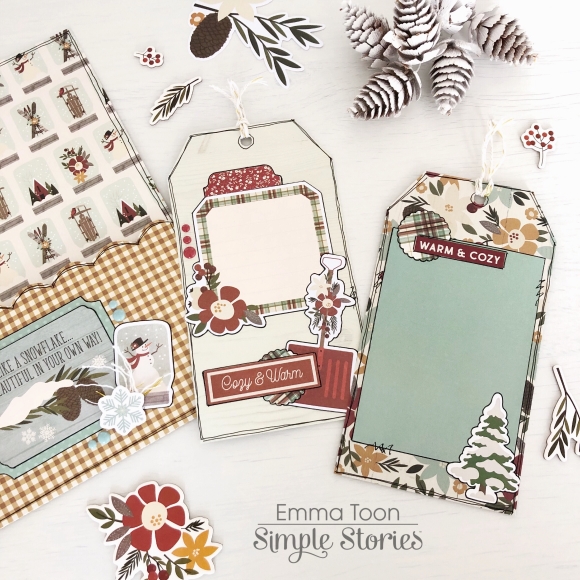
The first thing that I made with a sheet of 12x12 paper, was a pocket folder & some giant tags, which I’ve decorated and then left areas which will be perfect to add pictures or journal.

On the reverse side of the pocket folder I made a little shaker pocket, simply by fussy cutting out the snowman jar, sliding it inside a Sn@p flip pocket, sprinkling some sequins inside and sealing the top with some clear tape, I then used double sided sticky tape to fix it onto the back of the folder. 


I love to make dividers for my binders, and it’s such a great way to add more interest to your projects. 

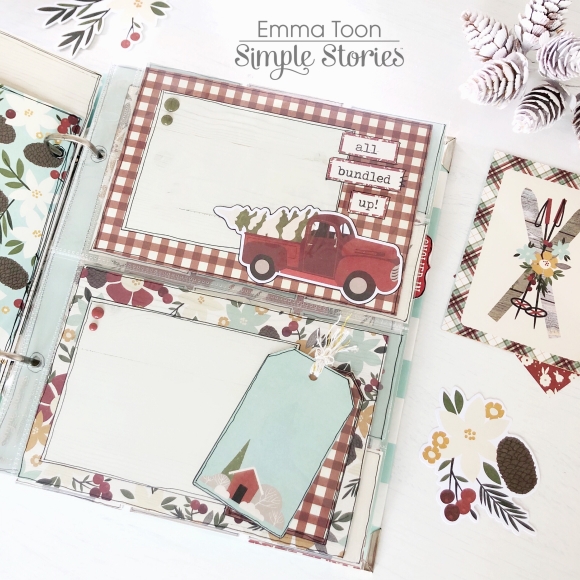
I’ve decorated a couple of 6 x 4 cards to fill this pocket page, again, leaving space to add photos or journaling. 

I thought it would be fun to make some cute little cards to slot in between some of my pocket pages, the 6x8 pad makes it super easy and of course the 6x4 element pieces from the 12x12 collection kit. 

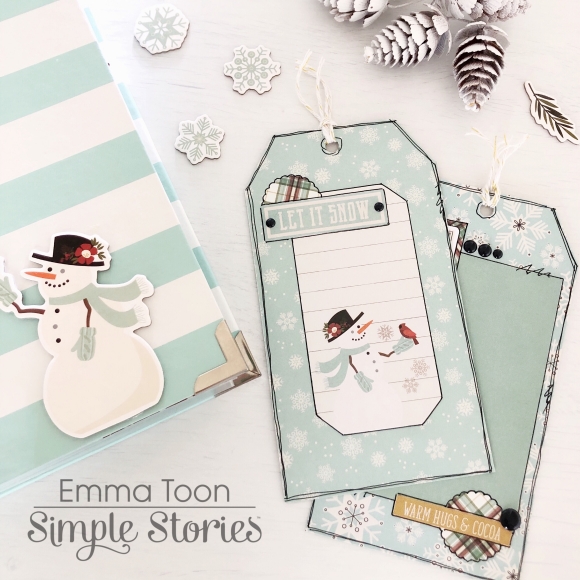
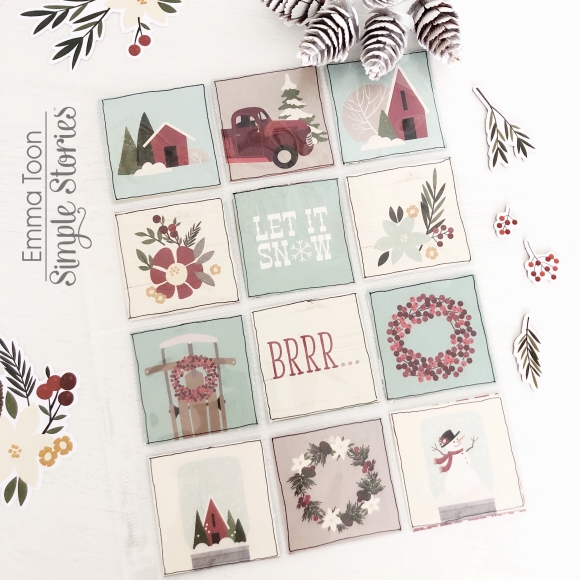
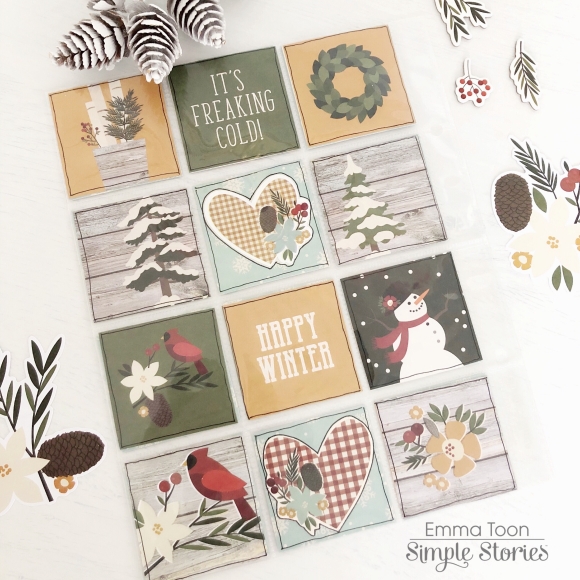
I knew I definitely wanted to use the 2x2 element pieces which are also from the 12x12 collection kit, I simply cut them out, arranged them in a way that pleased me, drew around the edge of each one, with my trademark faux stitching and also did exactly the same for the reverse side! I’m so pleased with how both sides turned out...super easy, but oh so cute!!

Hope you like what I’ve done, and that maybe it inspires you to have a play around with filling some sn@p pockets! If you would like to see more pictures using Simple Stories products then checkout my IG account.

Supplies

Pages