Howdy! Layle here with you for Day 5 of the Simple Stories & A Flair for Buttons Product Swap!
Both design teams have swapped products and will be sharing on our blogs all week long. Join us for some great inspiration as well as a chance to win a prize package from both A Flair for Buttons & Simple Stories!
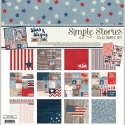
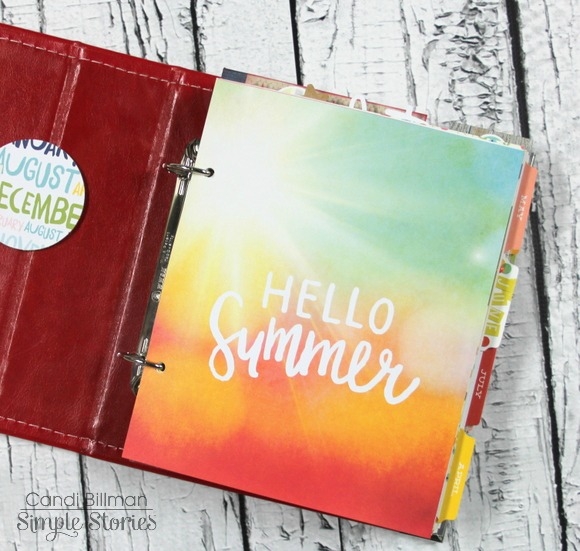
Even better, A Flair for Buttons has created these custom flair to coordinate with our Summer Vibes collection for both teams to use this week!

You can pick up your own FUN custom Summer Vibes Flair here!
Today design team member Nancy Damiano joins us with this super fun layout -
________________________
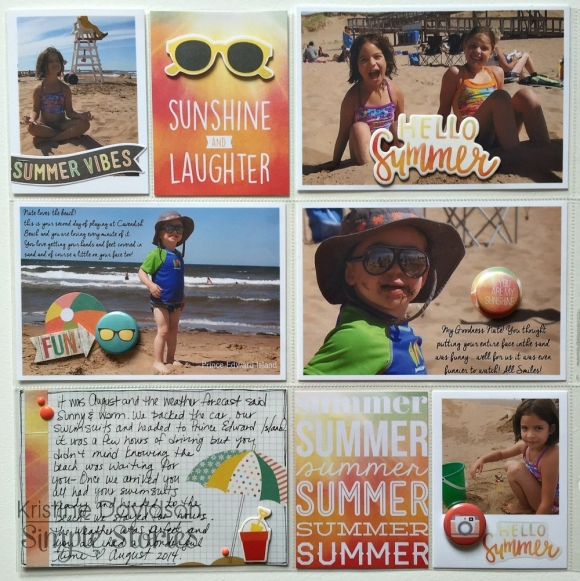
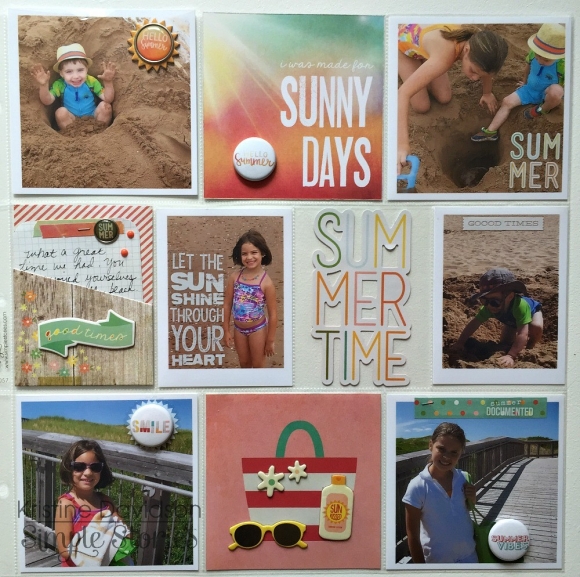
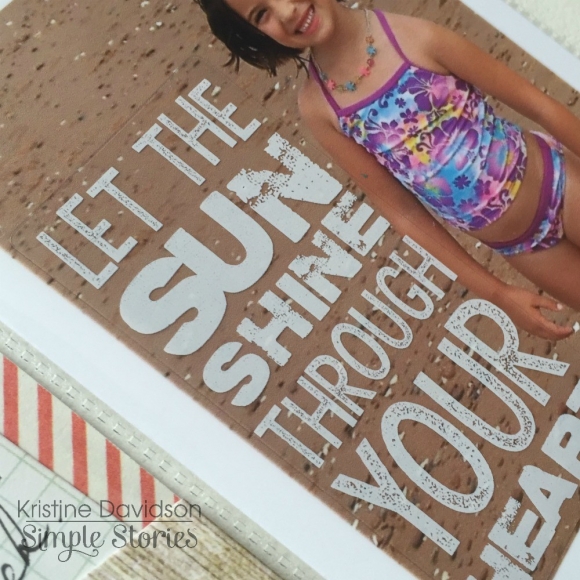
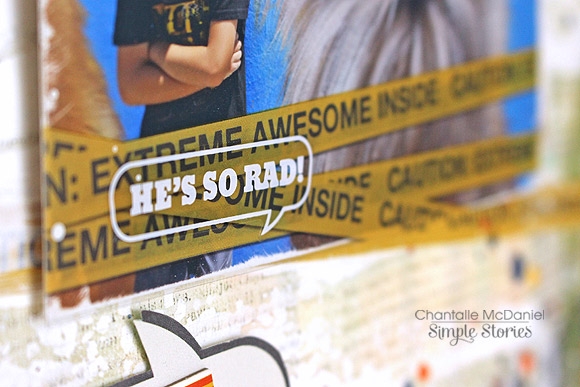
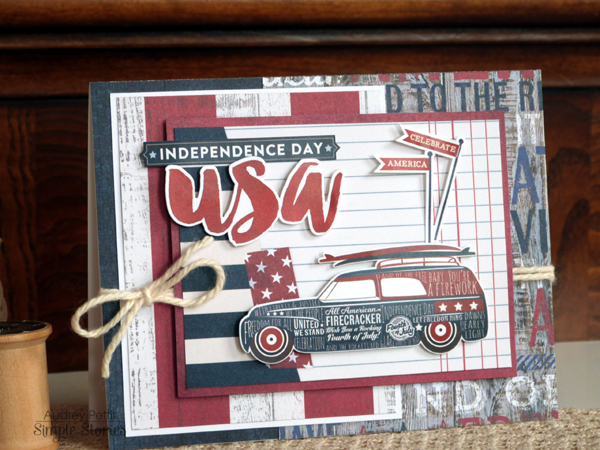
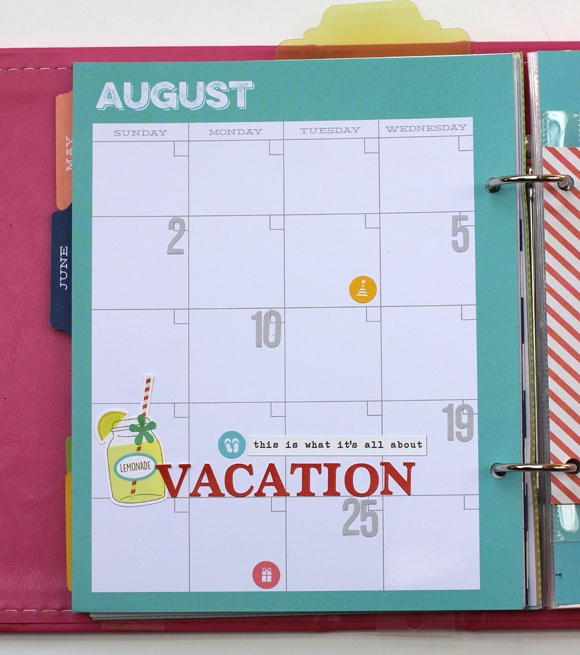
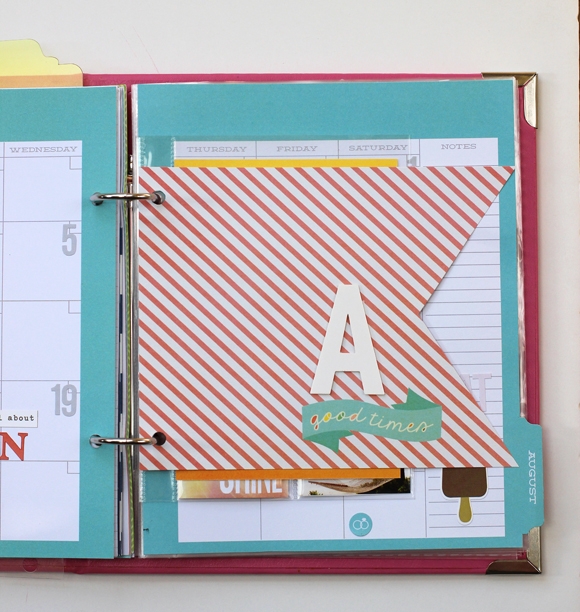
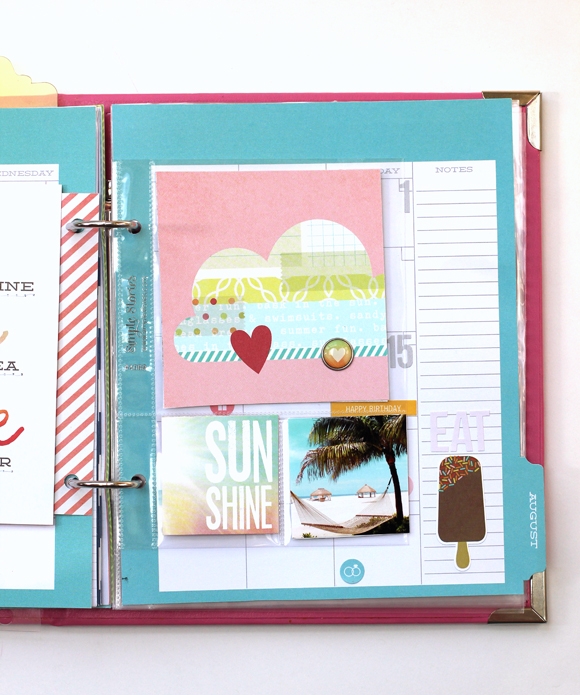
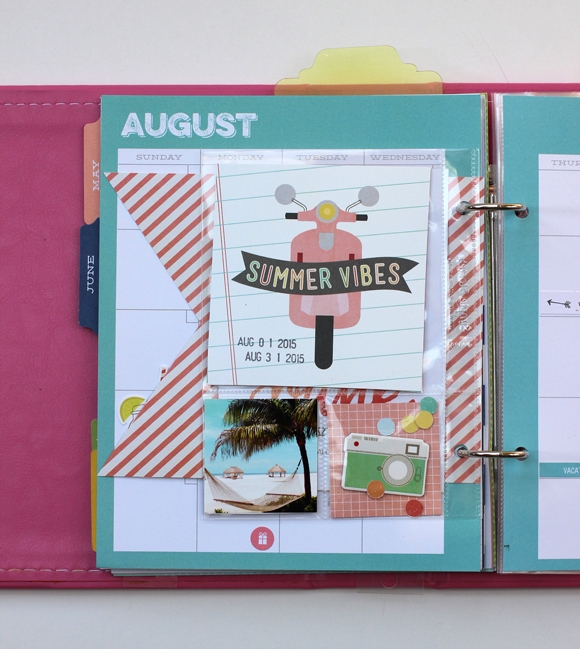
Hi there Simple fans and welcome to the A Flair for Buttons blog hop! Today I'm using the Summer Vibes collection to highlight one of my favorite vacation photos. Plain white card stock is the perfect backdrop for big doses of color in this collection.
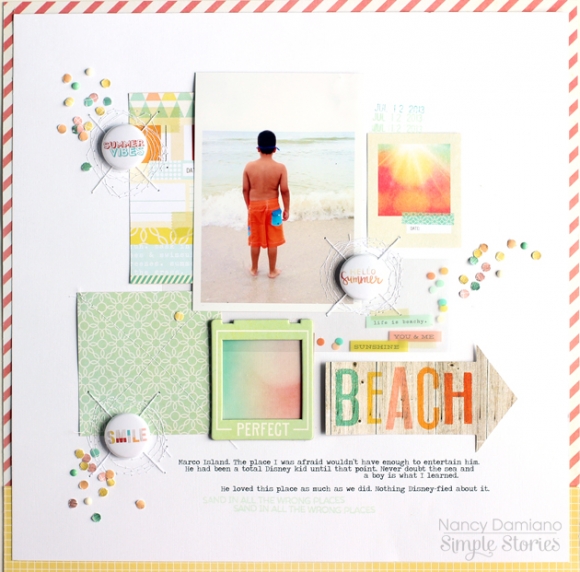
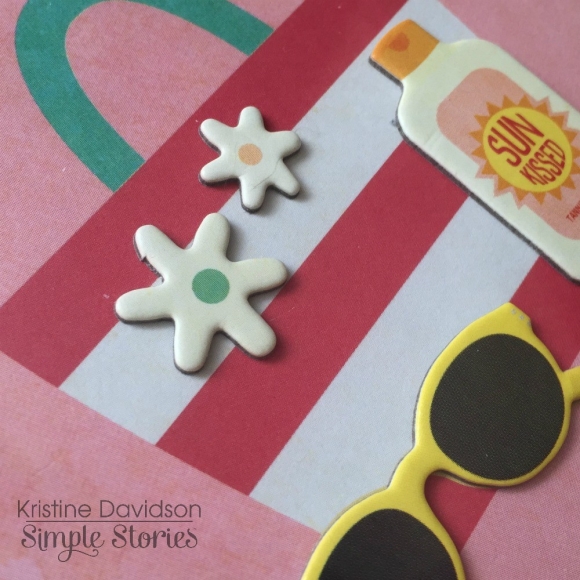
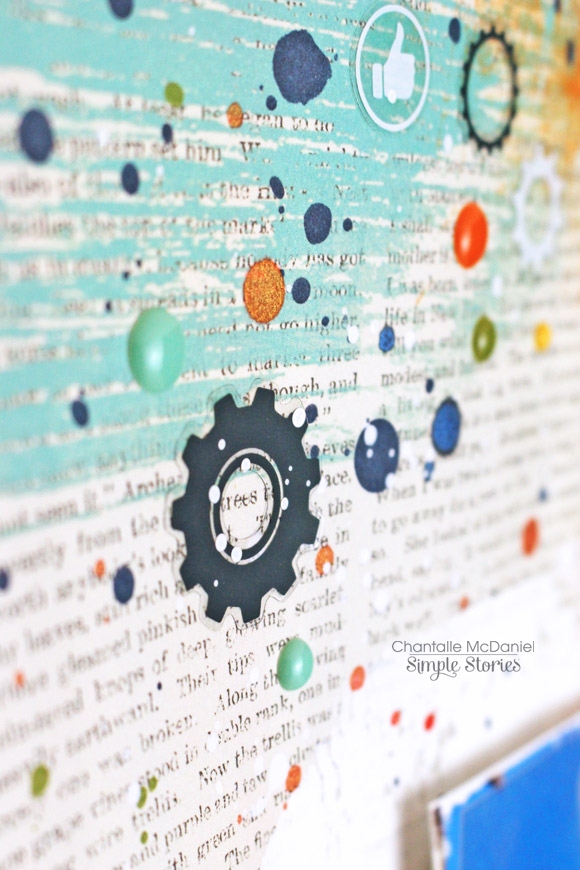
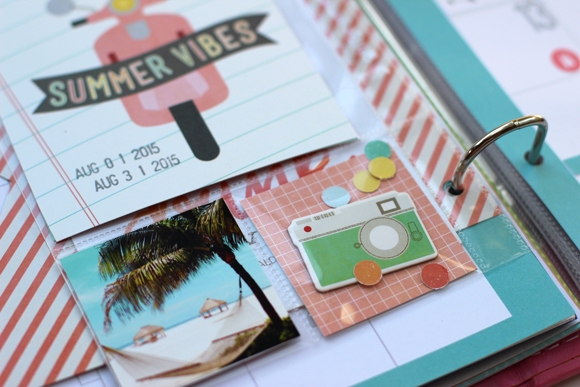
To frame out the coordinating flair, I created little nests of machine stitching to add texture and draw attention to the design.
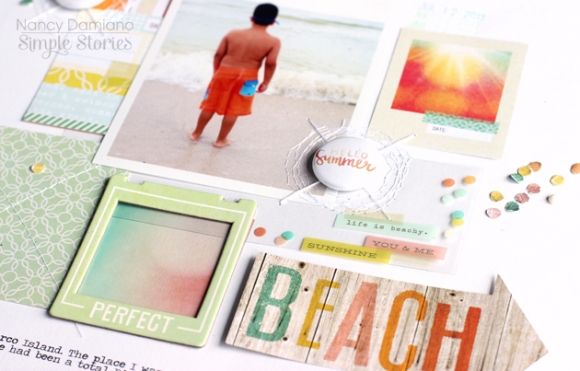
Sprinkles of tiny circle punches draw attention to the embellishment clusters and add a little pop of color to the background.
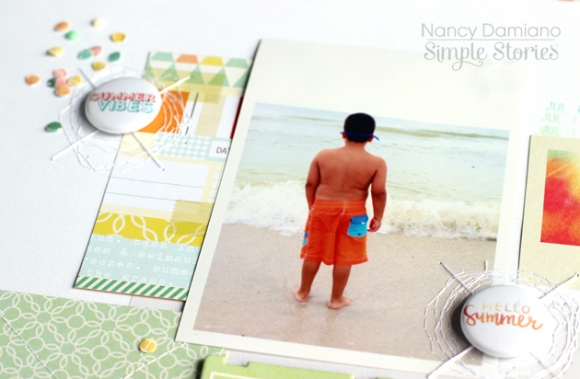
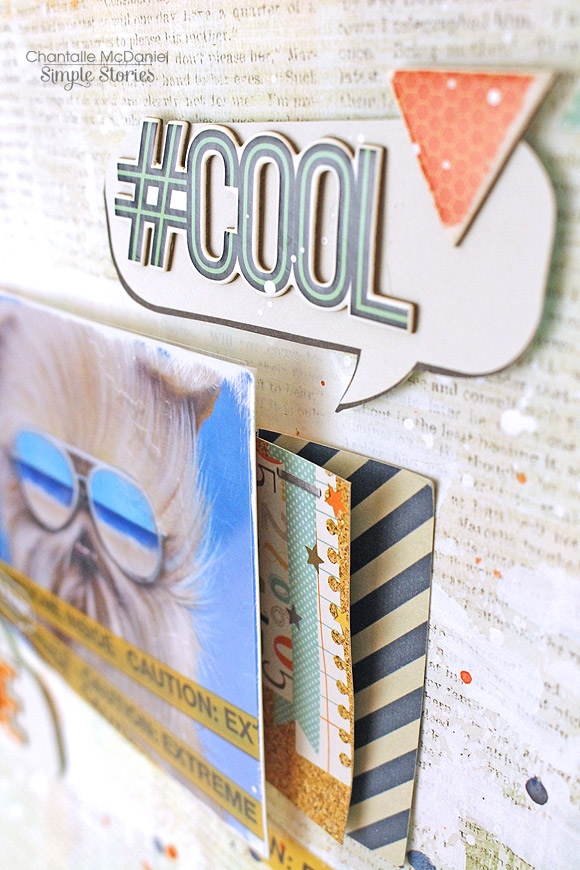
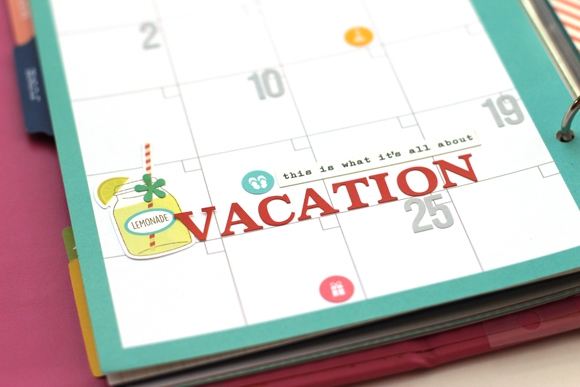
Surrounding the photo with a chipboard frame, die cuts and a transparency from the Summer Vibes collection is a great way to highlight a favorite photo. I like how the text in the custom flair adds words to the center of the design without distracting from the overall look. Using flair is one of my favorite ways to embellish a page. I placed them in a visual triangle so that they could lead the eye through the page. The custom match made it a snap to use!
________________________
Now for even more fun!! Enter via the Rafflecopter widget below and we'll draw one lucky winner on Sunday to win a Summer Vibes prize pack!
After you enter, head on over to the A Flair for Buttons blog to see what their team has created. Make sure to enter there as well - they're giving away $50 worth of flair both here & on their blog!
Want to follow A Flair for Buttons and keep up with all of their great projects & products? Here you go!
Facebook: https://www.facebook.com/pages/a-flair-for-buttons/206543772766342
Instagram: @aflairforbuttons
Blog: http://scrappergirl.typepad.com/aflairforbuttons/
Join us again here tomorrow for more inspiring projects!