
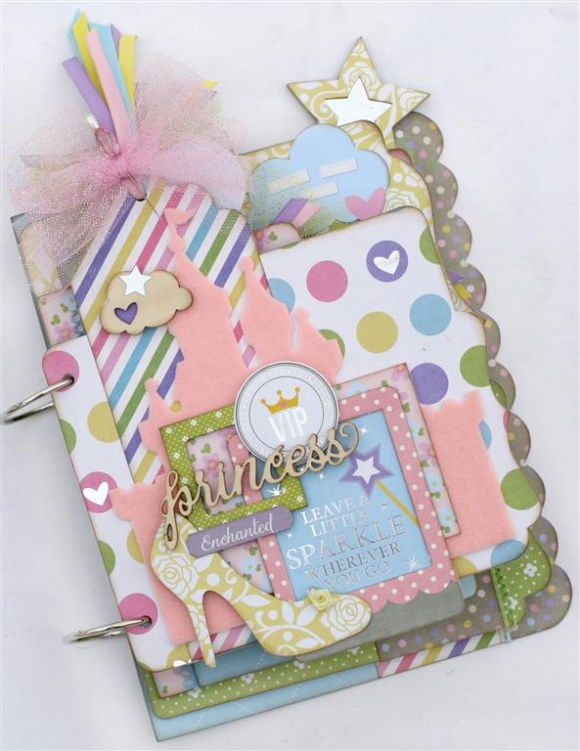
This mini is absolutely awesome. It truly is "Enchanted". This would be perfect for my granddaughters. Thank you so much for an opportunity to win.
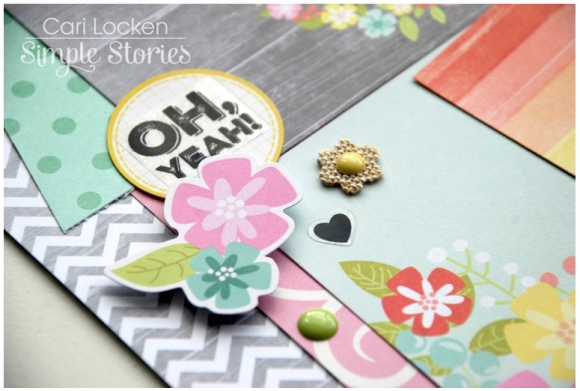
Hello Simple Stories fans! Nancy here with a look at the pretty and colorful Enchanted line. I used various shapes, icons and patterns to create this grid-based design and a favorite Disneyland photo.

I started with a 4x4 photo and then built 1” squares of patterned paper to frame it out. I used the 6x6 paper pad for scaled down patterns. Some of the squares were cut diagonally and glued together to add even more color. Cutting out a large letter “T” for Princess Tiana personalizes the story and adds another shape to the grid.

A few swipes of lime watercolor paint sets the perfect spot for storytelling and adds a punch of color to the white background.
I also have some of my April and May planner pages to share. First up – looking at my creative to-do list for April. It was a busy month! I used alpha stickers, washi tape and flag stickers to add splashes of navy and aqua to the yellow text background.


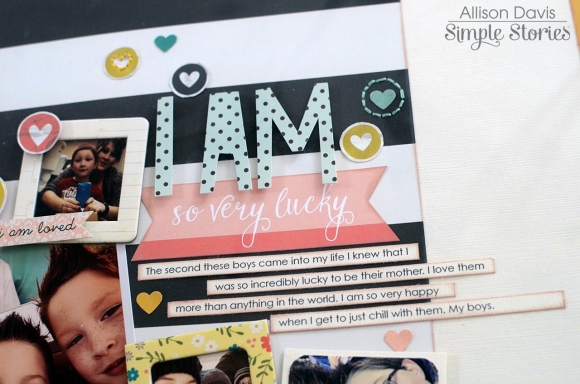
Looking ahead to May I used the I AM collection to highlight the ‘Mom’ theme of the month.

I used the planner numbers to highlight some of the dates in gray. I like the bold impact of it in contrast with the very soft look of the I AM collection. I also used the notes section to practice handlettering and add a favorite quote.


Happy (inter)National Scrapbook Day, friends!
To kick things off, we're excited to share a SEVEN page FREE printable that coordinates with our BRAND NEW Summer VIbes collection released earlier this week -

Click here for your FREE download!
Next up, TODAY ONLY, get a whopping 50% off in our Digital Store!

With more than 25 collections in digital format, you're sure to find just what you need for your digital crafting needs! Visit our digital store here and enter code NSD2015 during checkout.
Last but not least, we revealed 4 NEW collections this past week. We have giveaways running for each collection through midnight on Monday, May 4th. Visit each of these links to see the new collections and enter to win!
We hope you have a FABULOUS day!!


Hi Simple Stories friends!!
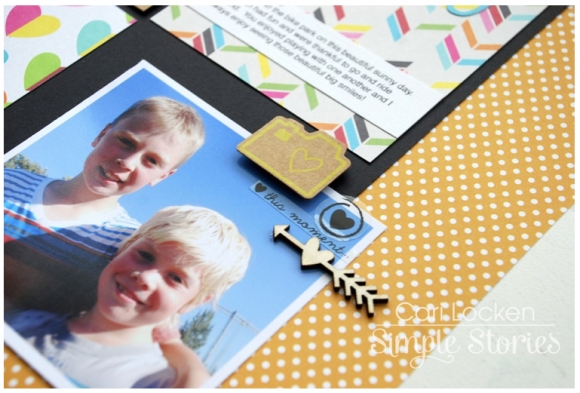
I'm taking a moment this month to share one of my favorite new items from the SN@P! collections...the Fresh SN@P! Pack. I confess that I hadn't really investigated what they had to offer until recently, and boy was I surprised!!

In one coordinated pack, you get my favorite elements from Simple Stories: die cut Bits & Pieces and a great variety of fun 2x2, 3x3, 3x4, 4x4 & 4x6 pocket cards that are 100% on trend. Phrases that are able to be used for just about any project you're working on + FIVE different sizes of cards!! I selected a few to fill in the backs of some 6x8 pocket pages I already had in my album and sat down to work.

I will tell you that this pocket spread came together in 25 minutes...and that includes printing my own photos at home. The cards and die cuts literally took all of the 'work' out of figuring things out, and all I added were a few stickers from the Life Documented collection to spruce things up here and there!

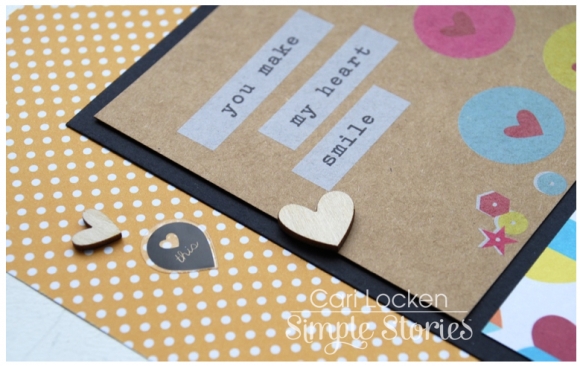
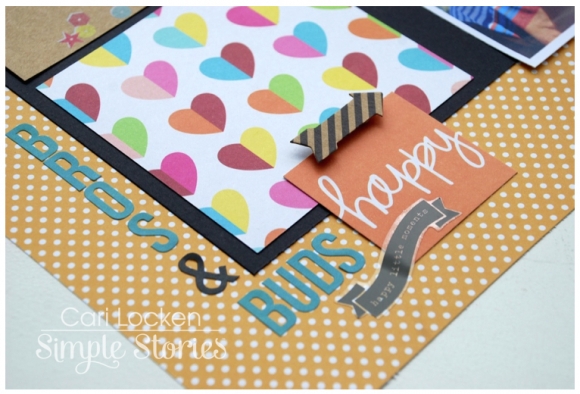
Layering cards together is a fun way to fill a pocket, and when you get different sized cards that coordinate well (like the two you see here from the Fresh pack) things just fall together. No joke...I can't stress how easy this makes things!!

When I find a card that I love in a set, I'm totally OK with just slipping it into a pocket...as I did with the 'let's be happy together' card. Not every pocket has to be filled with a 'masterpiece', and as a lover of pretty paper things I do this frequently. Don't get hung up on the notion that each pocket has to be a work of art that you slave over for 30 minutes. ;)
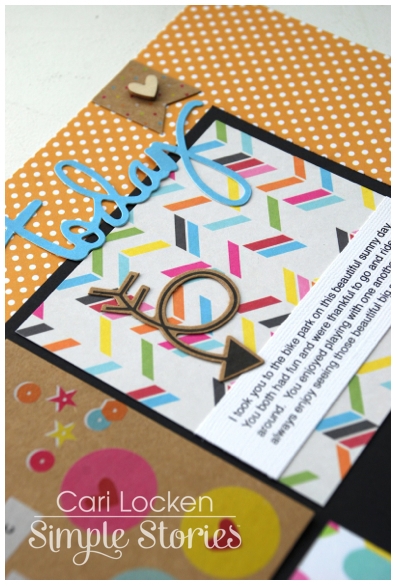
As I mentioned, the Life Documented embellishments paired perfectly with this pack so I sifted through and added a few elements. And with the 12x12 3-ring binder albums, I was able to slip these 6x8 pages right into my 12x12 album (the holes were designed to match up!!) ...I love the variety it gives to be flipping through and come across an unexpected page size. If you haven't checked out the SN@P! Packs, do so ASAP!!


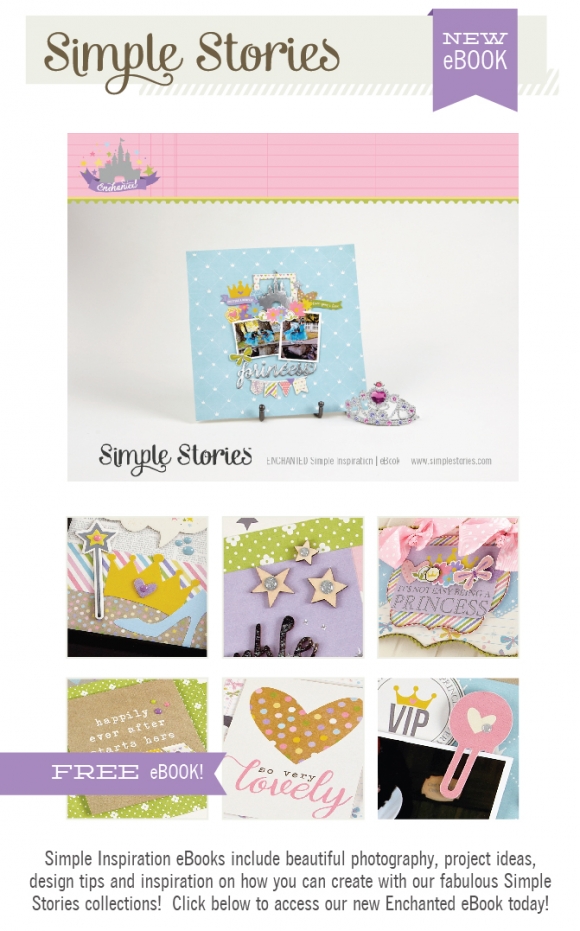
Click here to download your free copy of the Enchanted eBook! Enjoy!
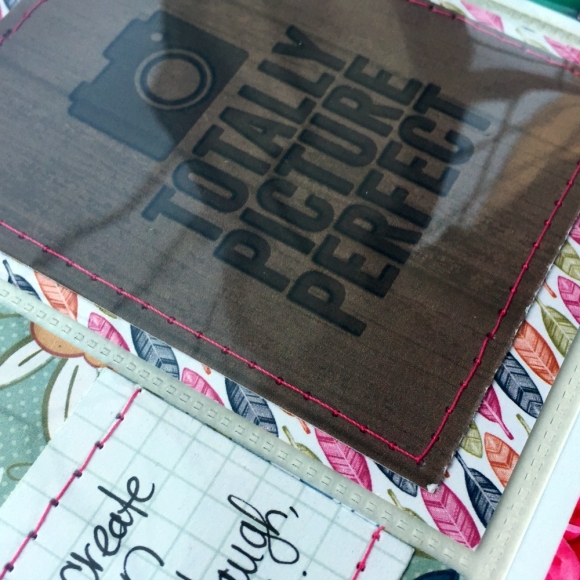
Hello! Shellye here today with a set of three fun cards featuring all sorts of pieces from a few of the SN@P! Pack Collections.

To accommodate the larger 4X6 journal cards, I chose to use 5X7 card bases for each one.


For the first card, a 3x3 square from the "Fresh" pack was used for the sentiment piece. A smaller 1.25" wide strip was cut from one of the other cards and layered side-by-side onto a mat of blue dot paper. To tie in with the blues in the banner and bow, the assembled piece was then attached to a 4X6 arrow card from the collection.


I love this sentiment from the "Epic" SN@P! Pack; it's an endearment in the simplest fashion! I dressed up the 'white' areas of the 4X6 sentiment card with two halves of a 2.5" circle that was die cut from the back side of one of the cards. A few die-cut embellishments, enamel dots and this card was complete!


The final card features some lovely pieces from the "Lovely" set. The 4X4 square was centered onto the 4X6 card and machine stitched in place. Next, a circle was die cut from one of the cards and added with foam adhesive. The embellishment pieces were clustered together and a burlap heart from the DIY collection just added to the homespun feel of the card.
Thank you for joining me today at Simple Stories!


Hello Friends!
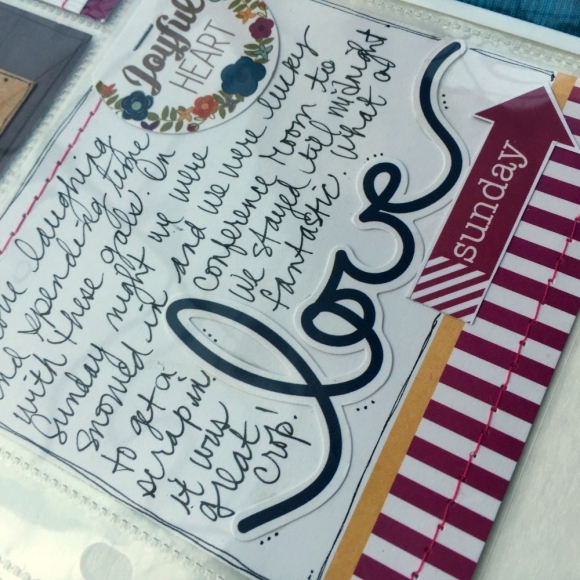
It's Kristine with you today and I am here to share a pocket page spread featuring another NEW SN@P! Pack - Lovely! I love the SN@P! Packs because they have everything you need to complete a page spread and more! It contains Bits & Pieces, cards of all sizes and of course you can also create a layout with the leftovers!
The month of March for me was a good one, I enjoyed time with friends, family and kept myself busy. I found that a complete spread was enough for me and leaving out the minor details was okay. This spread captures what I want to remember and I can always add more later if i want to ;-)
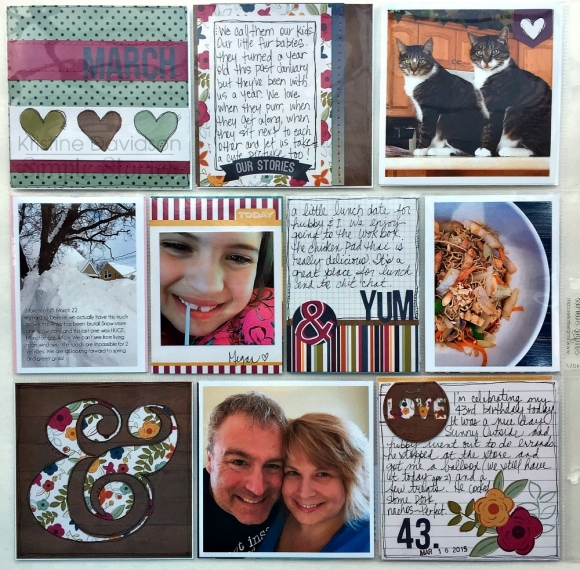
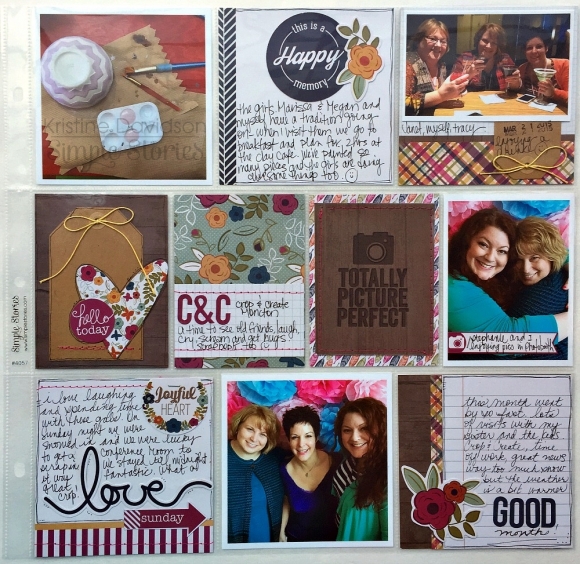
I kept the inserts the same on both pages this month. I love the 4x4 size to add those instagram pics and also trimmed 4x6 photos.
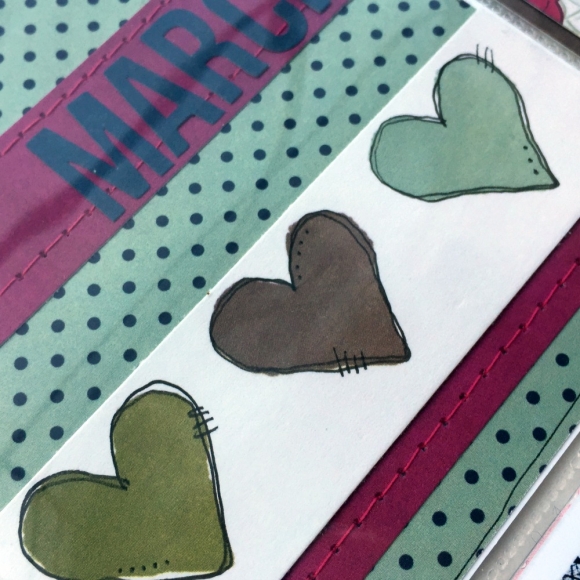
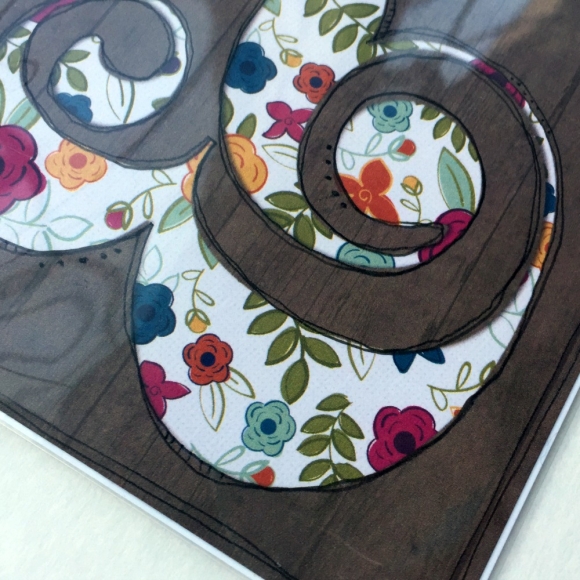
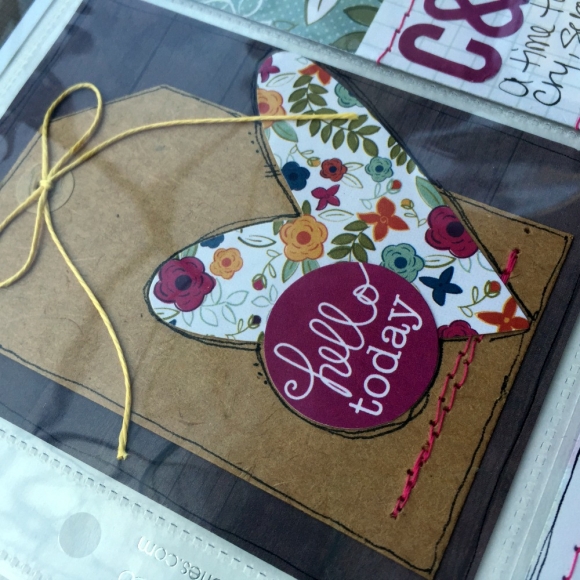
What i did differently this month is doodle! I went to a crop a few weeks ago and I created 2 layouts that were filled with doodles and I LOVED IT! The process was so easy, kind of liberating and fun. I decided to add some of those doodles in my spread this month. All my cards are traced with a black pen and I also added details around the images and diecuts.
Did you know that Simple Stories has a great Photo Crops for your pocket pages and layouts? YES! they do... simply place on your photo and cut to size! There's also a video that show you how fun & easy they are to use.
Here are a few more of my pages featuring some Doodles and Stitching.
I hope you enjoyed my post today and I hope you enjoy creating with your favorite Simple Stories Products!


Candi here today and I am going to show you a few peeks inside my April planner pages as well as a few extras! First things first...set up my month on two pages all filled in with numbers for each day, embellishments and jot down my important to-do's! I just love how this turned out! I grabbed different numbers from several different embellishment packs. I am taking a vacation at the end of the month and I blocked it off with several stripes of the washi paper tape.


On the back side of the month on two pages is a month in review...I filled out a few things and left some spots open since it's only mid-April.

I took a pocket page from the Vertical Pocket Pages Variety Pack and added a few of my favorite washi paper tape sheets...love having that right at my finger tips when I am jotting down notes and plans!


For April I am using the weekly planner inserts and I forgot to start my week on this side that you see here...instead of leaving it empty I covered it up with a few sheets from the 6x6 Life Documented Paper Pad and added a 3x4 card from the 2015 Card Set.

Here are my first two weeks in April. I am one to use embellishments and stickers all over my planner pages...makes planning extra fun and it kinda makes you want to do the not so great things on your to-do list :)


Congratulations to Diane Fleming - the random lucky winner of the Paisleys and Polka Dots Enchanted mini book kit!
Hi everyone, it's Audrey, and today I have a couple of thank you cards to share with you, made with the beautiful I AM... collection.

I absolutely adore the script font of this beautiful wood veneer sentiment, and wanted to make it the focal point of my first card. Love the large size and how it takes center stage in this simple card design. I decided to alter the wood veneer a bit, to make it stand out even more. And once I did, I got me thinking of other ways to highlight the wood veneer embellishments. So for both my cards today, I decided to really focus on these fun accent pieces, and show you some different things you can do with them.

The Wood Veneers are beautiful in their natural state, but are also super easy to alter and embellish to create your own unique embellishments. The "grateful" sentiment piece used here was colored with a Worn Lipstick Distress Marker, which was a perfect match for one of the striped 4x6 SN@P cards from the collection. It only took a minute to color, and I love how the sentiment really pops off the card now, especially layered against a bit of black paper from the 6x6 Paper Pad.
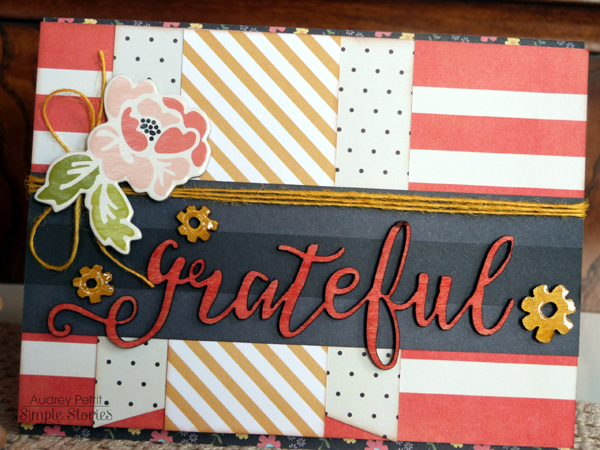
A smaller 3x4 SN@P Card and papers from the 6x6 pad make up the base of the card. I wrapped the card with yellow twine and added a chipboard flower to the bow. Then to help frame the focal sentiment, I added a few small flowers from the Wood Veneers, this time colored with markers and given a coat of Glossy Accents. Love how the wood finish looks with all that shine.
My second card also features lots of the Wood Veneer accents, along with layers of pretty papers from the 6x6 Paper Pad.

This time I used both markers and ink pads to apply color to the arrow, bird, and hearts, and you can see a bit of the difference if you look closely. The arrow, hearts, and the legs of the bird were colored directly with a marker, and you may notice the color is deeper and richer on those areas. I used an ink blending tool to apply Distress Inks to the bird's body. It's definitely a softer look by applying color this way, but it's a great way to blend different colors without harsh lines.

Once my wood pieces were colored, they were all coated with embossing ink and heat set with clear embossing powder. It's not quite as glassy as the glossy accents, but a wonderful shiny finish and visual texture, still. Hope I've given you some fun ideas for using the adorable I Am Wood Veneers on your next card projects! Enjoy!


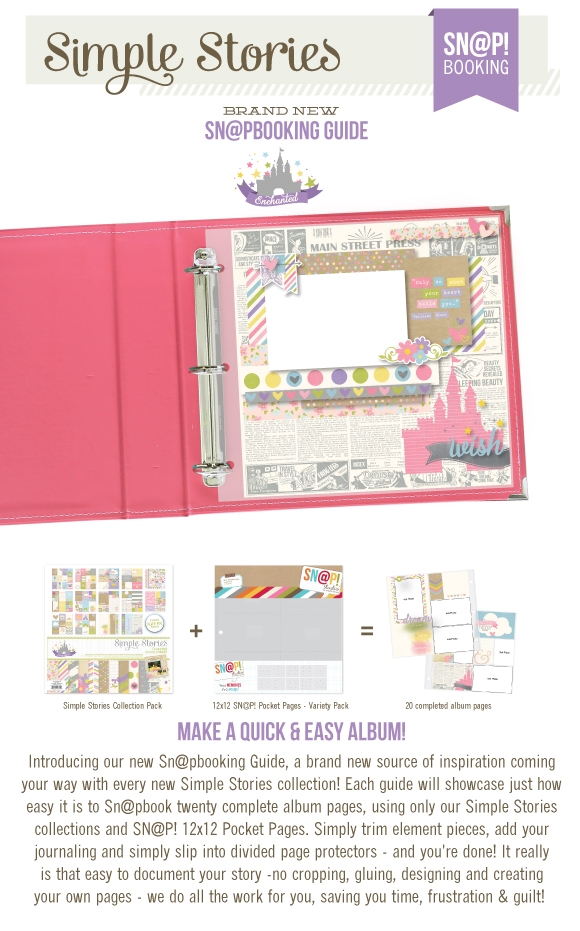
Click here to download the Enchanted SN@PBOOKING Guide! Visit the Project Downloads area of our website for more free downloads!


