Howdy friends!  If you've been a Simple Stories blog follower for a while, you may recall a designer named Julie Johnson that we've featured a few times and her AMAZING mini book kits through her company Paisleys and Polka Dots.  Julie has created another amazing kit, this time with our Enchanted collection; even better, she's offered us a kit to give away to one of our random lucky readers!

Paisleys and Polka Dots offers unique mini album, layout, DIY, and card kits.  Maybe you find yourself in need of some inspiration, you are too busy and need something quick and easy, or you just can’t figure out those cutting instructions from a pre-designed kit.  Paisleys and Polka Dots takes the guess work out of designing, so they are perfect for beginners, but also detailed enough for the seasoned scrapper to appreciate. All kits are pre-cut and packaged by page, so there is no more guessing what goes where.  Their kits are also perfect for crops; grab a few of your tools and supplies and you are good to go.  New kits are released at the beginning of each month and there is no subscription to join, so you choose only the kits you like. 

Here are a few pictures of the completed mini book from her Enchanted kit - 

If you'd like to win one of these amazing kits from Julie, leave a comment on this blog post by end of day Tuesday, April 14th by midnight mountain time and we'll pick and announce the random lucky winner here on the blog on Wednesday.  Good luck!!

Visit Paisleys and Polka Dots at www.paisleysandpolkadots.com  and on their blog at www.luv2createscraps.typepad.com/paisleysandpolkadots for more information about their kits!

Supplies

Hi everyone! Allison here with a layout using the Say Cheese II collection. I’ve also got a new sketch to share with you that combines traditional scrapbooking design with the SN@P! Pocket Pages.
 
 
You can download the full sketch with measurements and placements here.
 
The left side of the sketch features a more traditional style of layout design while the right side uses the SN@P! Pocket Page, Design 6.
 
Here is my layout based on the sketch.
 
 
While at Disneyworld a few years ago on Spring Break we had a blast exploring all the magical wonder that you can in that place. My youngest, Jackson, was a Mickey fanatic so it was amazing to get to experience all that we did and see how happy he was there. At the end of our second day both of my boys were hot and exhausted from walking around and what better cure for that than cooling down with a Mickey shaped ice cream. They made a huge mess of themselves but it was the perfect end to our two day Disney visit. 
 
Say Cheese, both the original and II, were instant favorites for me. (There’s a slight chance that I’ve said that about every Simple Stories collection!) Vacation albums can sometimes be intimidating because usually you have a huge amount of photos to get into an album. I used the original Say Cheese collection to document one of our Disney trips and I was blown away at how quickly those pages went together and in an album! 
 
 
I love the gold foil details on some of the papers in the collection! I used the Never Grow Up sheet for my background and used the gold “magic” become part of my title.
 
 
I simply added “messy” to complete the title and then added a few Enamel Dots to help accent the stars on the paper.
 
 
I also used some of the Enamel Dots and the Bradz to create Mickey ears to fit with the theme of my layout.
 
 
I used the Chipboard frames for two smaller photos and then added some stars, enamel dots, and the arrows. I really liked how the large variety of frames in the package!
 
 
To help tie the journaling into the rest of the page, I added some of the same star, Enamel Dots, and Bradz embellishments. 
 
 
For the right page I used a combination of photos and cards with Pocket Page, Design 6. 
 
 
I fell in love with the photo overlays in this collection! I used three of them on just this one layout! To accent the 3x4 black, star card I added some Enamel Dots and stickers.
 
 
On the “wish upon a star” card I added two rows of small 1” photos. I printed them so that they would kind of look like film strips. I used more Enamel dots, Bradz, and an arrow to add some detail the card. 
 
 
I used another one of the chipboard frames with a smaller photo on the 3x4 card and a photo overlay on the photo next to it. 
 
I hope you enjoy using the new sketch! 

Supplies

Howdy friends!  We're SUPER excited that we're the featured company over at the Paper Crafter's Library this month!  

Design team member Wendy Antenucci has created 3 versions of the same layout using our I AM... collection - an easy, medium & detailed version.

Here's a peek at the detailed version of Wendy's layout - 

Head on over to Paper Crafter's Library to see the layouts in full and see how Wendy approached each one.  We're also sponsoring a giveaway on their site, so make sure to check it out!

Supplies

Hey friends! Rebecca Larson here! I am excited to show you how fun PageMaps can work along with your digital layouts. First, here is the sketch that I was assigned - 

This was an especially fun challenge as I think I could count on one hand the 2 page layouts that I have ever created!  So here is what I came up with using the Fresh Air Digital Simple Set:

I love spring time!!! Spring in Utah is beautiful!  We have a tradition to go to temple square in Salt Lake City during the week of Easter. It is such an amazing place! A person could easily snap 1,000 photos without batting an eye. I felt that the Fresh Air Digital kit would highlight my photos to a tee! I am not a lover of pastel per se, but I loved the deep pinks and blues that make the layout pop!! The flower elements fit perfect with the entire feel of my photos!
 
I also wanted to stay true to the map, and because I wouldn’t be cutting thing out physically, I wanted to get the dimensions correct. So I opened the page map in photoshop, dragged it onto my layout, and created clipping masks the same sizes as the photo openings on the page map
 
 
The sketch was the perfect inspiration for me to quickly whip up a layout while in a scrapping rut, and I can’t wait to print it out and add it to my book!
 
Happy Scrapping, friends!

We're doing a fun giveaway with Page Maps this week for a 12x12 SN@P! Album, a 12x12 SN@P! Pocket Page Variety Pack and an I AM... Collection Kit - check it out here!


Hey Simple Stories fans, Amy here to share a couple of layouts I created using some of the amazing collections from Simple Stories and some fabulous page maps from Becky Fleck at PageMaps.  I really do love using sketches, they make creating so easy for me.  Here is the first sketch I worked with.

Here is the layout I created using some papers from the I AM collection, and some fun elements from the Fresh Sn@p Pack.

I didn't follow the sketch exactly, but used most of the elements.  I used three photos, and placed my embellishments down the side of my layout.  I did a very loose grid, and the fabulous Simple Stories products made my layout a breeze!!

 
This is the second sketch I was given.
 
 
I followed this sketch almost to a T, and created this layout.
 
 
I used the Say Cheese II line here, and it worked perfectly with the fun picture I had of my boy sledding with daddy. Simple Stories does a great job creating lines that are not only themed, but that you can also use to create everyday projects too!
 
We're doing a fun giveaway with Page Maps this week for a 12x12 SN@P! Album, a 12x12 SN@P! Pocket Page Variety Pack and an I AM... Collection Kit - check it out here!

Supplies

Hi everyone! Rebecca Keppel here! We've paired up with PageMaps and we'll be bringing you sketches and layouts all week long!  I had the pleasure of working with 2 of Becky Fleck's fabulous PageMaps April sketches. I love designing with Becky's sketches because she makes it really simple to pull together a well designed layout. I started with this 12x12 sketch featuring two 3x4 photos:

 
Since my photos had a horizontal rather than vertical orientation, I rotated the sketch 90 degrees to the left and came up with this layout using Simple Stories Say Cheese II collection.
 
 
I loved layering the various patterned papers and the embellishment placement and circular title spot.
 
 
The next sketch I used had more small photos:
 
 
This time I stayed very true to the sketch.
 
 
I used Simple Stories SN@P and Enchanted collections. The Enchanted Chipboard frames were perfect to highlight all the mini photos.
 
 
If you love Simple Stories collections, you will love playing with PageMaps because Becky includes tons of fun embellishments and layers in her sketches. 
 
We're doing a fun giveaway with Page Maps this week for a 12x12 SN@P! Album, a 12x12 SN@P! Pocket Page Variety Pack and an I AM... Collection Kit - check it out here!

Supplies

Click here to download the Say Cheese II eBook!  Enjoy!

Hello, again!   This is Amber, founder and creative director of Simple Stories.  I can't believe how fast this month has flown by - here I am for another installment of my monthly Document It blog feature. 

I don't know about you, but March has been a crazy busy month for me.  From meetings and deadlines for Simple Stories, to soccer practice, dance competitions and school activities for the kids - plus planning a major family vacation for Spring Break - I feel like I'm barely keeping my head above water.  Thank goodness I've been using my Life Documented planner to keep me on track with all I need to accomplish this month!

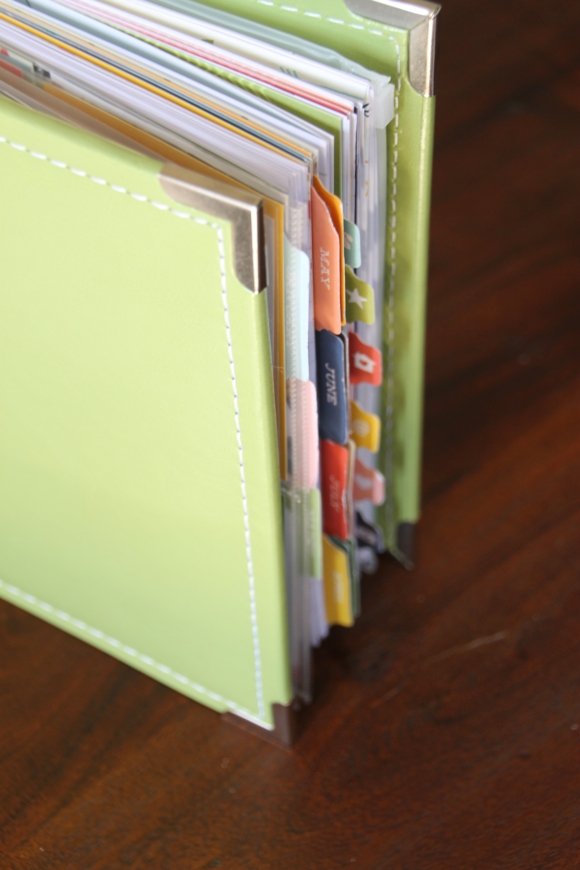
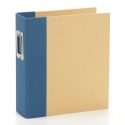
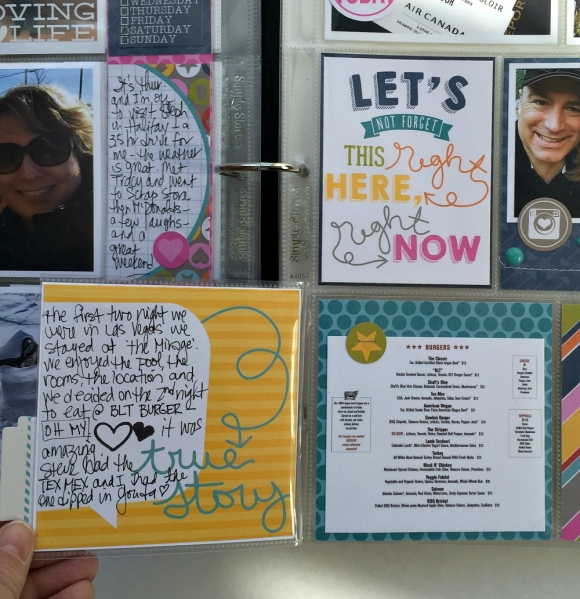
For the month of March I wanted to switch it up a bit - so I moved into the green 6x8 faux leather album - such a fun and bright color for spring.  I love how my planner is filling up with pages and things to help me keep my life together.

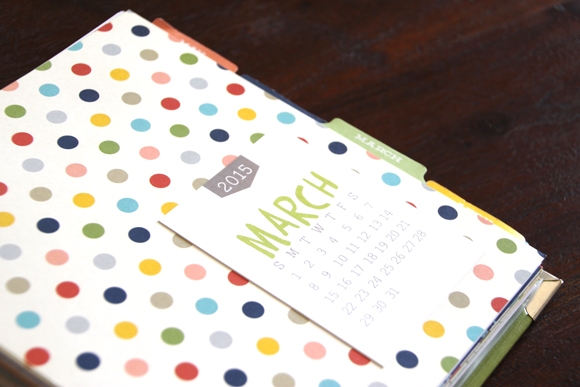
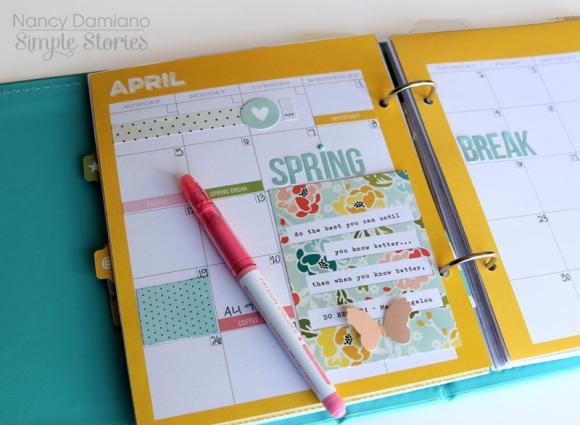
I love opening each month to the colorful Monthly Dividers - and by simply adding the 3x4 March 2015 card from the Life Documented 2015 Card Set, I have a great reference for the calendar days at a glance. 

This month I'm focusing on how I'm using our Basic and Designer Washi Paper Tape along with the free "Who. What. When. Where" printable included in the January Free Printables for a quick and easy way to document and track all of our on-going monthly activities.

Step One

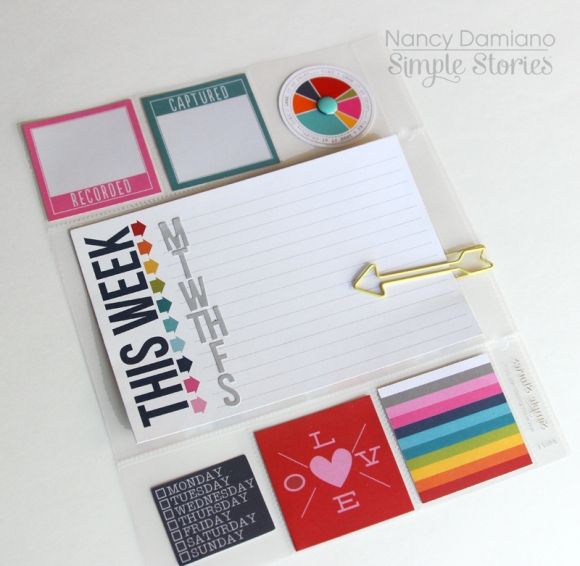
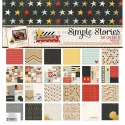
First, I get out all of my Life Documented Washi Paper tape sheets.  These are my all time favorite product - cool little washi tape strips in 3x4 sheets!   We have a great assortment of colors and designs to easily plan my life - and brighten up my pages.  There are two sets in the Life Documented Planner Collection - each set inclues two sheets each of 12 different designs - that's a total of 288 pieces of washi in each set!  I love that they're sheets vs. rolls, so it makes it so much easier for me to take them on the go in my planner.  Having the large assortment of colors and patterns in one package is another plus!

Step Two

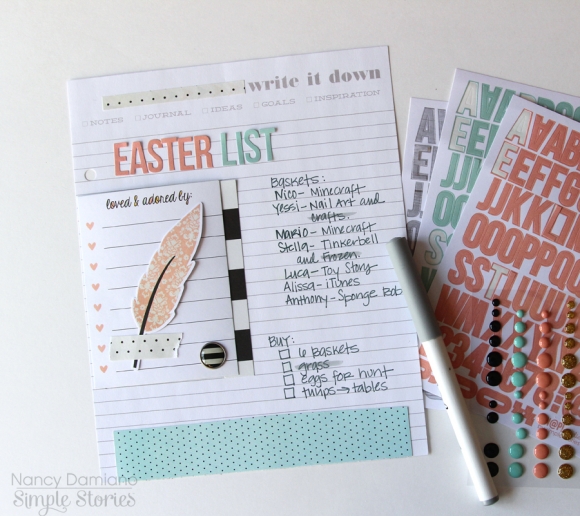
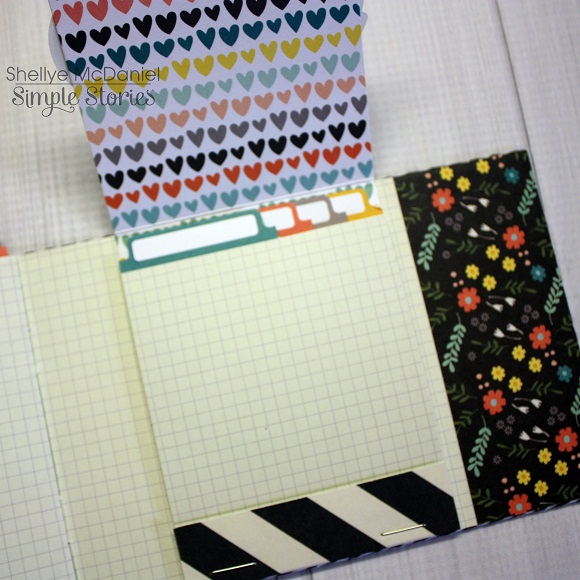
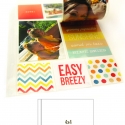
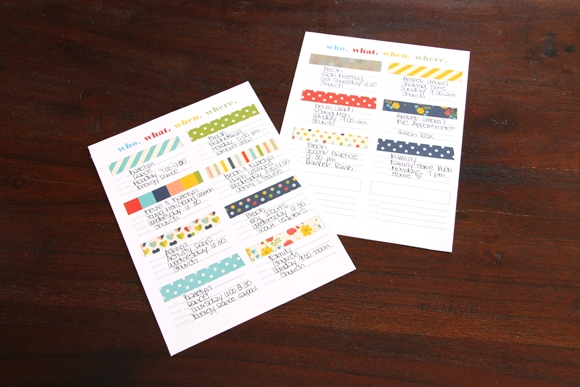
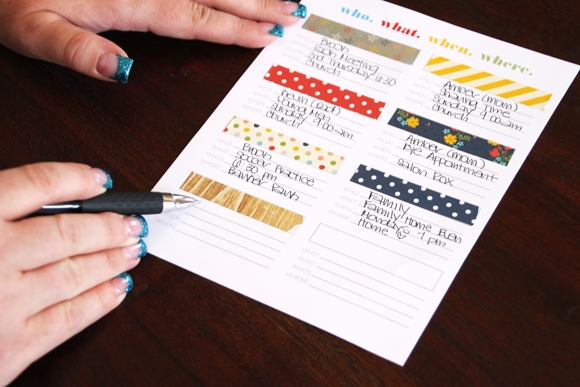
Next, I printed off the "who.what. when. where" free printable from the January Free Printables and trimmed to size. This provides a dashboard for my washi tape strips and information - a sort of "key", if you will, for our monthly activities.  Each activity is assigned a certian washi tape design or color - and I simply added pieces of washi tape to the provided space on the sheet and filled out the corresponding acitivty.  This works best for ongoing and reoccuring activities as the who, what, when and where details are consistent from week to week.

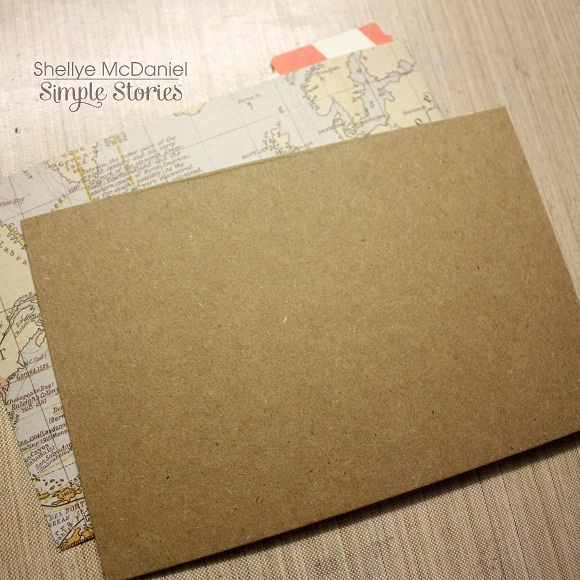
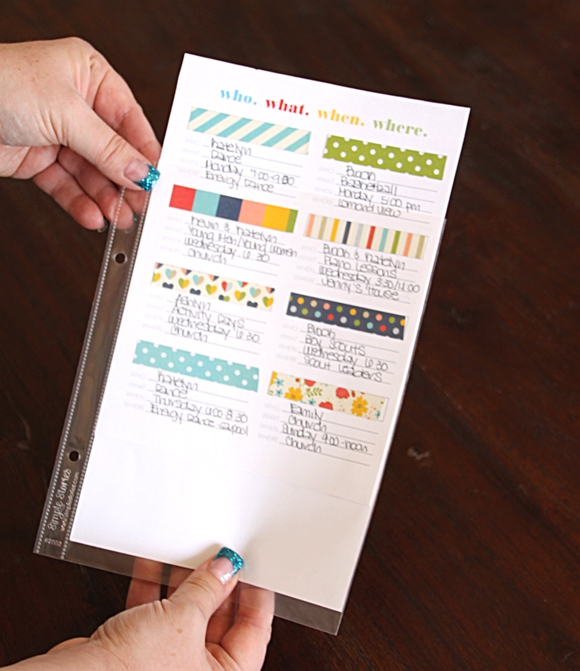
After I've added all my main events to this dashboard, I slip it in a 6x8 pocket page so it stays protected since I'll be referring to it througout the year & then insert in my planner.  
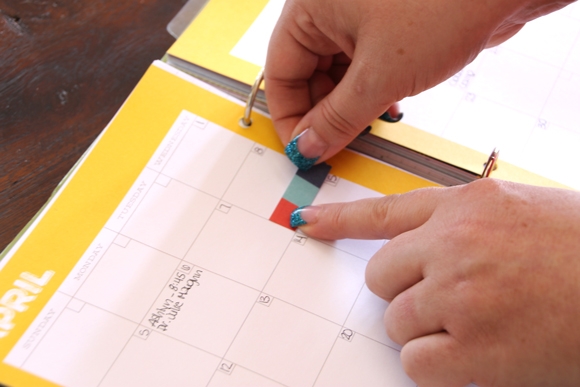
Step Three

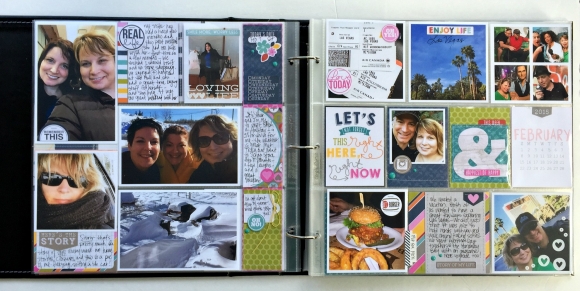
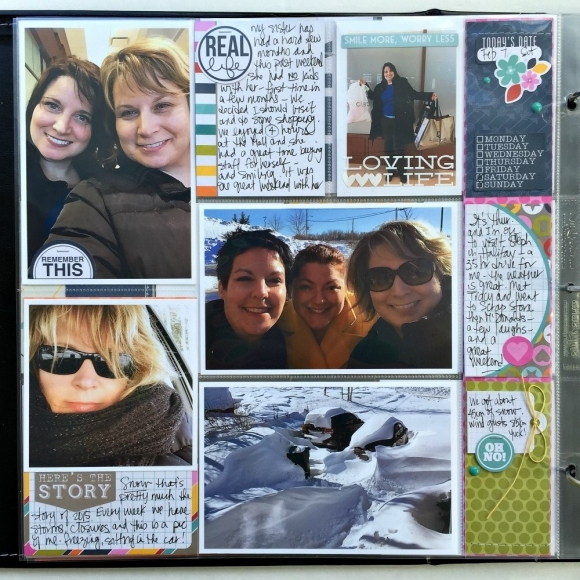
The final step is using the washi dashboard as a key for filling in our activities on the calendar each month.  So instead of writing the details for each event in the calendar square, I simply add the strip of washi tape that corresponds with the event.  This saves time and space on my monthly calendar.  The Washi Paper Tape comes in both thin and thicker pre-cut strips, so on really busy days like our Wednesdays I can use the thinner strips to get all of our activities in.

That's it!  Three easy steps to plan your month - and add some fun to planner pages!

COOL COLORS - March

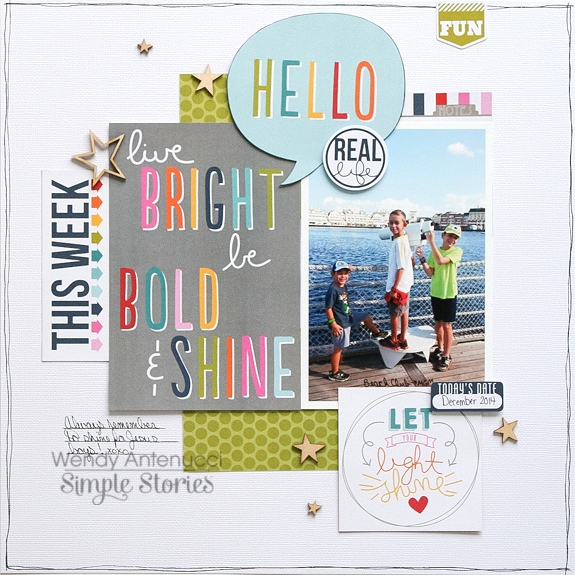
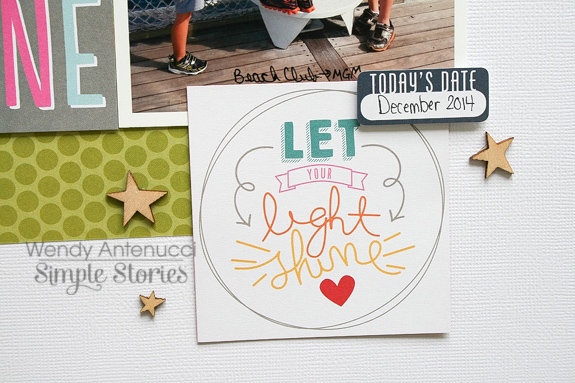
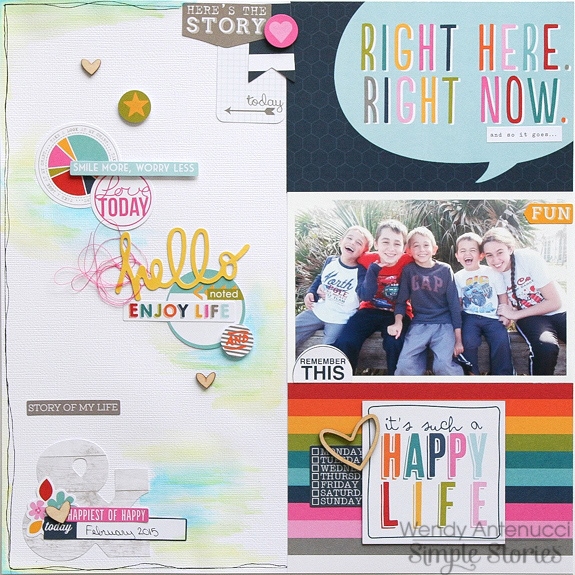
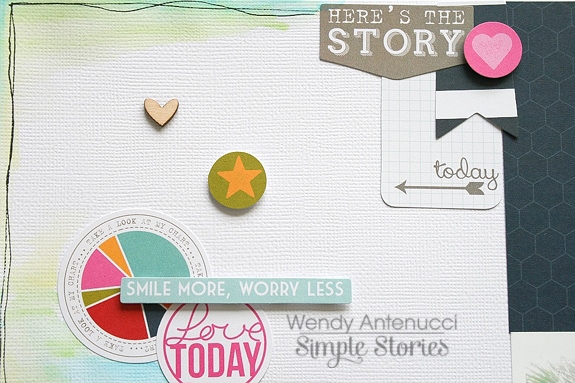
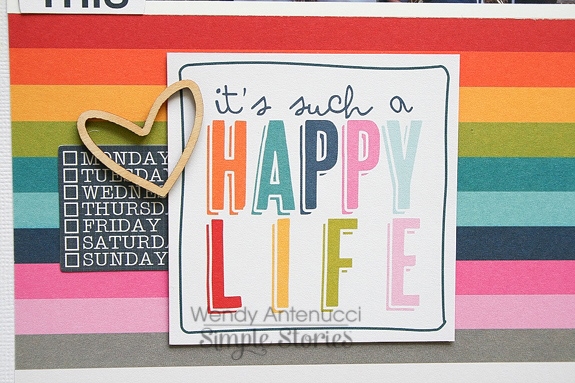
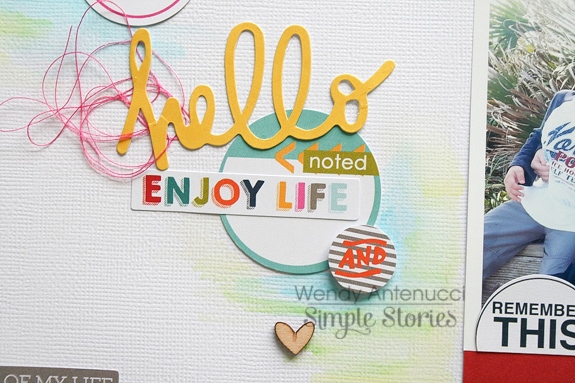
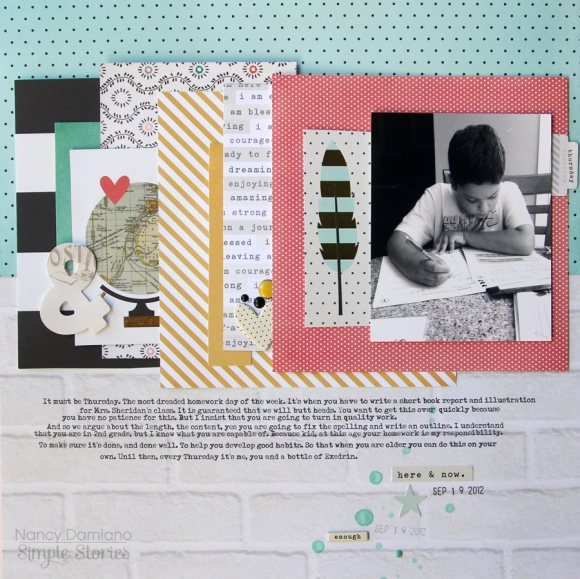
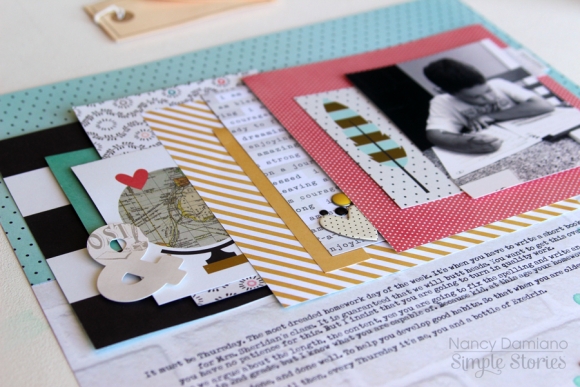
Last month I shared how I'm using my planner to also plan and document my year-in-review album, plus a fun assortment of cool colors using your Life Documented cards.  Check out some fun possibilities for this month, with a mixture of green, navy, grey and a touch of wood grain.

FREE PRINTABLES!

Now we get to the really fun part!  We've designed these FREE printables for March to coordinate with your Life Documented planner.  Even better, we'll be offering free printables each month!  

Click here to download March's Free Life Documented Printables.

There are a 5 free printables this month, including:

March Month in Review
Clean it Up - week at a glance
Clean it Up - daily
Clean it Up - weekly
Clean it Up - monthly

TIP: The March free printables are on a single PDF document with 6 pages - print off what you want and the quantity you need.  We've added cut marks to each printable, so you can easily trim your pages to size.  

Thanks so much for letting me share my insight and vision for our Life Documented Planner system - it's a dream come true for me to finally have my dream planner.  I already feel like my life is so much more organized.  I hope you're inspired to plan and organize your life with our Life Documented Planner system as well!   See you back here again next month!

Supplies

Wendy here today to share some layouts I created using the new Fresh SN@P! Pack.
 
 
BE Bold and Shine came together quickly using the Fresh SN@P! Pack and some cardstock.  I began my layout with the title card that had the perfect colors and saying for this picture of some of my boys.  I used another SN@P! card with the lime green to provide some color to my layout.  
 
 
Two more SN@P! cards and square added in some journaling/direction to my picture block.  
 
 
I always have to include my signature fussy cutting which came from another SN@P! card and then a few die-cut pieces included in the new SN@P! Packs.  I mixed in some Wood Veneer pieces from the Say Cheese II collection for the perfect touch.
 
Happy Life came together as I created my first layout, again because I found a SN@P! card that was perfect for my pictures!  This time I lined up my 4x6 cards and sandwiched my picture in between.  Then I played!  I loved using all the Bits & Pieces included in the packs and sprinkled meaningful die-cuts on both sides of my page.  


I layered and popped the items up to add in interest to what could possibly be a boring design.  


Once I had all of my elements I grabbed my watercolors and began to add in a little bit of soft color to imitate a beachy look to match my pictures.  
 
 
Some pen lines, messy thread, and heart wood veneers completed the look of fun that tells the story of an outing with my kids!
 
Thanks for joining me today, I hope you will take some time to explore all the possibilities hiding in the new SN@P! Packs!

Supplies

Hi there Simple fans! Nancy here today with one of my favorite collections this season. I love the color palette and message behind the I AM collection. I decided to challenge myself and try to use the collection for a topic other than ‘me’.

I know a collection really works when I can use it for just about anything. Versatility is important! This page proves that I AM is going to help me tell stories of all kinds. By picking out the globe, heart and ampersand I was able to create about my son and our struggles with his homework last year. The feather represents the one in my cap for helping him get this done!

I based the design on pattern – it’s everywhere. The background was made of two subtle patterns, using the white brick and blue small polka dot print. The center of the layout though – it’s a burst of pattern and color. I included a few chipboard and sticker icons to highlight my theme and break up some of the angular edges.

Look beyond the theme in I AM and focus in on those pieces that help you tell a different story!

​Here's a look at my Life Documented Planner and how I'm setting it up for the coming month. I used some leftover pieces from my project with the I AM collection to decorate the monthly planner pages. 

​Getting ready for the Easter holiday and planning all of the baskets that I will be making this season. I used the pale pink and blue accents from the I AM collection to give this list a pretty Easter feel.

​To end the month I used a divided pocket page and the Fresh SN@P! Pack to add a punch of color to my planner. It matches the monthly planner pages nicely and gives me a spot to plan out things I need to create.

Take a second look at the I AM Collection and be sure to use it to tell all of your stories!

Supplies

 Hi Everyone!  Marie here today to share some pages I made using the new Fresh SN@P! Pack.  I am continuing to make monthly album pages, and the bright colors were exactly what I wanted for my spring photos.

I have become a big fan of SN@P! Packs because each package is full of options for all different sizes of Pocket Pages.  On these pages I used several sizes of photos (6x8, 2x2 and 3x4) and the SN@P! Packs have cards and embellishments to use for each pocket size.  They also come with cards in 3x3, 4x4, and 4x6, plus Bits & Pieces.  You can use the cards as they are, or layer them together to make your own.

On my first page I printed a full-size 6x8 photo, and all it took was a couple of the bits and pieces to dress it up.  Everything is already color coordinated for you, so it's just a matter of picking your favorite designs.

On the following page I used 2x2 photos, and there were 34 cards in that size to choose from in my pack. I picked out my favorites for this page and still have more for another page or two.

On my final pages I used 3x4 cards layered with some of the bits and pieces. It's a lot of fun to mix and match them. 

If you are looking for a quick way to build your pages, especially if you are using different sized pocket squares, I highly recommend checking out the SN@P! Packs. They will make putting your pages together a breeze!

Supplies

Hi there Simple Stories fans!  Suzanna hopping in today to share with you an Easter layout that I created using the Enchanted collection. While intended for Disney princesses and all things fairy tale, the colors of the Enchanted collection are just perfect for spring and Easter layouts or cards as well!


While the obviously princessed themed embellishments weren't going to work on my Easter themed layout, there are plenty of other options to choose from! Simple Stories collections had a wide variety of options to choose from when it comes to embellishments. The butterflies, hearts and flowers are neutral enough that you can use them on any layout.


Here I used a trio of hearts for an embellishment cluster, intermingling chipboard with die cut shapes. Due to the depth of the chipboard, I used some foam adhesive to raise the diamond label to same height.


My title work was done with my Silhouette to create my own file with one of the 800 plus fonts I have on my computer. An epoxy dot served as my hyphen for a little variety. I love to sew on my layouts as it somewhat personalizes the layout, makes it mine with the home sewn feel.
 
 
Thanks for taking the time to visit today!

Supplies

Hello Simple Stories fans!!
While the success of the I AM... collection is well deserved (I love that we are encouraging people to document themselves in their projects!), I am always a fan of trying to think of a different way to use products. So I challenged myself to use I AM... on a pocket page all about the One Direction concert my daughter and I attended last summer. SO many of the stickers and embellishments had phrases that seemed to fit perfectly with the good fortune we had when finding these tickets, so I ran with it!

Still a fan of the 12x12 pocket page that has this 6x8 pocket, I knew it would be perfect to have enough space to tell the story of lucking out with $50 floor seats to a sold out show. I chose one of the I AM... SN@P! Pages for the base and started writing down the story. There was enough room at the side to attach one of our wristbands and the rest of the page fell together with a few of our favorite photos from that night.

It wouldn't be right NOT to include our tickets, so I adhered them to a piece of 3x4 cardstock and slipped them into a pocket. This pocket page has all 4x6 photo slots, but to switch up the look overall, I just paired (2) 3x4 cards within one pocket...totally changes the feel of the page and allows you to include other items besides 4x6 photos! The Simple Stories 'nothing but blue skies' die cut file from the Silhouette store was perfect for expressing the 'cloud 9' vibes my daughter had the entire day. Again, I just adhered it to a base 3x4 card and added stitching. 

My favorite photo of the whole event is the one of her at the top left of the project...in her element, enjoying the experience as a whole. She told me this was the greatest night of her life, and that photo says it all. I added a journaling card next to it with a few more thoughts and added a few of the photo stickers...again, using (2) 3x4 elements in a 4x6 pocket.

The 6x8 pocket ended up telling the story, and since the floral pattern on the chipboard I AM... didn't quite fit the rock concert vibe, I colored it with a gold Sharpie marker. After layering a few stickers + spray mist on and around it, I stopped...I could have layered my little heart out, but wanted to focus on the story for this one.

I plan on using the I AM... collection for plenty of projects about my little family of three, but wanted to encourage you to take a second look at it for more than just the obvious. :)

Supplies

Hi everyone! Shellye here to share an easy-to-make gifting mini album using the "I Am" Collection

To begin I started with three of the components from the Interactive Elements: the larger 4X6 flip element, the matchbook element and the tri-fold element:

 I adhered the two smaller elements to the inside pages of the 4X6 element with a high-tack adhesive. 

The front was decorated with chibpoard stickers and a ribbon bow. 

When the album is first opened, the original pages from the 4X6 element is given.  I added a strand of washi tape, a chipboard butterfly, etc.  The opposite page was left blank.

When the page is turned, you will find the tri-fold element has been added to the right-hand page.

Here is a close-up of the front of the tri-fold.

To the inside of the tri-fold, a 3X4 journal card was attached.  The other pages were left plain so that small photos or journaling can be added.

As you go further into the 4X6 flip element, the pages get larger.  The left-hand side of the page was lightly embellished and the right-hand side is where the matchbook-style element was added. 

Just the front of the matchbook element was embellished; the inside pages were left as-is.

I wanted the back of the album to be a bit more sturdy, so a piece of medium-weight chipboard was cut slightly smaller than the 4X6 size.  After adhering the chipboard to the back page, a covering was made by adding one of the 4X6 journal cards.

Now I have the perfect little girlie-girl gift on hand...with a teenaged daughter, we're always needing a last-minute gift for a friend :)

Thank you for joining us today!


Supplies

Hello all!  It's Sara here again to show off some of the new digital goods that have hit the digital store!  I have once again embraced the pocket scrapbooking and chosen one of the new SN@P! Sets - I chose to work with the digital Everyday SN@P! Set, and I put it to use on a plain old regular week in my life.  
 
 
This is my third year pocket scrapbooking.  I started using paper products and my whole first year I did with physical product.  My second year, I approached with a more hybrid style - taking digital products and printing them and assembling the little "mini layouts" in each pocket.  This year, I have decided to try my hand at digital pocket scrapbooking.  I have been scrapping traditional 12x12 size digital pages for about eight years now, and it definitely feels more natural to me.  I loved playing with paper but I honestly felt a little lost.  
 
Strangely enough, even within my comfort zone of digital scrapbooking, I have somehow already fallen way behind on my pocket album for this year.  For whatever reason, I just haven't been grabbing my camera as often or even snapping quick shots with my phone.  The 2 pages that I created to document week 3 of this year, I had barely any photos, despite the fact that it included a weekend getaway!  Luckily, this project is about much more than the photos to me, and I have done a fairly good job keeping track of the stories.  The Everyday SN@P Set worked perfectly for this - it was very colorful and with cards and sayings that were general enough to mark a regular week in the life.  I haven't felt super inspired by doing pocket pages so far this year, but having such a huge selection of colors and cards got me moving in the right direction and I am pleased with how my pages turned out!
 
 
I love to document all of our moments - trivial and important and this week definitely proves that.  I've got everything here from cancelling the diaper subscription (my youngest is finally done with them!) to my latest game addiction - Trivia Crack.  
 
 
I didn't take many pictures of our weekend hotel stay - I didn't even bring my big camera with me - but I did snap a few with my phone and when I coupled those with the stories I wanted to tell, it filled the page right up!
 
I am excited to get back in the swing of pocket scrapbooking (and maybe even get caught up eventually!).  
 
Have a great day!
Hi everyone! Rebecca Keppel here!  I'm here today to showcase the many facets of the beautiful I AM collection. In my house every family member has albums dedicated solely to them. Then there are family albums that feature photos and stories of multiple people. My kids have amassed MANY albums to themselves. Sadly, my husband and I each only have a couple of albums between us. But with the I AM collection I am beginning to fill up my album! The I AM collection can be very deep and introspective and let you document your most core beliefs and feelings. But it can also be playful. I found that you can use it to make very simple layouts as well as much more complex ones as well. Here is a simple layout.
 
 
Although I used many different pieces from the collection including Clips, patterned paper, stickers, Chipboard Frames, Enamel Dots, and more, it is a relatively simple layout featuring one thing that I am...a soccer mom :)
 
 
I love how the typed stickers fit in so well with my typed journaling. The 'going to be heard sticker' was the perfect touch since my oldest recently told me "not to cheer" lol!
 
 
The chipboard frames are fun for mini photos of course, but my favorite use for them is to house journaling or embellishments.
 
On the flip side, here is a more complicated layout showcasing many things that I am right now...
 
 
This collection makes it so simple to tell your story, to let you define yourself in your layouts and to pass on to future generations little snippets of who you were.


Each of my small circular photos represents one piece of me and the photo is explained by a sticker title like, I am...healthy.


I love the bits of gold foil in this collection and the combination of dimension and texture available with the different embellishments like the chipboard and Bradz.


I hope many of you will also start to fill your own albums using this amazing collection! 


Supplies

Hello Friends! 

It's Kristine with you today and I am here to share a pocket page spread featuring the NEW Fresh SN@P! Pack; it should be available in your Local Scrapbook Store soon!

After a very long winter and a few more weeks of patiently watching the snow melt, I decided to brighten up my February monthly spread by adding tons of bright colors! This Fresh SN@P! Pack is awesome!  Love all those bright pink, yellow, green and blue colors - it really brightens a layout!

I am still creating my album with monthly pages, I honestly don't know how long this will last but I've cut down on photos quite a bit and doing a monthly spread is easier and less time consuming but I am missing the extras, such as movies watched, weather, favorite tunes etc.  So as much as i love the monthly spread, I think i need to add more!

I mixed up my pocket page inserts once again. I do enjoy the variety and less repetition in my album.

The month of February was packed with a shopping trip with my sister, a visit with my best friend Stephanie, a trip to Las Vegas and a major snow storm on the east coast.  My months aren't usually this ' entertaining ' but it makes a spread look pretty cool ! ;-)

I've mentioned before that I enjoy creating my own journal cards. I did for this spread as well. I used a 3x4" card, a square 3x3" and the die cut ampersand (& symbol ). I did some sewing and added more die cuts!  Super cute right?  So easy! Don't be afraid to add your own details to a spread -  it makes it that much more special!

This month I also added some Photo Overlays from the I AM Collection. These are fabulous to add extras on photos. Here is one that I added to my sister's shopping photo called " LOVING LIFE"

This next photo of hubby and I has the bubble hearts included on the Photo Overlay.  This adds great little details for pictures!

Something else I'd like to show you is the multiple photos option on a 4x4" or even 4x6" photo. I do did quite often when I want to add multiple pictures but don't necessarily have the space in my pocket pages. I use www.PicMonkey.com to create a collage and it works great!  On a Side note isn't Matthew McConaughey adorable!

I often hear people say "I hate my handwriting".  That's unfortunate!   It's part of you and who you are. It's a great memory keeping tool for all your family members that will take the time to enjoy your albums.  If everything is typed - how will they know your handwriting?  Something I miss today is my grandmother's handwritten notes in birthday cards, or recipes. I remember her writing a small To Do list or even grocery list.. I'd love to have those today!  So please, use your own handwriting - even if YOU don't like it... someone else will!

I added a Photo Flip to my page this month. Hubby and I ate at this amazing restaurant in Las Vegas. It was called BLT Burger and we both had the most AWESOME burger.. seriously! I wanted to add a photo of my hubby's TEXMEX Burger but also the menu. I couldn't bring the menu with us, but I did go online and print one up in small format so I could add it to my spread. I added journaling on one side and part of the menu on the other side.

I hope you enjoyed my post today and I hope you enjoy creating with your favorite Simple Stories products!


Supplies

Click here to download the Say Cheese II SN@PBOOKING Album Guide!

Supplies

Pages