Hi Simple Stories fans! Rebecca here today to share my latest absolute favorite Simple Stories Collection - Life Documented.  Life Documented is one of those incredibly versatile collections that once you see it, you will want to use it on everything in your life - layouts, cards, SN@P albums, planners, pocket page spreads and more!  Today I am here to share 2 layouts, but believe me, I will be back soon with many more projects featuring this fabulous collection. It has everything you need in one all encompassing collection.

Seriously! Rainbows, grids, floral, hearts, arrows, stripes, ampersands. And the colors?! Navy and white, cream and wood grain as the neutrals, with pops of brights. I LOVE LOVE LOVE this collection. Of course the Bits and Pieces are always a personal favorite of mine, but new to Simple Stories for Life Documented are clips. Perfect for planners or layouts!

 The clear stickers in white or black layer well over photos or over die cuts.

 Chipboard stickers and epoxy dots are perfection in this collection.

I couldn't stop at one layout!  The large numbers on this next layout are from a 12x12 patterned paper. I mounted them on white cardstock and cut around for a large die cut piece in the middle of this layout.

Another new favorite? Bradz! They are self adhesive and you dont have to wrestle with prongs/'wings' anymore!  I used to cut the prongs/'wings' off of brads and adhere to my layouts, so having the work done already for me is awesome!

I love combining all the fun embellishments like on this die cut tag with a Bradz and chipboard sticker.

And I can't get over the cuteness of the clips, like the 'good stuff' heart below. I hope I don't use them all up on my layouts, because I want to save some for my planner!

I can't say it enough! I love every little bit and piece of this amazing collection! Happy documenting!

Hello everyone. It's Mindi here and I am so excited to be sharing a few Life Documented pages using the brand new Life Documented Scrapbook collection. This one is one of my favorites, for sure. 

Here is a look at both pages together. 

I just love these week title cards from the Week in Review card set. They are already made for you, and there is one for every week of the year! Makes it so easy to add to your pages, and fast. Talk about fast. Slide in the pocket page & done. I added a few embellishments to my title card this time.  

The Life Documented Scrapbook collection is just perfect for those every day, weekly photos. I took a Facebook post from this particular week and added it straight to my journaling card shown here. In the beginning this card was 4x6. I chopped it down to a 3x4 size and thought that it would look good with the chipboard arrows. 

Here is another 4x6 card that I wanted to use. I left it 4x6 and added my photo to the blank space to the left. To add some embellishments I added the white clear photo stars as sort of a border on top of the saying. 

On the right side of my pocket page I wanted to add a bigger photo to my spread. I chose this photo of my son pretending he was trying out for American Ninja Warrior. He has been climbing every door way in the house lately. I cropped it to be 6x8 and cut it up to fit into the slots. It worked out great. I finished it off by adding a journaling block to the empty space in the photo. 

I just love this number diecut!! Don't you ?  It went perfectly with the theme on the right side of my spread. I added it to the empty space on one of the 4x6 cards. Adding some personal touches with lots of fun embellishments finished it off. 

One more close up of a journaling card and a photo. My son just started Kindergarten and we have been practicing counting a lot. 

I hope you have enjoyed this Life Documented Post today. I hope I've inspired you to get those everyday moments documented!! 

Hello – this is Amber, Creative Director & founder of Simple Stories. The big day is finally here!  Yesterday we shared a fun video of our new Life Documented Planner collection and today we’re so excited to reveal the entire new program and products!

This entire 'planner' program has been a long time in the making…from the minute I held the first sample of our 6x8 faux leather albums, I was in love and couldn’t wait to develop a day planner system to compliment these beautiful albums.  I've always been a day planner junkie and every year I search for the perfect planner for my personal use.  After spending lot’s of $$ on many different planners and sizes over the years, I’ve never been truly happy with the final results- even with some of the big names and trendy designs.  Whether it’s too generic, too detailed, too small, too big, too restrictive, too complicated, too limited – nothing seemed to fit my life.

For me, the perfect planner had to be big enough and with just enough space needed for day-to-day planning.  I didn’t want it to be limited to an 'off-the-shelf', 'one-size-fits-all' planner; I wanted options to personalize my album, but not so many options that it became complicated or overwhelming.  It had to offer complete functionality and choices - from full size daily inserts, to weekly pages and monthly calendars, to notes, lists, journals and menus - however I chose to plan my life.  Of course, it had to be fun and bright with just enough creativity to keep me excited about planning my day-to-day life.  And last of all, I wanted something that covered all the facets of my life from work, business, home, family, personal and even my memory keeping hobby.

To say I’m excited about our new Life Documented Planner collection is an understatement – I am absolutely thrilled to share this entire system with you….and this snappy new way to plan your life! 

The Life Documented Planner products are designed to fit in our 6x8 faux leather binders.   Available in a variety of colors, these binders feature high quality construction (so important in a day planner!), top notch faux leather, 2 interlocking D rings, stylish contrast stitching, metal corner accents, a decorative metal spine bookplate and 10 pocket pages.

Your life is unique, shouldn't your planner be?!  We thought so, so everything in the Life Documented Planner collection is a la carte - meaning you decide the specific products you want to include in your planner to make it unique for organizing your life!

Monthly Dividers - Includes {27} Double-Sided 6x8 Cardstock Divider Pages - monthly tabbed calendar pages, month in review & designer pages, and bonus planner pages (including a fold out year-at-a-glance planner).  The months are non-dated, giving you the option of when to start your 'year'! 

Weekly Planner Inserts - Includes {26} 6x8 double sided weekly planner insert pages, for 52 weeks.

Daily Planner Inserts - Includes {156} 6x8 double sided daily planner insert pages, for 365 days.

Basic Planner Inserts - Includes {36} 6x8 double sided basic planner insert pages, 6 each of 6 designs.

Basic Dividers - Includes {6} 6x8 Tabbed Cardstock Divider inserts. 

Life Documented Planning Inserts - Includes {26} 6x8 double sided Life Documented insert pages, for 26 weeks.  Perfect for planning your weekly pocket page spreads!

Plastic Bookmarks - includes {3} 6x8 easy insert, transparent plastic bookmarks

Washi Paper Tape - includes {24} 3x4 sheets, 2 each of 12 designs.

Clips - includes {16} plastic clips

Sticky Notes - includes {10} sticky notes each of {10} different designs

Stickers - Includes {8} 4x6 sticker sheets, available in 3 designs - Letters, Numbers & Calendar

Envelopes & Pockets - Includes {1} 6x8 envelope and {2} 6x8 pockets, perfect for adding memorabilia, photos, receipts & more to your planner!

Pouch - semi-transparent 6x8 zipper pouch, perfect for storing your Life Documented products in your planner

So there you have it - the Life Documented Planner collection!  These products begin shipping to retailers next month, so it won't be long before you can get your hot little hands on them!

How about a chance to win a LIfe Documented Planner prize pack before you can buy it?!!  You have 2 chances to win!  

First, simply enter via the Rafflecopter widget below -

a Rafflecopter giveaway

Second - PIN TO WIN!  Just pin your favorite(s) of the Life Documented Planner images in this post, name your pin Simple Stories Life Documented Planner, then leave us a comment on this blog post telling us that we've been pinned and include your Pinterest user name.

That's 2 chances to win a Life Documented Planner goodie box before you can buy it!  And because we're feeling extra generous, how about a 3rd chance?!  We'll be doing giveaways on Instagram as well throughout the week, so follow us at  simplestories_  for a 3rd chance to win! 

We'll announce all of the winners throughout the week in one giant celebratory post here on Sunday the 9th so make sure to check back then to see if you're one of the lucky winners!

Good luck - we can't wait to hear what you think about the Life Documented Planner collection!

And remember, today is only Day 2 of 5 fun filled days, so meet us back here tomorrow morning for Day 3 for the reveal of the Life Documented Scrapbook collection!

Hi everyone! Allison Davis here with a Life Documented layout using the Seasons SN@P! Set and I've got a new sketch to share with you that mixes the SN@P! Pocket Pages with traditional scrapbooking.

You can download the full sketch with measurements and placements here.

The left side of the sketch features a more traditional design while the right side uses the SN@P! Pocket Page, Design 6. Here is my layout based on the sketch:

Being the mother of boys it's not often that I get to use girly colors so I jump at the chance to use them when I can. When my oldest son, Drew, turned 9-years-old his best friend got him a purple princess tiara. It was kind of their own little inside joke that had been going on for the last year. The best part was watching all of these little boys at the party fight over wearing the tiara. They all do martial arts together and usually worry more about being tough, but there they were dancing around the room in a purple tiara! It was hilarious!

I used the backside of six 3x4" cards to create a colorful background and then added some stitching to the edges of the cards.

With all of the bold colors and patterns, I kept my title simple and clean with a small arrow and heart embellishment.

I went the simple route on the other embellishments on the left page as well.

For the right page I used a combination of cards and photos with the SN@P! Pocket Page, Design 6.

I used the 3x4" card to help embellish an large amount of empty space in the photo. I thought it was funny to have one of the pictures of Drew laughing really hard right next to the "It's a Happy Day" card.

I love adding my own touches to the SN@P! cards, usually in the form of stitching. On the camera card I added a stitched circle and a circle sticker to the lens.

I added a photo to the "Best Day Ever" frame, added some stitching around the heart, and then finished the look with some word stickers and an arrow.

I took advantage of the open space of the "today" card to showcase some of my favorite pictures of Drew laughing.

I'm using the 12x12 SN@P! faux leather album in black for all of my Life Documented layouts. I love the quality of the faux leather and the pretty accent stitching! I also used the 12x12 SN@P! Pocket Pages, Design 6 from the Variety Pack. I love how many great designs and options you get with the Variety Pack.

Hello Simple Stories fans!!  Its Cari & I'm excited to share with you today this fun little project - perfect for those little trick or treaters or to just use as decoration.

I used the Frankie and Friends collection - such a fun release!

I love using my Silhouette Cameo so I decided to create some little treat boxes using the new collection.  The colours and designs are adorable and so perfect for Halloween.  When I saw these fabulous Frankie and Friends cut files in the Silhouette online store, I knew that I wanted to use them right away (you can find them here).  So I grabbed some patterned papers and began cutting out the shapes.

I created the Mummy box using "October 31st" patterned paper. I then cut the mummy face from "The Great Pumpkin" paper and some black card stock .   I added a few die cuts as well.

The witch box is so fun with her purple hair!!. I used "Spooktacular" paper for her hair, "Trick or Treat" for the box and added a Enamel Dot on her hat as well as some die cuts.

The pumpkin box was so simple to put together as it didn't have as many cut elements to adhere.    I used "Spooktacular" for the box, "The Great Pumpkin" for the pumpkin shape and finished with the 'sign post' die cut.

And lastly is little Frankenstein.  This is my youngest child's favourite because he wants to dress up as Frankie for Halloween this year.  I created this one entirely from patterned papers ("Happy Haunting", "Trick or Treat", and "Monster Mash") from the collection and only used a bit of black card stock for the hair. 

Now I just need to fill them up with some goodies!!

Thanks for stopping by!  

Happy Halloween!!

Supplies

Hello Simple Stories fans! Happy Halloween! In preparation for tomorrow's costumed, candy-crazed celebration, I created a couple of spook-tacular cards to share with you using the adorable Frankie and Friends collection.

First up is "Where's the Candy?" I built this card around a piece cut from the 4x6 Horizontal Elements paper. I worked my embellishments around the pre-printed design, adding in stickers, chipboard, a die cut and plenty of enamel dots.

Next up is "Halloween Favorites". This card is designed around a vertical journaling card from the 3x4 & 4x6 Elements paper. I used the same embellishments as I used on the first card, but achieved a completely different look. I layered two pieces of chipboard to give the card additional depth. I wanted to add die cut and arrow stickers to the card, but they all had sentiments at the end and an angled design and didn't fit in the spaces where I wanted to use them. What did I do? I trimmed away the portion I didn't want, and ended up with the straight arrows you see here.

I hope you enjoyed seeing these fun Frankie and Friends cards. If you happen to see Frankie or any of his friends out trick-or-treating, please be sure to tell them I said hello. Have a fun and safe Halloween!

Hi Everyone, it's Marie here to show you a Life Documented spread using Frankie and Friends.

_HOL9601


As a mother of a teenage girl I miss the days of trick or treating.  For the past few years my daughter has been having a Halloween Party at our house with her friends instead.  I was so excited to see the new Frankie and Friends papers because they were the perfect way to document this new tradition.
_HOL9586

I naturally had to choose the 4x6 card which says "Let's Party."   I added lots of enamel dots to give it some added punch.
 
_HOL9627


_HOL9624

My favorite embellishment might be the ribbon button that says "#1 Boo Crew," which fits right in with a picture of the girls all together in their costumes.

  _HOL9591

The right-hand page shows a photo of the gift bags and some of our spooky decor.
 
_HOL9606

Whether this year you are taking little ones trick or treating, going to a party, or just relaxing at home, I hope you have a very fun Halloween!

Supplies

Hi there!  Sue here today to share with you a 2 page spread I created using the Frankie and Friends collection!

One of the things I love the most about this collection is that it not only works well for little kids, but is mature enough to work for tweens and teens as well.

One of my favorite ways to incorporate pocket pages into my scrapbooking is just what I did here - combine and traditional 12x12 layout on the left side of my spread with a pocket page layout on the right side.  Adding the pocket page lets me quickly and easily add additional photos without taking a lot of time.  It's the best of both worlds!

Happy Halloween!

Supplies

Hello, friends! Kim Kesti here sharing a quick set of cards perfect to give as a set, or to attach to a fun Halloween treat. Of course, I am using the whimsical and adorable Frankie and Friends collection.

First, I cut six cards from one sheet of 12 X 12 cardstock (bonus!); each card measures 4” X 6” before folding. Next, I trimmed one sheet of the 3x4 Elements patterned paper, this actually gives me 12 choices of paper for my card fronts (go ahead, make six more)!

Here are my six finished cards. I embellished the patterned paper with Chipboard Stickers, Decorative Brads and Bits and Pieces all from the Frankie and Friends collection. Did you notice the little hole punched in the upper left corners?

This is so I can hook them all together with a library ring. This set is going to be a little gift for a friend.

And, since gifts just cry out to be prettied up…

I quickly added another piece of Frankie and Friends patterned paper to a gift bag. So quick, easy and adorable!

Are you all ready for Halloween?

Hello, Simple Stories fans! Teri here today, and I'm here with another Life Documented project. I'm excited to share with you a couple pages made with the Seasons SN@P! Set.  

One of my memory keeping goals right now is to get some of the old pictures I've not put into my scrapbooks in the books. I've sadly let a lot of photos just pile up and slowly some of the memories have started slipping away.

A couple years back, I went on a Halloween weekend adventure with my friends, hitting a couple local pumpkin patches. Sure, we are all well beyond the Trick or Treating stage, but we sure had a great time exploring the patches and hunting for the perfect pumpkin.

Because of the time of year these adventures happened, I wanted my pages to be rich with Halloween icons. So I used anything spooky or Fall'ish I could find in the Seasons SN@P! set. Spiders, pumpkins, leaves... they all have a place on these pages!

One of the things I just love about Simple Stories' SN@P! Sets is you get a bunch of fun elements that you can use as they come.  But you can also spice them up with embellishments to make them a little more personal.  I think this spider square is just so cute! To add to his cuteness, I stitched a little floss through the card and tied a little bitty bow.

I added a little floss on the Fall Square too. I also added a few enamel dots. I think little touches like that just make pages seem a little more personal.

This die-cut owl (from SN@P! Seasons Squares & Pieces) is probably my favorite element on the page! I added the twine bow and the buttons, which are actually enamel dots. 

I kept on with my theme of customizing the SN@P! Set elements on the right page.

I especially like the card in the right corner. I adhered the leaf die-cuts to a circle and then stitched floss through them. I just love that look. 

Let's talk albums for a minute. These pages are going in my 12x12 SN@P! faux leather album in teal. I frequently scrapbook out of order so I really appreciate that the album's ring binding allows me to do that. I used the SN@P! Pocket Pages Design 6 and 10 for these pages. It's so nice that Simple Stories has so many different styles of Pocket Pages. I realy like not having to commit to the same style of pages all the time.

See you again soon!

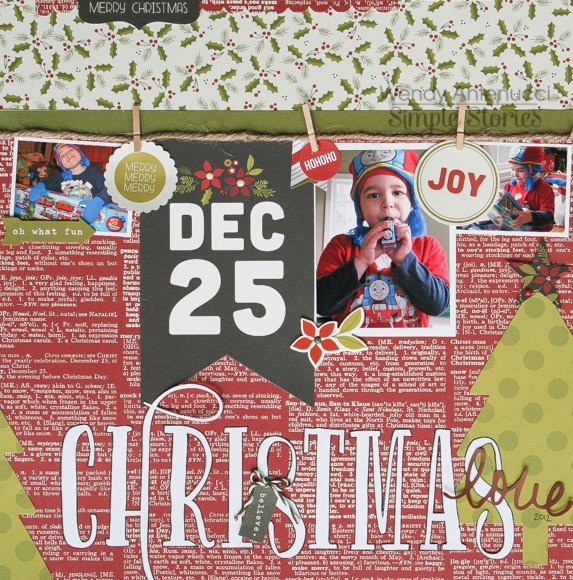
Today I am here sharing two layouts I created using some of the DIY Christmas products that were meant for 'off the page'.  I love to use things in different ways and I don't mind pulling paper/embellishments, etc... from anywhere as long as it supports my story.

My first layout, Christmas Love was based on the banner pieces from the Bunting Banner Kit.  I loved the big chalkboard Dec 25th tag and the large tree and used them to build my layout because they told the story of my son's Christmas Day.  

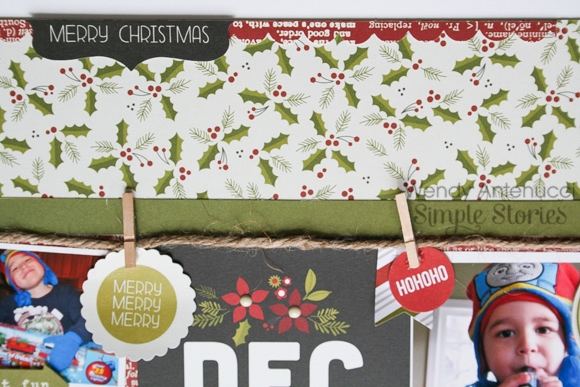
I used the mini clothespins and twine that are included in the Bunting Banner Kit to "hang" pictures of my son's Christmas on the line, like a stocking might be hung from a mantle.  I chose to split the Christmas tree onto the bottom of both sides of my page to add interest to my page.  

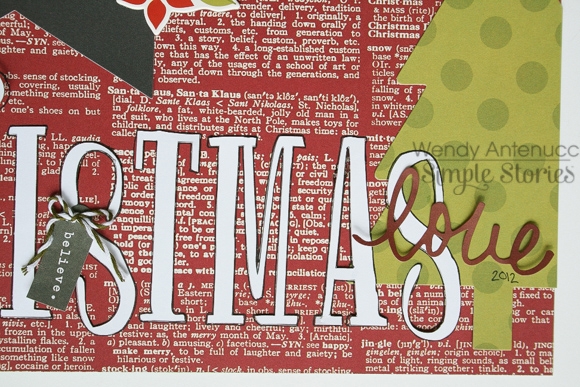
I 'fussy cut' the word Christmas from the 'B' side of the Festive paper, then outlined the letters to make them stand out on my red background paper.  I added a little tag on the word as my pen slipped and marked my letter, oops!

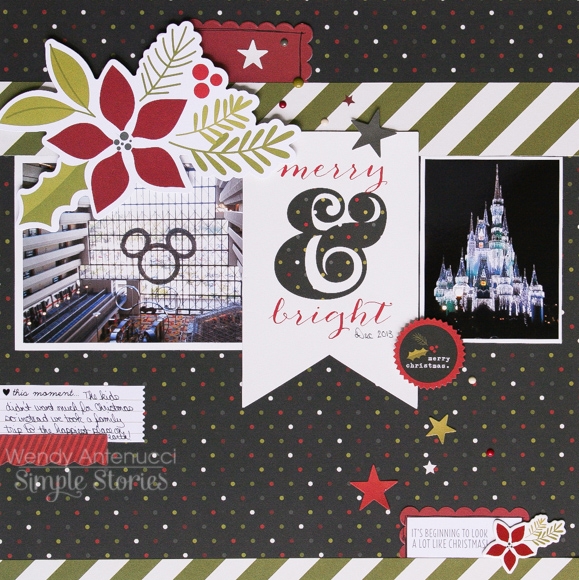
My next layout, Merry & Bright, used a similar design of hanging things and it again focused on the banner pieces from the Bunting Banner Kit; the poinsetta and the Merry & Bright tag which I used as my title. 

I chose my background to match the lights on Cinderella's Castle at Walt Disney World.  

Pops of red were used to guide your eyes through the layout hitting on all the main points of my layout (picture, title, sentiment, and journaling).  Did you notice the envelope wraps work amazingly well for journaling spots too?

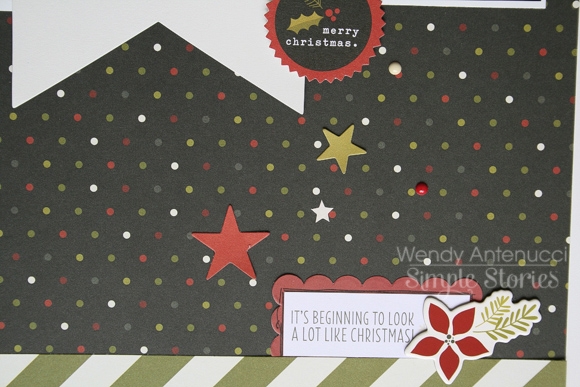
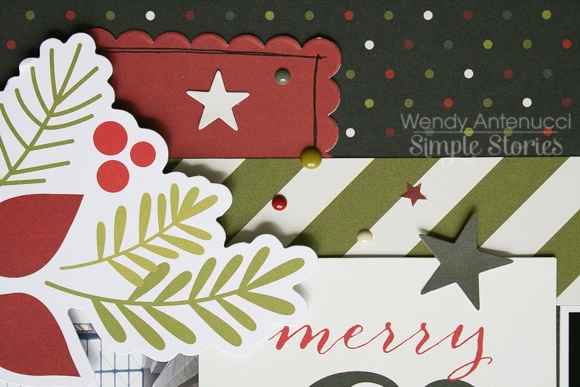
Sprinkles of enamel dots and stars continued the theme of twinkling lights thus furthering my design.

What fun items can you repurpose to fit your scrapping story?

Supplies

Hi there!  It's Emily.  I always have trouble crafting holiday projects  AFTER the holiday is over. More than likely, I won't scrap my Halloween photos until this time next year. There's something about being in the mood. Christmas in July is never my thing, Christmas in December is. Same goes with Halloween. I am usually left with piles of last year's Halloween paper and it gets stored away and often unused the next year. Not this go around! Simple Stories has done it yet again with an amazing line. The "Frankie & Friends" collection is just the right amount of paper and embellishments to scrapbook those photos that I have from last year and still have enough to make a few more Halloween crafts for this year. 

In this layout, I used a photo of my daughter and I from last year. I think she made an awful cute Bat girl! I don't take a lot of photos, but I know that I will be able to use every last piece of this kit because it's so stinkin' cute!

I take cutesy photos of my daughter so the eerie Halloween stuff isn't really my thing, so collection is perfect! 

Thanks for stopping by today & have a Happy Halloween! 

Supplies

Hello!  Shellye along with a "Thankful" Mini Album/ Journal using the beautiful "Sweater Weather" Collection and a pumpkin shaped die.  My inspiration for this type of album/journal derives from the "thankful" posts that I've witnessed on Facebook!

After die-cutting the cover pages from heavy chipboard, I dressed them in patterned paper and then distressed around the edges with a walnut ink pad.   

I matted the journal card and added some machine stitching for an extra-homespun feel.  Before attaching to the front of the album, I added the cute brad banner embellishment.  

The inside of the album can be made up of patterned papers cut to size, journal cards, pockets, etc.  

The pockets and tags were constructed from the Kraft A2 Card Bases & Envelopes.  The envelopes were trimmed down to a height of 3.75", leaving the width as is.  The cards were cut in half along the crease and then to a width of 5.25".  I also added punched tabs to the top of each tag.  

I used a ruler and fine tip black pen to add lines to the backs of the envelopes...great spot for extra journaling!  

 You may chose not to add bulky embellishments to the journal cards if you're planning on adding photos to that area.  On the pocket page fronts, I only embellished the top or bottom corner so that there is plenty of room for small pictures.  


When planning the page's embellishments, keep in mind how the opposite page will lay against it.  A bulky embellishment placed against a page with a bow may cause damage to the more delicate piece.


Get input from family members and let them each have a tag to write what they are thankful for or their favorite Fall memory!  

 Keep it simple by allowing the beautiful artwork of Simple Stories do the work!  

Add even more pages if you plan on keeping a "12 Days of Thanks" or a "November Gratitude Journal"...you may even wish to adapt this idea to a SN@P! Binder...what fun!

Thanks for joining me today at Simple Stories!

Supplies

Hello there! Donna here today, and I have a few simple fall cards to share with you. This is my absolute favorite time of year, but it is the busiest too! With all the extra activities going on, I tend not to scrapbook much during this season. So this year I wanted to keep the creative fires burning by making a few cards. The first two feature Simple Stories’ Halloween collection, Frankie and Friends.

Isn’t that little witch cute!? The die-cuts, brads, and chipboard stickers are all so adorable, as are all the papers. The witch featured on this card can be found on the stickers that are part of the collection. They are a combination of letters and shapes on a single 12x12 sheet and include a lot of great options for layouts, Life Documented pages, and cards.

Frankie is pretty cute too:

The speech bubble that I used as the greeting was cut from the Happy Haunting paper. This collection features so many great patterns and colors and I had a lot of fun creating with all the different elements!

Truth is I love all of the fall collections released by Simple Stories. Sweater Weather is the obvious one, but Legacy has a very fall-friendly palette too. The next two cards feature papers from the Legacy 6x6 pad and the Simple Basics Kit.

I used my Silhouette Cameo to cut out the tree above. It is part of the collection of shapes from Simple Stories and can be found through the Silhouette Design Store, here.

In the spirit of keeping things simple, the next card uses a very similar design but I made a few small changes and came up with this:

The pop of blue in Legacy offsets the yellows, browns, and reds of that collection so beautifully. And as always, all of the collections coordinate well with one another. The sentiments on both of these cards actually come from the Sweater Weather Bits & Pieces.

Thanks for stopping by, and happy fall to all of you!

Supplies

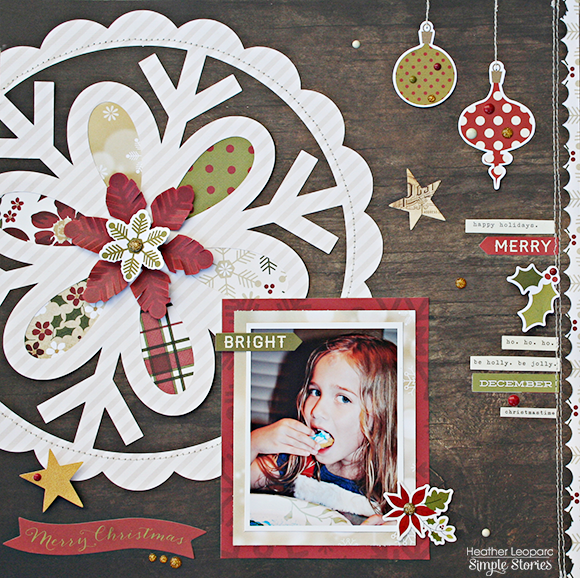
Hi everyone. Heather here with you today.  I know it isn't even Halloween yet but who can resist this gorgeous Cozy Christmas collection? I just had to dig in...

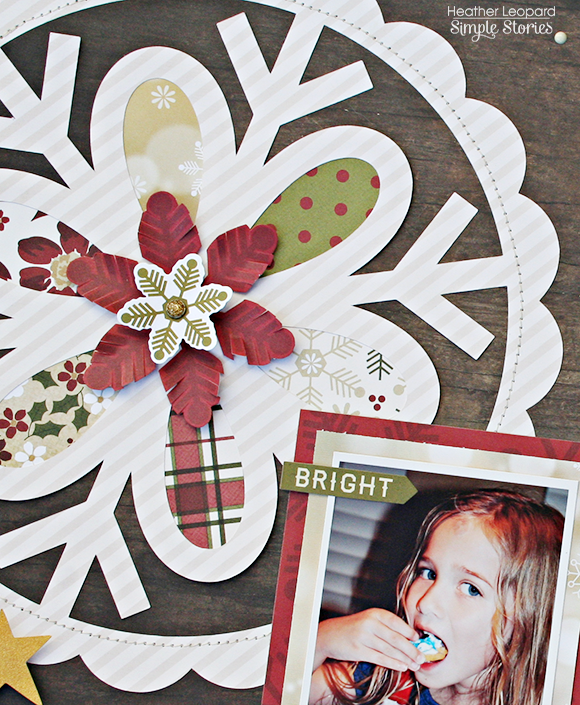
Y'all know I like mixing my patterns up so when I saw this snowflake file while perusing through the online store, I just knew I had to supersize it as use it as a focal point for my photo.

How to:

  • Cut a large snowflake approximately 10" in diameter.  
  • Adhere coordinating pattern paper behind the cuts.
  • Adhere to the background paper, so that it hangs off the edge and covers 7 - 8" of the paper.
  • Fussy cut a flower from the Happy Holidays paper and adhere to the center of the snowflake. Add a small die cut and brad in the center.
  • Add your photo with frames in the bottom right of the snowflake.
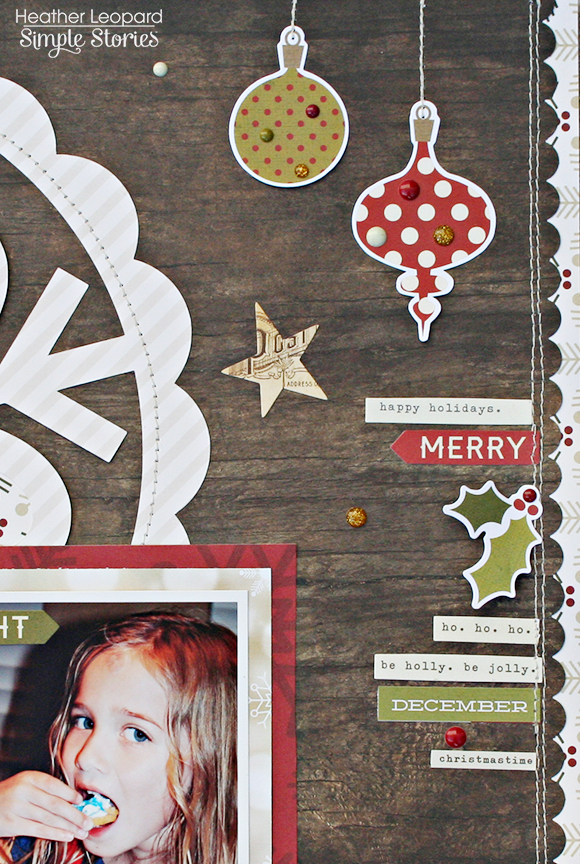
  • Punch the right side of the background paper with a scalloped edge. 
  • Add ornaments, sentiments and other embellishments, flush against the scalloped edge
  • Stitch a coordinating paper behind the scalloped edge so that you stitch over the sentiments.
  • Add additional embellishments to your liking.

Supplies

Hello Friends! 

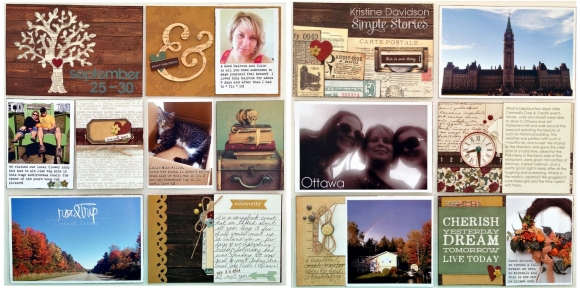
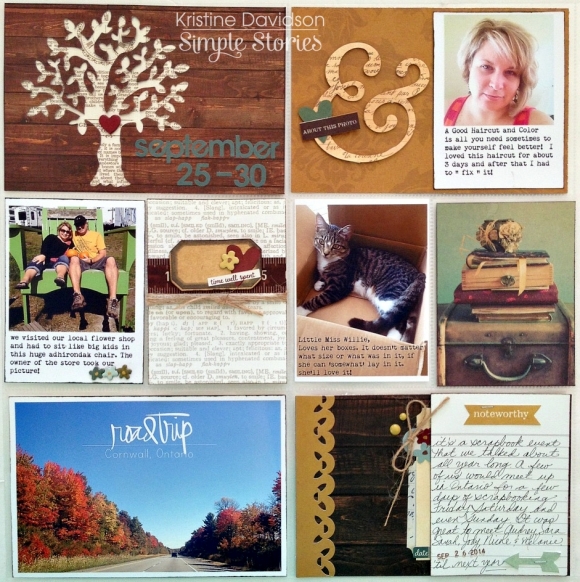
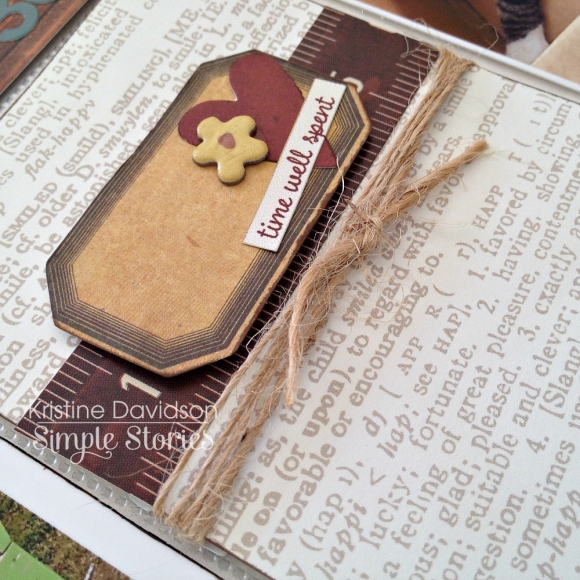
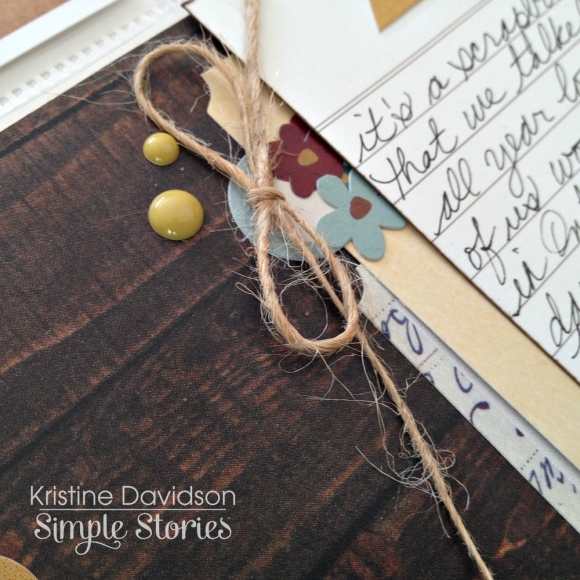
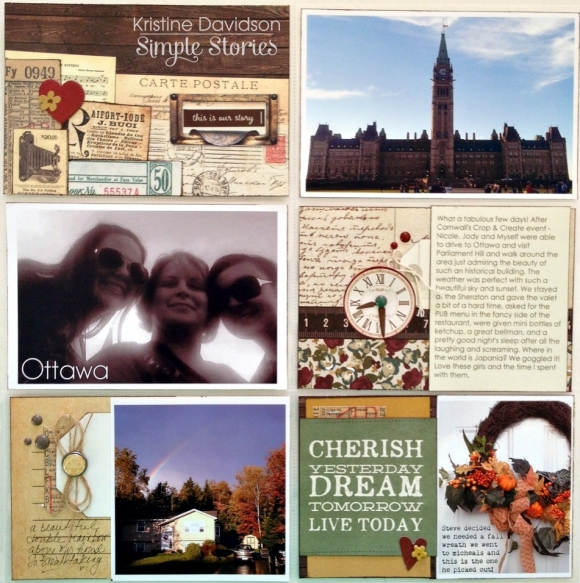
It's Kristine Davidson with you today and I am here to share a Life Documented spread featuring Legacy!  

When you first look at the Legacy Collection you might see papers that are great for those antique photos or black and white. I can prove to you that it's not only for those antique photos but for any day to day photos as well. Mixing older looking papers and new pictures isn't as hard or awkward as it might seem!

As you can see I added lots of  color and modern photos with the "antique" looking papers and I personally think it goes quite well together.

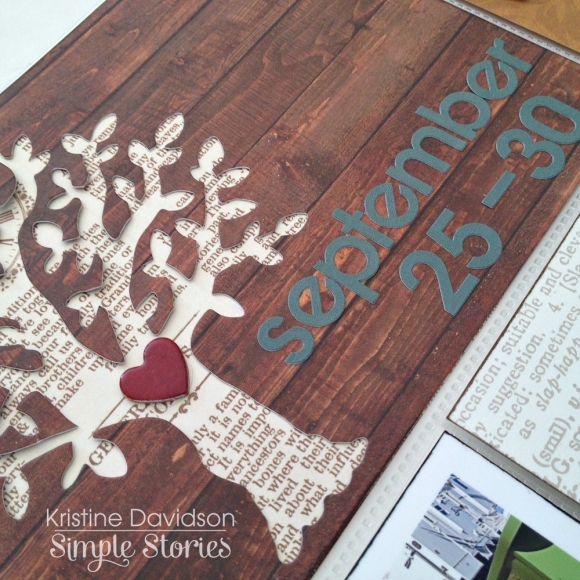
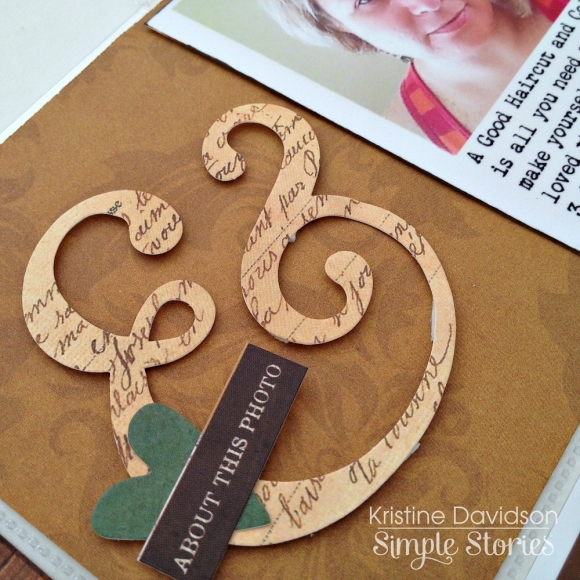
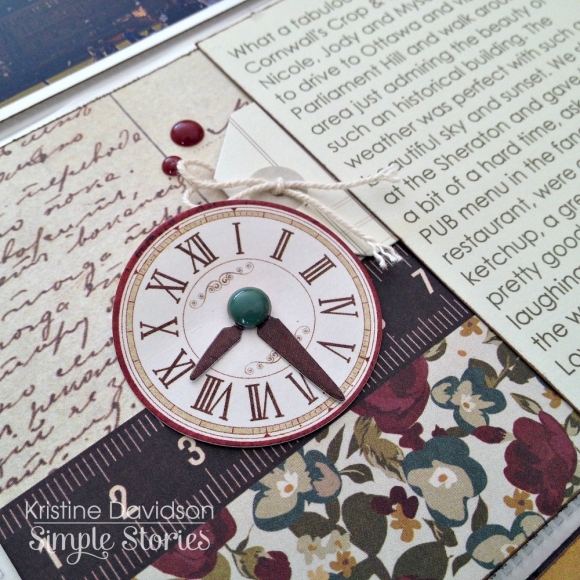
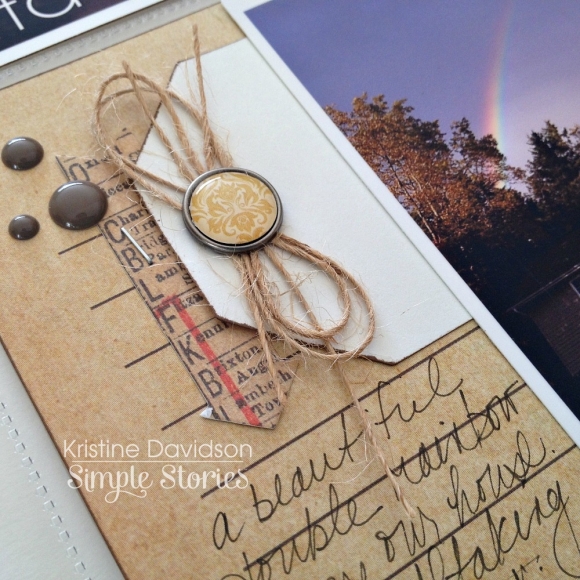
Here are a few close up photos of the Left Side of my Life Documented page.

The Right side of my spread includes a black and white photo and the others all have colors.

So keep that in mind when shopping for products. Just because it looks antique doesn't mean it has to be!

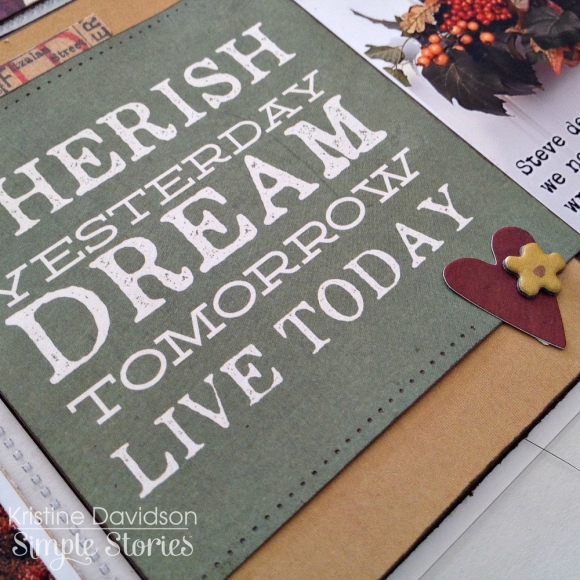
Here are a few close up photos of the Right Side of my Life Documented page.

I hope you enjoyed my Life Documented post today and I hope you enjoy creating with your Simple Stories Legacy Collection!

Hi, Angella with you today creating with the new DIY Christmas advent countdown, perfect for a gift or something fun for home décor.

I love the fresh crispness of the range and how versatile the range is for all types of holiday season.

Here in Aussie land we have a such a hot summer Christmas, while other parts of the world are covered in glorious snow!

So I began with a white chipboard triangle for the tree, mounted onto a straw threaded through a cotton spool for the base.

I attached two DIY clothespins so I can change my day countdown, using the DIY Christmas Advent Bits & Pieces for my countdown numbers.

I have to make special mention!  I am so in love with the Clear photo stickers, they are a must to have this christmas!

Thanks for joining me, have a great day!

Hi everyone! Nancy here with a couple of Simple Stories projects that I’ve been working on. With Halloween season in full gear, I was looking forward to creating with the whimsical Frankie and Friends collection. The first icon that caught my eye was the green jar of googly eyes and that piece was the jumpstart for this layout design:

I lined up all of the text, photo, and chipboard on the right side of the page to create a clean, linear design.

The border of half circles mimics the eyeball jar and repeats that shape.

A few splatters of mist, a few swishes of watercolor paint and some real googly eyes add special little details that keep this page from being anything but flat!

I also used the new Say Cheese SN@P! Set to create this quick and simple layout.

Here I centered all of the elements (just about) and framed the most important part – the photos!

The page title is sewn down the center to add texture and ‘underline’ the word Magic.

Some splatters of mist and layers of die cut add a pop of color and texture to the top of the page. Lining up photos and centering all of the embellishments is a quick and easy way to create a bold page!

Supplies

Pages