Hi everyone! Allison here with a Life Documented layout using the Under the Stars collection. I've also got another sketch that combines traditional scrapbooking with the SN@P! Pocket Pages.

You can download the full sketch with measurements and placements here.
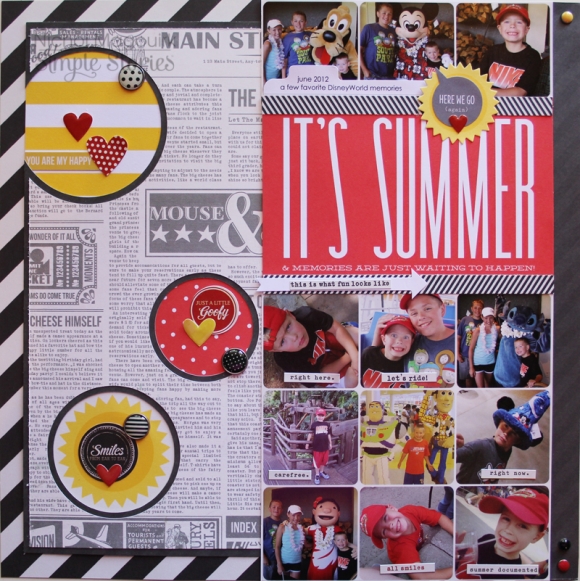
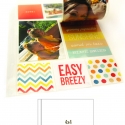
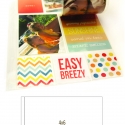
The left side of the sketch is a traditional style of scrapbook layout while the right page uses photos and cards with the SN@P! Pocket Page, Design 10.
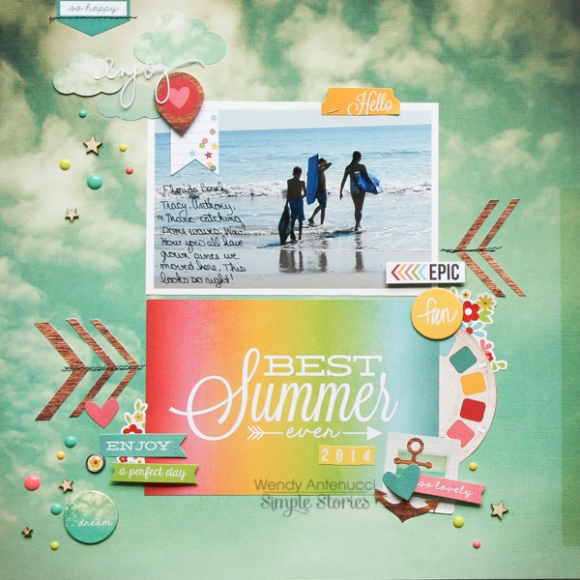
Here is my layout based on the sketch:

About three weeks ago I went on one crazy road trip! There was one RV, four adults, two teenagers, a nine-year-old, a six-year-old, and we traveled over 4,000 miles through eight different states. I said at the beginning that it was going to be either a complete disaster or the best road trip ever. It ended up being a little bit of both but it was, without a doubt, an adventure that I'll never forget.
I first saw the Under the Stars collection about the same time that we started planning our road trip. I knew, even before I had snapped a single photo, that this would be the collection I wanted to use!

Before we took off on our road trip adventure, I requested that we all line up in front of the RV and take a group selfie. This was the beginning of documenting almost everything we did along the road. It ended up being so much fun trying to come up with different ways to do these pictures at all the different places we visited. I couldn't wait to get all of these pictures together and make a layout with them!
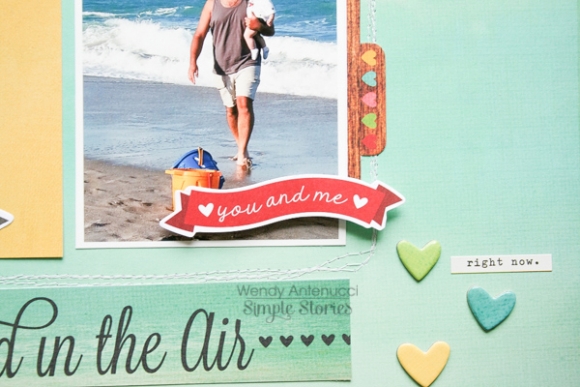
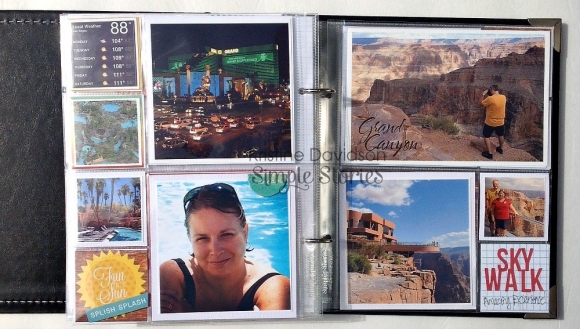
With this sketch, the simple design on the left page was ideal for these photos. The photos have so much going on in them with eight people and the scenery so I didn't want it to be overwhelming with too much going on around the photos.

I numbered each photo and added a short description of the location of where the photo was taken.

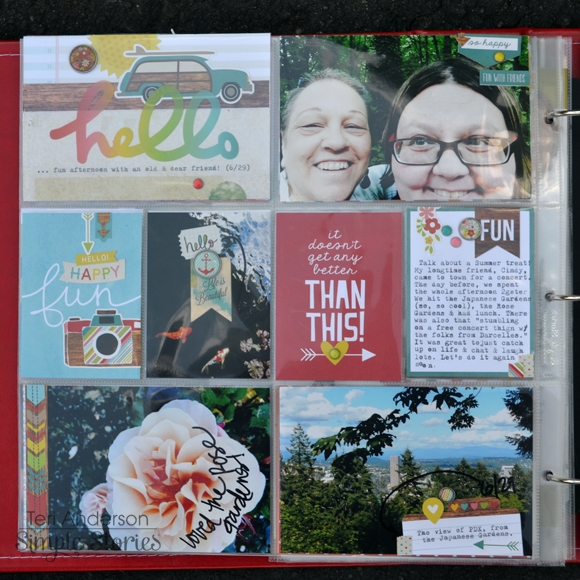
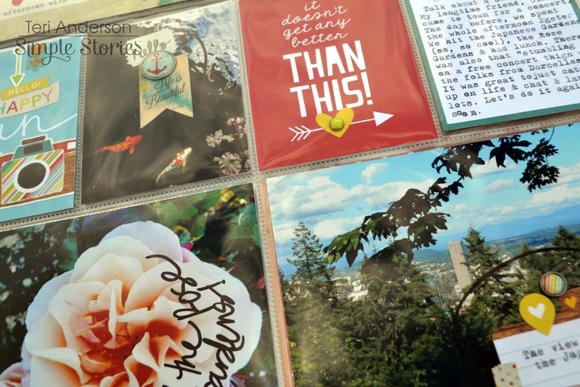
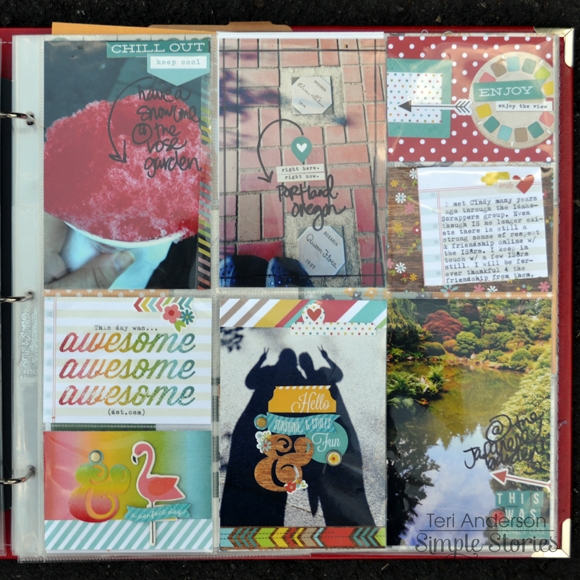
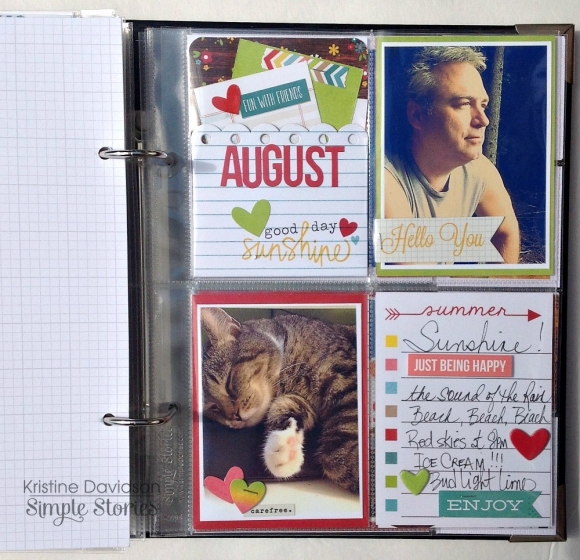
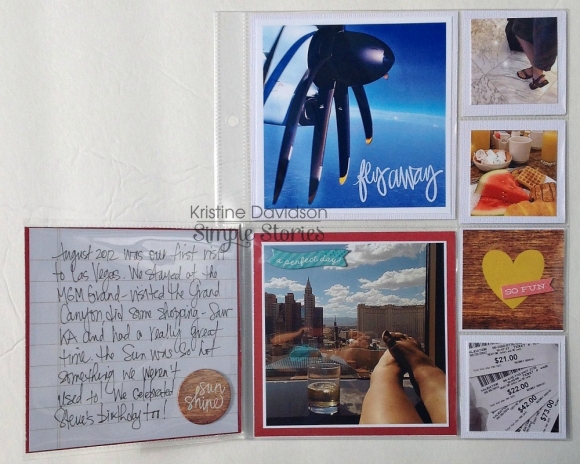
For the right page I used a combination of cards and photos with the SN@P! Pocket Page, Design 10. I use this Pocket Page design often for my Instagram photos! I used each square pocket with a photo.


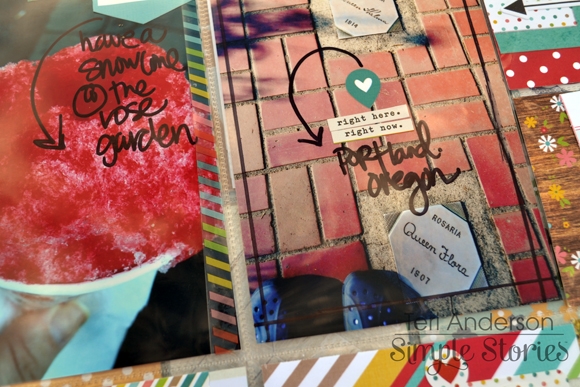
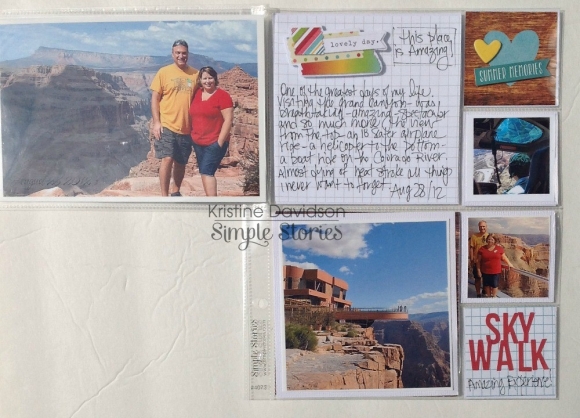
I did the same labeling for the photos as I did on the left page with the numbers and location on each photo.


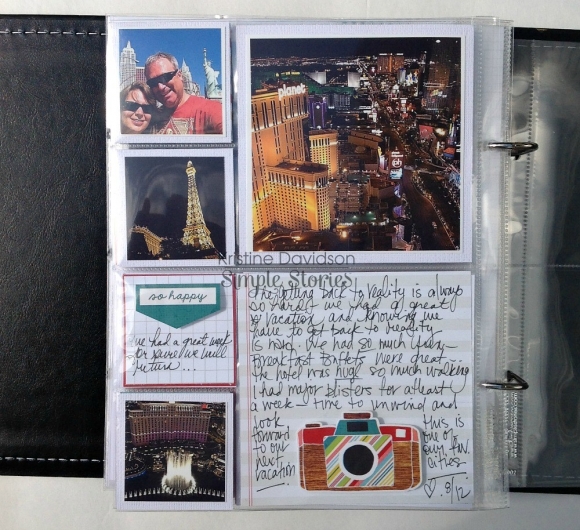
We spent the last few hours of our trip planning out our final group selfie, back at home at our starting point. We all look so happy and excited in our first photo and we thought it would be funny to do the opposite on our return. Everyone is fighting and going crazy! I'm sure our neighbors thought we were insane! It ended up being a fun photo and a goofy end to our adventure!
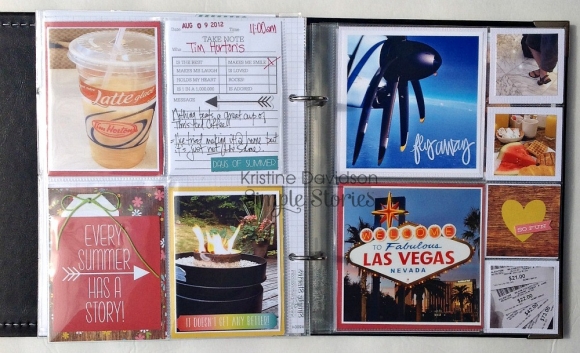
I used 3x4 cards in each of the 3x4 pockets and accented them with photos and embellishments.

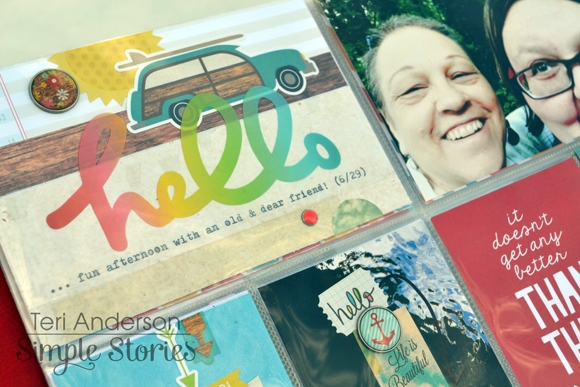
A lot of times I like use smaller photos on the 3x4 cards. It's a fun way to add in some detail photos of an event and in this case a photo of our RV.

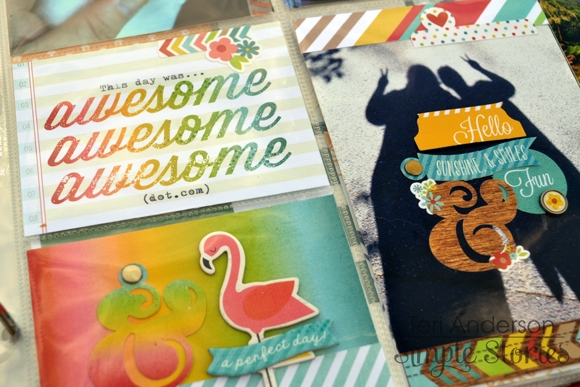
The cute little camper is exactly why I couldn't wait to use this collection with these photos! I add the "hello adventure" sticker to the card.

This piece was actually cut down from a 4x6 card. I added the photos and a few tree stickers to finish it.
I'm using the 12x12 SN@P! faux leather album in black for all of my Life Documented layouts. I love the beautiful construction and details! I also used the 12 x 12 SN@P! Pocket Pages, Design 10 from the Variety Pack. I often use different styles of Pocket Pages and since the Variety Pack has so many great options and designs, I have a lot to choose from!