Hi, it’s Cara here today with your regular dose of traveler’s notebook fun! And what fun it is today! The new TN inserts arrived at my door and I just couldn’t wait to test them out.
I have covered a few of the inserts with the Dream Big collection and set up my Cream Dot Traveler’s Notebook with that collection as well. You can see that process in my YouTube video.
Today, however, I’ve used the AMAZING Lil' Dude collection. I have 5 sons and so this line really makes me giddy. I’m in trouble though because my dinosaur loving 5 year old discovered my stickers yesterday. I need to hide them a bit better, don’t worry, I’ll share my stickers with him… just not very many ;)
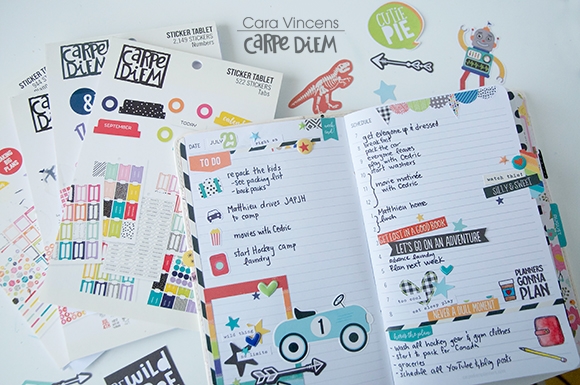
I scattered in some stickers from those fab Sticker tablets. I’m so in love with these tablets, they are so versatile and there are so many colours.
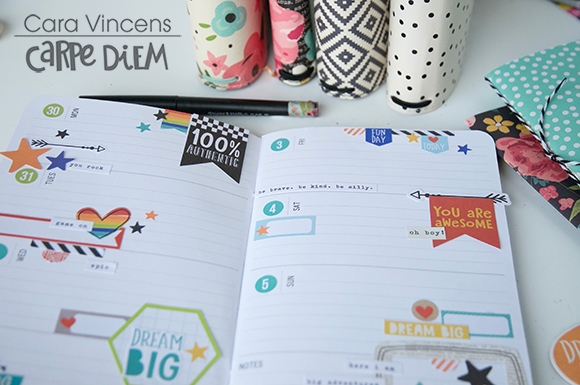
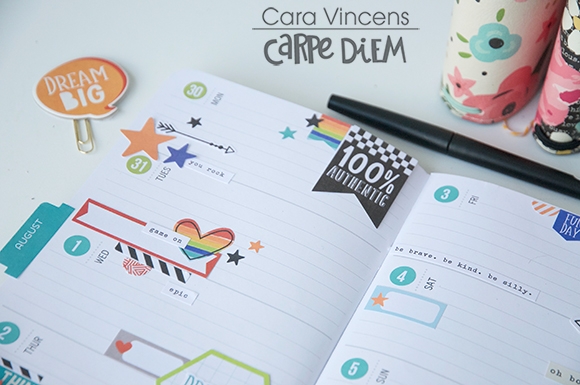
For the monthly spread, I went minimal. I used a few of the square stickers from the 4x6 sticker pack to fill in the extra squares at the beginning and end of the month.
I layered other stickers from the collection and mixed up flag numbers from the numbers sticker tablet, using colours that matched the Lil Dude colours.
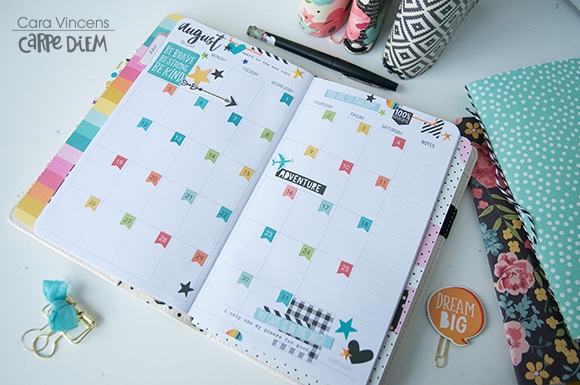
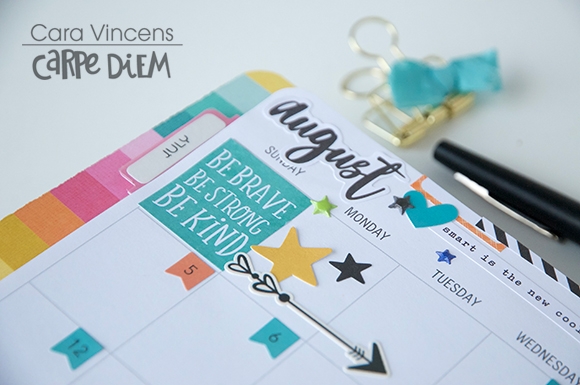
I took the scripty ‘August’ sticker from the Seasons Tablet and simply covered up the plain August that was there. I layered a few stickers along the top for a border and that was it! I was able to keep this spread pretty minimal.
Next up is the weekly! Again, I used numbers from the Numbers tablet and since this week spans July and August I chose different colours for each month. That is the only thing that I used that wasn’t in the Lil' Dude collection.

I only used one really boy-ish image, the dino skeleton. The collection is FULL of versatile stickers and die cuts. It may look like there are only robots and dinos at first glance, but as you can see from my spread there are tonnes of things you can use in your planner without it looking masculine at all!
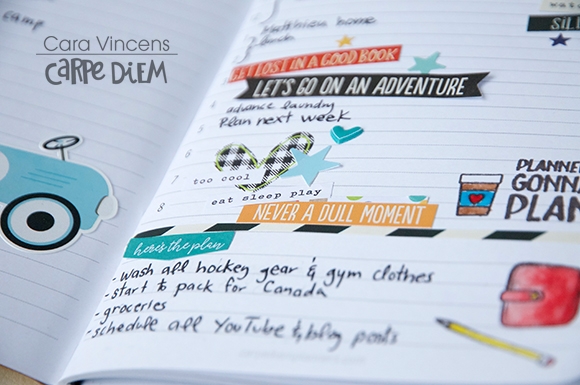
Lots of layers here again, because they are my favourite! Layers are a great thing to try if you feel like yours stickers tend to float around on your planner spreads.
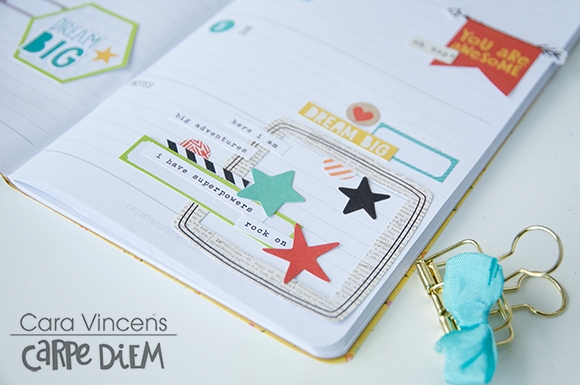
I cut up the white and black diagonal striped box sticker and used a bunch of little strips around the page. I love this look, it’s almost like mini washi. Speaking of washi, I just realised I didn’t use any washi this time, wow that has to be a first!
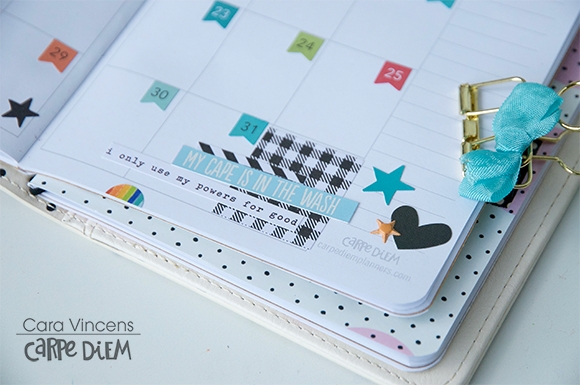
Last but definitely not least is the daily insert. Today is Sunday and usually I don’t have a lot to plan on Sundays, so I really enjoy decorating my Sunday’s because less activities to schedule, means more room for stickers!
Along with Lil' Dude, I use some of the new stamps and coloured them in with watercolour. Did you notice I stamped the planner backwards? Oops!!

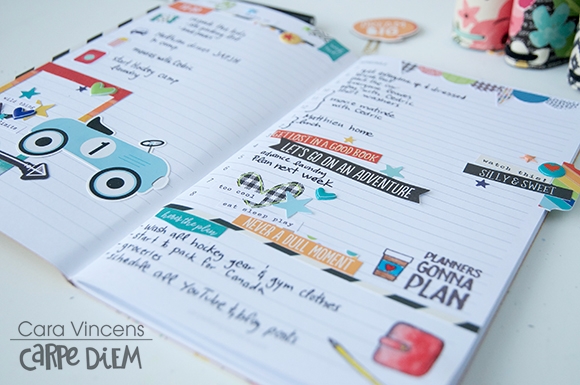
I also mixed in quite a few of the Sticker Tablets in the daily spread. The date alone comes from two different ones, Numbers and Tabs. I used icons from the Calendar Sticker Tablet for bullets for my to-do list. I added flags from the Planner Basics Sticker Tablet for my to-do list header, ‘here’s the plan’ covers ‘notes’ so that I can use this space to plan the upcoming week and I added a couple to the top left page to repeat the banner sticker on the right hand page. And a few extra stars from Planner Basics in the same colours as the Lil Dude collection polish off the spread.
Its super easy to match pretty much any collection from Simple Stories with these generic tablets because they have so many colours included.
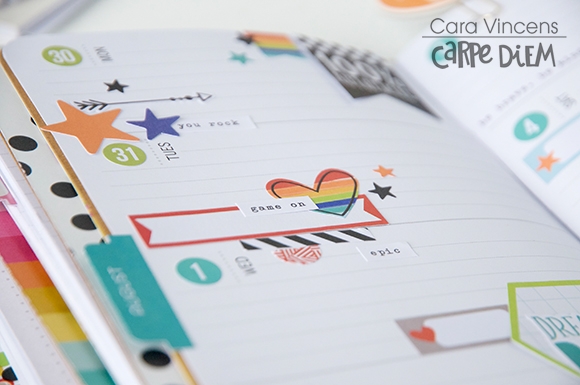
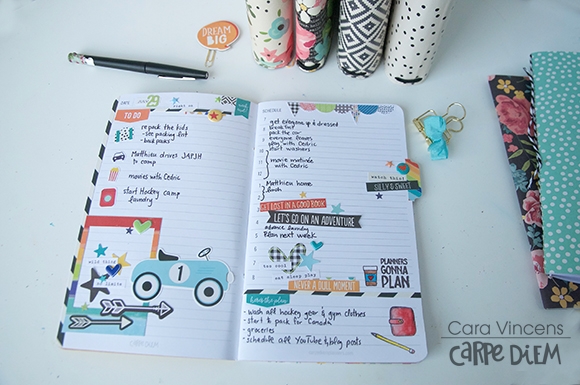
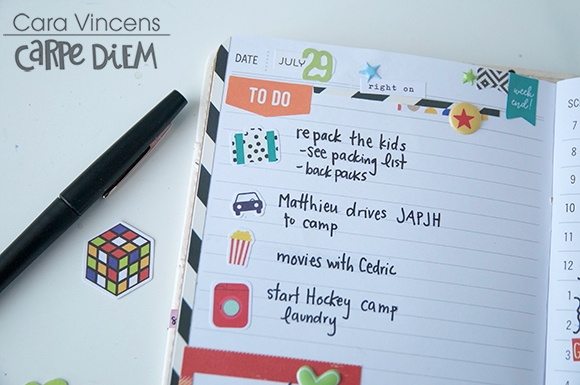
Again lots of layers of fun stuff from the collection. One car sticker fits the theme of my day… driving kids to camp.
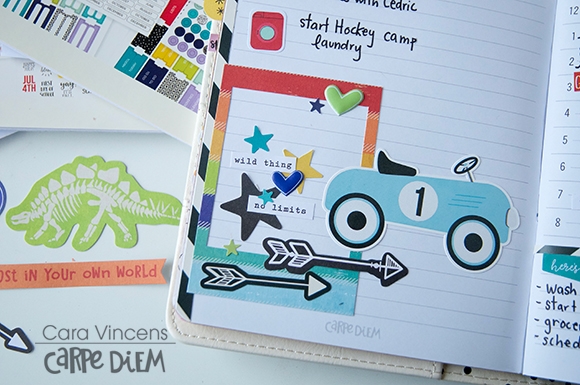
I trimmed bits from the black and white striped border on the big cardstock sticker sheet. The entire thing is a bit overwhelming for these little planner pages, but cut up it’s perfect!! I’ve got one strip down the left side, then two thin strips to section off parts of the page. One at the top left below the date and the other on the bottom right to section off my plans for the rest of the week.
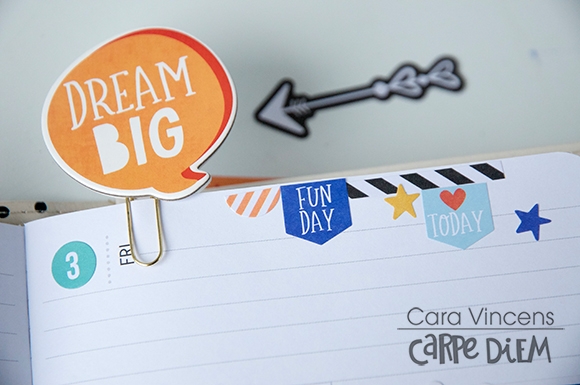
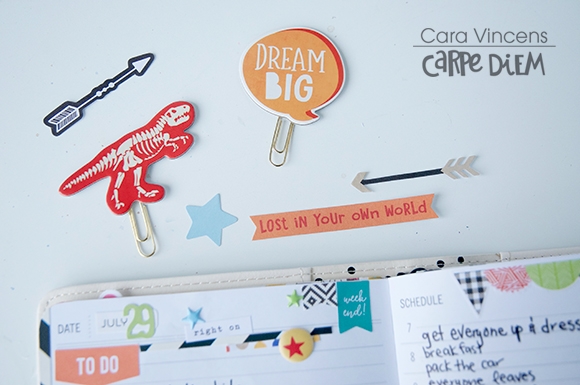
Of course I couldn’t resist making a couple of planner clips with the chipboard pieces, my favourite thing to do!
I hope I’ve inspired you use these fantastic boy themed products in your planner today! You can check out my process video for these spread on my YouTube channel.
Happy planning!