Cara Vincens's Blog Posts

Hello, my name is Cara and I’m a December Daily drop out.

I’ve tried, I really have. I have a few albums where I’ve documented my December, but mostly, my albums sit half finished. I’ve tried to finish them in January and that did work… a bit. For two years now, I just haven’t been able to finish. 

I want to do it! I LOVE the look of a pretty December album, but most importantly, I want to have all those wonderful December memories documented. There are so many wonderful things going on in this fabulous time of the year and it all seems to rush by in a split second, so documenting it has helped me not only savour it more in the moment, but also to relive it again as I document it and then again whenever I look back at the album. 

However, it’s  A LOT OF WORK. Because there is a lot that goes on in December, it leaves little time for playing with stickers. In a perfect world I’d have prepared all the pages in November, but November is almost as jam packed with activities. That… and I’m a procrastinator ;)

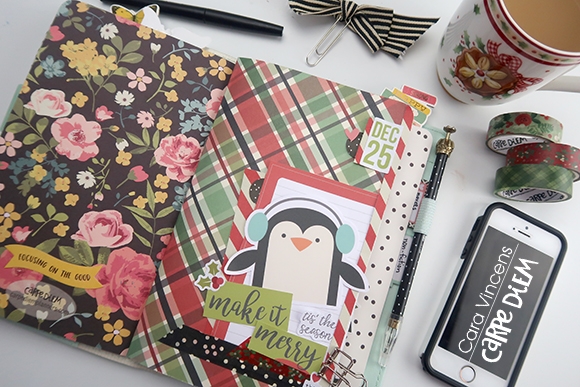
So, the best alternative that I’ve found for me this year is to simplify, and here is what I’ve come up with. I’ve added an extra insert to my Dream TN (check out my last post HERE to find out more about that TN and the other inserts). This new insert is basically a fancy journal that magically takes away my December-Daily-dropout guilt and also takes away the pressure to make it perfect. Also without having to remember to take photos, editing, printing and sticking everyday, the process is quicker and so much less daunting. I can always use the photos I do take… or not. I love that there is no pressure or obligation.

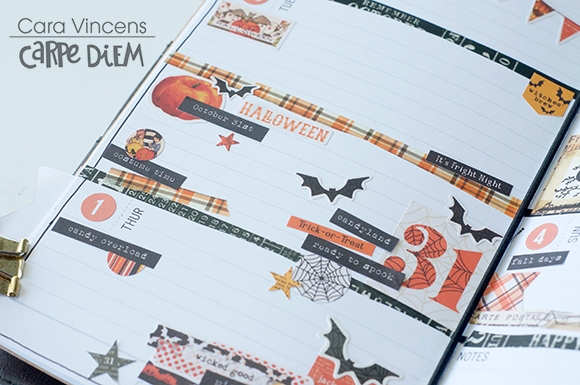
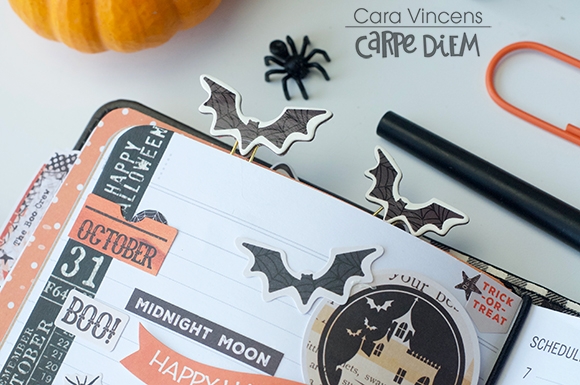
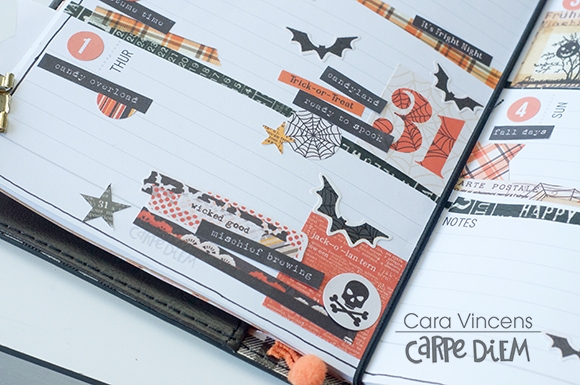
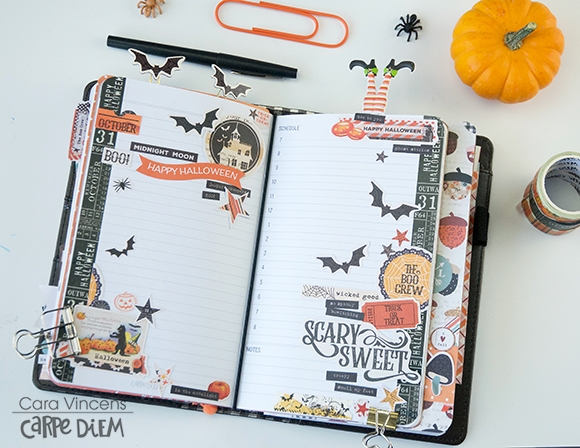
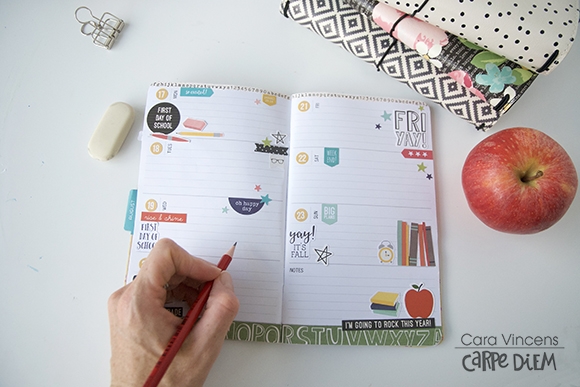
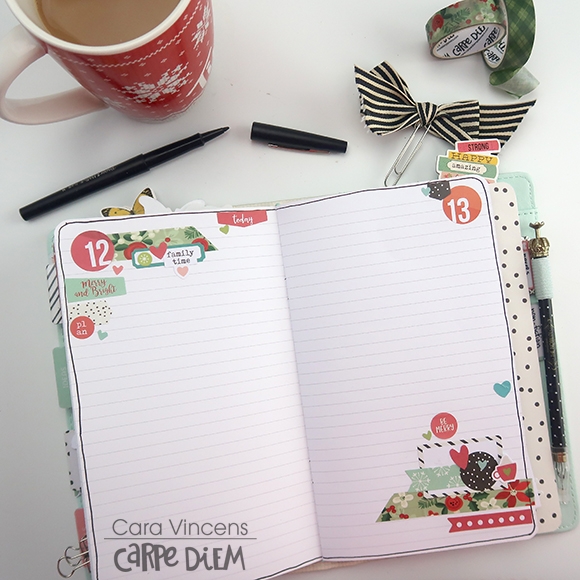
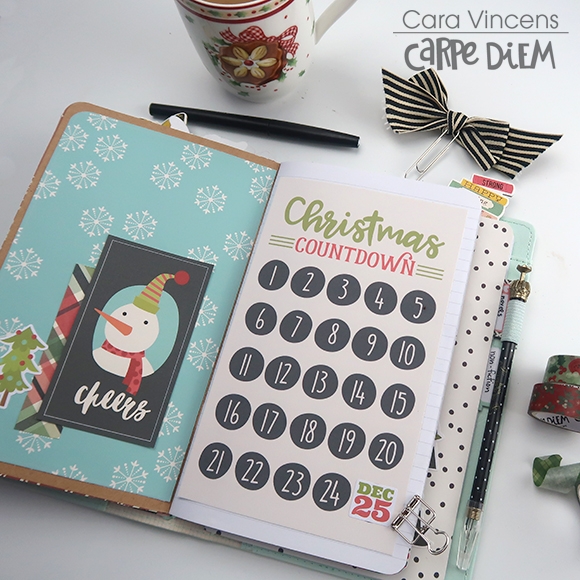
Don’t think that it’s too late to start! There are still more than 10 days before Christmas, that’s a lot of memories you could record. So let’s get to it! I'll use the same simple design for each of the 25 days. Some pages have 2 days in the 2 page spread. I know we will have more going on some days, so I left the 2 pages of the spread for that one day. Regardless, the design is similar. Use a design that suits you and feels easy for you.

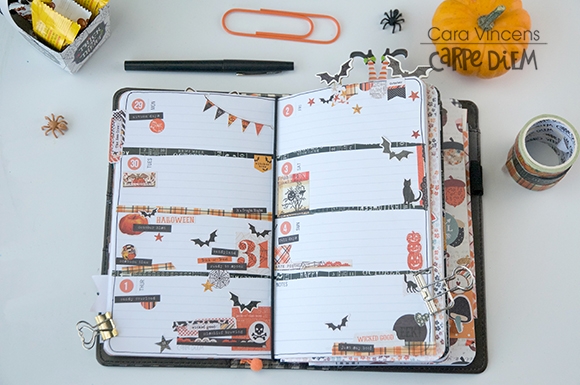
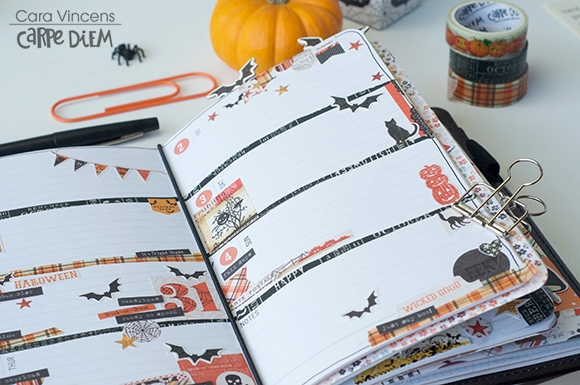
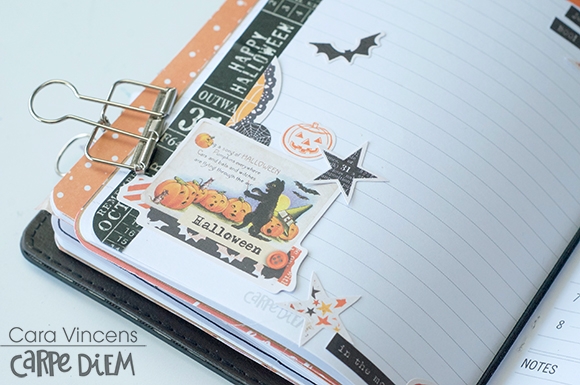
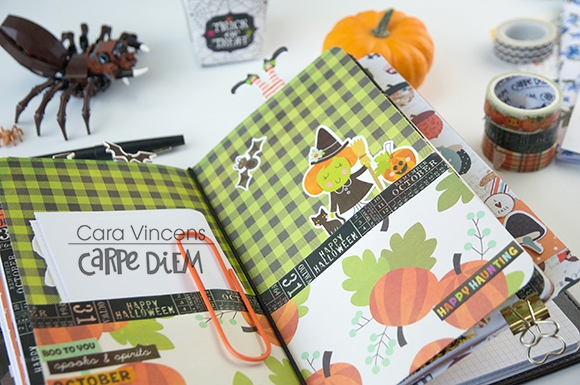
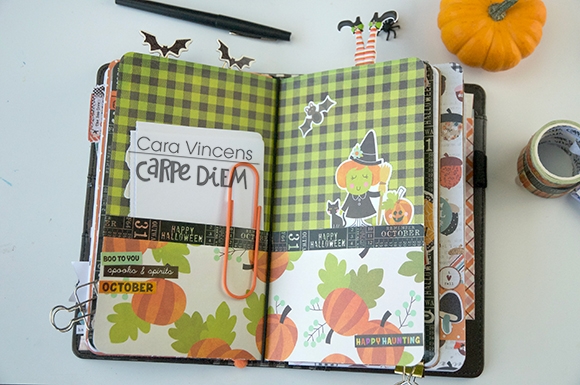
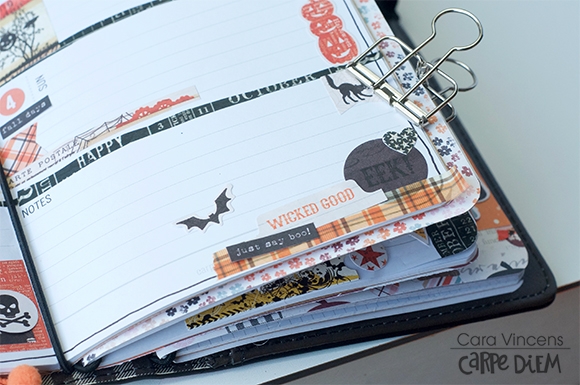
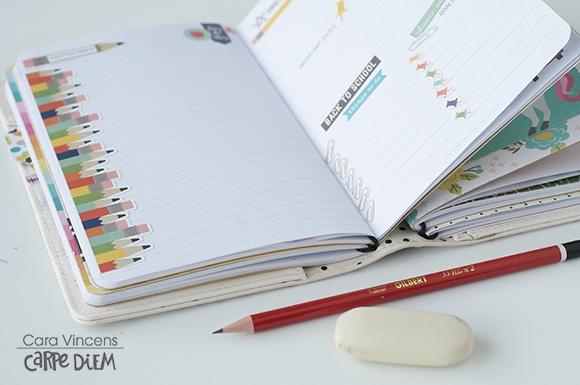
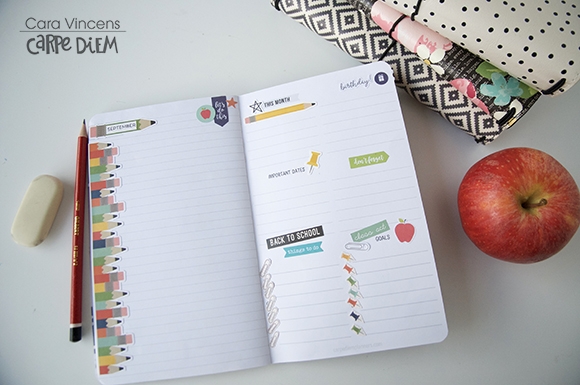
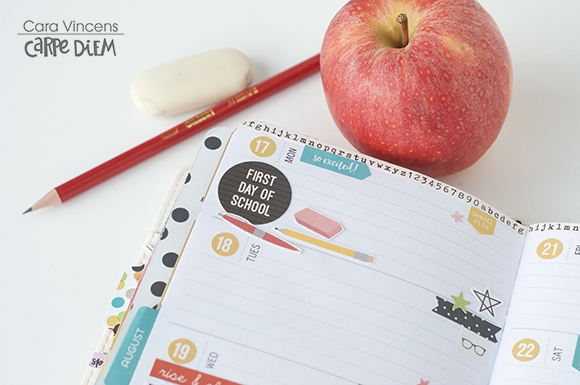
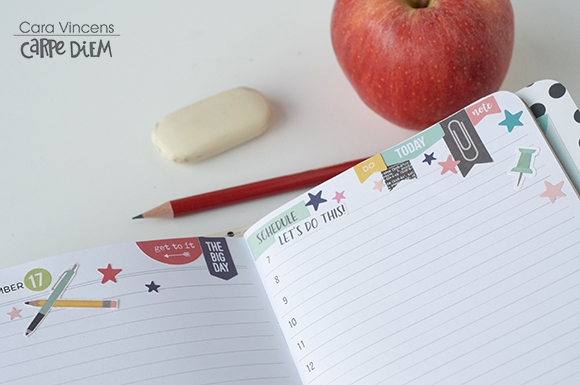
I started with the big round numbers from the Numbers Sticker Tablet, then I added a strip or two of Christmas washi, either a die cut (from the free printables, I’ll talk about those in a sec!) or a large sticker from the Seasons Sticker Tablet. Then, I layered smaller stickers from all the Sticker Tablets. I also added a cluster either next to the number sticker or in another corner or both! This design is quick for me to make, looks adorable and still leaves lots of room for writing, it’s simple and perfect for me this year!

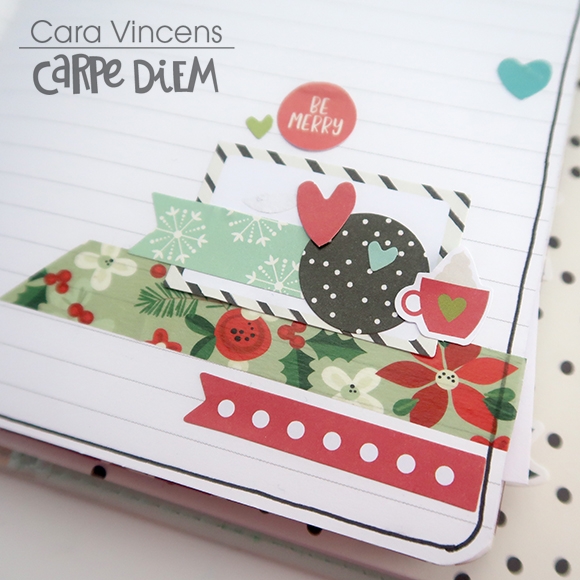
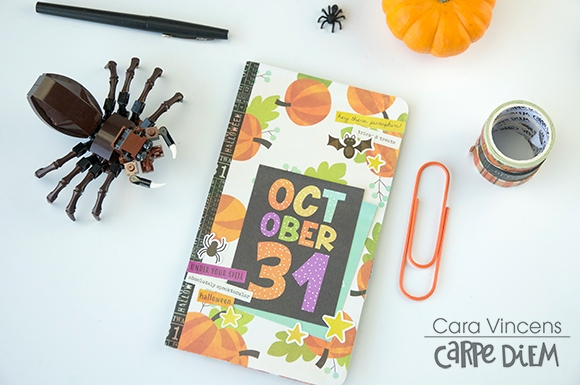
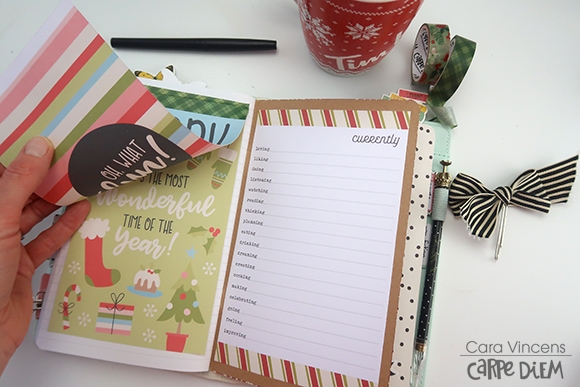
I decorated the cover with patterned papers from Simple Stories along with some of the free printables…

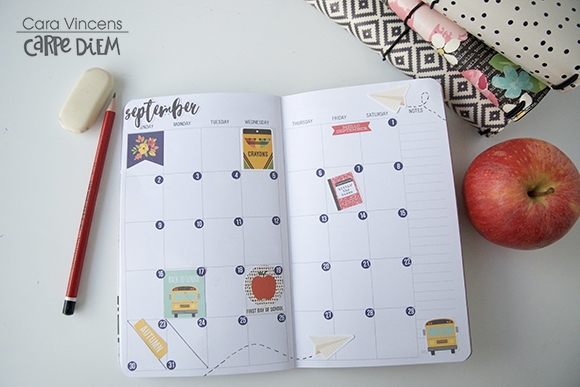
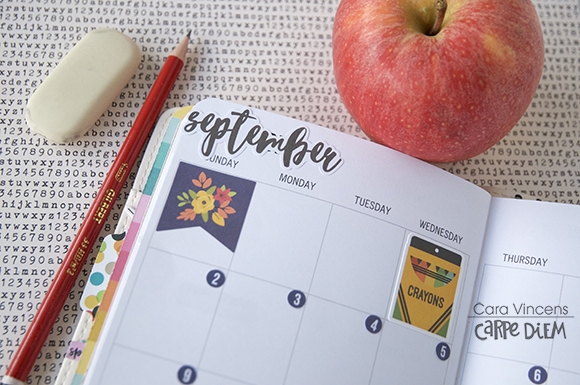
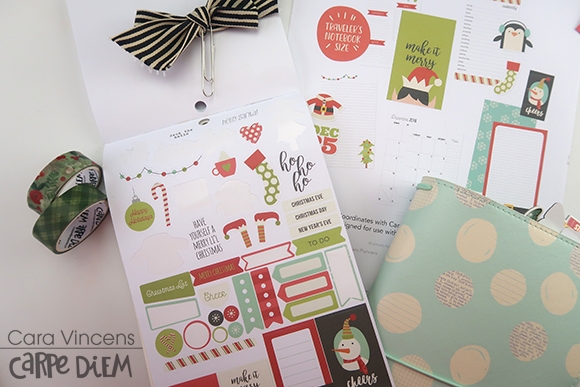
Let’s just take a second here to talk about how stinkin’ awesome these printables are! Every month there is a set of cute printables that match that month’s page in the Seasons sticker tablet, you have A5, personal and TN options, plus you can resize before printing to fit your needs. Did I mention they are super cute, and FREE?! Amazing, right? There is also a bonus set this month for Christmas, You can find both of those sets HERE!

Ok, let’s get back to that cover! Washi and stickers from the tablets give the cover a finished, polished look.

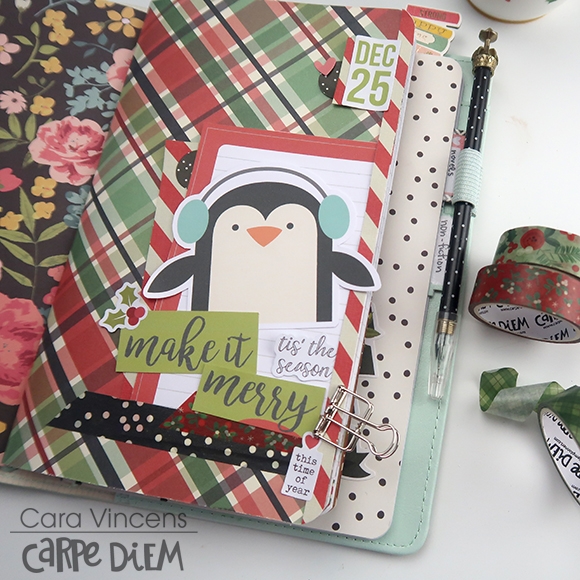
I used some of the full page printables to fill some of the leftover pages. Simple and quick and that’s just what I’m looking for, creating this TN.

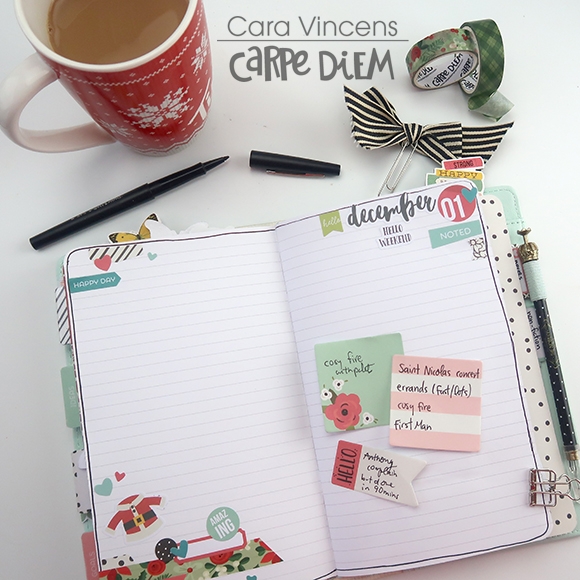
My printer messed up (or I set it wrong, more likely) and I had two that were printed on opposite sides of the same page, but one was upside down, so I used some washi to attach it to the top so that it could flip up, making it right side up!

If things get busy, and, come on it’s December, so being busy is pretty much a given! I’ll take notes either on my phone or on a sitcky note until I get a chance to write it in. And these ones from the Bloom collection are sooo pretty and they actually stick! Don’t you hate it when you’ve bought pretty stickies only to have them fall out of your planner and get lost? Not with these Carpe Diem sticky notes! 

I’m going to be doing a live flip through of my December journal today at 10am EST, so whether you are a December Daily dropout or not, join me at the link here: Cara's YouTube Channel - The replay will be at that same link. Happy planning and happy holidays!

Supplies

It’s Creepy Cara here today and I’ve got my Traveler’s Notebook all spooked out for Halloween! I decided to go all the way and add as many bats and spiders as would fit… there are soooo many fantastic Halloween products that I wanted to use as many as I could. 

I wanted this planner to be on the scary side, I’ve usually gone the cutesy route in the past, but now that my children are mostly older (and 5 of those are boys) it’s nasty, creepy crawlies, all the way. Bats and spiders are actually quite cool if you ask me! Stay tuned to the end though, because I couldn’t help it and did add some cuteness to my TN after all.

Starting with Halloween week I sectioned off the days with washi. 

I wanted thin strips of washi, so I decided to cut these strips from the black washi from the Halloween set, but the first strip ended up quite crooked. It was a happy accident, I liked how it looked so much that I purposely cut the other strips crooked too! I added a bit of the orange plaid to the 31st to help it stand out.

I found some orange numbers in the numbers tablet but left out the 31st, I wanted to add something different to make it stand out and I eventually decided on this black phrase sticker, layered on a pumpkin after trying many other sticker combinations.

Bats seemed to be my thing I turned to most and they are there as stickers, chipboard turned planner clips, and die cuts. Have I mentioned already that I really like bats? My 5 year old wants to be a bat for Halloween this year, and I think I’m more excited about it than he is. The trick with the bats is to make it look like they are flying on your page. Angling them each in a different direction and spacing them out really helps.

I added tons of layers so that I could get as many stickers on here as possible! I love layered clusters, maybe even more than I love bats ;)

On to my Halloween daily spread. Again with the bats flying around the page! 

I started with the black washi framing the spread on the edges of both pages and layering both edges with spooky stickers and quite by accident the ’31’ on the washi landed near the top of the left hand page. I highlighted it with stickers, including one that says ‘October’ (that I trimmed down) to make it into the date for the spread.

Ah the cute bit! Halloween truly is a child’s holiday, isn’t it? The Happy Halloween collection really is sweet so I made a little pocket folder with my favourite paper and stickers. 

It’s quite simple to make, I folded up the extra length of the paper to make it the right height and so that serves as the pocket. Then I trimmed it to the width. I’m a bit lazy so I used an insert as a guide and eyeballed it. I only stuck down the outer edges of the pockets, the elastic from my TN holds the pocket together in the middle.

If you'd like to follow along with my process, you can watch it here on my YouTube channel.

Happy Haunting!

Supplies

Happy September planner girls! It’s Cara here, I’m a planner lover and a school supply addict! September is such a fun time of year. That back to school season is fantastic with it’s fresh starts, sharp pencils and crisp new notebooks. It’s a time to set new goals or learn something new, even if you aren’t going back to school and you don’t have children going back either. 

I’ve used the School Rocks collection to decorate my TN to help me plan my month, week and day and to plan in those goals as well. This collection is perfect for us school or office supply addicts! First off, I decorated my goal page, this page has lots of space for lists (I’m addicted to lists too!) and notes. 

The lists are labelled for you but you can use the stickers from the Planner Basics Sticker Tablet to cover them with list titles that suit you best. I covered up ‘Notes’ with a pencil label sticker and added ‘September’ so that I can use the notes page as a general ideas and brainstorming place as I plan the month. The big pencil looks cute with the stack of pencils running down the side of the page.

I got ambitious and fussy cut 7 paperclips and then 7 pushpins to use as my checklists. I find fussy cutting relaxing but if you don’t like it, you can use some of the small stickers from the Planner Basics tablet instead. 

Onto to the monthly spread. I mixed stickers from the September page of the Seasons Sticker Tablet and the Cardstock Stickers from the School Rocks collection.

I don’t tend to write a lot in the monthly spread so I can afford to put the large, full stickers in my boxes. My six children go back to school on 3 different days (yes, that’s annoying, but it’s also allows me to focus more on each child on their special day) so I marked those with big stickers. I also marked the first day of autumn with a sticker. With the paper airplanes I mimicked the dashed trails from the paper airplane card from the cut apart paper. I used small round navy number stickers from the Number Sticker tablet for the days.

Moving on to the weekly spread, there were lots of ‘First Day of School’ stickers to choose from so I was able to use 2 in this spread.

I combined stickers from the collection, the tablets and fussy cut bits from the papers to complete this page. I cut strips of patterned papers to trim the top and bottom of the pages.

For the daily spread, I simply decorated around the edges of the pages, because I like lots of space to write, I try to keep my to-do list to a minimum each day, but I’ll use the space for notes and brainstorming too. 

The schedule side of the page however will be completely full! Lots to do in a day with 6 children going back to school!

If you’d like to see how I made these pages, you can find a process video on my YouTube channel here: The Hooting Pirate YouTube Channel - Are you addicted to school supplies? Do you love a fresh notebook? Then the School Rocks collection is perfect for you :D

Supplies

Pages