Courtney Sawyer's Blog Posts

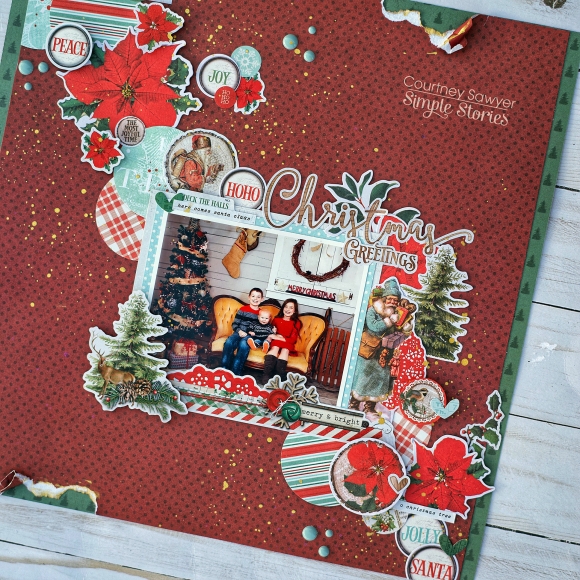
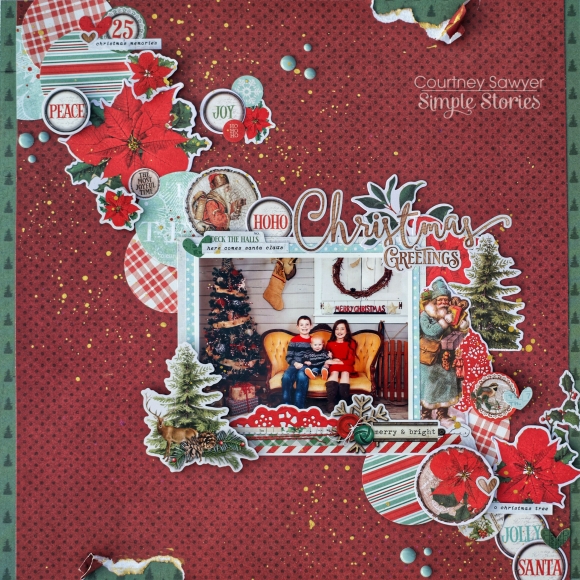
Hey Y’all! It’s Courtney here with another layout and today I am using Country Christmas. This collection is so beautiful and vintage. It’s has the perfect Christmas colors.

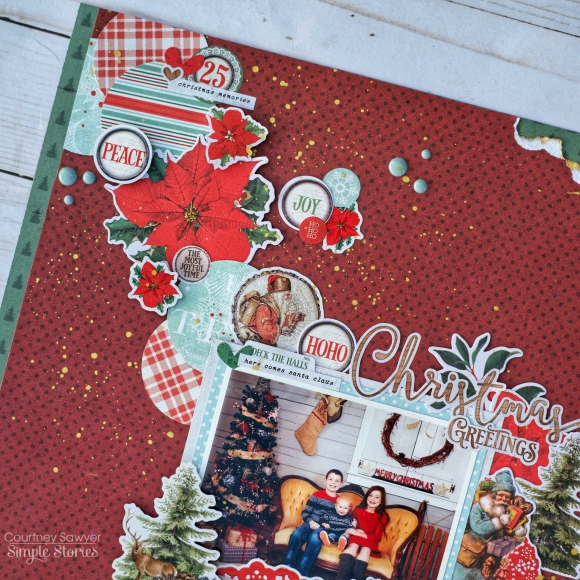
I used the 6x8 paper pad to punch my 1 inch circles, I love how the prints are smaller and you get more in the circle. I paired those circles with all of the ephemera that I picked out and set it up  diagonally. I added a few other pieces of ephemera to add detail. I used the Christmas Greetings from the mini sticker tablet.

The background paper is the Scarlet/Dots paper from the Simple Basics Kit and it’s cut down by ½ inch on the sides so I could layer it on the 2x2 element page.  I fished the layout by ripping two spots on the top and bottom and adding some gold splatters. I hope you get inspired by this layout.


Supplies

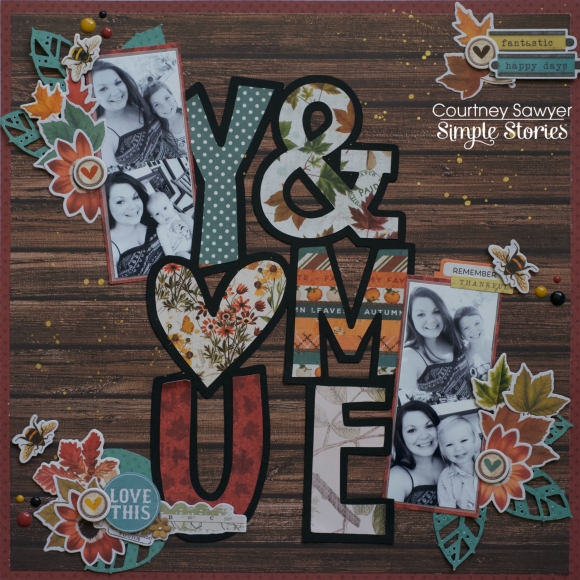
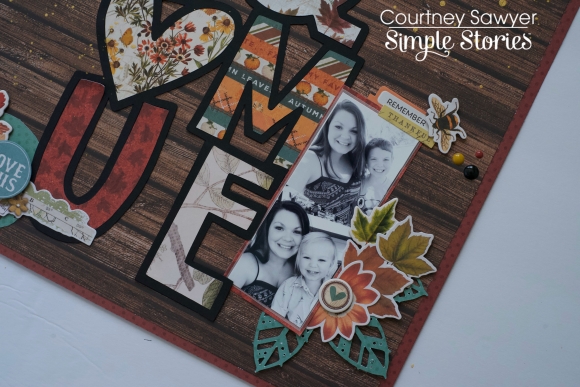
Hey y’all! Courtney here again and today I am sharing a layout that I created using Autumn Splendor collection. This collection reminds me of my child hood. We always had these amazing vintage calendars in our house and every year when they were done my mom would cut them up to use as ephemera or decoupage the cutouts on something artistic.

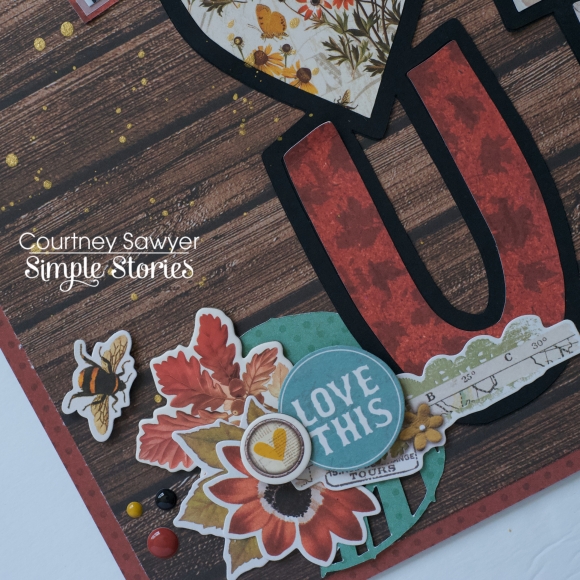
For this layout, I used  a cut file from Paper Issues called You and Me and cut it out in black to make it pop off the page. Then I backed the cut file in Seasons if Change, the B side of the 4x4 elements, Grateful Hearts, Autumn Leaves, and the b side of the 2x2 elements. I used the Elm/Cream Ledger paper from the SN@P Basics as my background.

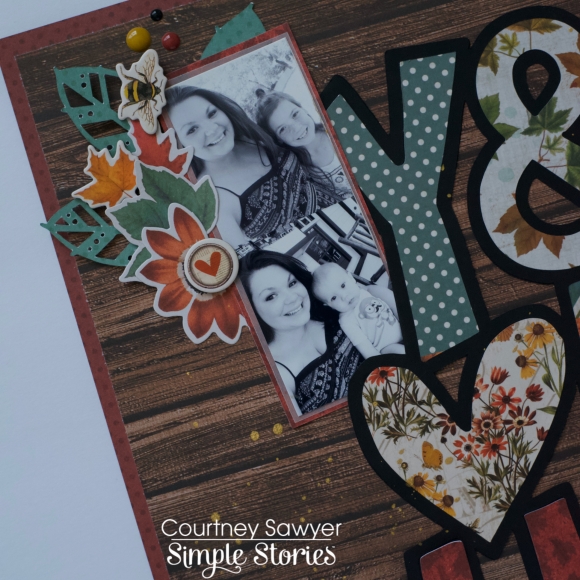
I matted my photos on a piece of vellum and then on the Grateful Hearts paper. I layered them on either side of the cut file.

I created three clusters with another cut file from Paper Issues called Collecting Leaves that I cut out of the Turquoise Dots paper. I then layered different pieces of ephemera from the bits and pieces and the foliage bits and pieces.

I added a few pieces from the 6x12 chipboard and the combo sticker sheet. I always have to add enamel dots and the ones from Say Cheese match so perfectly.

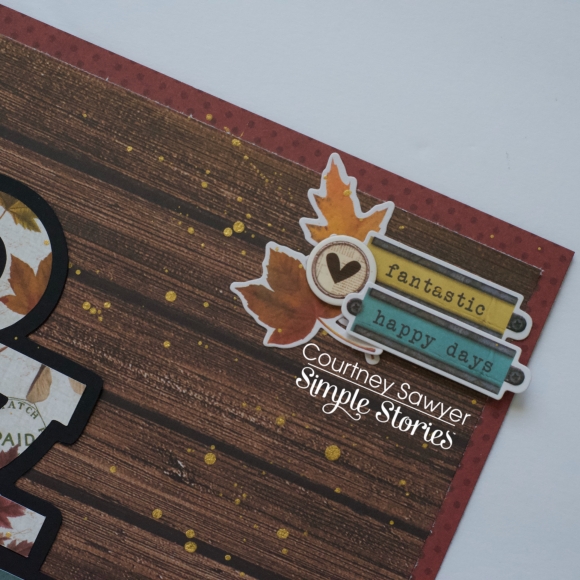
I finished the layout with a little cluster in the top right corner and then splattered my gold mist. I hope you enjoyed this layout and I can’t wait to see what you create.

Supplies

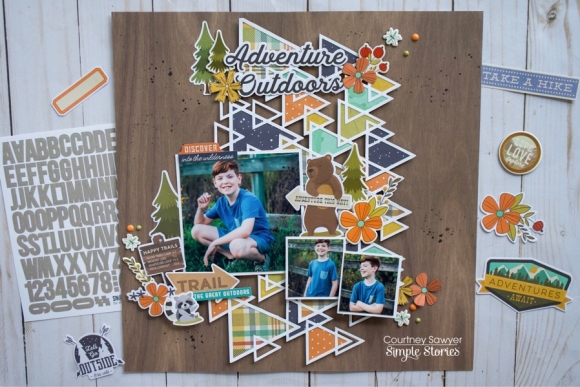
Hey y’all! It’s Courtney here sharing the layout that I created using the awesome Happy Trails collection. This collection was calling my name with all of the amazing colors and icons it has to offer. I’m really into the mustard yellows, aquas, and oranges right now. Here’s a look at the layout that I created.
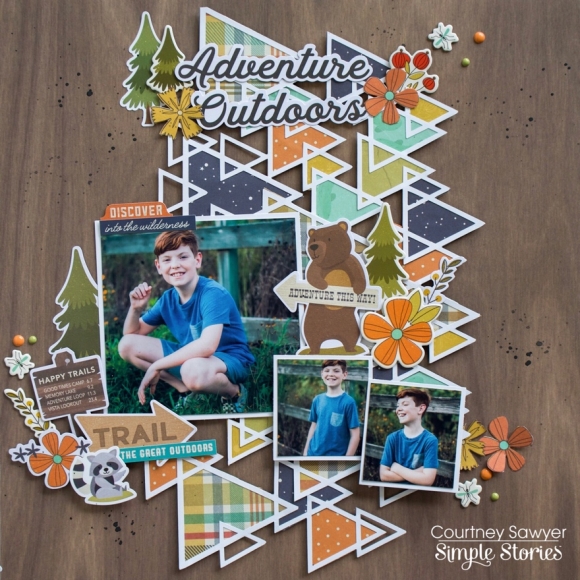
For this layout I knew I wanted to use a cut file and I knew I wanted something like mountains or triangles to give me that mountain look. I went with a cut file that I have actually used before, but I went a different direction with it, literally. This cut file is a free file from Paper Issues and it’s called It’s Geometric. I turned it sideways and backed it with a few of my favorite pattern papers. I cut this one out in white so the colors would really pop against it. I added some dimension to the cut file with foam tape to help separate it from the background.
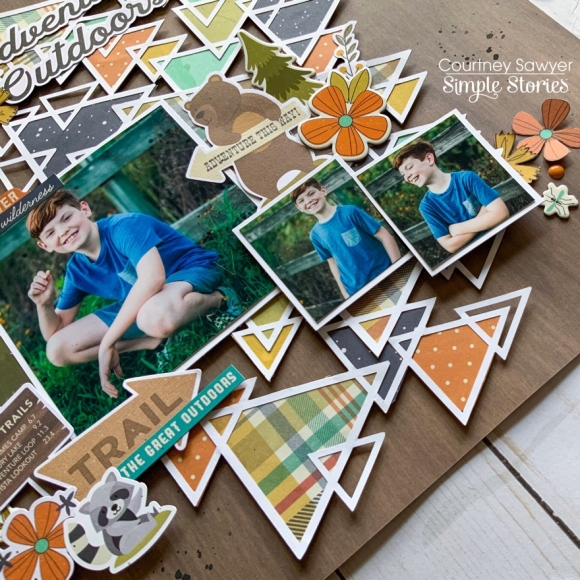
I printed three photos out for this layout and I was originally only going to use one, but I loved how the 2x2 photos looked with the 4x4. These pictures of my oldest are some of my favorites   and I thought the colors were perfect for this collection.  They were all matted in white as well to help them pop.
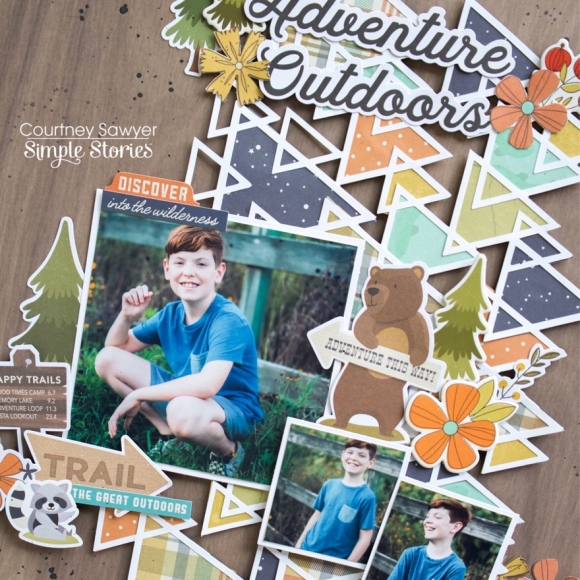
I created three clusters around my photos using a combination of the sticker sheet, the icon bits and pieces, the journal bits and pieces, and the chipboard. I added a few enamel dots from the Oh Happy Day collection along with the cute little mosquito’s to create my three. Then I finished my layout off with some black paint splatters.
I hope that you get inspired by this layout and I can’t wait to see what you create!
Supplies

Pages