Hello, it's Lisa here today with a rather magical post.
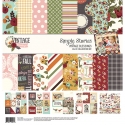
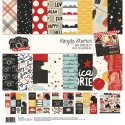
Let's face it, anything Disney related is magical, right?! And that's how this Say Cheese III collection makes me feel. Magical!
I have two projects to share with you today using this collection. I have a layout and a minibook where I will share my secrets with you....the success of making mini books.
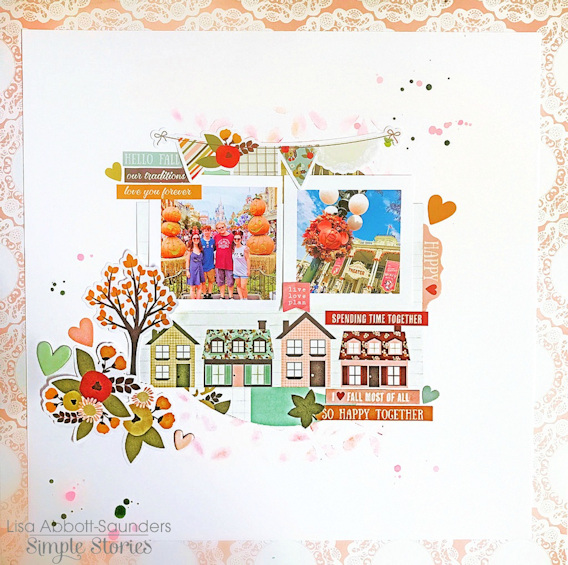
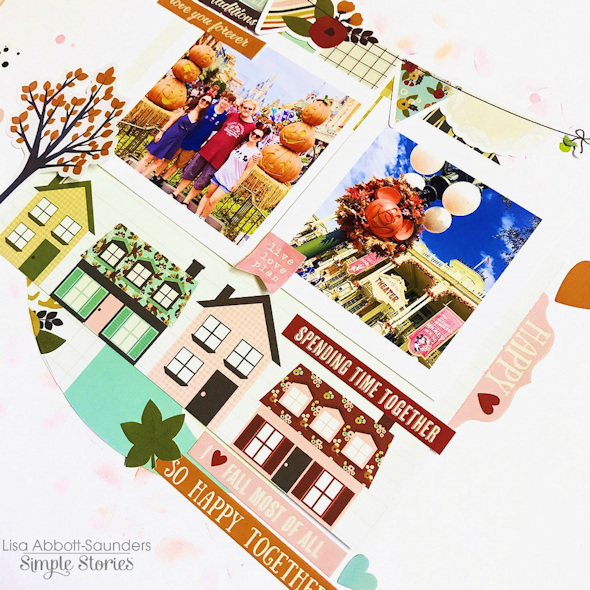
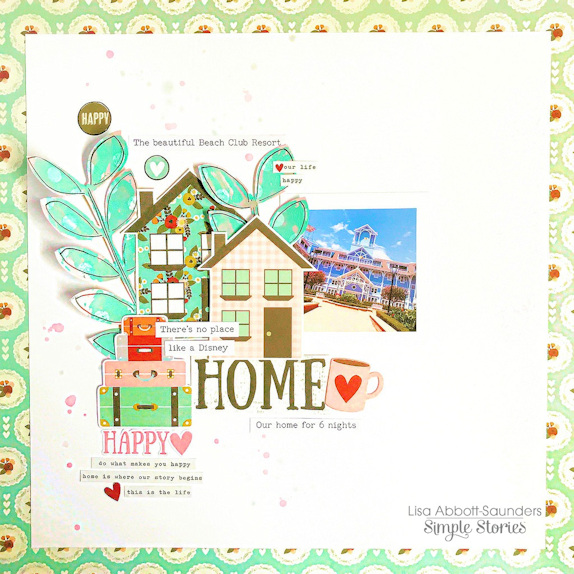
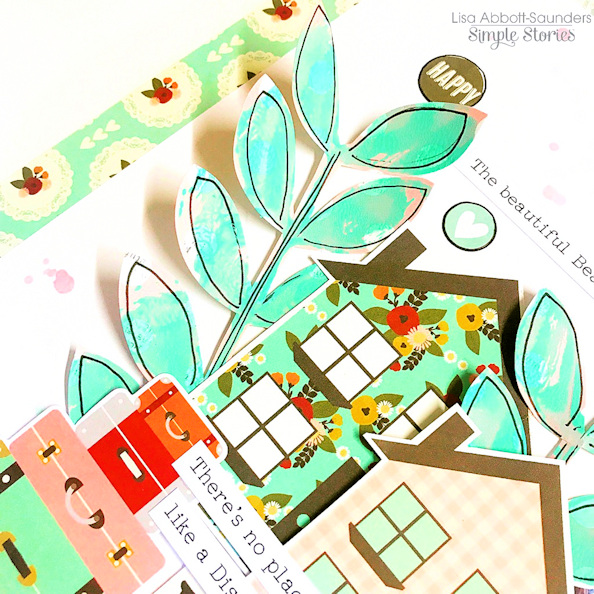
I'm going to start with the ' Meeting the Mouse' layout.
I cut down some white card stock so that it could be framed on the cute spotted paper from the collection. I like to frame my scrapbook pages. I just think it's a good finish.
I edited my 'meeting the mouse' photo to turn it in to a vintage polaroid print. I love this look and although it does take the quality out of the photo, it keeps it looking vintage, which I quite like.
I used one of the 'Snap' cards with half a Mickey head on it and by using a craft knife around the outline of the ear, I've turned it in to a little pocket.
I cut some of the tickets out from the 12x12 Die Cut papers to pop inside the pocket. I also used some to journal on.
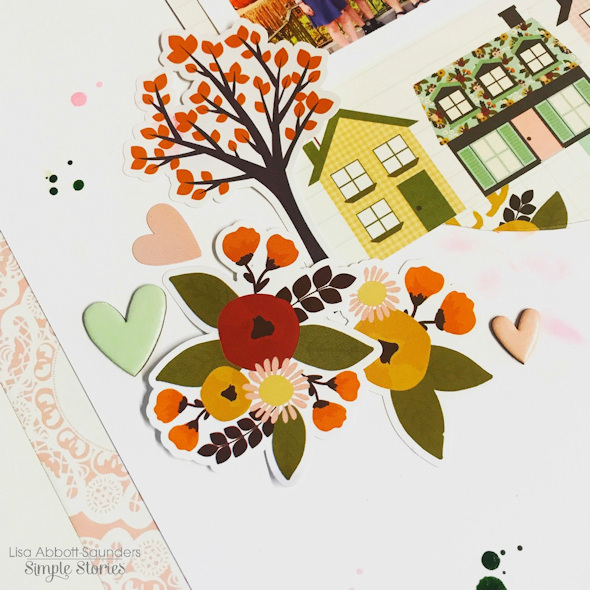
I took another of the patterned papers and cut out the large spots to stick on my page. I also used some of the 'Bits and Pieces' then to embellish. I like the colour contrasts here. The arrows were made by also cutting out from one of the patterned papers.
I'm really happy with how this has turned out. I love all the pops of colour and yet there's still a little 'white space'.
Now on to my next project, my Mini Book.
This Mini Book was so much fun to make. I got myself a little stuck with mini books a while back. I used to start them, spend weeks working on them very slowly, step by step, so much procrastinating and they would never get finished. Then one weekend I made a mega mini book over a weekend. It then dawned on me the secret to making mini books.
1. Print all your photos and have them ready.
2. Gather all your craft materials and supplies so they are ready in front of you. No more thinking about what paper to use next what embellishments go with what. By using a matching collection like this, all that thought has been done for you and everything coordinates. Make sure you have all your tools there too.
3. Try and create it in one sitting if you can. If this isn't possible then stick with it and make sure you finish it the following day. Chances are (if you are like me) and you walk away, if it's left longer than a few days, it will not get finished.
4. Keep a design running throughout the book. This way you don't have to spend too much time thinking how you are going to decorate the pages and when you do decorate each page, it's quick and easy and really makes the mini book flow as you look through. It's very pleasing to the eye seeing this repetitive continuation of the design. Keep it simple. I cut the scalloped patterned paper in to strips and added a strip to the bottom of most of the pages as you can see here above and below.
You could also add a heart from the same paper on each page, or use a circle punch ....just something to keep a design flowing.
I then work page by page. I choose the order of the pages selecting the papers. Here I used the 12x12 Element papers. They are perfect for Mini Books.
Then I go through, keeping them in order, adding my photos. Then I go on to add embellishments/stickers. Then any journaling and finally I often like to doodle.
This whole mini book was made in under 2 hours as I stuck to my Mini Book rules. It makes it so easy.
Here you can see the pages in order.
I am so happy with how this has turned out. There is a real sense of achievement when you create a project like this.
Thank you for joining me here. Have a magical day!