Hi everyone! Chantalle here and it’s so great to be back with you again and sharing some of the projects I have created with the stunning new lines and some awesome cut files! As you will see, I have had loads of fun and have included some tips for you along the way. Let’s jump in!
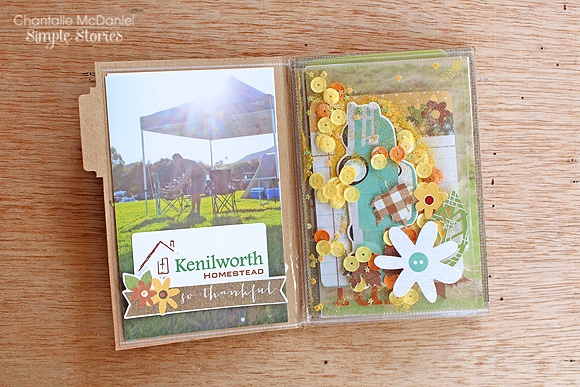
My first project is a little mini album about a recent camping trip my family and I went on. Now I will confess, living in a fairly tropical climate, we don’t get the true seasonal experience. In Brisbane, we have to head inland to get a bit of that lovely chill - which is exactly what we did when we went camping at beautiful Kenilworth Homestead.
Autumn Camping mini album
The SN@P! Photo Booklets are a perfect way to get a head start on a mini, if you are pressed for time. The sleeves make it a breeze to insert photos and you can jazz up the pages and cover with some cute embellishments.
Bits & Pieces are a perfect embellishment to use as they add variety without too much height, which could bulk up a mini album.
I recently treated myself to a fun Fuse Tool which came in very handy for this project as it meant I could add more custom sleeves to my album, like this cute shaker pocket!
Inside, I have used some super sweet little ‘Leaf it to me’ cuts which I cut from a sheet of Pumpkin Spice ‘Acorn/Gingham’. I’ve also added a chipboard sticker, some sequins and a bit of glitter for sparkle.
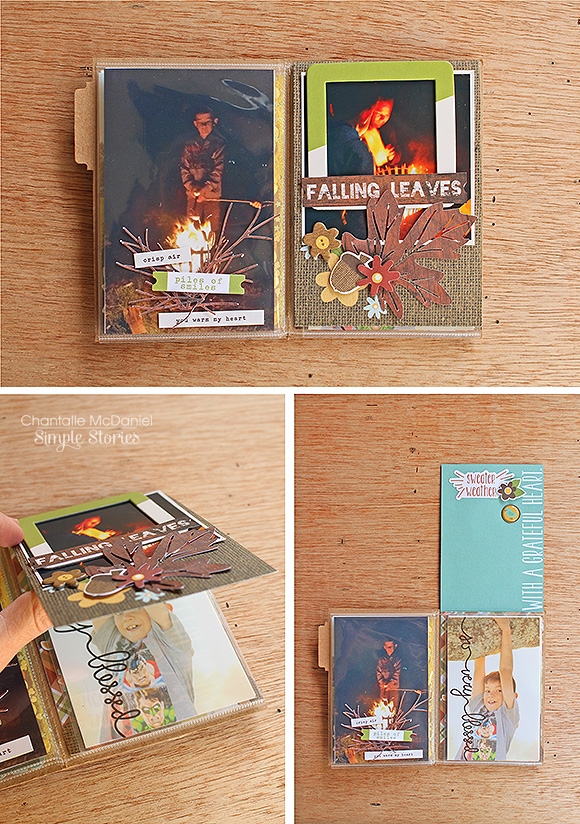
Turning the page, on the left I’ve used a 3x4 Sn@p card with an awesome woodgrain print chipboard frame. Some more teeny leaves dot the right hand page. You will notice for these tiny cuts, I have removed the inner leaf line, as my Cameo blade could be a bit sharper and I couldn’t get it to cut cleanly at such a small size.
In the next spread, I have created a flap that lifts to reveal my next page. I haven’t included any journalling yet, as I really don’t like showing off my handwriting ;)
When I cut my larger leaves, I saved the leaf line and have used them as an embellishment, echoing the sticks in the brazier by adhering them over the photo.
Turning the page, I have again created an extra little 3x4 pocket with the fuse, into which I have popped a 3x4 Sn@p card. This lifts up to reveal my two children spellbound by one of the horses on the property.
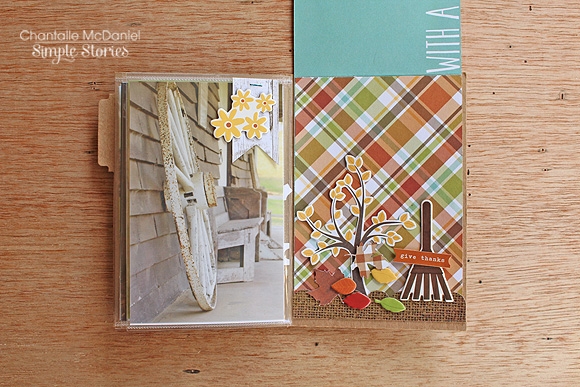
The last spread uses some more sweet leaf Cut Shoppe cuts as well as some Bits & Pieces and chipboard stickers (those tiny leaves are totally adorable!), creating an Autumn scene.
Before I go, I want to share how I created my cover. Using the ‘Leaf it to Me’ cut file, I adjusted the size of the leaf to suit my project, and then set about cutting a custom stamp from the file, using my Silhouette and the stamp material you can purchase separately.
The stamp material needs it own special mat and you will need to adjust your rollers to fit this smaller size.
The actual stamp material is a lot thinner than a regular clear stamp, but it works very well. Be careful when removing it from the mat as it tends to grab a bit in places and just needs to be freed by pulling it gently from the rest of the leftover stamp material. I used my custom leaf stamps with some Versamark Dazzle to create a lovely watermark leaves on the kraft stock.
Thanks so much for joining me today! I will be sharing two more projects with you a bit later on today!
________________


