Hello! This is Amber, founder and creative director of Simple Stories. I'm thrilled to start a new 'behind the scenes' monthly feature on our blog about my vision, our design, product development & glimpses of how I'm using our products.
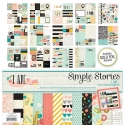
It was 5 years ago when we introduced our Simple Stories products and philosophy with our first collection, Life Documented. In celebration of 5 years of sharing stories 'simply' we've brought Life Documented back, better than ever. Just like our first launch, this Life Documented collection is all about sharing your story for the year simply, easily and with lots of fun! We introduced a ton of scrapbook products with the new Life Documented collection, and a Planner component as well. Today I'm focusing on our amazing planner portion of the collection.
I've always been a planner fanatic - even way back when, before it was cool. After spending lot’s of $$ on many different planners and sizes over the years, I was never truly happy with the final results- even with some of the big names and trendy designs. Whether it was too generic, too detailed, too small, too big, too restrictive, too complicated, too limited – nothing seemed to fit my life and what I was looking for in a planner.
For me, the perfect planner had to be big enough and with just enough space needed for day-to-day planning. I didn’t want it to be limited to an 'off-the-shelf', 'one-size-fits-all' planner; I wanted options to personalize my album, but not so many options that it became complicated or overwhelming. It had to offer complete functionality and choices - from full size daily inserts, to weekly pages and monthly calendars, to notes, lists, journals and menus - however I wanted to plan my life. Of course, it had to be fun and bright with just enough creativity to keep me excited about planning my day-to-day. Most importantly, I wanted something that covered all the facets of my life - work, business, home, family, personal and even my memory keeping hobby.

This entire 'planner' program has been a long time in the making for us …from the minute I held the first sample of our 6x8 Faux Leather Albums, I was in love and couldn’t wait to develop a planner system to compliment them. From start to finish, this collection was so well thought out - down to every last detail - and I can't wait to share the 'behind the scenes' with you on how I've approached setting up my planner!
GETTING STARTED
It's so easy to start - just choose your favorite 6x8 SN@P! album or binder, including faux leather, chipboard and burlap. I'm using our Teal 6x8 Faux Leather SN@P! Album - I LOVE the color & it matches my handbag perfectly...plus the high-quality album is simply gorgeous with contrast stitching, decorative metal label on the spine and metal corners.

Next...select from many of the a la carte SN@P! Life Documented Planner Products - from Monthly, Weekly, & Daily Inserts to Clips, Sticky Notes, Bookmarks, Pockets, etc. Last comes the FUN part - compiling your planner for day-to-day use...here's how I put mine together:
HELLO MY NAME IS...
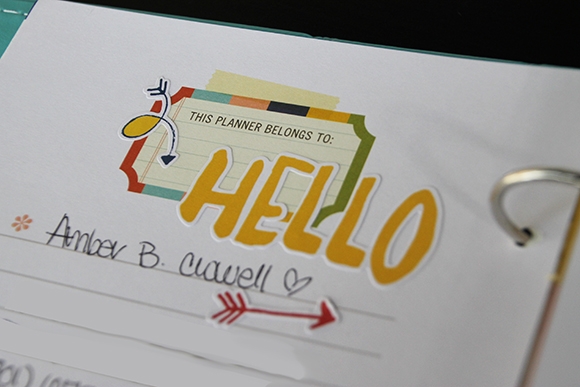
Every good planner needs a basic information page, so the Monthly Dividers includes one with a cute label and icons for you to store all your personal details. I wanted to add even more fun to my intro page so I added fun "hello" and arrow stickers to dress it up.
*TIP: We added plenty of space to add all of your personal details, including name, address, phone numbers and even space for you website or blog.
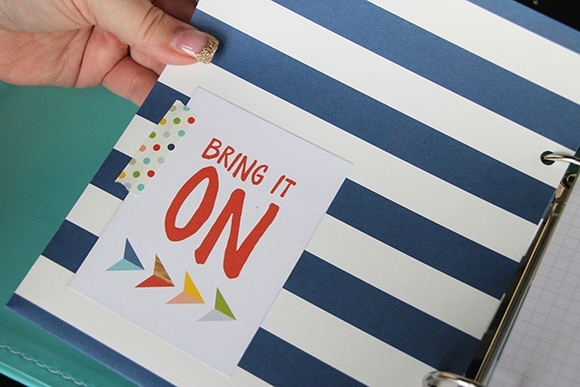
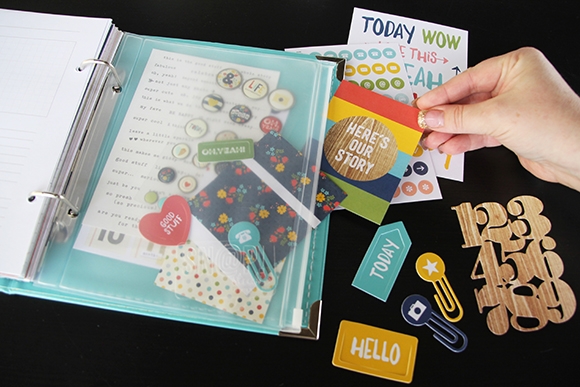
I chose to start my planner with one of our cool Pockets - they come pre-punched and insert easily. The front has a cool pocket to easily story random, everyday tidbits. I added a 3x4 card to the back of the pocket from our 2015 SN@P! Card Set with a piece of Washi Paper Tape - a perfect quote to start the year & it coordinates with our very cool 12/52/365 dashboard on the next page (also included in the Monthly Dividers).
*TIP - I LOVE that our planner system is so versatile - you can put theses pockets anywhere you want, depending on what makes sense for you & your needs. I love that freedom and flexibility - and you will too!
MAKE THIS YEAR GREAT!

There are so many things I love about our planners - but this has to be one of my favorite. This interactive, fold out insert, included in the Monthly Dividers, lets you plan and view your whole year at a glance! I love the quote on the front and added a few more details with stickers. When opening you can see how easy it is to jot down the big, important things to look forward to with your year.
*TIP: I chose to focus on just the big events of the year - not the everyday details - like holidays, events, travel, vacations, etc. This has been a great tool for getting a quick glance at what your year looks like. And who can resist the fun, interactive fold-out feature?
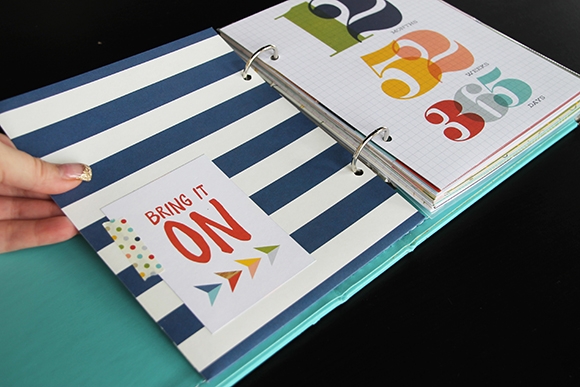
It's the BIG 2015!

What makes our planner system so unique is that it incorporates our 6x8 SN@P! Albums, Pocket Pages and SN@P! Core products. I love that you can easily incorporate pocket pages of any format or design anywhere in your planner, just like I did here with our 3x4 Pocket Pages and 3x4 Cards from the Life Documented 2015 Card Set. What a fun way to introduce the year in a BIG way!
*TIP: One of my favorite parts of designing products is focusing on the details - things that customers may not even notice - but we do. Our whole goal is to make it SIMPLE for you..so we do all the work for you, like these cards - they're double-sided with the large 2015 numbers, then the backs show through with coordinating titles.
COLORFUL MONTHLY DIVIDERS
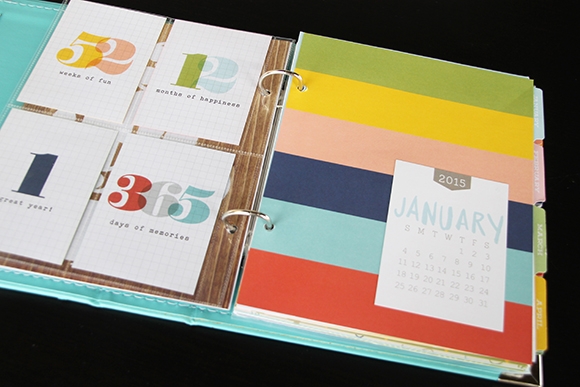
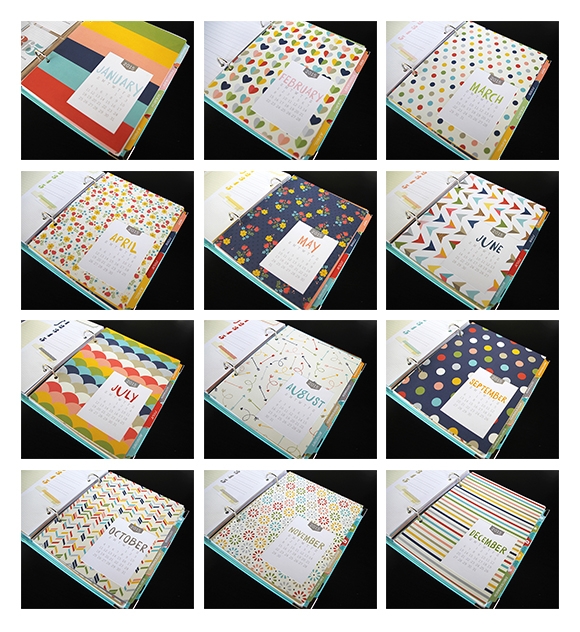
Again, I love that our system features a variety of options to personalize your planner, incuding these Monthly Dividers that feature a 2 page calendar spread for each month. My favorite part is the designer pattern that introduces each month - in the same bold prints that coordinate with our Life Documented scrapbook products. You can choose to leave as is - or add a little something like I did. I knew I wanted to add some sort of 3x4 card to each month & the 3x4 SN@P! 2015 Cards were the perfect fit. I LOVE that I start each month with the specific dated 2015 month, since the Monthly Dividers are not date specific. I did this for each month and am so happy with the results - try this on your planner and even add washi tape or other embellishments!
TIP: Did you notice how each monthly 3x4 calandar card 'month' matches the monthly tab color perfectly...yep, it's all in the details for us!
PLAN ON IT!
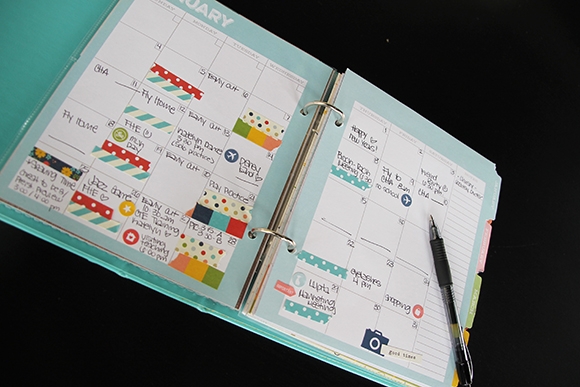
This is what the Monthly Dividers look like when opened to the month; they'll most likely be the core of your planner. You'll find a pop of solid color and a basic non-date specific calandar. We designed this as a 2-page spread because lets face it, your life is BIG and you need plenty of room to plan and organize.
TIP: Remember the Details! With all the fun and bright washi strips - well this is where I used those washi tape strips to help me plan my month. There is so much going on in a single month that using our Basic and Designer Washi Paper Tape is a must to easily plan and coordinate your schedule. We also offer Calendar Stickers, sized perfectly for our monthly dividers to help you plan your life in a fun way!
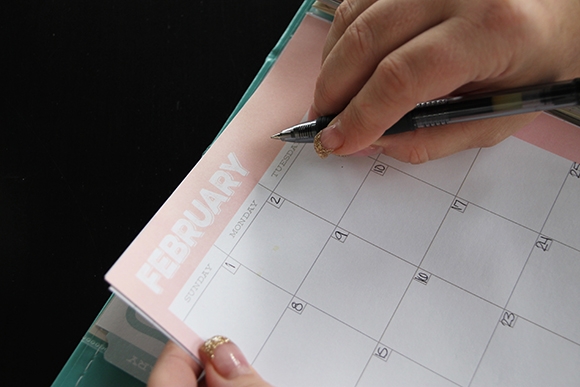
TIP: Our Monthly Dividers are not dated, allowing you to start & end your 12 months based on what fits YOUR needs. The first thing I did when organizing my planner was add the dates to each month so that it's done for the entire year.
THE DAILY GRIND
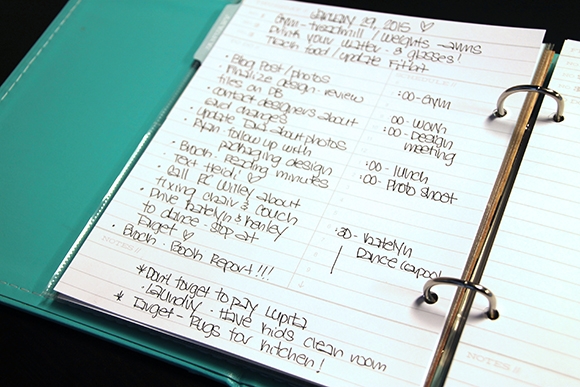
We offer both Weekly and Daily Planner Inserts to help you plan your life; I'm using both. Today I'm showing you how I use the Daily Inserts...pretty basic, right? For me these Daily Inserts are all about functionality. I'm choosing to focus on the tasks and important items I need to accomplish each day. There's so much other fun stuff going on in my planner, so I'm keeping these pages basic. Of course, you have the option of decorating away with washi, clips, stickers and so much more!
TIP: It was important for me to have lots of space in our planner system and I insisted on adding these Daily Planner inserts to our line up of products. They come with enough pages for all 365 days - they're not dated so you can start anytime. We kept the design pretty general so it would fit anyone's life. I'm using the 1/2/3 at the top for my daily health goals. I love that the To Do section has plenty of room and then an added hourly scehdule as well. The notes are perfect for adding reminders and important information. I love how I can use these daily pages to incorporate my business, family, and personal life all in one!
KEEP IT TOGETHER
Remember this? When we first launched our SN@P! products a few years ago we added this useful zipper Pouch. It's the perfect way to store all of your planner goodies - stickers, washi tape sheets, embellishments, & cards all fit into this pouch, ready to go! I put my pouch at the end so I have easy access to my planner supplies.
FREE PRINTABLES!

Now we get to the really fun part! We've designed these FREE printables to coordinate with your Life Documented planner. Even better, we'll be offering free printables each month!
Click here to download January's Free Life Documented Printables - NOTE: this is a large file, so it may take a few minutes to download, depending on your internet connection :)
There are a whopping 12 free printables this month, including:
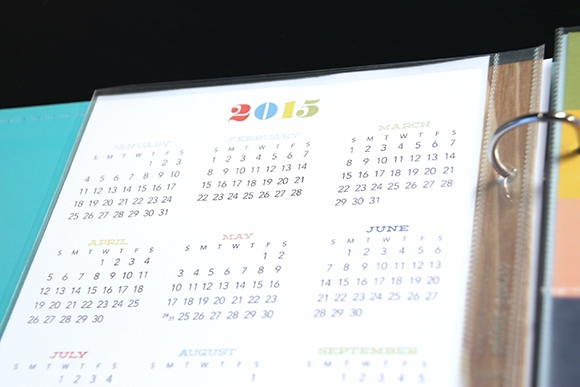
2015 Calendar
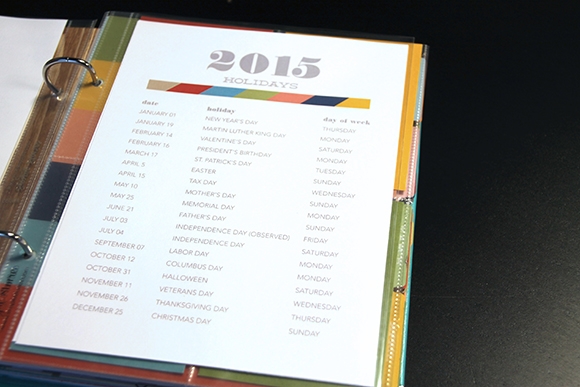
2015 Holidays
January Month in Review
Birthdays
Gift Giving List
Shopping List
Weight Tracker
Food & Fitness Tracker
Who, What, When Where Dashboard
... and 3 Printable Cards to punch & insert in your planner!
TIP: Free printables are on a single PDF document with 13 pages - print off what you want and the quantity you need. We've added cut marks to each printable, so you can easily trim your pages to size.
Here's how I've included a few of these Free Printables in my planner -
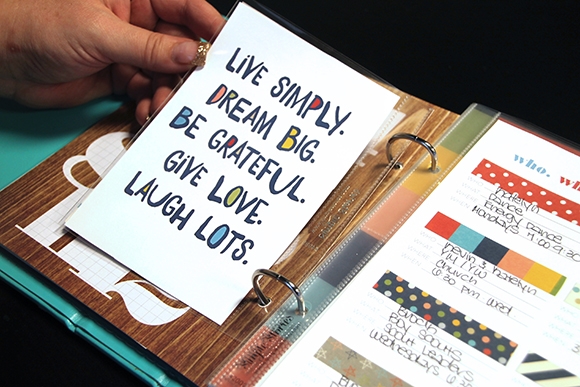
This 4x6 quote card free printable is the perfect way to start your planner - and has a meaning that I want to remember all year long. I just printed, trimmed and placed in one of our new Vertical 4x6 Pocket Pages (available in March).
IT'S ALL IN THE DETAILS
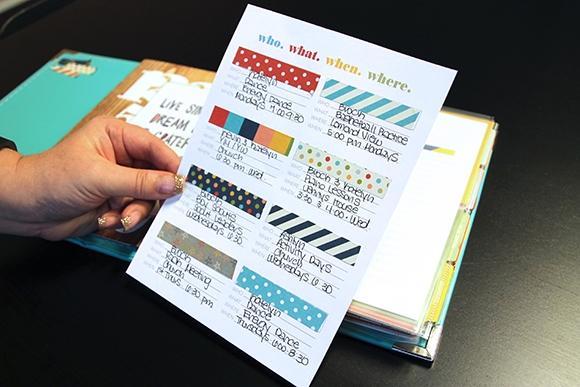
This is a Detail page for you to identify the who, what, when, and where of all of your reoccurring events, activities, appointments, etc. It's a great dashboard for adding our colroful Washi Paper Tape - and the corresponding details. You'll see how our fabulous Washi Paper Tape will be a huge tool to organizing your life and planner - plus it adds so much color and fun!
TIP: Our free printable planner page inserts have simple cut-marks so you can trim, hole punch and insert into your 6x8 SN@P! planner. I slipped these into one of our 6x8 Pocket Pages for easy reference all year long. Print as many as you need - they're FREE and so functional!
Thanks so much for letting me share my insight and vision for our Life Documented Planner system - it's a dream come true for me to finally have my dream planner. I already feel like my life is so much more organized. I hope you're inspired to plan and organize your with our Planner system as well! See you back here next month!