Hello scrapbooking friends!
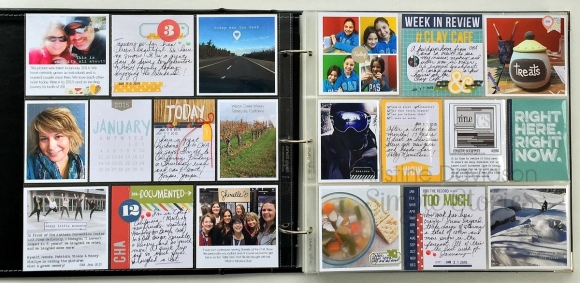
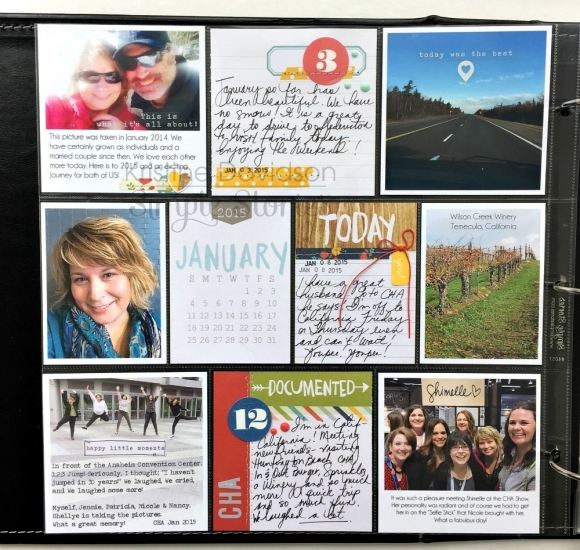
I'm Sara and I'm back this month to show you some more of the new releases in the Digital Store! There were lots of choices this month and I decided to once again work with my very favorite parts of the Simple Stories collections - the 3x4 and 4x6 cards! I am having a blast experimenting with digital pocket pages, and have been even trying to use pocket style pages for scrapping events instead of strictly daily life. I love making each little pocket it's own layout and mixing colors and patterns and finding just the right photos. It is hard to narrow down which cards and patterns I want to use, though. Simple Stories has an understanding for fun, lively colors.
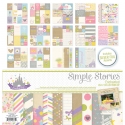
I started out working with the bright and sunny digital Summer Paradise Simple Set, which has so many refreshing and bright patterns, it calls to mind a warm summer day on a beach with your toes in the sand. Which, for this Minnesota girl in the thick of winter, was a welcome change of pace!

I dug up some pictures from our trip up to Lake Superior last summer since beach trips are few and far between for our family. Once I found the pictures of my boys playing in the sand and in the water, I knew what I wanted to do with this collection. I like to incorporate multicolored papers in my pages as much as I can, so this turned out really bright! I also love to mix things up a bit sometimes and use some of the smaller square cards on a page with the traditional 4x6 and 3x4 layout by shrinking them down a little and putting them on a patterned background.
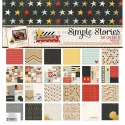
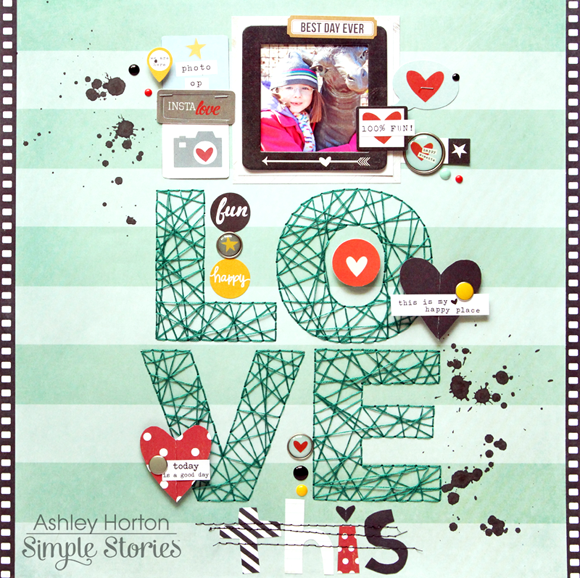
I wasn't sure if I would be able to pull off a second project as I found myself stuck in a huge creative rut this month for whatever reason (or...winter). But when the first digital SN@P! Set - the Love SN@P! Set - became available, inspiration struck and I was so excited!

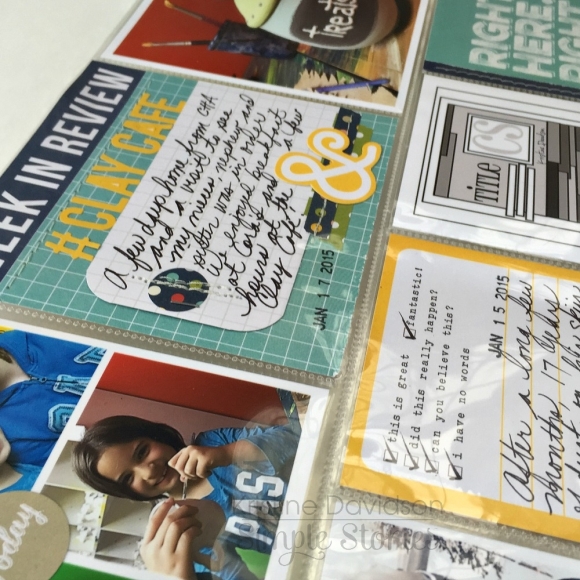
I have been known to randomly stage a little "photoshoot" from time to time and so I pulled out a few things toward the end of January to do a little Valentine's Day photoshoot of my boys. I purposely picked a day when it was nicer outside so I could use outside play as a bribe to get them to sit for pictures, since they don't often get to play outside during our frigid winters. I knew I wanted to use the Sn@p set to document a few of the pictures I captured that day and it turned out almost exactly as I had envisioned in my head.

I like to pop a few of the elements off the page to give it a little more of a realistic look - like I had used pop dots on them. I scattered hearts around the whole layout with the "pop dot" effect, and even on a few of the hearts in the jar to give that card a little bit of extra dimension. This came together so very easily for me and I was thrilled to feel inspired once again!
Thanks for dropping by, and happy scrapping!