June 2016 Blog Posts

June is all about the gnomies in my Carpe Diem planner with the Bloom and Grow scrapbook collection.

I love the color combination in this collection and all the fun gnomes and their bird and bug garden friends!  

There's lots of pretty florals in this collection as well.

I decided to change the patterned paper behind the dashboard to match the theme this month.  First I cut down the Dig It patterned paper and punched holes in it.  

I added stickers around the edge of the page.

Then I placed it behind the clear dashboard.

I had quite a few to do's this week so I made a list and kept that right behind my new dashboard for quick reference.

I love all the positive little notes on the stickers and die cuts. 

I also made a new bookmark by tracing the original on onto the Chillin With My Gnomies patterned paper.

I added a few stickers to it and placed it in my planner.

Supplies

Hello friends, Laura here today sharing two pages today that I had so much fun creating!  Oh my, the Sunshine and Happiness collection is the epitome of summer joy, I just love it!
 

Happy Times with You

My husband and I tried kayaking for the first time last summer when we borrowed a tandem kayak,  we loved it so much that we just bought our own kayaks! We have a motor boat as well, but I am a real chicken in it so I love that we both enjoy kayaking together.  I wanted to document this start in our kayak adventures.
 

I had the idea for this layout to create a channel between two pieces of paper that sat a little lower so that I could tuck embellishments into and under the channel. Yes, you know by now that it is all about loads of embellishments for me!
 

In order to not use a million pop dots to raise the two pieces of yellow patterned paper up enough to facilitate my vision of creating a channel, I punched out all of the chipboard pieces from this chipboard sheet and used the negative piece to raise my papers on either side of the channel, by cutting it into pieces.


From there I filled in more embellishments around my photo focal area.
 

And created a title with a combination of die cuts and stickers.
 

I added a bit of pink polka dot sticker to balance the pink in my layout.
 

I also used some washi like stickers to adorn the very bottom of my layout, I loved that I could easily draw some pattern down there with these stickers.
 

A Cup Full of Sunshine

My youngest son favours lemonade as his beverage of choice, and frozen lemonade is just the icing on the cake!  So of course, this needs to be documented!
 

I started my layout by creating the sunshine background and filling in some of the centres of the suns with pretty patterned papers.
 

I knew I wanted to use this glass of lemonade on my layout but worried I made a mistake in choosing the soft teal colour for my background because the die cut did not stand out enough against it, but I rectified that by clustering some other die cuts and stickers around it. I love that there are no mistakes in scrapbooking and an embellishment or two can solve so many problems!
 

I layered die cuts, stickers, chipboard, bradz and enamel dots under and around my photo focal area.
 

And tucked in a bit of journaling.
 

Once again I layered stickers and die cuts to create my title.

Thanks so much for visiting today!


Supplies

Good morning! Brenda Smith here to share with you a few tips on how to use your digital Simple Stories products on your paper layouts. 
 
 
Did you know Simple Stories offers digital products? They have printable digital cards and digital papers and embellishments here on their website and also have nearly one thousand cut files and print and cut shapes in the Silhouette Design store. The newest lines, Bloom & Grow and Sunshine & Happiness have already been released digitally so I decided to show you how to maximize these supplies on your paper projects. 
 
 
The first way to use digital products on your paper pages is quite simple. Print and cut out the cards and embellishments and use as you would normally. I've heard from many paper scrappers that they stay away from digital cards and embellishments because they don't have any fancy software to print them up with. I've created a video tutorial to show you how you can use the free-to-download Silhouette Studio program (even if you don't have a Silhouette). For this tip and all the following tips, please refer to this video for the actual how-to. 
 

The second way to use digital files on your paper pages is to turn the Silhouette cut files available in their design store into digital stamp art for your photos as you can see I did on my photos with the "life" tab and "So happy". 
 
 
The third way is to apply digital papers to the aforementioned cut files so you can either print and cut or add to your photo as a digital stamp as I did with the "perfect" cut file. 
 
 
The fourth technique I discuss in the video tutorial is how to use the digital papers to create your own pocket-card-sized patterned papers. You can use these as you would use a regular pocket card or you can use them how you would ordinarily use patterned paper on your spreads. 
 
I hope I've encouraged you to play around with some digital files and try a little hybrid on your paper projects. Please let me know if you have questions regarding any of the methods discussed in the video. 

SaveSave

SOLD OUT

Hello friends!  We're super excited to announce our first ever Warehouse Box Sale!


Each Warehouse Sale Box contains over $200 retail value of Simple Stories products including 12x12 papers, stickers, 3x4 cards, 4x6 cards, SN@P! Pages, brads, chipboard, die cuts and more from collections including Sweater Weather, Frankie & Friends, Legacy, Hello Baby, The Story of Us, Cozy Christmas, Hugs & Kisses, DIY, DIY Boutique, DIY Christmas, Snow Fun, Life Documented, Daily Grind, Homespun, Pumpkin Spice, SN@P! and more!  

To purchase a Warehouse Sale Box, simply select a shipping/location option below and click BUY NOW!

SOLD OUT

Click here for a list of Frequently Asked Questions.

Order now, quantities limited while supplies last!

SaveSave

SaveSave

SaveSave

SaveSave

SaveSave

SaveSave

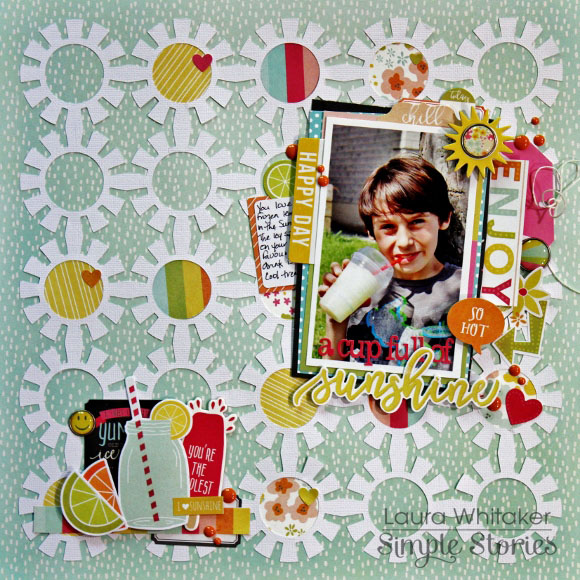
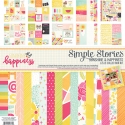
Hi, planner girls! It’s Meka here today to give you some tips on decorating your Carpe Diem planner inserts using scrapbooking supplies. I’m using one of Simple Stories’ newest scrapbook collections, Sunshine & Happiness, to bring my #teampink planner into summer!

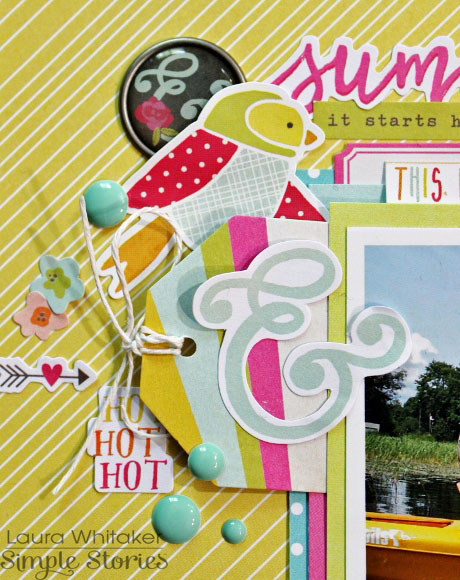
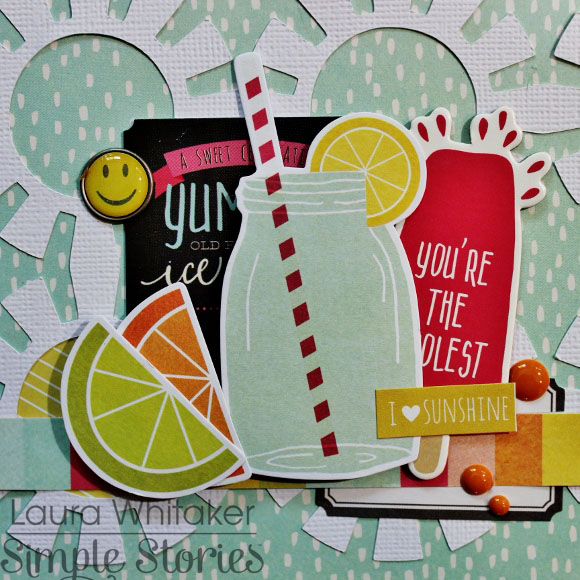
Simple Stories scrapbook collections will have tons of materials to decorate your planner. You can use journaling cards and Bits and Pieces to stuff your pretty pockets. 

Chipboard Stickers and Decorative Bradz make the perfect paper clip toppers. You can even cut out some of your favorite images and adhere them to your paper pieces or journaling cards to keep you inspired. 

The “It’s a Brand New Day” transparent dashboard is super-easy to customize. Here, a 12x12 sheet of Sunshine & Happiness patterned paper has been cut to underlay the dashboard, and a few stickers have been applied for embellishment.

Take a look at the variety of inserts Simple Stories offers. From daily, weekly, or simply to-do lists you can certainly find the right layout to fit your ever-changing needs.

When decorating your layouts, you can add elements ahead of time. Stickers are a given, but you can also cut 12x12 scrapbook paper into long narrow strips to line the edges of your page. It looks just like washi tape once it’s on the paper, and gives your page a cohesive look.

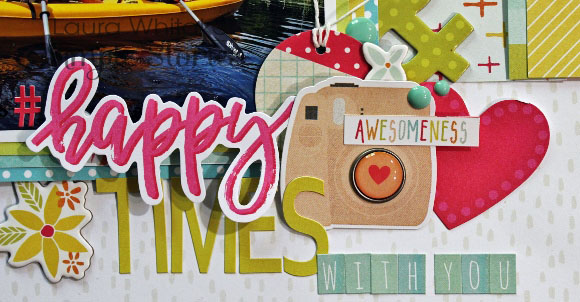
Use large alphas, words, phrases, and other imagery as focal points.

Smaller words strips are wonderful little whispers of positivity and encouragement to get you through your day. Don’t forget to leave space for events and task lists!

I get one peculiar question about some of my planner pages—“Why would you paint on your planner page!?” My response, “Why not!?” 

I encourage you to take risks and unleash your creativity because, after all, it’s YOUR planner! If paint, doodles, sequins, lace, or fringe speak to you, then use them in your planner as self-expression! My favorite non-traditional medium is watercolor because of its flowy, organic feel. Once it’s dry, the page flattens out pretty well.

I use Simple Stories stickers and Bits and Pieces to embellish the page and tie the color theme together. Journaling cards can be fussy-cut or paper punched for even more variety.

Thanks for joining me today for my summery Sunshine & Happiness planner décor walkthrough. I hope this gives you a few ideas to add even more fun to your planner inserts! Be sure to tag me on Instagram (Instagram.com/yespleaseplanning) and show me how you’re decorating your Carpe Diem for June!

SaveSave

SaveSave

Supplies

Hey there friends!!!  Vicki here with a couple of layouts using Bloom & Grow.  This line spoke to me right away…it’s all about the red, navy and gnomes!!  Love it all!
 
My goal was to create these pages with some of the Bloom & Grow papers, the 4x6 sticker pack and a few enamel dots…and inky/painty stuff, of course.
 
Take a look at what I came up with!
 
 
This bright little number started with some white cardstock, Distress Paint and an old hotel room key.  I loaded the edge of the card with paint and then dragged it down the page.  Once it was dry I stencilled some Distress Ink on top.  Great way to create a custom background.  
 
 
Foam adhesive worked well to add interest to the sun and cloud I cut from one of the 4x6 cards.  I layered a couple of stickers in the centre of the sun.
 
 
Here is a closer look at the paint and stencil stuff.
 
 
This was incredibly quick to create and I kinda love it!  
 
_______________

This is the second layout I created.  This time I employed some Distress Inks, a stamp block and a little water to create the “faux” water color look.  Pounce the ink on an acrylic block, mist the ink with water and “kiss” it to the paper.  Layer the colors and let it dry before adding the papers and embellies.


Again foam squares for the win!!!


I LOVE GNOMES!!!!  I cut this guy from a 4x4 card and added him to the page with some diecut leaves and foam adhesive.
 
I hope these pages inspire you to get your fingers dirty with a little Bloom & Grow!!!


Supplies

 
Hello! Jennifer on the blog today to share a couple of layouts I created using the new Bloom and Grow collection!  Simple Stories has another hit with this beautiful line! The colors and patterns don't disappoint as well as the variety of embellishments!
 
Bloom and Grow is definitely geared towards spring but as you can see, you can use it for just about any theme! For my first layout, "Bloom", I scrapped one of my favorite photos of my daughter (who is growing up too fast for my liking!).  I started with the beautiful wood plank background of Dig It.   Using a floral cut file, I layered the Green Dot print and b-side of Let It Grow behind my photo. I then started adding many of the fun embellishments! 
 
 
The Bits and Pieces ephemera comes with a large variety of shapes and words including this script I used for my title! I layered a 3x4 journaling element underneath as well as added a cute chipboard watering can from the 6x12 Chipboard Elements
 
 
The Bits and Pieces pack comes with many colorful flower die cuts that are perfect to accent your page! I added a few around my photo as well as added Bradz and Enamel Dots!
 
 
I even popped up some of the flower die cuts as well as added little sticker sentiments.  Also, you can spy a cut ledger paper print tag that I snuck under my photo! I added some pink and white bakers twine from my stash to finish the look! 
 
 
I am a big fan of banners and love this layered banner sticker from the Fundamental Cardstock Sticker Sheet!  I added it under my photo and stitched through with my sewing machine.  
 
 
_______________
 
For my second layout titled "Spring Concert" I used the ledger print of Bee Happy for my background. I love the grouping of flowers at the bottom corner!  I used both the Red Dot print and navy floral of Let It Grow under my photos.  
 
 
The Expressions Cardstock Stickers come with four different alpha sets to choose from! I used the navy and green letters for my title!  Again, I layered both die cut and chipboard flowers from the collection around my title. I also love the little colored label stickers from the 4x6 Stickers.....they are perfect for a little journaling or to insert a date!   
 
 
How adorable are the little gnomes in this collection?!  I couldn't resist adding one of the cute guys from one of the 4x6 Sticker Sheets! I used some pop dots under the sun die cut to give my page some dimension; I love the sentiment!
 
 
Showing more of the die cut flowers as well as one of the Bradz and circle journaling spot (included in the 4x6 Sticker Sheets).  
 
 
I adhered a portion of one of the border stickers from the Fundamentals Cardstock Stickers sheet at the bottom left of my page to jot down some journaling. 
 
 
Thank you for stopping by today! Be sure to check out the collection in its entirety by clicking HERE!  Have a wonderful day!  


Supplies

Hello everyone ! It's Mindi here with you today and i am going to be sharing some pocket pages using the Bloom & Grow collection. About a month ago the whole family and I got together to start planting our garden. As soon as I saw this collection I knew that it was going to be perfect to help document this story.
 
 
Even though this was not a typical weekly spread but an event based spread I made sort of a title card. I wanted to find something playful and fun. I used the saying from one of the filler cards from the set and made my own card using lots of embellishments, stickers, ect. 
 
 
I really loved this journaling card with the wheelbarrow on the bottom. The picture next to it is of Noah's palm full of seeds. I added some journaling to the card to start out my spread since it was the first card on the page. The photo in the corner is of my daughter setting up for planting her corn rows. 
 
 
These two filler cards were perfect and fun to create. I really didn't have too many stories to tell from this day so the filler cards were the perfect solution. 
 
I decided to mix it up on the right side and use a design 4 pocket page protector. It has this fun 2x12 pocket. I cut up a piece of the 4x12 patterned paper and minimally embellished it with some stickers, enamel dots, and a few die cuts. 
 
 
Let's move onto the right side now. This top photo I added a cut up filler card to the corner. I took one of the 4x4 filler cards from the SN@P cards and cut it in half diagonally. These adorable gnomes are simply too cute ! I really could have used them all, but added one to the corner with the month along the diagonal. One more card I want to point out is the journaling card in the corner. This page was in need of some white space so I used this white journaling card that I embellished the corner. These 2x2 squares are very versatile and I used one on this card. You can use them on photos, journaling cards, ect. 
 
 
This last journaling card is all about these fun garden stakes I found at Target. I added these chalkboard stakes to the garden. The photo of my daughter watering the garden was the perfect spot to add in some extra journaling. There was an empty spot down on the bottom for my journaling. I added a die cut heart and then some stickers for a fun look. 
 
 
I really had fun documenting our family gardening day using the Bloom & Grow collection. This collection is so great and versatile. The journaling cards and embellishments can be used for many, many things. I can't wait to create with it again.  I really hope that you have found some inspiration and I thank you all for coming to the blog today. Have a fabulous rest of your Spring ! 

Supplies

Pages