


The page also has the same title in the form of this fabulous large chipboard sticker. The ‘Beautiful’ chipboard stickers are a firm favourite!
The title cluster came together over a foiled floral base. I liked the idea of using some more florals, so I used my Silhouette Cameo together with a cut file from Just Nick Studio and some Deco Foil Peel ’n Stick Toner Sheets. These sheets can be laid directly on to your Silhouette cutting mat. I used a blade setting of 5 and cut on a slow speed of 2. It cut beautifully! I then popped some pretty Pink Melon Deco Foil over the toner area and placed it inside some wax paper (supplied with the product.) I set my Minc machine to a low heat similar to a laminator and then ran the die cut shape through it. Perfect foil application!
The pink really brings the black and white shades to life! The bunch of flowers have been fussy cut from the ‘Beautiful’ 6x8 Paper Pad. This size pad is brilliant as it can be used with planners as well as smaller projects. A few other embellishments add interest and movement, like the sweet feather stickers (4x6 Stickers Sheets) and the Clear Stickers.
For a bit of element play, I have also stamped some simple feather shapes on to the spotty ‘Follow Your Heart’ paper, again from the 6x8 Pad. I like the fact that the spot matches but is ever so slightly different in size. It helps the feathers stand out and blend in if you know what I mean!
A bit of misty droplets and some golden thread finish off this page, which I just adore.
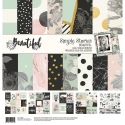
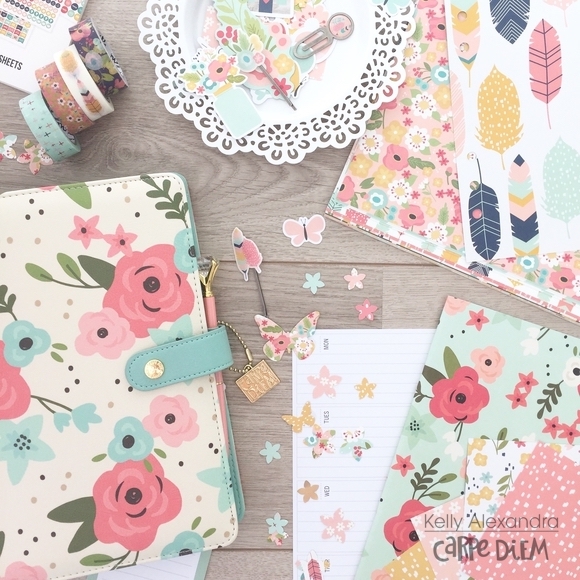
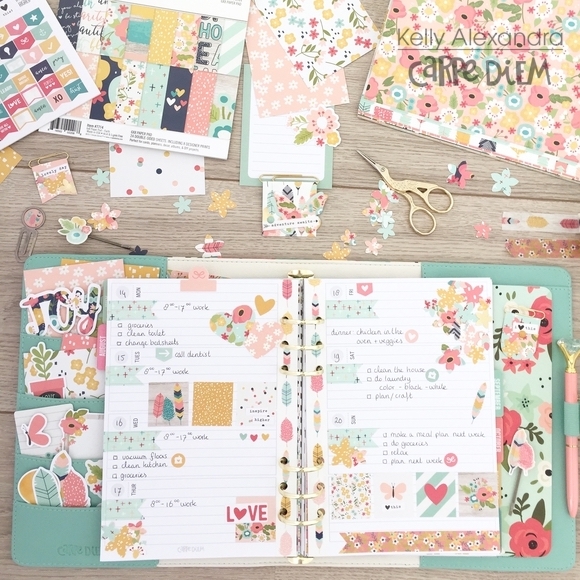
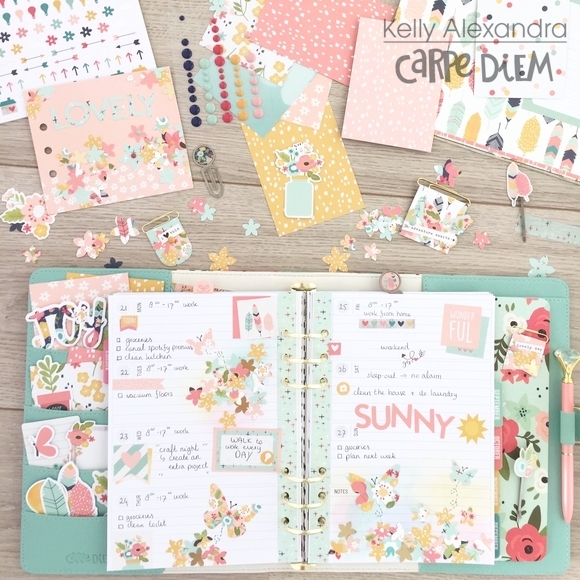
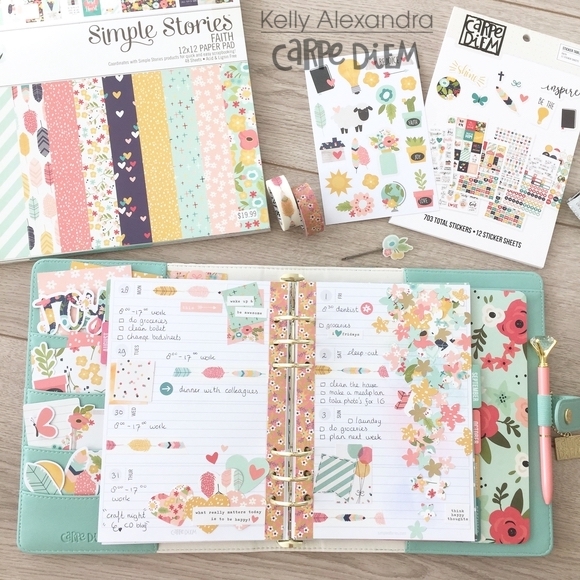
Hi everyone, it’s Kelly here and today I want to show you last month’s setup in my planner using a fun floral theme. My design team box full with new Carpe Diem Planner goodies came and when I saw the new A5 ‘Cream Blossom’ planner I was instantly in love. The floral pattern on the outside is amazing and I decided to move my August planner pages from my Blush planner to this new one.
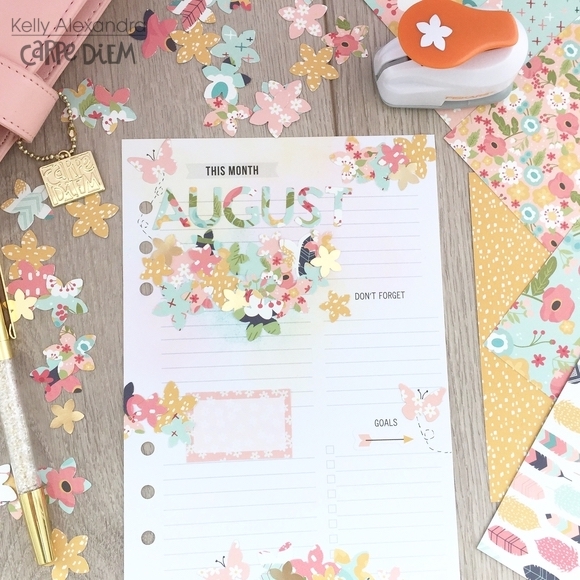
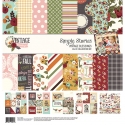
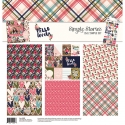
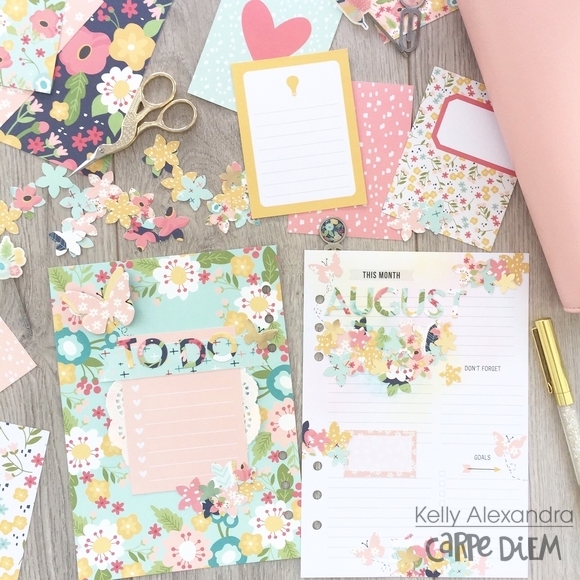
This month I started by decorating the ‘This Month’ page. I bought a new set of floral punches and had to use them on the gorgeous scrapbook papers from the ‘Faith’ collection. I punched a LOT of flowers and decorated the page leaving enough room to write down my monthly goals and important appointments later.
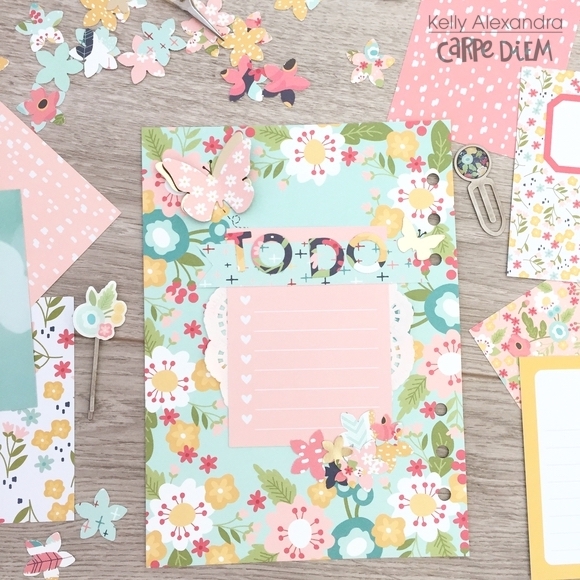
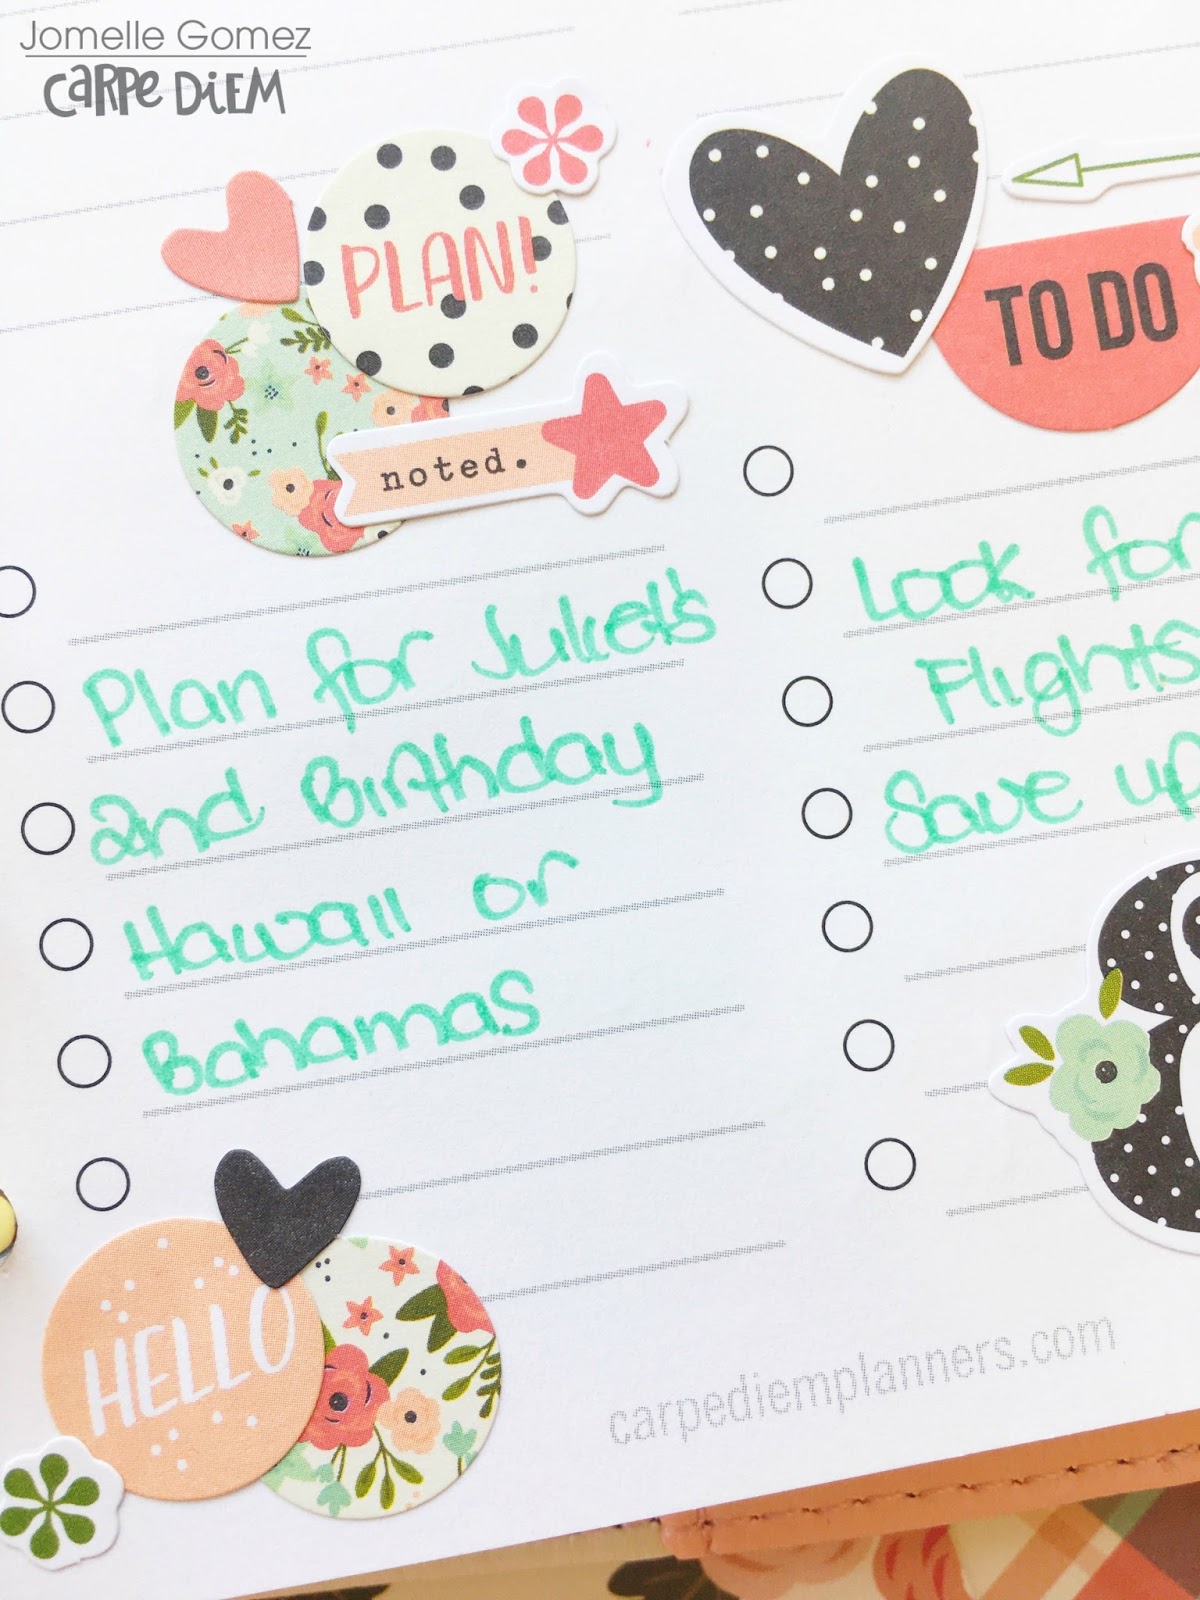
I created a fun extra ‘To Do’ page by punching holes in one of the papers from the 6x8 paper pad, and decorated it with a notecard and some more flowers and diecut butterflies. Because who doesn’t love butterflies, right?
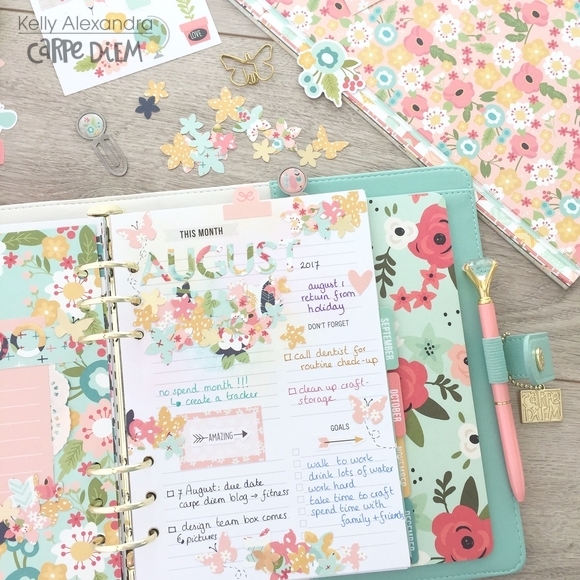
Now it is time to fill in some important due dates, goals and ofcourse to do’s. I normally only write with black or blue ballpoint pens, but I thought let’s switch it up a little and use some colored pens to make it even more colorful.
I tucked in a few of the notecards and decorative pieces from the ‘Faith’ collection in the planner pockets.
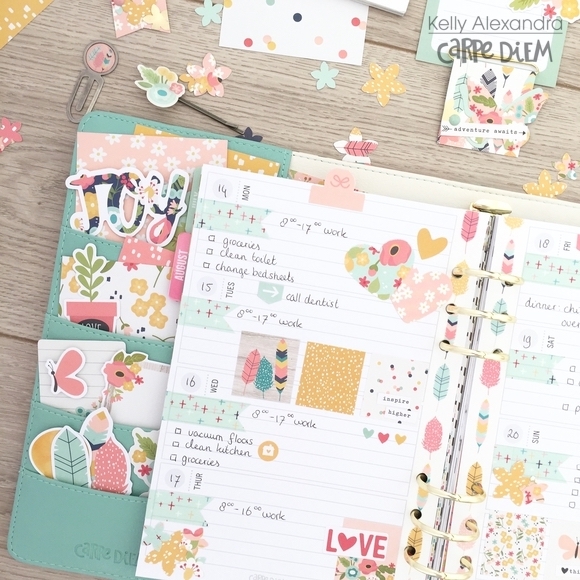
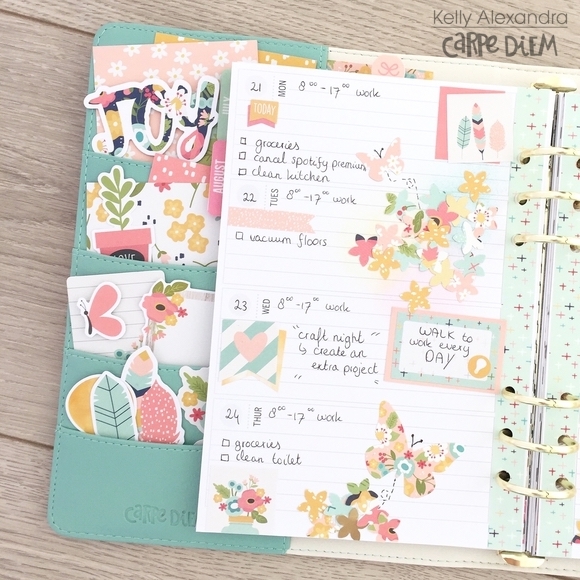
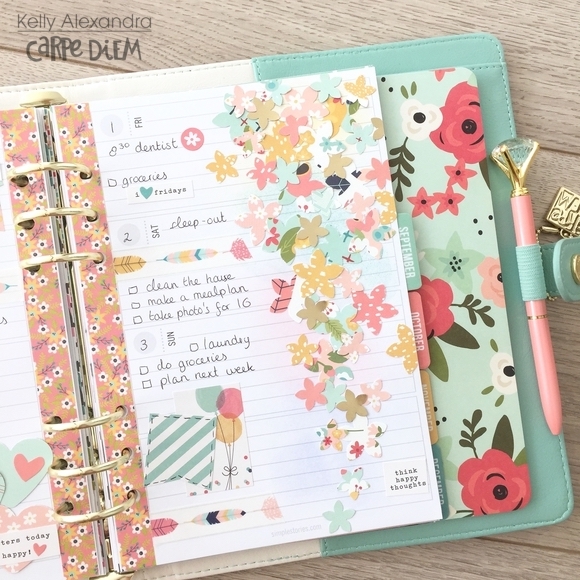
When decorating my weekly spreads, I always start by putting a washitape border over the holes and repunching the holes using the Carpe Diem punch. Next, I write in the weekday numbers and start decorating by using more washitape, stickers and decorative bits. After the page is fully decorated I fill in my to do’s for the day with a black ballpoint pen.
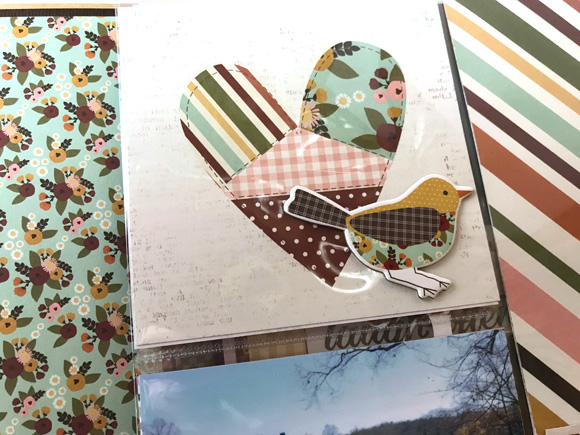
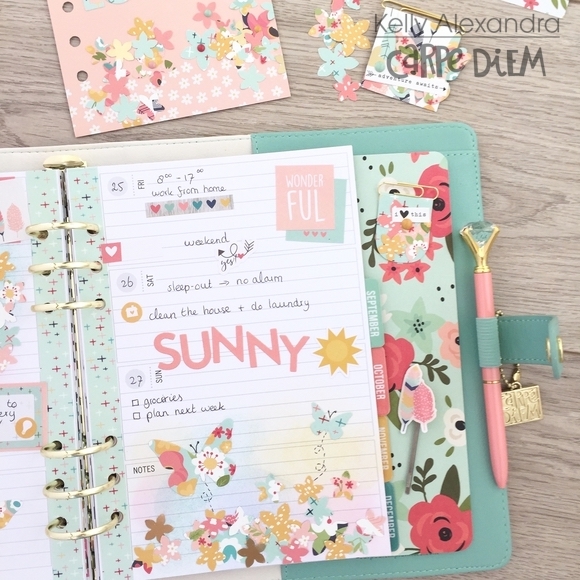
As you may have noticed, this entire month I used the same scrapbook collection and same little punched flowers in my planner spreads. Underneath the flowers I used a few colors of distress ink and applied them with a blending tool (I am not a mixed media expert, but I love the little extra color on the page).
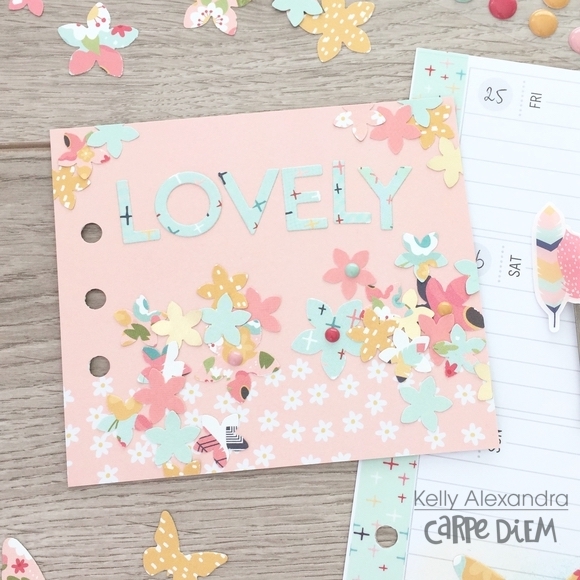
Here I have made a fun little extra insert using a light pink 4x6 card. I punched three holes and decorated it with some more punched floral pieces, a few enamel dots and the diecut word ‘Lovely’. On the back, I adhered a clear pocket and tucked in a washi sample card.
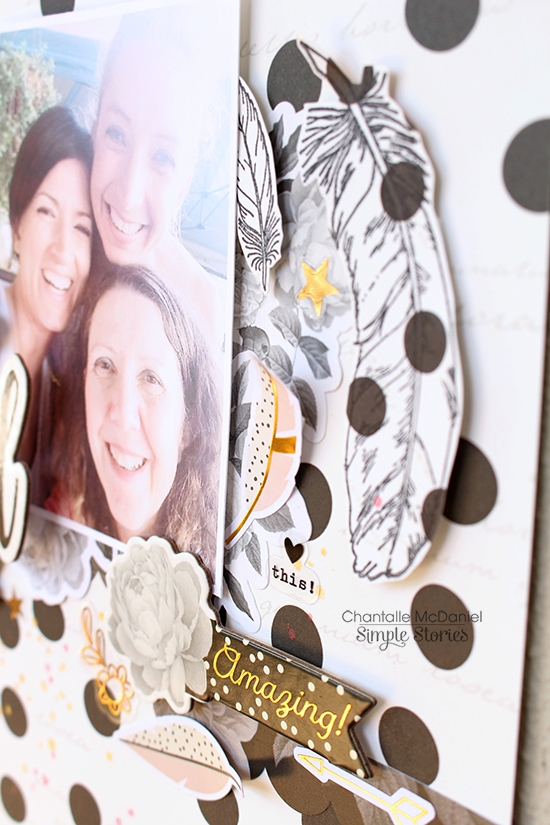
Besides the punched floral pieces I also made a few diecut butterflies that match the theme of the month. I finished these pages with some layered box and icon stickers.
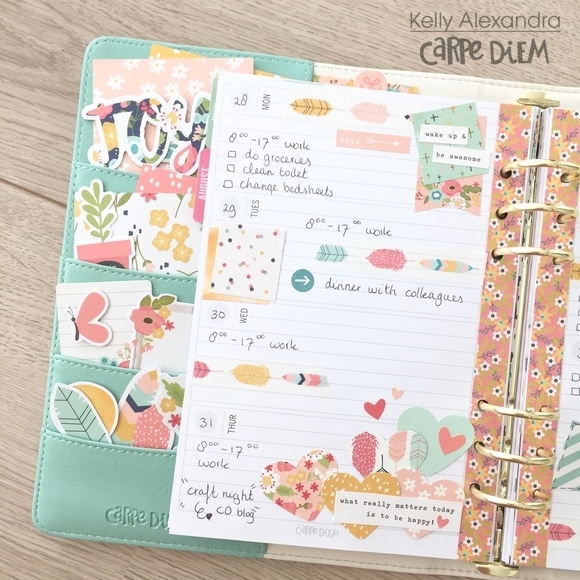
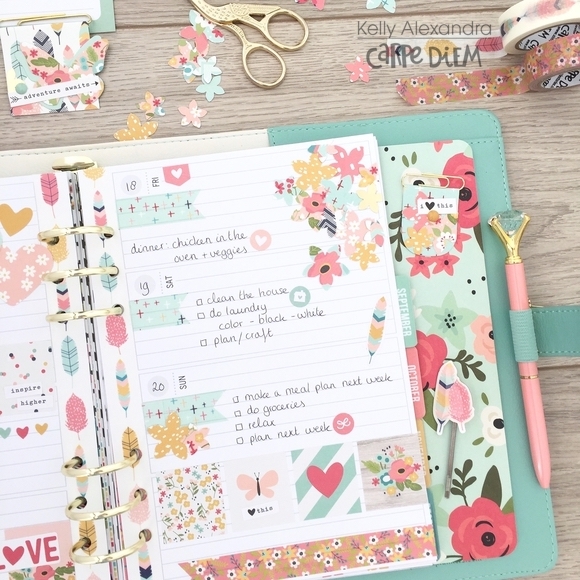
I usually leave some empty space in my pages to write down some memories or last minute (urgent) to do’s.
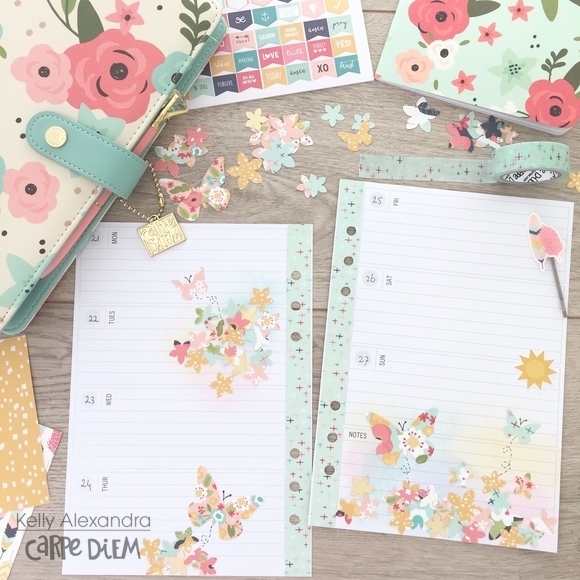
For the last weekly spread I thought it would be fun to cluster a lot of punched floral pieces on the right side. It turned out quite busy but I love looking at it!
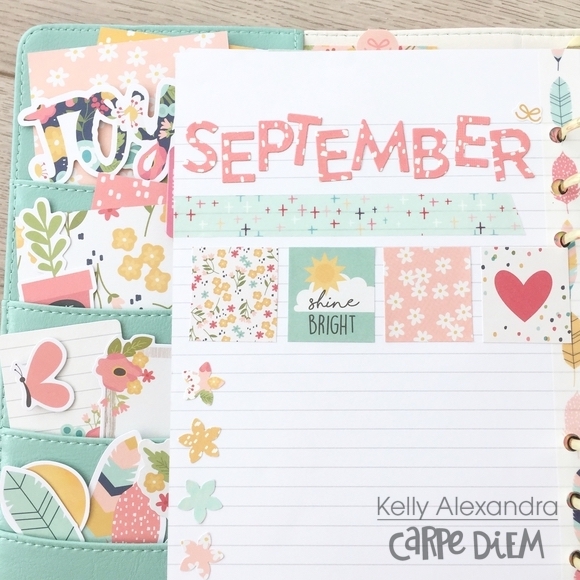
On the back of the last weekly insert page there was a blank notes page. I decorated the page with the word ‘September’, some washitape and box stickers. On this page I can write down things and appointments I need to remember in September!
I hope you enjoyed reading this blog about my August planner pages and it got you inspired to use your scrapbook papers to decorate your own planner.
Have a nice day and for more inspiration you can look through my planner Instagram account: createplannernl (https://www.instagram.com/createplannernl).
7987 Bloom travelers notebook inserts
Hello friends! Jennifer on the blog today to share some pages I created with the new Vintage Blessings collection! It's almost fall time where I live and I will tell you this is my favorite time of the year! The air is more crisp and the leaves are beginning to turn colors! It also means beautiful fall colored scrapbook papers! :) Vintage Blessings has delicate, warm colors that are inviting and remind you of all of the fall themed activities! Like most Simple Stories collections, you can use this line for just about any theme!
For my first layout "Blessings", I wanted to scrap a favorite photo from one of our fall traditions: homecoming! I started with a kraft background and utilized the many beautiful patterns of Vintage Blessings! I love using my Silhouette to use Simple Stories cut files that are available in shop! I cut four small circles of the "Wreath" cut file (#214849) from the So Thankful sheet. I adhered them randomly on my page allowing portions to "hang off" the cardstock.Layouts with Vintage
I stitched through each of the circles with my sewing machine and then added die cuts from the Bits and Pieces pack as well stickers from the Combo Sticker Sheet. I love all of the dainty little embellishments that are a part of the Simple Stories collections!
For my title, I used the "blessed" sentiment on the Combo Sticker Sheet popping it up with foam tape. I also love the smaller quote cards that are in the Bits and Pieces pack! Here, I added one to accent my title as well as one of the floral clusters. The Combo Sticker Sheet also includes many colorful sentiment stickers such as the "making memories" one I used on my page.
How adorable is this die cut branch and bird from the Bits and Pieces pack? I adhered them off the top edge of my photo to make a cute accent! This would also be perfect to use on a card!
__________________________________
For my second layout "I Love Autumn", I scrapped another fall family tradition! When our kids were little, they LOVED jumping in a big pile of leaves! Luckily, we lived in an older neighborhood and we had to do a lot of raking! I created a semi grid layout clustering my photos together. I also used a strip of the multi-colored houses of Home Sweet Home along with the yellow plaid of So Very Blessed.
On my smaller square, I backed the gorgeous bird print of Gather Together onto one of the 4x4 Elements. This is a great way to utilize the Element Cards if you aren't doing pocket scrapbooking. I then clustered my embellishments using both stickers and pieces from the 6x12 Chipboard. I love the smaller fall colored leaves to use as accents.
Vintage Blessings doesn't disappoint with the washi tape! How gorgeous is the blue on the Grateful Washi? I used a strip at the top of one of my photos and layered stickers on top.
The Bits and Pieces pack has many journaling spots such as this "blessed" circle! I adhered mine to the top of my photo to document the date as well as add a cute acorn and bakers twine.
Thank you for stopping by today! I hope you will check out Vintage Blessings in its entirety on the Products page as well as the rest of the new collections! Have a great day!
Hello friends! Linsey here today and I'm so happy to be sharing my latest home décor project with you! I've used the new Beautiful collection to create some pretty wall art, desk organization and altered clipboard pieces. This is one of those collections that becomes a staple in your crafting because it is so versatile and just like its name says, so beautiful. I really enjoyed creating this ensemble and I hope you like it too!
I love how easy it is to create shabby-chic sophistication with this collection. It has lovely pastel shades of pink and green, mixed with pops of black and gold. Floral, polka dots, stripes...this one has it all and I'm absolutely enamored with it. As you can see, it's a breeze making beautiful wall art with this collection. Just pick your papers, fit into pretty frames--done! There is so much gorgeousness going on, my only issue was trying to narrow down which papers to use since I love them all.
I had never altered a clipboard before and I think it might be my new favorite! It is almost too easy and once again, these papers are the star of the show! It's fun to get creative with clipboards, like adding a row of scrumptious mulberry flowers or delicate lace along the top. The Beautiful Combo Stickers are perfect for decorating and adding even more charm to any piece.
I wanted a few organizational items for my writing desk, so I made a mini mason jar cubby trio, which is great for storing pens, small die cuts and chipboard, lace trims, and other small embellishments. I also covered a vanilla candle with pretty patterned paper and an inspiring die cut. The candle was beyond easy to spruce up and would make a great little gift as well. I see myself doing plenty more of them.
Another very easy and inexpensive way to make desktop organization is by using food cardboard boxes, like cereal boxes. Simply cut it, cover it and decorate to your hearts content. Here, I made a small holder for my 4x6 sticker sheets.
The designs in the 6x8 Paper Pad are too beautiful to pass up. A few of them were born to be framed and that's exactly what came of them. A vintage mint typewriter with black/white florals and pink marble--yes, please! Here's a closer look....
This sweet vintage bicycle with a basket full of flowers was a no brainer--it had to be framed and displayed. Add a bit more interest and personality to a framed piece with little embellishments, like enamel dots and mini flowers. Extra details always make something look even more special and unique.
And that's all for me! I hope you've enjoyed my showcase featuring the Beautiful collection and feel inspired to create some of your own DIY home décor/organizational pieces! Thanks so much for visiting! Happy crafting!
Hello Everyone! Have you seen the new Black Bloom Personal Size Planner? I am in love. The flowers are so pretty. I was really excited to set her up. I decided to use some of the Hello Lovely papers.
7820 Domestic Bliss Decorative Brads 7990 Personal Bloom Monthly Planner Inserts 4989 The Reset Girl Decorative Clips
Hello Simple Stories fans! It's Lisa Dickinson here today, and I'm excited to share some new layouts with you featuring two new lines from Simple Stories, Very Merry and Oh What Fun!
When it comes to inspiration for my scrapbook layouts, I have numerous go-to sources. From Pinterest boards to billboards, magazine ads to menus, clothing catalogs to car brochures, I can often find art elements to replicate on my pages. But sometimes inspiration is more easily found - like in the scrapbook product right in front of you!
For the Christmas-y page below I was inspired by the packaging on the new Very Merry Collection Kit. The vertical snippets of patterned papers perfectly displayed the array of colors and patterns and inspired me to do a similar treatment in my design.
I simply cut eight 1.5" wide pieces of paper and arranged them across the bottom of my layout, much like they were set up on the packaging.
After topping the patterned strips with a paper ribbon & twine, I layered a few tags and ephemera below the bow to serve as both my embellishments and title.
It was a page that came together quickly without a lot of fuss, thanks largely to the inspiration provided by the packaging!
_____________________________________
On another page, I took a cue from the 3x4 Elements paper in the Oh What Fun line and printed my photos the same size (3x4). This made it easy to arrange a page design using alternating photos and journal cards:
To help my title stand out, I cut out the "Oh What Fun!" circle from a larger (4x6) journal card and mounted it with foam adhesive. The circular shape helps soften all the straight lines in this design, and the bold black & white really pops off the page.
I typed my journaling on another 3x4 block and embellished it with a simple sticker across the top edge.
A bit of baker's twine, a few chipboard snowflakes, and some white brads are all that was needed to complete the page.
So the next time you're stumped by how to begin a page, look no further than your scrap table. You just might find inspiration in your favorite scrapbooking products!
Hi Simple Stories fans! It's Traci and I'm back to share a new Sn@p album with you. More importantly, have you seen the new Vintage Blessings collection??! Oh .. my ... goodness I LOVE it! It's a great combo of vintage, family, home, and fall ... and the colors are awesome! I had so much fun documenting a trip we took in Fall 2015.
My husband took me on a weekend trip to Asheville, NC for my birthday. We stayed at the Grove Park Inn and got tickets to the Biltmore Estate and a Segway tour of the grounds.
The Grove Park Inn was gorgeous ... decorated for the holidays with huge fireplaces, candles, and lots of beautiful Christmas trees. The stickers sum it up perfectly :)
I think the little houses and vintage tea cups in this line are so cute...perfect for my tour of a beautiful old estate home.
Have fun using Vintage Blessings for all of your fall, family, heritage, and everyday memories this season! It's truly a beautiful collection ... happy crafting!