September 2017 Blog Posts

Hi again, I'm back, as promised with part two of my blog looking at how I have used the new Vintage Blessings collection in my planner.  If you missed part one, you can see it here.

As you know I enjoy setting up my planners to be completely unique to me, I like to fill the pockets with my own style of decoration and make my own dashboard (decorative first page) and dividers.

It's so easy to make your own dividers, I simply use an original insert as a template, draw around and cut out. I think I've mentioned before how I use scissors but you can use a trimmer to speed things up, and then I punch the holes with the CarpeDiem A5 hole punch. I make all the dividers before I begin to decorate.

My 'style' changes frequently but at the moment I'm very into adding faux stitching, I use a black ink pen to roughly draw around pretty much everything & anything to make it 'pop'.

The Vintage Blessings collection is full of these gorgeous house images, so I just had to fussy cut some out to use on my dividers, to give a 'picture' like feel I've also used a cloud punch and dotted these around, again using the faux stitching which I think gives almost a quilted feel! 

I like to layer as much as I can on my dividers using papers, doilies, washi tape and ephemera, you can see in these pictures how I build the scene with lots and lots of layers. 

The different paper layers can be torn, cut neatly and even roughed up using the edge of your scissors, this gives such a great texture! 

Using the cut apart elements from the 12x12 collection pack gives you plenty of 'quotes' to use and I do enjoy cutting out words from the element pieces to use as word strips. 

Chipboard pieces are perfect to add depth to your dividers, I also get this effect by adding sticky foam to the backs of stickers to lift and add dimension.

Shaped punches for me are a fabulous way to use every last scrap of my papers, you can see in the picture above where I have used a large circle punch, halved each circle and built up a pretty scalloped edge, and yes once again I've used plenty of faux stitching, but how well does that work with the semi circles of doily, it gives a real homemade, make do and mend feel! 

Finally I'll just show you this little page marker I made by chopping up a pocket page, punching holes, the holes are slightly lower so the top sits proud of the the pages. These are great fun to make, and a perfect way to use up any scraps of paper you may have left.

I hope you've enjoyed seeing how I've used the Vintage Blessings collection to make homemade dividers and that it's given you the confidence to make your own, you really can't go wrong!

Until next time if you would like to see more of my projects then please pop over to my Instagram account https://www.instagram.com/heartsbyemma

Supplies

 
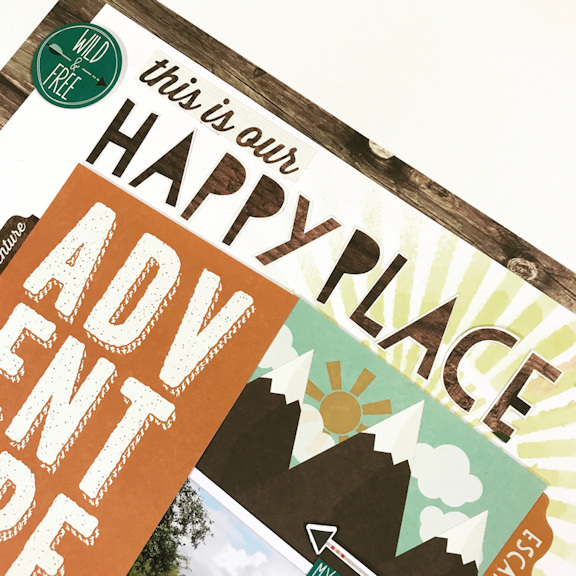
Hello. It's Lisa here with you today.   I am scrapbooking two different types of adventure using two different collections - Cabin Fever and Old School.
 
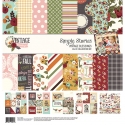
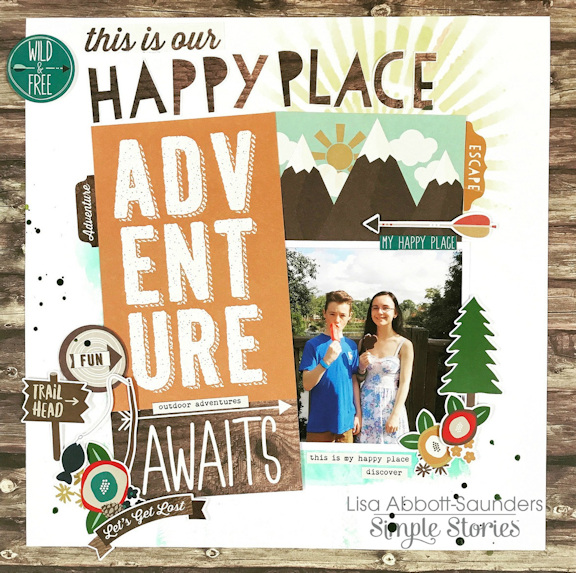
I'm starting off with the Cabin Fever collection and using a photo from a Disneyworld visit. This was a trip to Animal Kingdom. These papers work so well with this park. I love being able to adapt collections to fit my photos.  


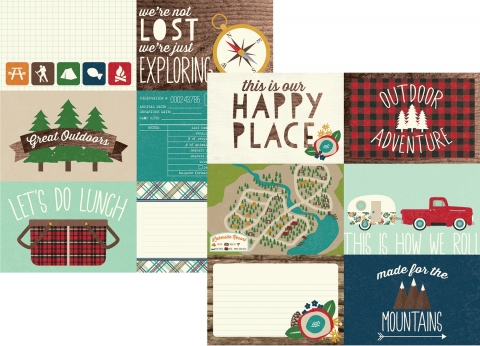
I've used a few of the Element Papers here. Cutting them out to embellish and title my page.  This one here is made up of two of the Element papers that I've cut out and layered.
 
 
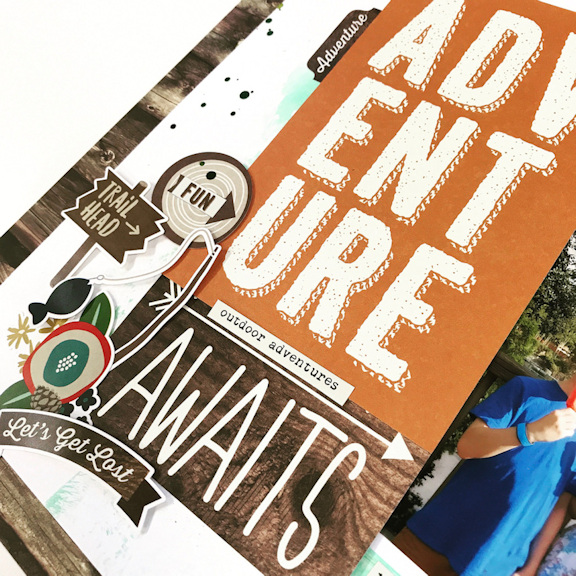
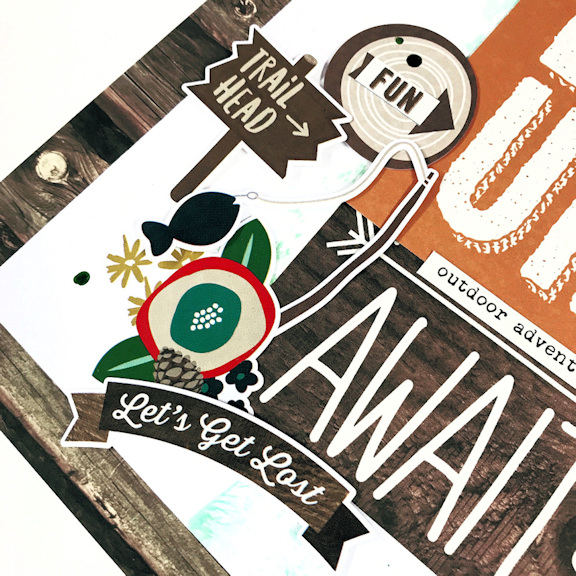
I've created a little cluster here at the bottom using a mixture of stickers from the 12x12 sticker sheet, the set of 4x6 stickers and also some of the Bit and Pieces.
 
 
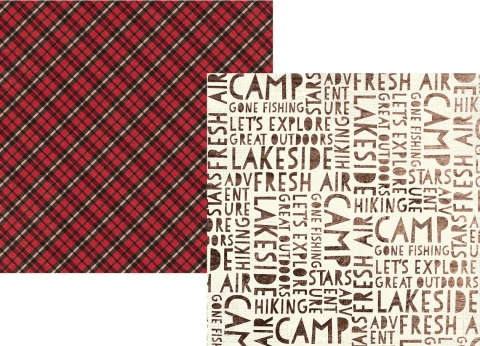
I used one of the coordinating papers ' Adventure Awaits' as inspiration for my title. 


I really like the look of all these words on this paper and decided to create a title in this style.  So I used this paper here....


 I took the Element with 'Happy Place' and separated the 'this is our' and then individually cut the letters from 'happy place' out to use side by side for my title. This worked really well.  It was a really fun page to create.
 
___________________________
 
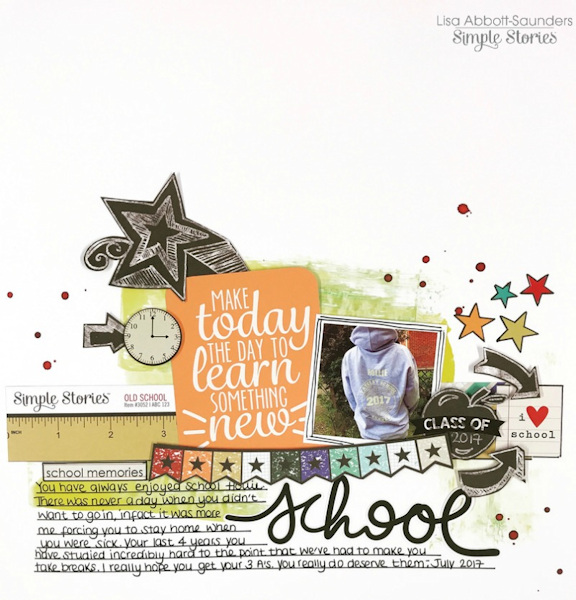
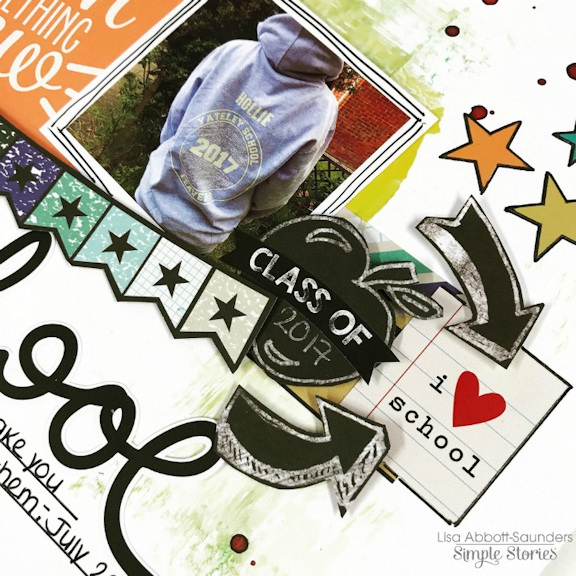
The next one is a completely different type of adventure. More of a life adventure. My daughter finished school this Summer, so the 'Old School' collection was perfect to document this.
 
 
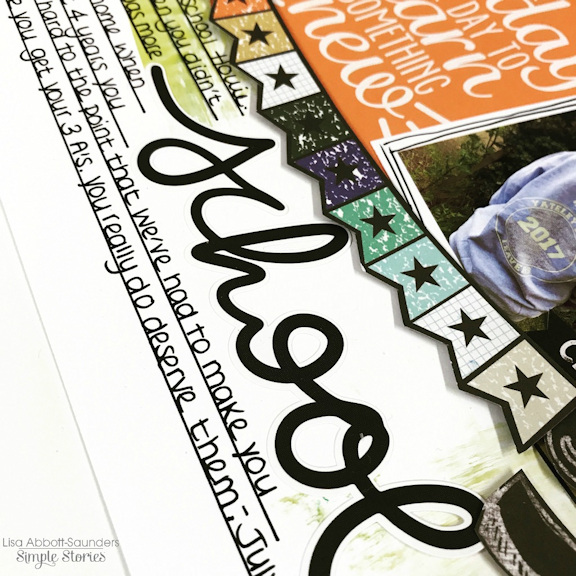
For me the journaling was very important on this one, so I made sure I left plenty of space to write. I also wanted a lot more white space on this project so I focused my design within the second half of the 12x12 cardstock in order to create this cleaner look.
 
 
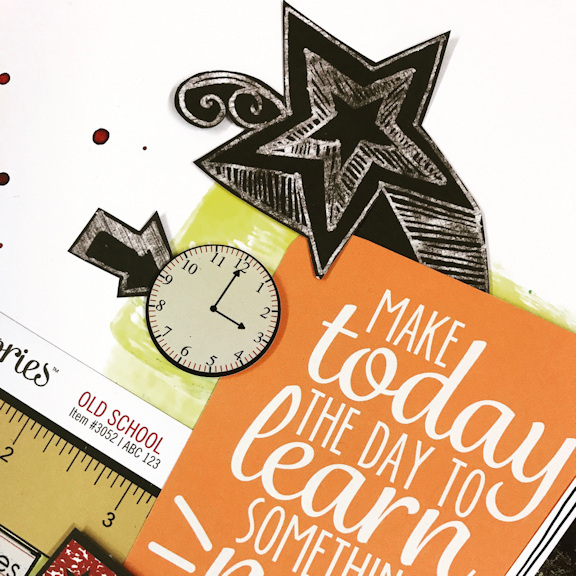
I had so much fun with the chalkboard style paper. I cut out lots of pieces and used these to embellish sticking them down with 3D foam tape.


I also used the 6x12 Sticker Set on my page. This 'school' stickers worked great as a title.
 
  
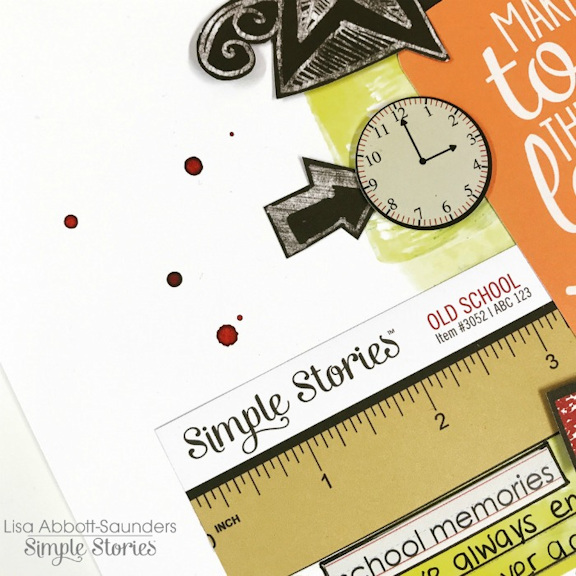
And nothing goes to waste. I even used the Simple Stories Strip here. I thought this wording of this paperline was very fitting for my page, so rather than trimming it off, I kept it in tact.
 
It's always fun to document adventures and even more fun when some time later you look back on them.   What adventures will you be scrapbooking next??? 

SaveSave

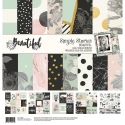
I can’t believe we are in September. What a wonderful way to start off a new Month and a new week, with the new mint Vintage Floral Personal Planner and the Beautiful collection. It’s a perfect pairing.

I started this month by making personal size planner bookmarks. I chose the Shine Brigh and Follow your heart, because it went so well with the dividers inside the planner.

Next I made a dashboard and filled my pockets with the beautiful bits & pieces and I laminated the beautiful collection stickers and made paperclips. My favorite part of the collection is the hint of black and gray with gold over mint green! It makes me want to run to Starbucks and grab a Chocolate Peppermint Mocha. Can you see the cutest little coffee cups in the pockets! In love.

I had a blast decorating and embellishing my Monthly Calendar for September . I used the Dream Big Washi Tape and Create Beauty Washi Tape.  It made the perfect addition to my view before the Pen. Thank you to everyone who took the time to stop by the blog. The New Carpe Diem Planners are perfection!

Supplies

Pages