November 2018 Blog Posts

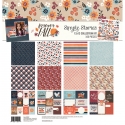
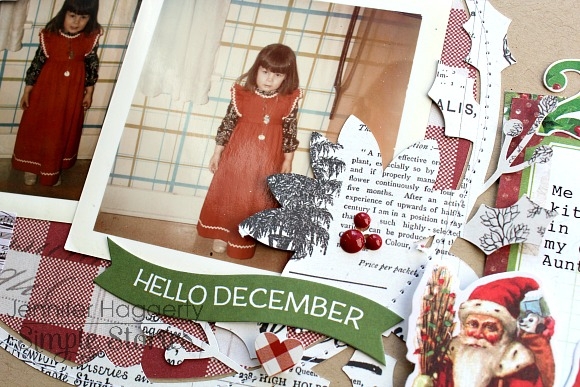
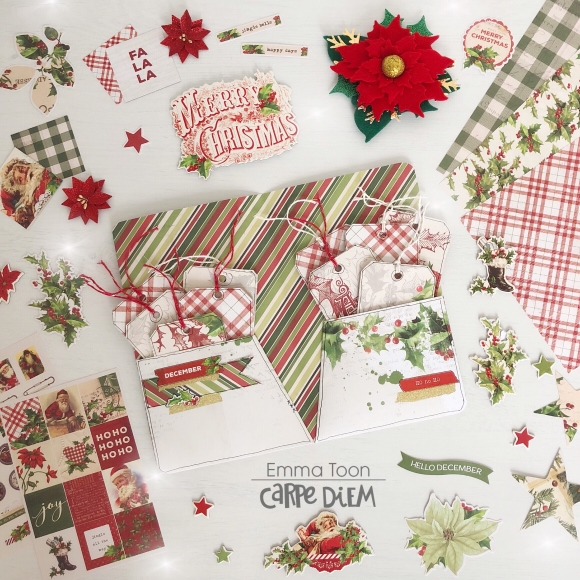
Hi everyone!  For my project today I want to share a gift idea with you.   What hostess at Thanksgiving dinner or a Christmas party wouldn't want to receive a beautiful handmade gift like this memory album?

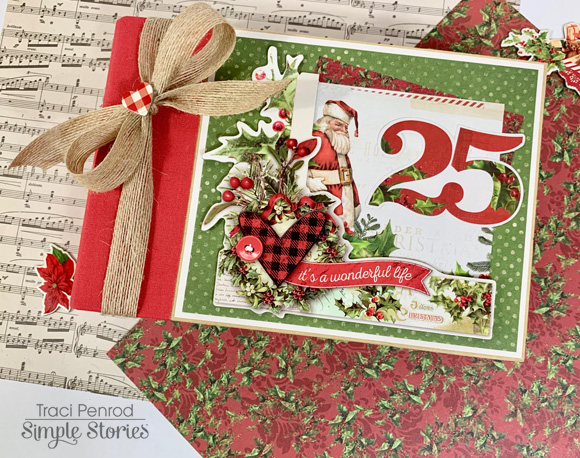
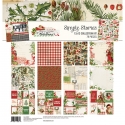
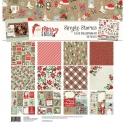
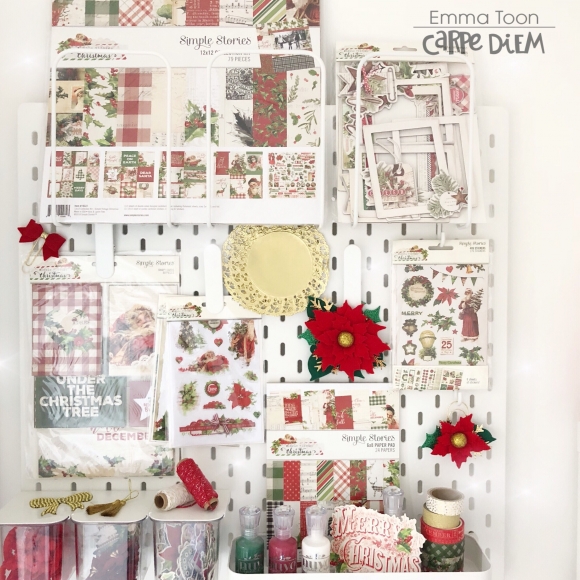
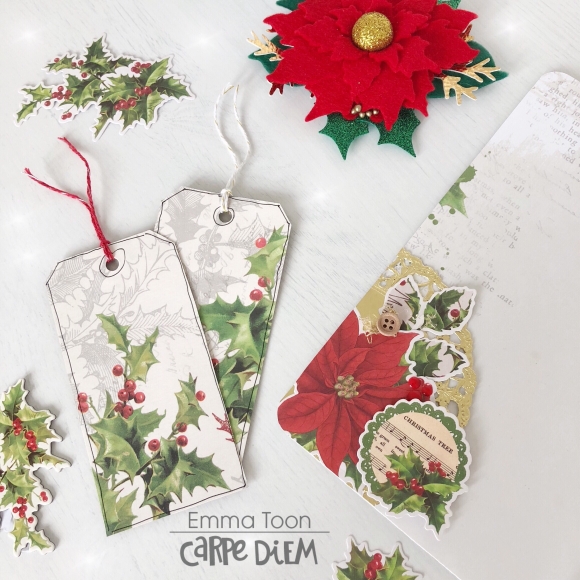
Family and friends would also love one!  All you need is a 4x6 Snap album, some Simple Vintage Christmas paper and embellishments, and some cream card stock.

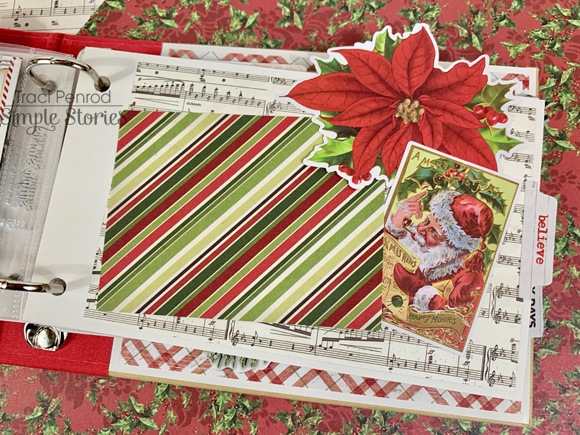
I used card stock to add six 4.25"x7" scrapbook pages in between the plastic photo sleeves.  I didn't add photos to the album since this will be a gift and the recipient will add their own pictures.

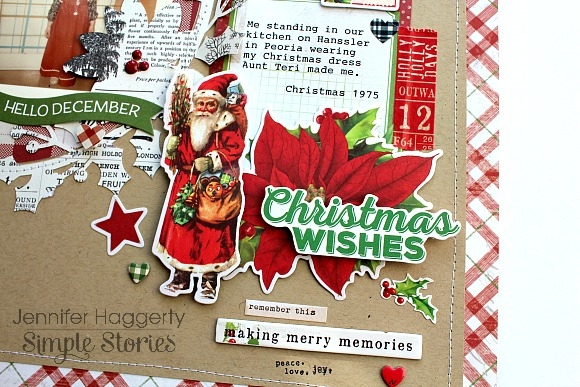
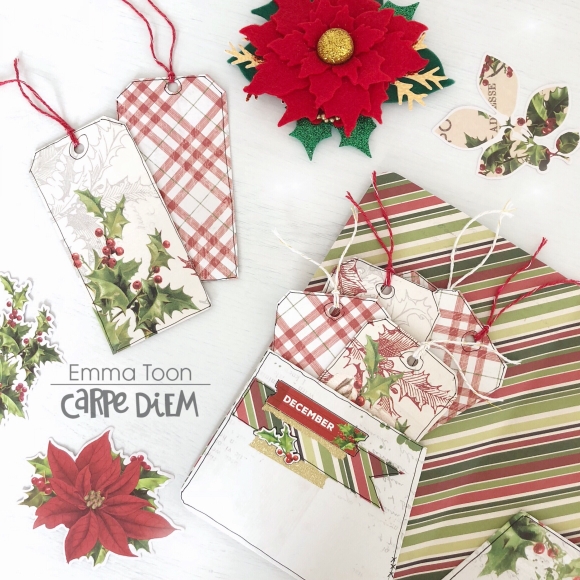
I used pattern paper from the 6x8 paper pad and lots of cards from the Simple Vintage Sn@p Card set.  

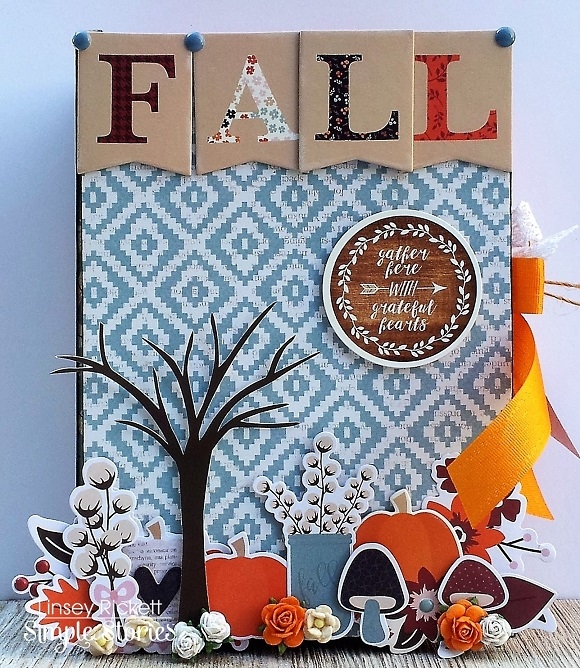
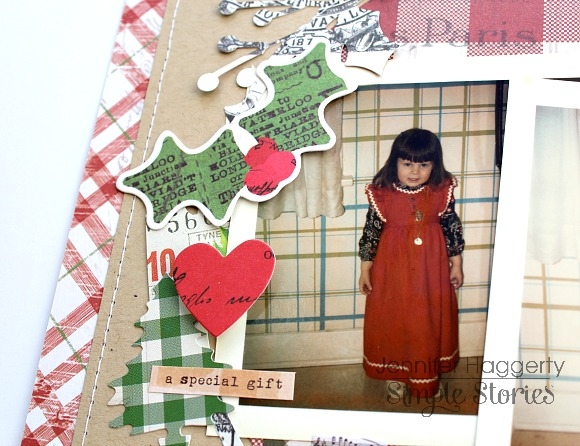
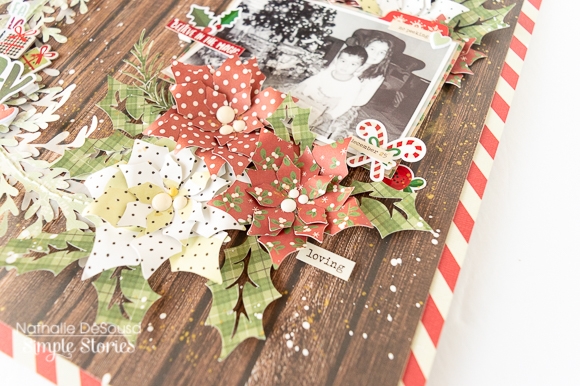
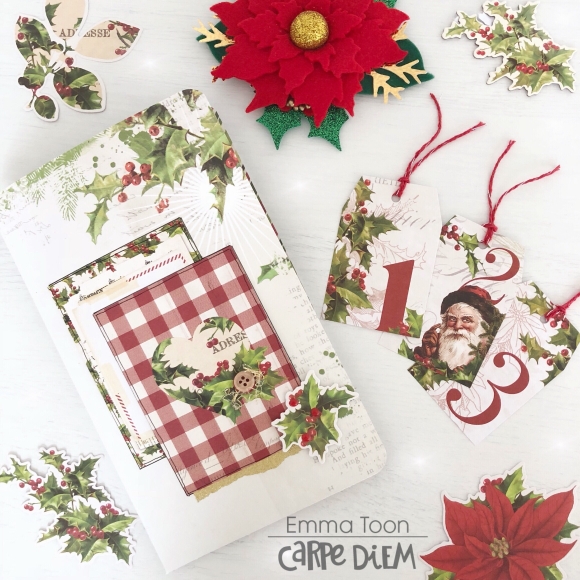
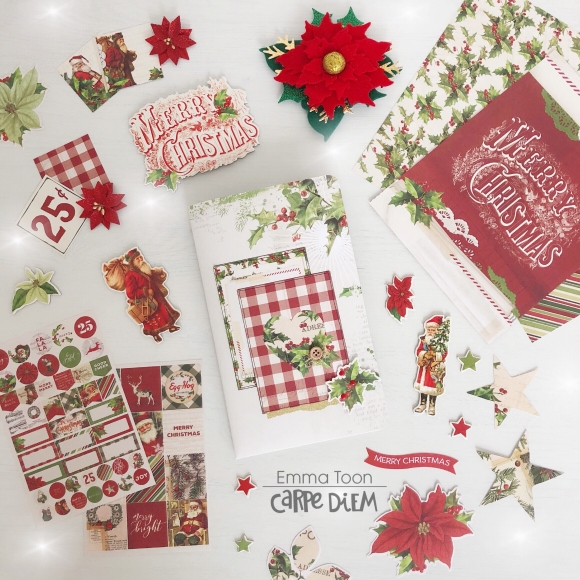
On the cover of the album, and on the page above, I included chipboard frames from the layered frame set.  I LOVE these!  The one for the cover was cut down so that I could just use the lower left corner of the frame ... I love the dimension the chipboard added to the cover.  For the frame above, I added pattern paper to the back of the frame and punched holes for the binder.
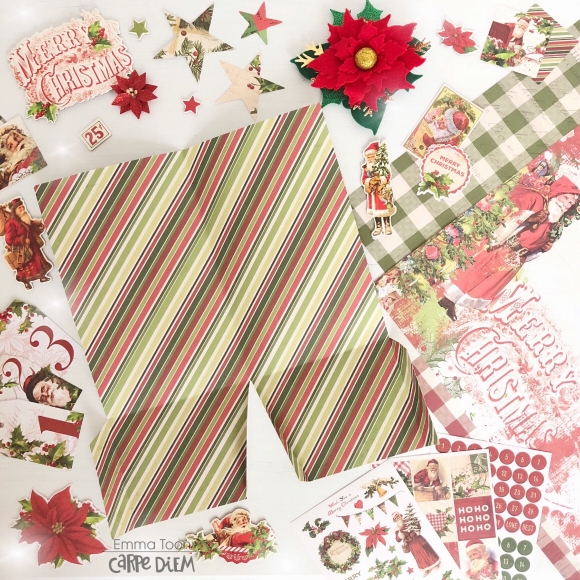
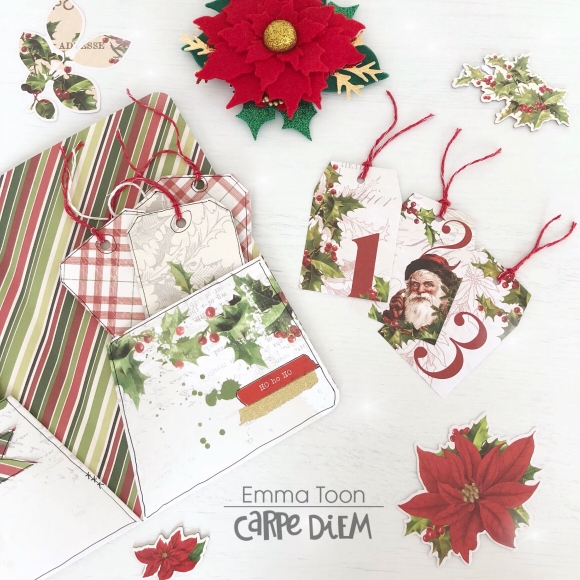
The die cuts shown above are from the Bits & Pieces pack, and the stickers throughout the album are from the 12x12 Combo sheet, chipboard, and 4x6 sticker set
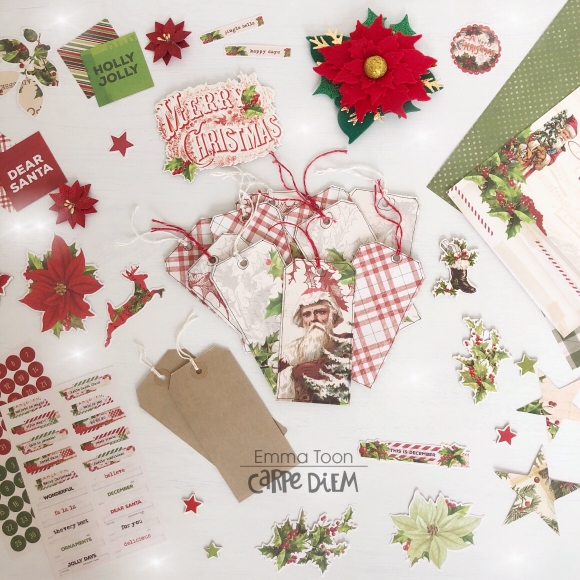
I hope I've inspired you to create a handmade gift this year!  Thank you so much for stopping by to check out my album!

Supplies

Temperatures are dropping and Fall is upon us! I just love this time of year! Hello friends! Linsey here today sharing my latest altered project, a lovely book box keepsake to commemorate all the beauty and love this season holds. The Forever Fall collection is perfect for all your projects during the Autumn season and this is just one idea that I hope will get you inspired to create with it!

The box is covered inside and out with 12x12 papers in Give Thanks, Gather Together, and Pumpkin Everything. The front is decorated with a variety of Forever Fall Combo Stickers, 6x12 Chipboard, Bits & Pieces and 4x6 Stickers. All edges were covered with the blue leaves in the Forever Fall Washi Tape. Inside the box is a space for journaling and there are large tags meant for adding photos from the season as well as more journaling areas.

More tags could be added or even small mementos to keep inside the box. I love how the 3x4 Elements fit just right on the tags and a 4x6 Vertical Element fit perfectly inside the large space inside the box.

A pretty bow with a cute tag was added to one side of the box.

A title for the book was added along the binding using stickers.

This box will hold all my family's memories from Fall 2018. I hope it will be a favorite for years to come. I really enjoyed making it!

And that's all for me! Thanks so much for visiting today and allowing me to share my Forever Fall book box! Wishing you and yours a most blessed Thanksgiving and Fall season! Until next time, happy crafting!

Supplies

Hello! It's Jennifer and I'm so excited to share my layout with you today using the Simple Vintage Christmas collection! What is not to love about this line from the gingham and plaid prints to the traditional holiday tones. I  thought instantly about doing a page with an "old fashioned" photo and found these gems from when I  was a little girl. I  was so proud to wear my Christmas dress and so grateful my mom took photos of me.

I  started with a kraft cardstock background mounted on the beautiful plaid print of the B side of Dear Santa. I  love incorporating Simple Stories' cut files from the Silhouette shop and used the "Circle Wreath" with the musical note print of Jolly Holiday.  I  then added embellishments from the Bits and Pieces pack as well as the 12x12 Combo Sticker Sheet.  around the wreath. 


For my title, I  popped up one of the sentiments from the Combo Sticker Sheet layering it over a beautiful poinsettia die cut. I  also used pop dots on the vintage Santa found in the Bits and Pieces and accented with smaller embellishments such as Chipboard hearts and star die cuts. I  typed my journaling on one of the 3x4 Elements as well as added a bit of the adorable Washi that coordinates with the collection! 

Thank you for reading today! I  hope this inspires you to scrap some of your older holiday photos! Maybe even do a page about you! Have a great day!

Supplies

Hi everyone! Thanksgiving to me is a time to share love and laughter with family and friends with all of our favorite comfort foods. At our annual Thanksgiving dinner, I make the main portion of the meal but ask everyone to bring their favorite dish to share. As we our enjoying our meal we always say how wonderful everything is and we wish we had the recipes to make the dishes ourselves. So in the spirit of Thanksgiving I decide to create a family cookbook to collect all of those divine recipes that I want to enjoy all year long!

I chose three of the beautiful patterned papers from the 'Forever Fall' collection and folded up one edge to create a pocket. Using my sewing machine I stitched around the sides and bottoms for extra detail and then folded the papers in half to create 6 pockets.Since I knew this would be used in the kitchen, I gave it a clear cover cut from an Avery job ticket holder! I stacked all of the pockets together along with the plastic and sewed down the center to keep it all together!

I used the charming and beautiful  journal cards, Bits & Pieces, chipboard and stickers to decorate and embellish the cover and pockets of my cookbook. I also added in some fun family Fall photos along with some journaling areas so this will be a treasured keepsake as well!

I made the recipe cards using the other patterned papers in the collection and some of the gorgeous 'Forever Fall' digital images that are available. Using a paper design app, I made the recipe cards and printed them put onto heavy printer paper. Easy peasy and super cute! I scored all of my cards so they can be open or folded close.

Each page was given a tab made with the stickers of the collection and then I used a label printer to make the labels so the recipes will be easy to organize and find. I have a feeling when my friends and family see this adorable collection cookbook they will all be wanting one for themselves! 

I have a video on YouTube so you can see all of the details of this wonderful cookbook! Wishing you all a very happy Thanksgiving!

Supplies

 
Leaves are Falling, Autumn is Calling. Oh how I wish I live where the leaves change color and fall to the ground. Pumpkin Spice and everything nice is in full swing.
 
I love everything about the "Forever Fall" Collection. I'm embracing Fall with the the elements this collection has to offer. 
 
 I am using the Blush Speckle Traveler's Notebook and Blush A5 Planner for my Fall Set up
 
 To create this cover for my Monthly insert, I chose the "changing leaves" 12x12 paper as the background. I then added washi tapes on the top and bottom border. I finished it off by adding embellishments from the bits & pieces and chipboard stickers. The "Hello Autumn" in the center is from the 4x4 element paper that I cut out and used my punch on top and bottom.
Do you like to decorate you planner pockets? Or are you the "functional" type? I like mine to look pretty so whenever I open my TN I will be inspired.
 Not only do I love everything about Fall, November is my daughter's Birthday Month. I am looking forward in celebrating her birthday in Seoul, Korea. It's Autumn there so I can just imagine all the beautiful pictures we can take while we are visiting.
 I can't wait to add some journaling and memory keeping in my TN.
Here is my Set Up using the Blush A5 Planner. 
 I printed out some of the digital elements ( blue mushroom and couple of acorns) and cut them manually and used them to decorate my planner pockets. I love how I can print them to the size I want, in this case I wanted them to be a little bit bigger than the bits & pieces.
 
 Fall washi tapes with the Forever Fall collection.
 
 What do you love about the Fall Season? 

Supplies

Hi there! Nathalie with you today to share with you a layout all about the most joyful time of the year, Christmas.  The new Simple Stories collections are so festive and joyous that it was hard to chose which one to use to document a picture of my littles (niece and nephew).   Well, after much debating, I went for the new MERRY and BRIGHT collection to create this page.

To build this page, I used a Paige Evans cut file to create the wreath base from the 4x6 Horizontal elements paper and vellum, and then handstitched them to the Sn@p Basic 12x12 Cream ledger paper.

Next the poinsettas were created using a cut file from Just Nick Studio from the It is a Wonderful Life paper and another paper from the 6x8 paper pad.  To break some of the red, i used a paper from the High Style paper pad to cut a few poinsettas, too

The flowers were built and glued onto the page.  Then i used a Silhouette design to cut the ivy and pine leaves that are layered under the flowers from the Joy and Happiness paper.

The picture was then added in the middle of the flower cluster, and then just a few embellishments from the chipboard, puffy and cardstock stickers were added around it.  To finish the page, the title was created using a die cut piece from the Merry and Bright collection along with a few more stickers.   A few gold and white ink splatters complete this page.

Love how this turned out, and i am sure my sister will be framing this page as a Christmas decor piece for her home.  I hope you are all inspired to check the new Merry and Bright collection from Simple Stories,  it is sure to help you record all your upcoming memories.

XO

Supplies

Hello again, it’s Emma back with you, and this time I’d like to show you my early preparations for Christmas!, I know, I know, it’s only early November, but this year I’m determined to be all organized and ready!

I decided to use the Simple Vintage Christmas collection, and I wanted to set up one of my TNs this year to organize everything ‘Christmas’.

So, the first thing I wanted to make was a folder to fit neatly inside my TN, for it to have good sturdy pockets to house lots of tags. Here’s a picture of how the folder looked before I stuck it all together, hopefully you’ll find it helps if you’d like to try it for yourself. 

It was quite easy to make, I used one of the 12x12 sheets and double sided sticky tape to fasten together.

I decorated the front using two of the cards from the snap pack, I find the selection of sizes and designs in the snap pack so useful for decorating my planners and of course for journaling on.

You’ll see when the folder is open that I’ve made good sturdy pockets to store my tags. 

What I’m wanting to use all these tags for varies, I’m going to write lists on them, gift lists, Christmas card lists, food ideas, all sorts of things, I thought it would be a fun way to get me organized. 

The great thing about the lists being on the tags is I can pull out the tag, chuck it in my purse when I’m off to the shops, and easily tick off the items as I buy them! 

This collection also comes with tags that are numbered, I’m going to use these to journal on the back of each one, just a little something about that day in December, I won’t find it too daunting then as it’s not a large area to fill. 

I made my tags quite simply by using a 12x12 sheet from the Simple Vintage Christmas collection, I stuck ordinary paper luggage tags all over the sheet and cut them out. You’ll be amazed at how many you can cover with just the one sheet! I then tied some bakers twine on each tag. So simple! 

I even decorated the back of my folder, so once it’s slid inside my Carpe Diem Traveler's Notebook it will look super pretty. I hope you have enjoyed taking a look at my Christmas folder, next time I will show you how I set up the rest of my TN.

If you would like to see more pictures using Simple Stories products then checkout my IG account.

Supplies

I always make my own Christmas cards to send to family and friends.  Maybe you do too!  Better get a move on because Christmas will be here before you know it.  And, if you’re looking for the perfect collection for your card making you’ll love the Simple Vintage Christmas Collection from Simple Stories.

The collection is traditional red and green with classic vintage images.  You’ll love the stripes, plaid, floral and newsprint papers that are perfectly coordinated to mix and match.

The collection includes die cut "Bits and Pieces", chipboard stickers, washi and more so you have lots of embellishments to work with! 

You’ll find journaling cards on the reverse side of some of the papers in the Collection Kit.  I use the journaling cards as a focal point to embellish with die cuts and chipboard. 

This simple card was made with one large “Merry Christmas” chipboard sentiment on a background of “Believe” red and white gingham paper.

You’re friends will be impressed with the thought and care you put into your hand made greeting, and you’ll love how easy it all comes together with the Simple Vintage Christmas Collection.

Supplies

Pages