November 2018 Blog Posts

Hello friends, Iris here on the blog today.  Fall is our family's favorite season. We're eager for Fall as soon as school starts, but here in California, some years it comes a bit late.  So I was tickled when I saw The Cut Shoppe's Finally Fall cut file that includes the "Feeling Fallish" sentiment. It makes the perfect title for this story about my daughter playing in a pile of leaves in December.  Since she's wearing a non-fall colored shirt, the oranges and pinks of the Forever Fall line made it easy to scrap this photo.

My goal was to emphasize vertical movement. On my background I splattered pink, orange, and teal inks starting from the top and widening towards the bottom of the page so that they mimic how leaves fall and scatter downward.  I printed my photo tall and skinny (3" x 6") and matted it in the stripey Get Cozy paper.  Stripes are always so fun for photo mats and I love that this one includes all the colors. I anchored my photo with a bit of the diagonal striped washi.

To back my vertical title, I used some of the rectangular stickers from the 4x6 Stickers pack. I don't normally turn to those. They seem well suited for planners, but my planner doesn't have blocks of spaces.  So I was thrilled to finally use them! They fit perfectly in the narrow openings of this cut file and the tiny scale of the patterns means you can still see the designs.  I love hand stitching on my layouts but hadn't done much of it recently, so after I was sure of the title's placement, I used my hole piercer on the scripty word, snipped it off the top of the title, and hand stitched directly on the background in a dark orange thread that matches.

Raining down above my photo are a cascade of die-cut and sticker banners and leaves. I filled a couple of the blank banners with heart stickers and randomly machine stitched through some of them. 

I hand wrote my journaling to the right side of the photo to balance out the large title on the left. For a bit of texture on this side, I stapled a little strip of cording that I knotted. To continue the vertical design all the way to the bottom, my date is stamped on a die-cut in the space below the photo, finished off with a heart sticker.

Since my photo and the embellishments skew towards the right, I felt the left side needed something more. I added a thin strip of the stripey paper along the left edge of the layout, tucked a small word sticker under it, and as the final touch, stapled another piece of the cording above the words, to repeat how the cording is above my journaling.

I just can't get enough of the Forever Fall collection.  It's so versatile to capture all the Fall (and Fallish) memories, even when our kids aren't wearing the traditional seasonal colors!

Hi everyone, it is Kelly here today with part two of my fall planner blog. In my last blog I have shown how I have setup my A5 Blush planner for fall and in today’s blog I will continue with some fun fall decorations in my planner.

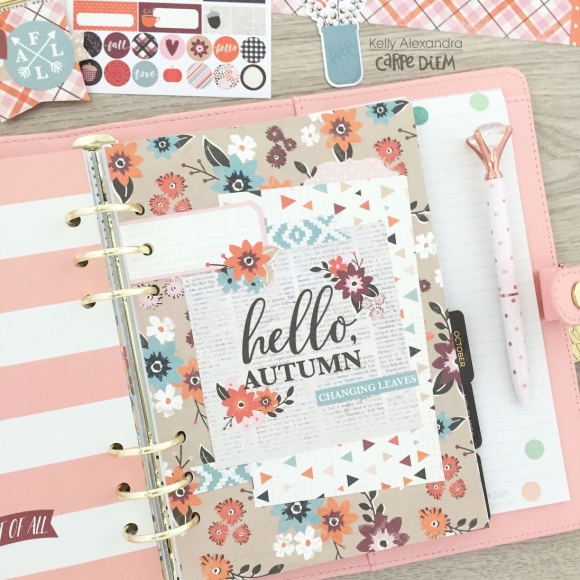
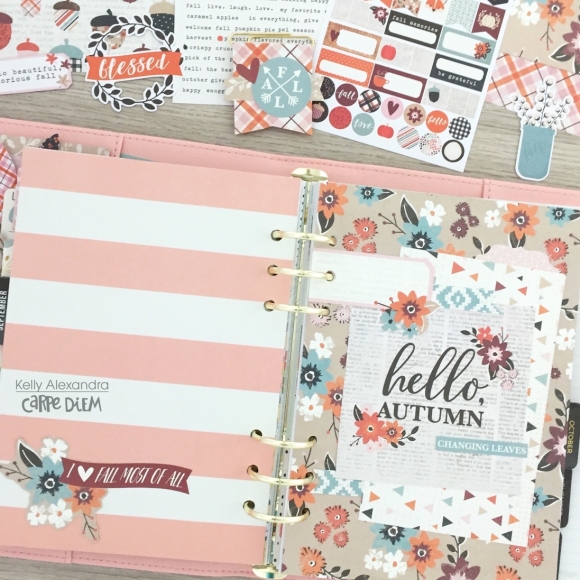
I used the punch and A5 divider template to cut a new front dashboard out of the fall floral paper. Besides the floral background paper, the other main decorative element of this dashboard is a 4x4 card with the text ‘Hello Autumn’. I layered the card with a few other pieces of paper and some stickers.

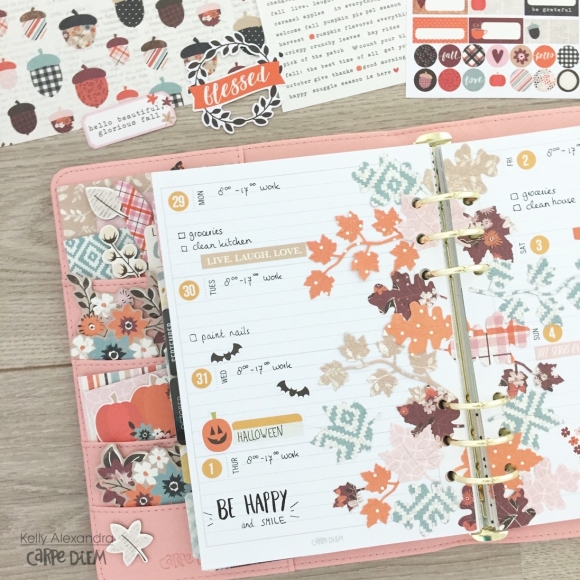
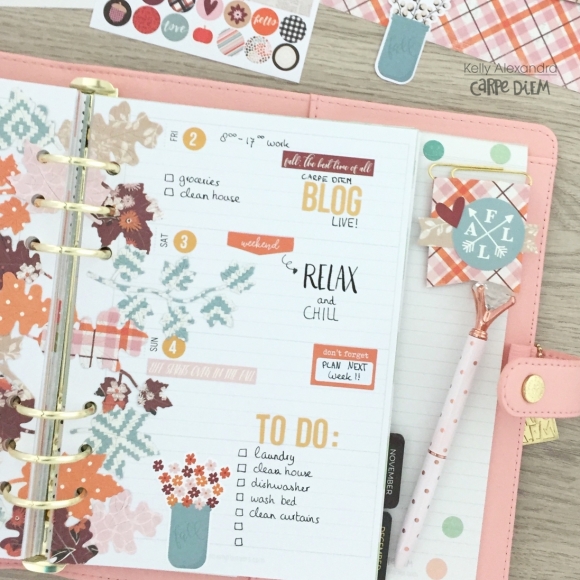
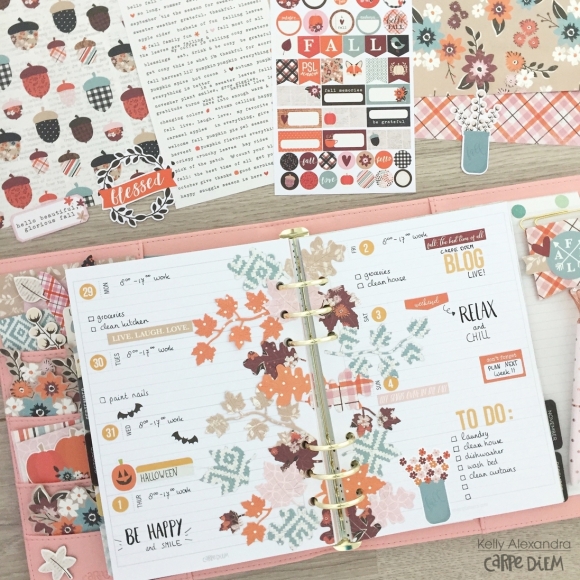
I punched a lot of fall leaves out of different papers from the collection and I made sure to include all the different colors of the collection. Next, I layered the fall leaves down the middle of the two-page week spread to create a fun effect. Some leaves went over the holes, so I had to use a hole punch to punch them again. I used the yellow number stickers from the ‘Numbers’ sticker tablet to date the days. And lastly, I added some functional and decorative stickers.

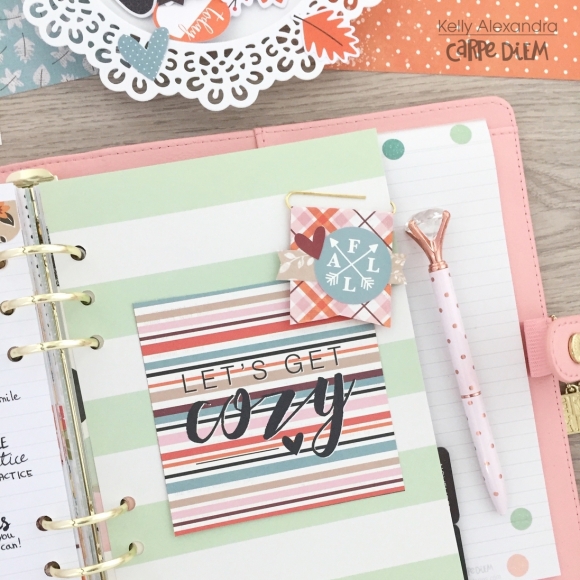
If you have read some of my blogs before, I love to make flag paperclips. You only need a paperclip, piece of paper and some stickers/ephemera and you can make a fun little decorative paperclip for your planner.

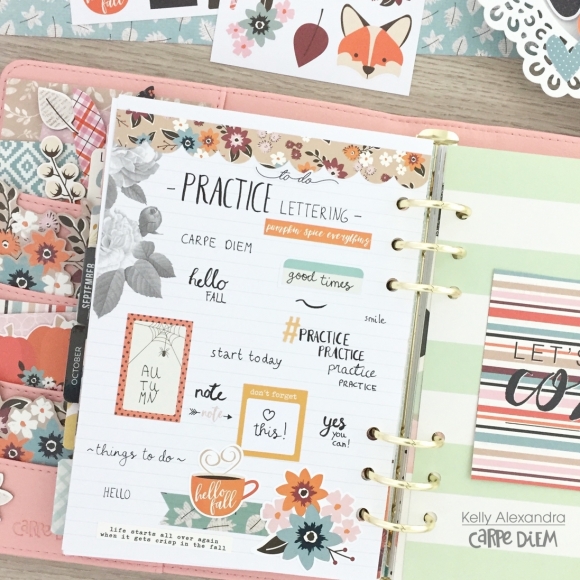
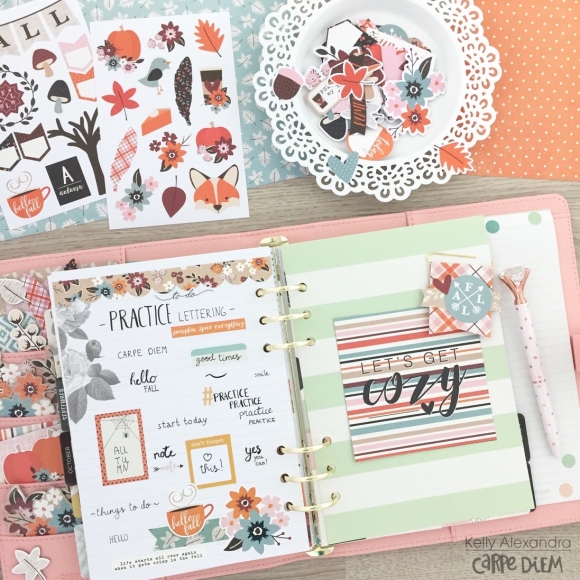
For a while now, I want to get better at handlettering and therefore I need to practice more. In the planner inserts from Carpe Diem, the last page is a blank note page every month. I decided from now on to use this page to practice some handlettering. I decorated the page with a piece of washitape and lots of stickers. Now I need to practice some more.....

I hope you have enjoyed reading this blog, check out my instagram account createplannernl for more inspiration.

Supplies

Hello Simple Stories friends!

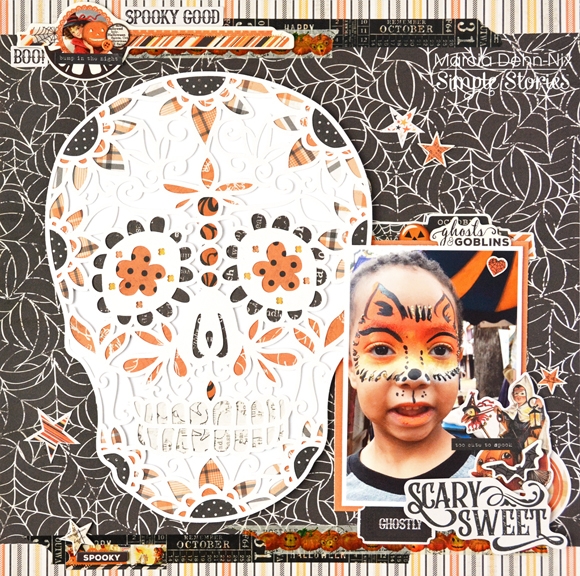
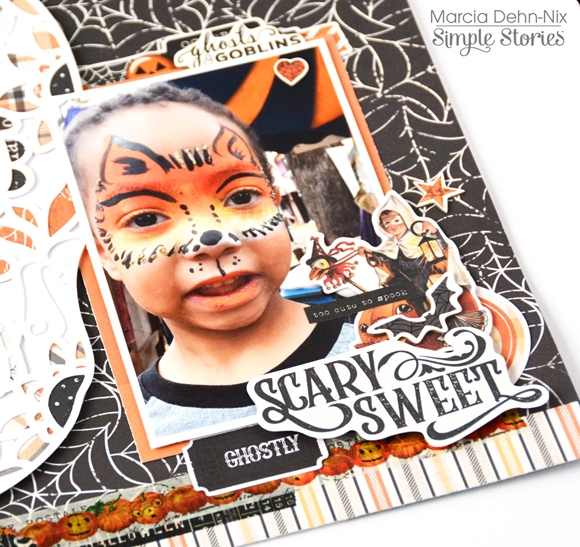
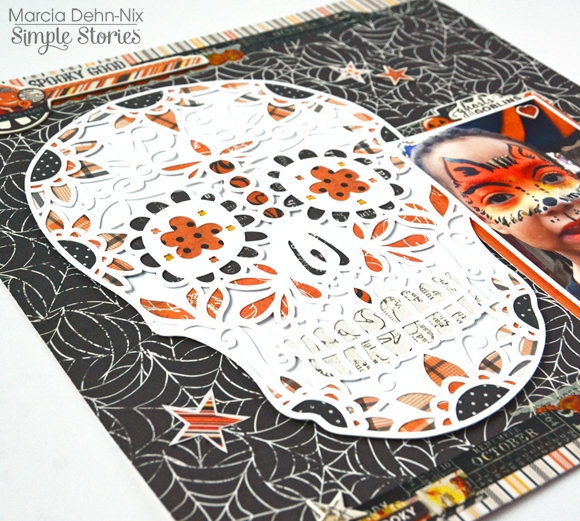
Marcia here today. I hope you all had a spooktacular Halloween! Did you get some great photos of your little monsters? The Simple Stories Simple Vintage Halloween collection is perfect for those Halloween photos ... but it can also be used to document your Day of the Dead celebrations too. My little nephew got his face painted for the occasion and I thought I would scrap it with a big sugar skull from the Silhouette store. I backed the sugar skull digital cut file with lots of different pattern papers from the Vintage Halloween collection.

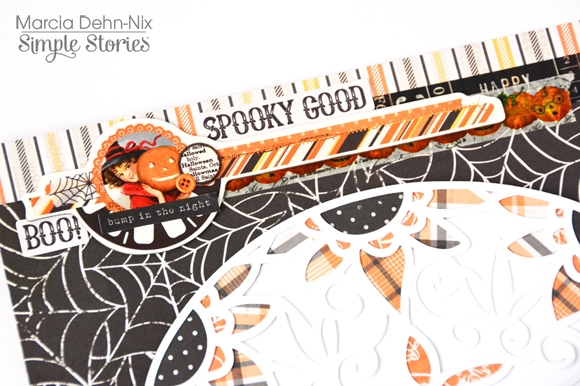
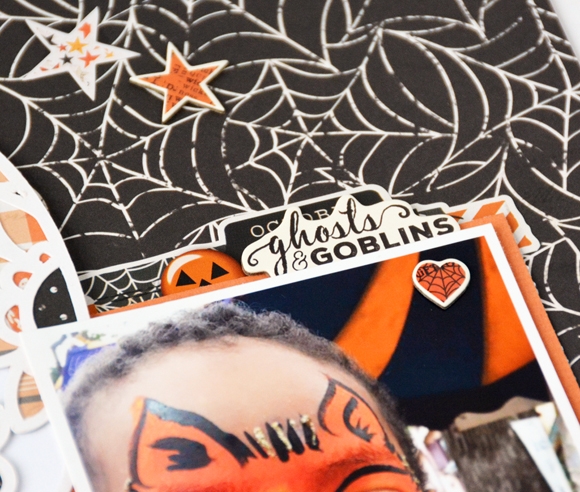
One of the things I love about this collection is the layering of elements on the stickers and pattern papers. It makes it easy to scrap, but it looks like you spent hours. You can see buttons, doilies, and brads ... but on a sticker or on paper, they add no bulk to your layout.

I used the Spooky Sweet die cut for my title, and layered lots more bits and pieces die cuts, chipboard, and stickers around it. This collection has some awesome washi tape. You can see it near the top and bottom of my layout. I think the one with the pumpkin faces is my favorite.

Here is a closer look at the sugar skull... 

Thanks so much for stopping by today and Happy Day of the Dead.

Supplies

Pages