March 2019 Blog Posts

I’m looking forward to spring and these Easter Cards were just “Egg-sactly” the perfect project to work on. I love the cute colors in the Bunnies and Baskets Collection.

These cards were so fun to make I just couldn’t stop creating....

I love this cute happy chick....

These 3x4 cards are the perfect size for cards!!!

I love all the cute stickers!!!

These cute cards were made using the Bunnies and Basket collection kit!!!!

Supplies

Hey there friends! It’s Kylie back with you all on the blog today and I am going to share how I’ve set up my new A5 “Hello Floral” planner. Of all my Carpe Diem planners this beauty has become one of my absolute favourites ever! I’m completely in love with the floral design of it as well as the gingham check, both on the inside as well as the closure tab.

Part of the reason I love planning is not just the practical ‘being organised’ side of things but being creative in how I customise each month. I love making my own dashboards, dividers, note holders and more. This month I decided to use the new ‘Spring Farmhouse’ collection by Simple Stories. It’s a match made in planner heaven!

The inside cover of my planner features lots of roomy pockets for filling up. I love to add cards, extra die cuts and my washi tag which makes it perfect for planning on the go. It also looks colourful when open on my desk.

For March I made 3 custom dividers using the divider templates. I’ve layered lots of different paper patterns together before embellishing. I had a ‘hession’ looking doily in my stash which I have cut down to fit one side of my first divider. I’ve also used one of the 3 x 4 element cards as a centre piece. The pom pom trim was also an extra in my stash.

Usually I will leave the back of my dividers plain but I haven’t this month with so many pretty elements available to include in my planner. I used one of the 4 x 6 element cards which was a barn door. To finish it I have layered some of the flower die cuts over the bottom centred by the pretty enamel adhesive dots.

I created a little notepad holder featuring one of the 4 x 4 element cards, making it into a pocket. I adhered it to a backing piece of paper by running double sided tape around the two sides and bottom edge. I also punched a half circle in the centre for effect.You could also store photos or receipts in here.

For my second divider I added a floral border to one side using the gorgeous floral die cuts. I added some with foam tape so they sit up a little on the divider. It adds a nice dimension to it as does the adhesive enamel dots I centred the flowers with.

On my last divider, again it is centred by one of the 3 x 4 elements. As with all my dividers I have made some sweet little layered Butterfly’s from a punch and centred them also with an enamel adhesive dot.

I wanted to add a ‘mood board’ this month so I have used one of the snap pocket pages. By adding washi tape down the edge means I can re-punch the holes so it fits nicely within my planner.

I couldn’t wait to try the new stamp and die cut sets this month……

I stamped some card stock with the stamps I had chosen to use before lining up my dies and cutting them out with my manual die cutting machine. All that was left to do was add some colour….

I layered mine over a hand made tag for adding some washi to. These sets would also be perfect for using to make planner cards or extra decorative die cuts. It gives you the option of being able to customise your colours!

Here’s a little look at one of my weeks ‘before the pen’ for March. I’ve used lots of accents such as the washi tape, 4 x 6 sticker sheets and card stock stickers.

Thanks for stopping by the blog today. I hope you have enjoyed seeing my latest planning.

Chat soon!

Kylie

Supplies

Hello everyone, Jackie G here today to share another fun mini album!!  I used the brand new Say Cheese 4 collection for this mini.  It measures 7” by 10” with a 2.75” spine.  I wanted this mini album to be fairly large so it can store TONS of photos!!  I did use a hinge binding system with pocket pages.  You can find a tutorial HERE from My Sister’s Scrapper.  All you have to do is adjust the measurements to your liking.

Onto the mini album!!!  I used lots of different Say Cheese 4 products with this collection!!  The first, and probably my favorite right now is the large word dies!!!  I have spread many throughout the album!! They are also very fun to use on cards!! Another favorite for this collection was the kids “bits and pieces”!!  I really wanted this album to focus on children so this product was a must!!  And lastly (besides loving it all), I love the coordinating solid cardstock to match the collection!!  How awesome is that!!

Both the inside covers have pockets on them to store additional photos or memorabilia.  I have put a handful of photomats inside of various sizes.  All the pocket pages have the same large tag you pull out from the top.  Another great place for extra photos and journaling. 

I get asked this question lots…how do I put my photos in if elements are covering part of the photomat??  Super easy!!  I don’t put adhesive down on any part that touches the photomat.  That way I can easily slide in a photo.  This also makes it easy if you are giving a mini album as a gift. 

Lots of fun little frames and ephemera are tucked away behind larger elements.  This makes a fun interactive book.  Make sure to check out my Instagram page for a full walk through of this album so you can see exactly what I am talking about!!

You can see I used more of those large word dies!!  To give some extra dimension, I did cut them out in two different shades and offset them to give a “shadow” look. 

I hope you enjoyed this magical mini album and found some inspiration to create something of your own!!  Have a wonderful day!!

Supplies

Hello, again! It’s Rachel and I am back to share my finance planner setup for March!

While there are many wonderful things couples share, one of the more challenging ones is money. Whether you have shared accounts or not, money is something that inevitably gets discussed, reviewed, and may cause a stressful moment or two with you and your significant other. Money can sometimes cause the most stress in a relationship, and this often comes from not having a shared plan when it comes to how and where money is spent and saved. When my husband and I were engaged, one of the first things we did was get on the same page about money. Right from the start, we learned each other’s spending personalities (John’s a saver and I’m a celebrator, haha!), made an aggressive plan to pay off student loan debt and save for the future. You could say we swapped pre-marital counseling for financial counseling!

For the first few years, it was a challenge that required regular tracking of our spending and lots of “no’s” when we wanted to say “yes”. In the end, paying off our student loans in 18 months and putting the loan amount towards savings has been one of the best decisions we have ever made.

Now I have to confess, with slightly higher incomes and no debt except our mortgage, we have gotten a little “relaxed” with our monthly expense tracking. But that’s no excuse! We have some exciting new changes coming up for us that require some big expenses and I am recommitting to tracking and planning our finances to make sure our money is working for us, and not against us.

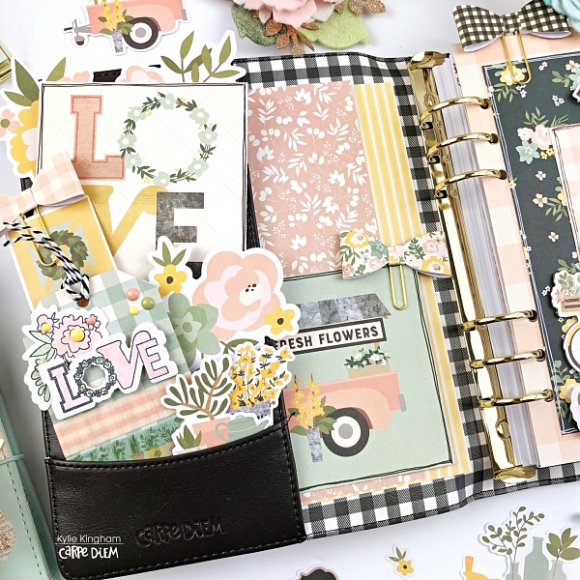
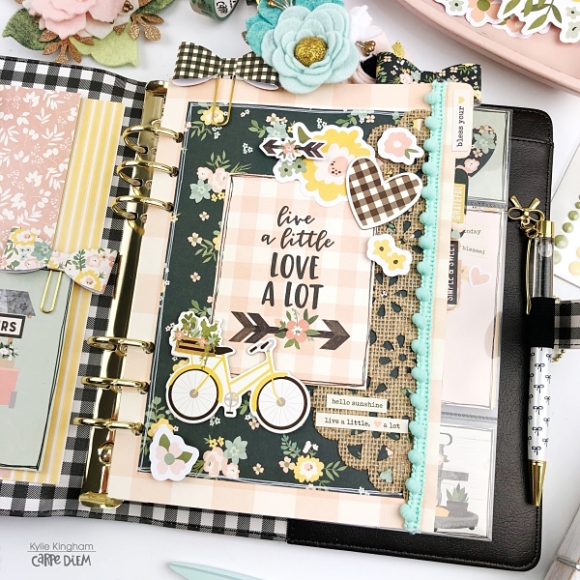
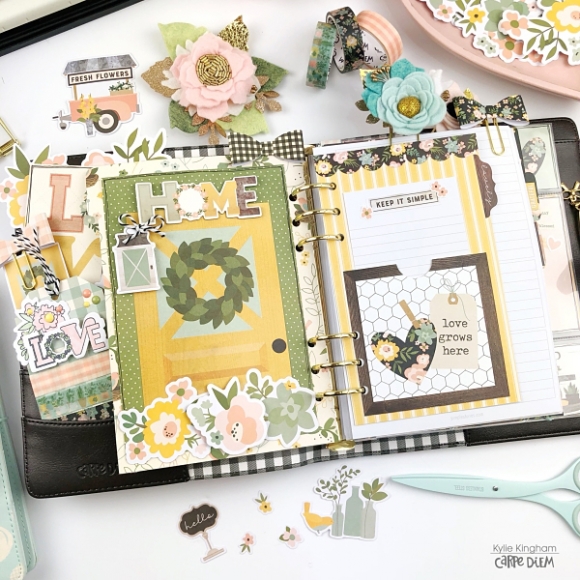
To get me motivated, I have decided to setup a planner for all things finances, and what better what to make fun and functional than with the new, beautiful, Pink A5 planner! Planner friends, if ever there was a color that spoke to me, it is this one! Putting my finance planner inside this gorgeous planner will definitely increase the likelihood that I will actually use it.

For the setup, I decided to use the new A5 Dated 2019 Planner Printables. These inserts were downloaded, printed, cut, and punched in less than 10 minutes! While I will continue to swear by undated weekly and daily inserts, I absolutely LOVE a dated monthly insert. And for future planning, this is key.

On the monthly pages, I will track pay days, savings deposited, bills due and any future purchases I know I want to keep on my radar.  The Home Sweet Home and Get It Done stamp sets are perfect for marking my known monthly expenses. March is my birthday month, so I know there will likely be some spending to celebrate. I mark it on the calendar and make sure to move some money over to savings to prepare for that.

I know some people are nervous about sharing their expenses with others, but you shouldn’t be. When I first started tracking my expenses, I thought it was really helpful to see a real expense breakdown in action!

To track weekly spending, I am using my horizontal weekly inserts with the boxes split up as an expense log. Each morning, I will sit down with my planner, log the expenses from the day before, and keep a running balance of how much was spent.

At the end of the week, I will write the total spent, the end of week balance, and the type of spending I did most frequently. The notes section also has room to jot down observations, small wins, and ways to improve next week.

Now, to make these pages fun to look at, I included a few stickers from the Good Vibes A5 Tablet and some Good Vibes washi. Fun and functional!

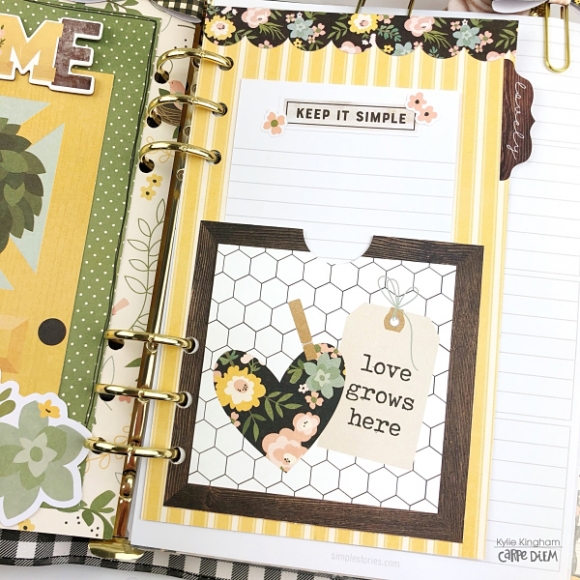
In between the monthly and weekly inserts. I have also included a few basic pages for a running wishlist, big ticket items to plan for, a list of things to sell/giveaway, and other notes that I can reference throughout the month.

And lastly, no finance planner would be complete without a pocket to hold receipts and important information. I used paper from the Good Vibes 6x8 paper pad to make it punch it with the planner punch.

I hope you enjoyed a look inside my finance planner. I am excited to make finance planning a habit again. How do you keep track of your finances? Head over to my instagram post and let me know!

Supplies

What do you do when you can't decide which patterned papers to use on your layout? Use them all! Hi! It's Jana Eubank. When I began this page, I could not decide which patterned paper to cut into first. I love them all! So, ... I decided to use them all by creating a quilt-inspired background. Keep reading to find out how!

First, I pulled out all of the papers from the 6x8 paper pad that had full patterns on both sides. I then punched twenty 3" circles from the patterned papers. Next, I scored the circles at 0.5" on four sides. After scoring, fold each "petal" in towards the center creating a square shape with four "petals." After all of your circles are folded, line them up in rows to create the background.

I matted my photo with the Black/Cream Paper and two more patterns from the 6x8 paper pad. I cut two journal blocks from the 3x4 Elements Paper and 4x6 Elements Paper. One block houses my journaling and the other holds my title.

Next, I embellished my photo and the title block with the Floral Bits & Pieces die cuts. I added a punched flower to each of the large blue flowers for dimension, then finished them off with a black enamel dot center.

This page has so much texture and dimension with the folded circles. I just LOVE it! Try giving this technique a try on your next scrapbook page!

Supplies

Are you as excited about Say Cheese 4 as I am?!  I could not wait to get my hands on this collection so creating this album was almost as fun as taking my boys to their favorite theme park! 
 
For my opening spread, I wanted my pages to have a waterfall effect so that I could see several of the fun patterns as soon as I opened the album.  Then I used one of the new metal dies to cut out the Yay!
 
 
I used another one of the large metal word dies for the pocket shown above.
 
I love the chipboard stickers that come with the collection.  There are two sets ... cute icons (the banner above), and a fun set of words ("Happy" in the photo below).
 
The Say Cheese 4 6x8 binder comes with extra pages including this polka dot pocket!  Perfect for maps, tickets, autographs, and other memorabilia.

The 2x2 element cards are great ... cute phrases, icons, and lots of adorable kids!


I can't wait to add more photos and lots of journaling to this album! Visit me over on my blog at Artsy Albums, and stop by @artsyalbums on instagram to see more of my creative adventures!


Supplies

 
Spring Break is one of my favorite time of the year. Why? It's when my family always plan to travel somewhere new. 
 
I've set up the new A5 Teal Planner with the Simple Vintage Traveler. This planner set up is making me more and more excited for my family's upcoming trip.
 
"Pocket Love" full of bits & pieces
 I'm ready to explore the world.  There are so many places that I have yet to see and visit. I've created my dashboard using the quote "There's no time to be bored in a world as beautiful as this" to be the highlight. I layered couple of 12x12 paper to create this dashboard. I decorated it with chipboard stickers and I layered couple of the washi tapes together.
I just thought it's perfect for my family's adventures. Life is an adventure.
 ...and so the adventures begins. Where will my family go to next for Spring Break?  I can't wait to document new memories in my travel planner.
I've always love creative planning in my A5. Horizontal Weeks is perfect for my planning style. I have so much room for stickers and other decor. I used the number stickers for the dates. I love how the word "Travel" looks perfect to the right side of my planner.
 I enjoyed using the "see the world"  stamps in my weekly layout. I've used black ink with the stamps which is super simple yet it adds flair and character. I'm not very fancy when it comes to stamping. Black ink is all I need. No coloring needed as I don't have patience and the time.

Thank you for stopping by and viewing my travel planner set up.
Where to next? Follow me on my Instagram to see where we're going next.

Supplies

Hello! It's Jennifer on the blog today! I'm so excited to share a page I  created with the new Spring Farmhouse collection! There is so much to love about this line from the floral prints to the fun embellishments! And it can be used for just about any theme project! Spring Farmhouse was perfect to scrap an older but favorite photo of my niece playing in my grandparents' garden.

I  began with trimming a piece of white cardstock to 11x11 inches. I  then adhered it to the beautiful floral of Live Simply and stitched around the edges to finish. For my title, I  used the "bloom" script from the Combo Sticker sheet which has numerous sentiments and beautiful florals to accent your project. You can also spy some of the pink gingham Washi Tape that is included in the collection! I  love adding small swatches to break up white space or accent my photos.

Using my electronic die cut machine with white cardstock, I  cut this floral wreath to adhere around my photo (Floral Wreath by Wild Pilot #275492) I  chose the green/white dot print of Plant Smiles and small floral of the Spring Farmhouse 2x2 Elements to back the intricate spaces of the flower. I  then added smaller embellishments from the 4x6 Sticker sheet and Bits and Pieces to accent. 

The Spring Farmhouse Bow Clips are a wonderful addition to the embellishments! You receive four in a package so there are plenty left over for additional projects! I  chose the black gingham Bow Clip to accent the top corner of my photo

The Bits and Pieces pack always includes fun journaling spots such as the deco shape shown. I  then layered flowers from the Combo Sticker sheet as well as a fun black gingham chipboard heart!  You can also see that Enamel Dots have returned! I  love sprinkling them around my pages because they give dimension and color!

I  again used the pink gingham washi tape at the top of my page as well as added additional flowers around my wreath. I  love this little sentiment found in the Bits and Pieces; I  thought it would go perfect with my photo

Thank you for stopping by the blog today!  Check out the entire collection by going to the Products page! While there, you can see all of the fun new Simple Stories collections! Have a great day!

Supplies

Pages