March 2019 Blog Posts

Hello Simple Stories friends and fans!

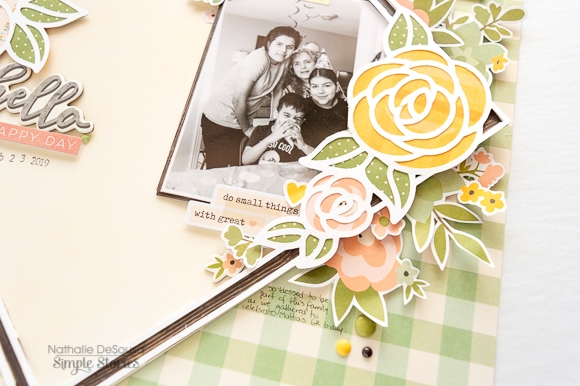
Nathalie with you today;   it looks like Spring is slowly coming our way, so I want to get started on those happy and colorful feelings using the new Spring Farmhouse collection from Simple Stories  to document a recent picture of my family.
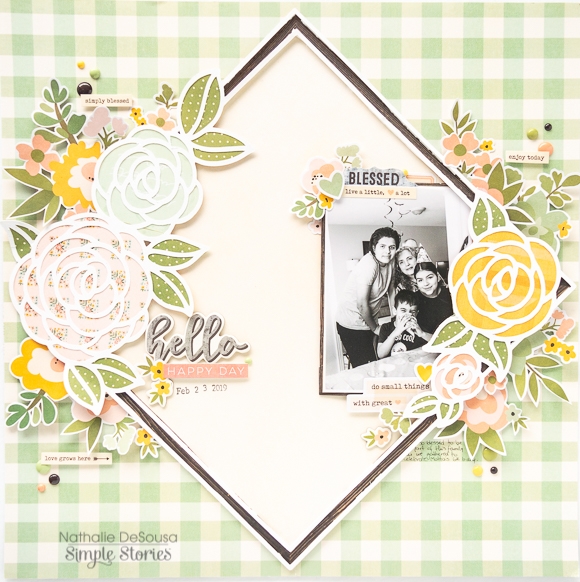
This new collection is packed with beautiful sentiments, designs and colors, so, what better way to showcase them all than to back a cut file with it.   For this page, i used a cut file from Handipaper and backed each of the flowers with papers from the 6x8 paper pad and papers from the collection.
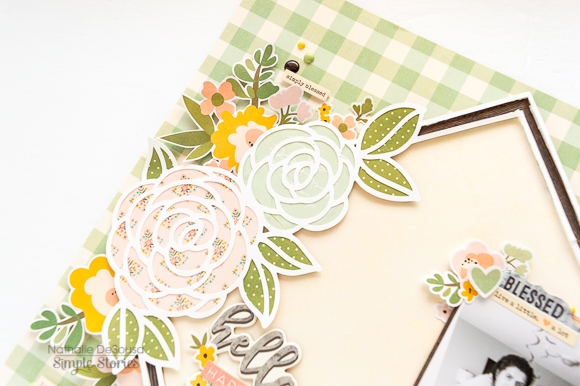
To take advantage of the angles of the cut file, i chose to back the center frame with the Cream paper from the Spring Farmhouse collection, and then glue it to the B side of the Well Said paper on an angle.
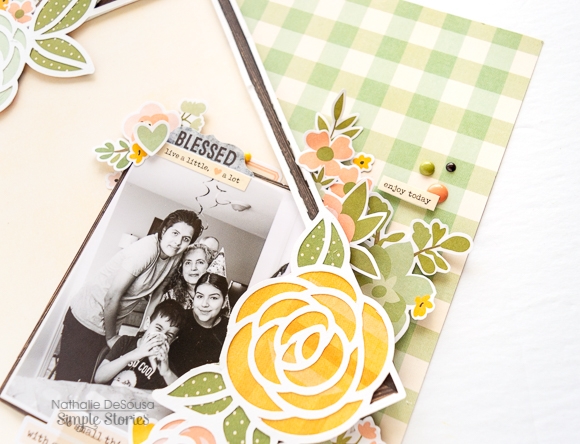
The new position of the cut out on the page created the perfect placing for the picture, so once i layered it with some papers from the 4x6  elements paper i glued it in place and added embellishments around it in clusters.  So many embellishments to chose from, so easy to combine them in this page.
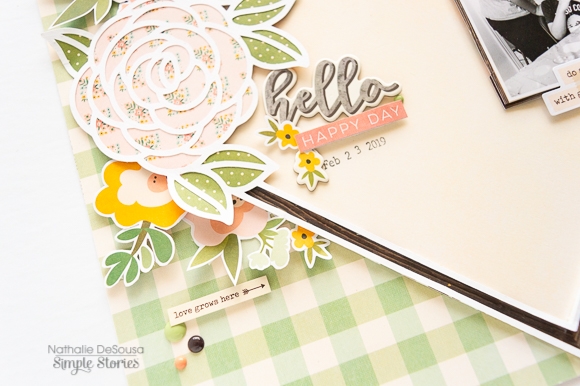
To enhance the florals in the cut file, i used the Floral  Bits and Pieces  to add to floral clusters.   I simply fussy cut a bit of the white edge of each floral image, and added them with foam adhesive.   For the title of this page,  i used a combination of stickers and placed it at the bottom of the large floral cluster.
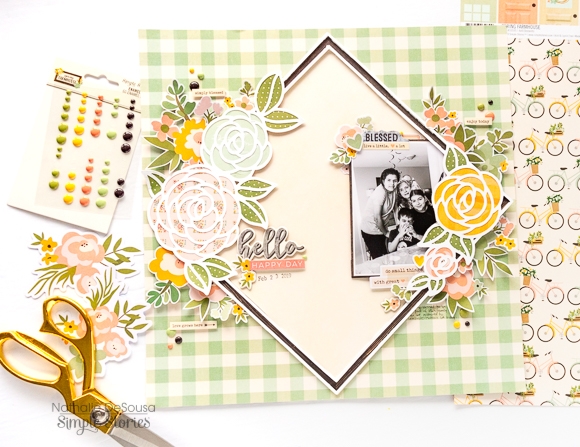
I love how this page turned out, and how colorful it is, perfect for Spring -even when the picture is not a colorful one-.  The new Spring Farmhouse collection from Simple Stories is perfect to document all types of memories and put you in a Spring-kind-a-feeling. Remember to check it out, you are going to love it, too

XO

Supplies

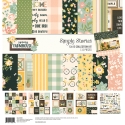
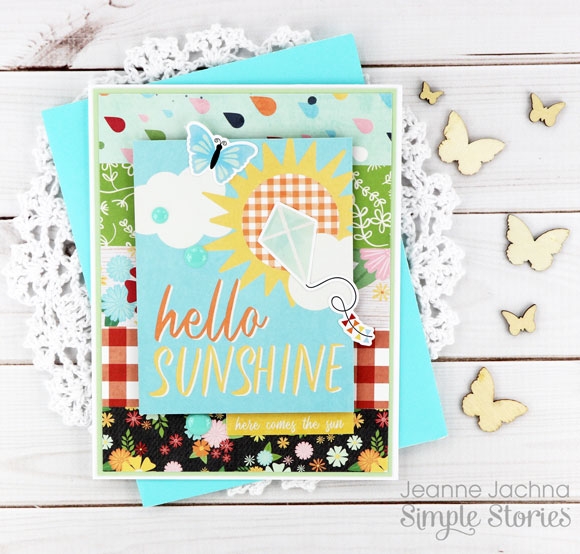
Oh Happy Day!  The sun is shining and spring is on it’s way!    The Simple Stories Springtime Collection is  just the thing to get you in the mood to celebrate!

I love the Simple Stories Collection Kits.  They’re a great investment because they’re reasonably priced and you can make so much with everything that’s included.

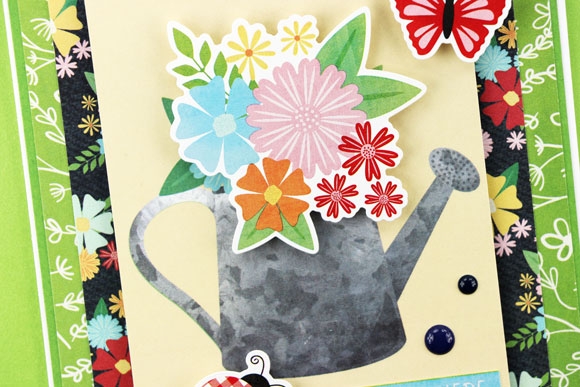
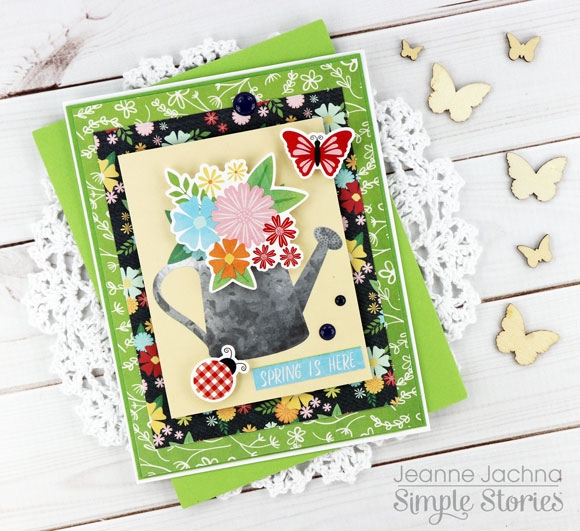
The kit includes sheets of 3x4” journaling cards that make great focal points for your cards.  Since there are two sheets you can make LOTS of cards.  I like to cut the duplicate card – fussy cutting images and layering them over the original to add dimension.

The sticker sheets are perfect for embellishing.  I use my embossing buddy to powder the backs so they’re not sticky.  I add dimension by adhering them with adhesive foam stickers

And the papers are perfectly coordinated to mix and match.  There are five different patterns in the collection kit. The sheets are 12 x 12” so there’s lots to play with. 

There’s a little something here for everyone on your list!

Supplies

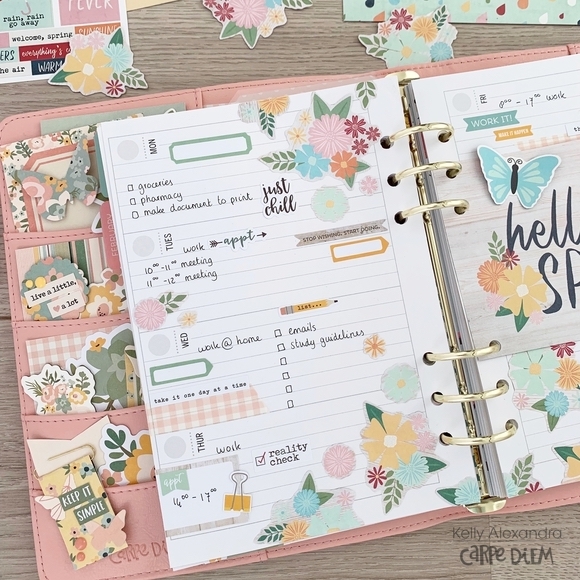
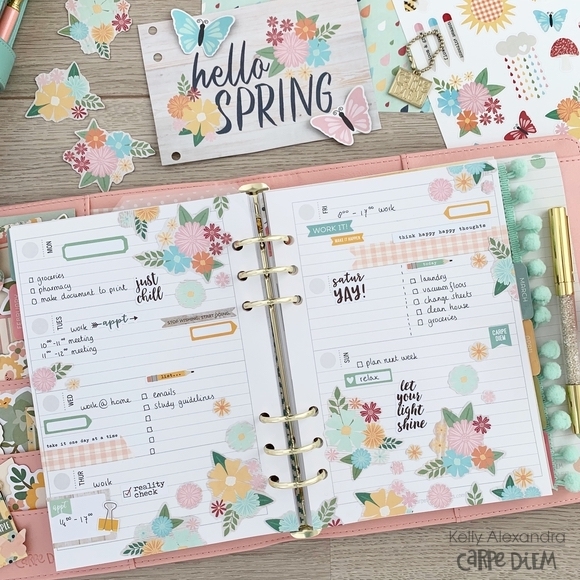
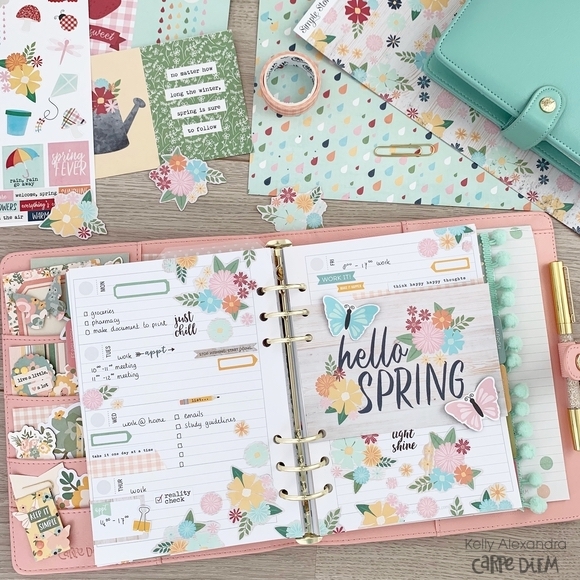
Hello! It is Kelly here on the Carpe Diem blog and today I am going to show you how I use a few scrapbook papers to decorate a weekly spread. I am using the springtime Simple set in my blush A5 planner. 

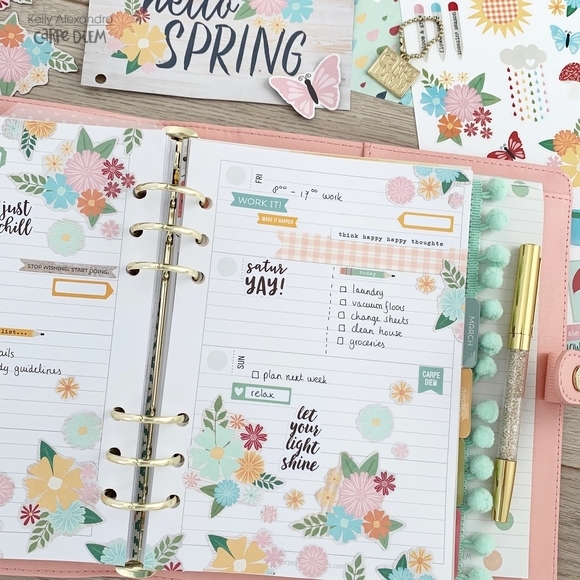
The Springtime Simple set includes three different 12x12 papers and one half stickersheet. The Welcome Spring (#10696) paper is filled with cute florals. If you follow my style for a while, you know by now that I love to fussycut floral papers. Of almost half of the paper I fussycutted all the florals to use in my spread.

On the bottom of the two pages I glued lots of the florals in a fun arrangement. I also glued a few florals on the top page. The pink gingham washitape is from the Spring Farmhouse set and matches very well with this collection. I added some phrase stickers from the ‘Hello’ Carpe diem sticker tablet and some functional stickers from the ‘Planner Basics’ tablet. I think in almost every spread lately I am using this basics tablet, I love it!

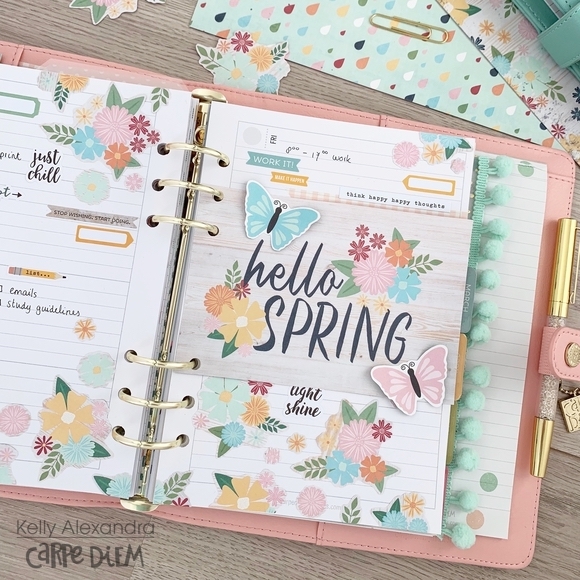
The 3x4 and 4x6 Elements paper (#10698) includes a 4x6 card with Hello Spring on it. I cut it out and used the Carpe Diem plannerpunch to punch the holes so that it fits in my planner. I also fussycutted two butterflies from the Elements paper and only glued the middle part of them on the card, so that they can pop up a little.

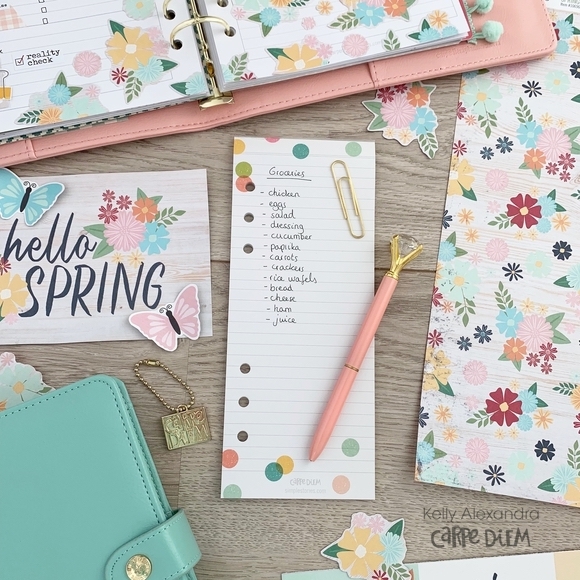
Lastly, the bookmark tablet that fits in the back pocket of the planner is perfect for quick groceries lists! Just tear them off and bring it to the supermarket. I hope you enjoyed reading this blog and you can find more planner inspiration on my instagram account.

Have a lovely day!

Supplies

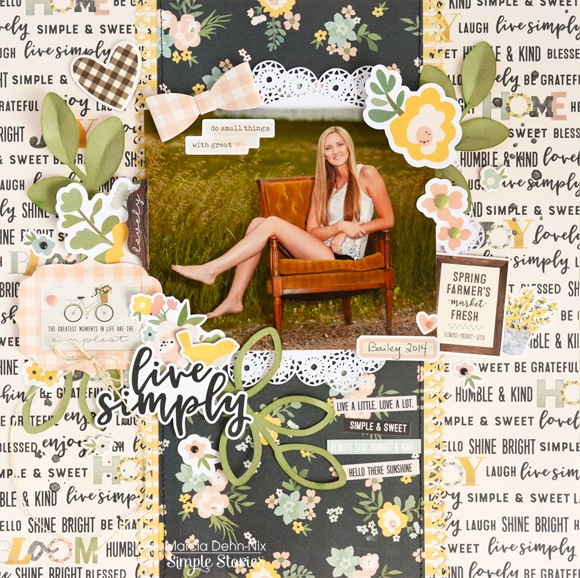
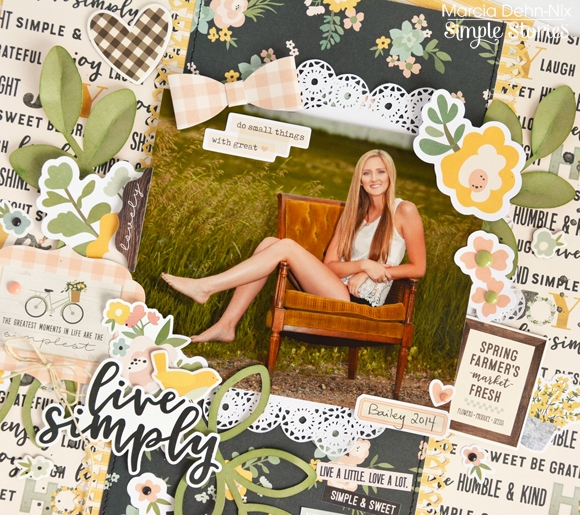
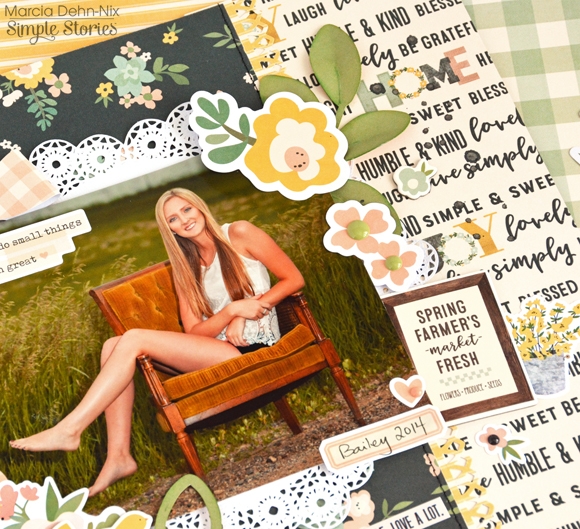
Hello Simple Stories friends! Marcia here today with a Spring Farmhouse layout for you. This is such a gorgeous collection! I love all the flowers with the spring color palette. The black in the collection really sets off the soft pastel colors. For me, it is so much needed after a hard winter that just doesn't want to go away any time soon. I knew immediately what photo I wanted to scrap. My niece had a senior photo taken outside where she is lounging in a chair. She lives in the country, so the field behind her and the chair give the photo a homey quality, just perfect for the farmhouse feel of this collection.

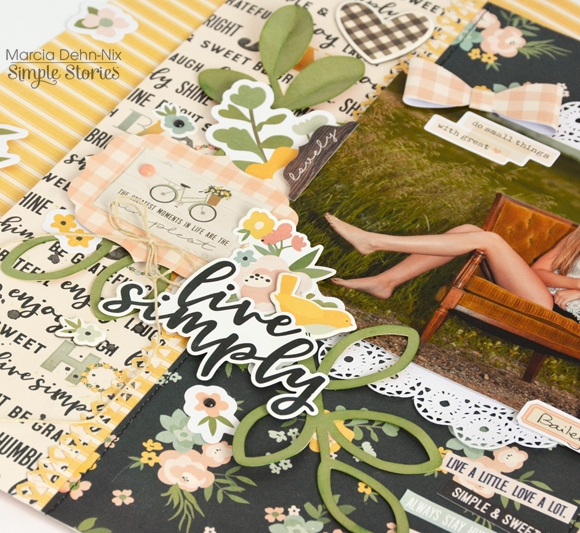
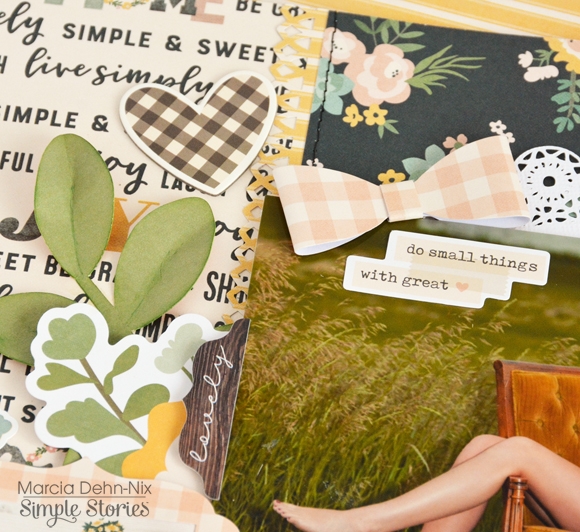
I started out with the Love This Life pattern paper for my layout base, then placed a strip of the black floral Love A Lot pattern paper down the middle of my page. To add a little warmth, I added a yellow punched border on both sides. To help my photo stand out against the patttern papers, I put a pretty doily behind the photo. I love how the doily mimics the lace in my niece's shirt.

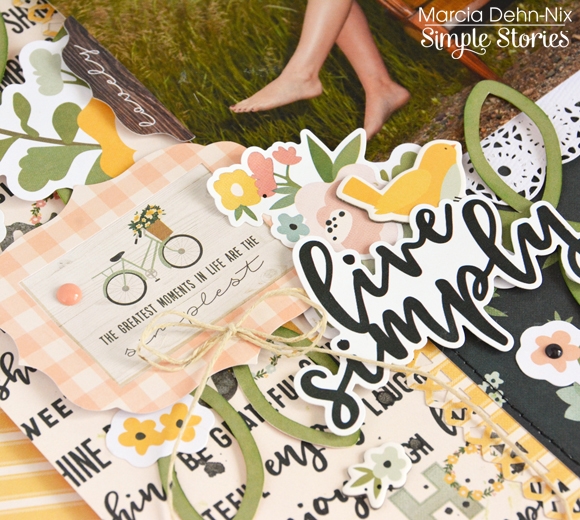
Spring calls for flowers, so I added some along both sides of my photo. The Live Simply sticker was perfect for a title. I put some foam behind it to give it some dimension. In the bits and pieces ephemera pack was this pretty pink gingham frame which worked perfectly around this fabulous bicycle with quote sticker. I also tucked in some die cut leaves and this cute little bird from the chipboard sticker sheet. A twine bow adds to the farmhouse feel. Isn't this a gorgeous cluster of embellishments!

Did you also see the beautiful bow clips in this collection? I used the pink gingham bow to match the frame I used in my large embellishment cluster and placed it at the top of my photo.

More flowers and a chipboard frame make up a smaller embellishment cluster to the right of my photo.

You don't need to live in the country to appreciate this gorgeous collection. It is versatile enough to be used for your everyday photos at home too. I think I have a new favorite collection! Thanks so much for stopping by!

Supplies

Hi, Odessa here with some SN@P! inspiration using the Spring Farmhouse collection. It is still super winter here but I am craving spring so much. I decided to bring the spring anyways by pairing Spring Farmhouse with some wintery photos. The bright pastels and upbeat vibes is just what I need right now.

I love all the pinks and yellows in Spring Farmhouse and I wanted to make them the focus of this page. I cut down the Love this Life cardstock to add to one of the pockets because that pink floral is gorgeous and a journal card to the other. The colours in them really set the tone for the rest of the layout. 

Spring Farmhouse had some fun new things in it and I had to include them! The bow clips are just darling. I used one to attach a bus transfer from the day to the page which acts as a title card with the date for my story.

Here I mix up a regular pocket page next to a page full of 2x2 squares. I used all of my 2x2 pictures on the other side of the page so I cut down a 4x6 photo to stick in the squares along with a 4x4 journal card from Spring Farmhouse and some ephemera from the day. 

The yellow in Spring Farmhouse is so good! It’s the perfect spring-y touch I needed in my layout and I made sure to add pops of it throughout.

Spring Farmhouse has the Live Simply coordinating stamps that are just so perfect. I used one of the phrases from the stamp set beside one of the die cuts from the bits & pieces pack to add some more words to the page.

I have all the 2x2 pockets going on here. I had a lot of pictures of similar things so instead of pages and pages of photos I printed them at 2x2 to get it all together. Each side of the layout is a different story made up of a bunch of photos. I added in some journal cards, stickers and more to finish off the layout and pull it all together.

Another new thing I was excited about was the enamel dots. The sheet has the main colours of the kit in a few different sizes perfect for adding an extra touch to my page. I used them to balance the circle on this page.

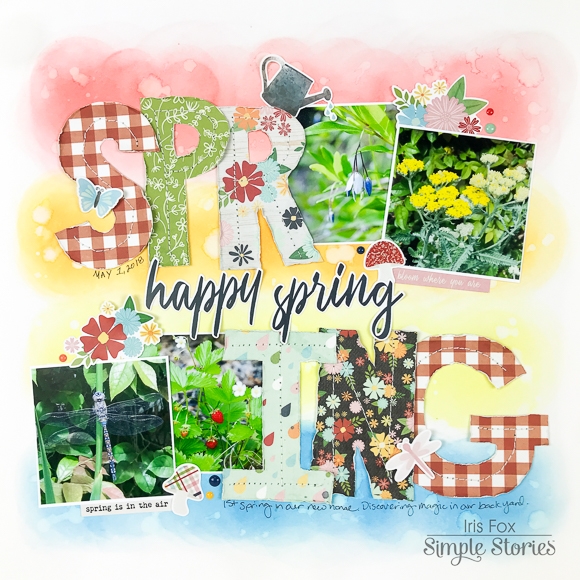
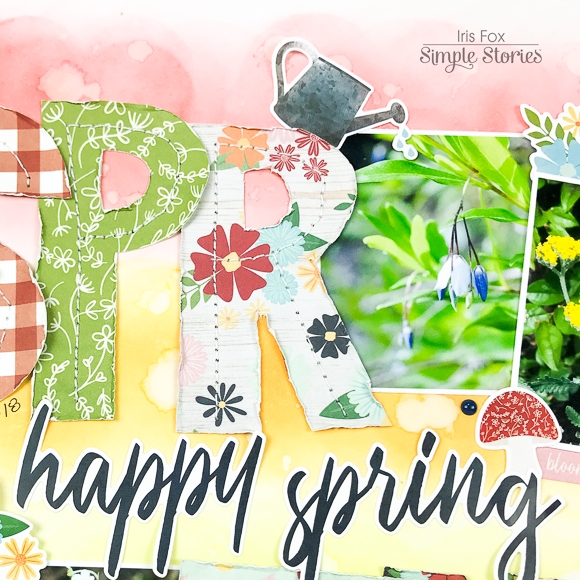
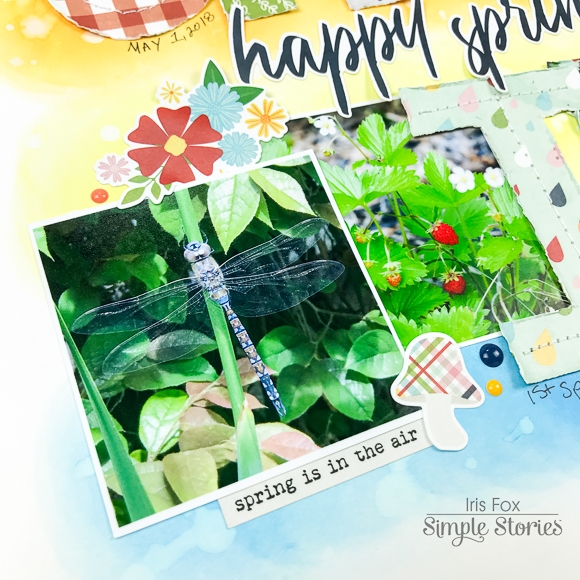
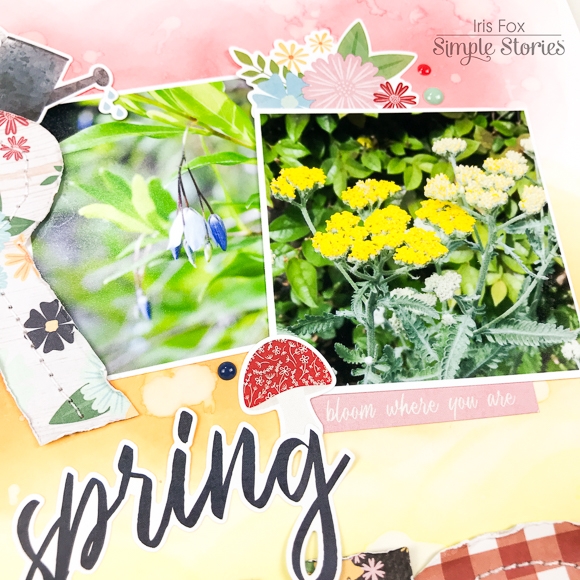
Hello my fellow Simple Stories crafty peeps. Iris here with a bright, cheery layout to showcase photos when I first got to discover the magic of pretty things blooming in my backyard last year. We'd only been in our new house fall and winter, so it was all a delightful surprise.

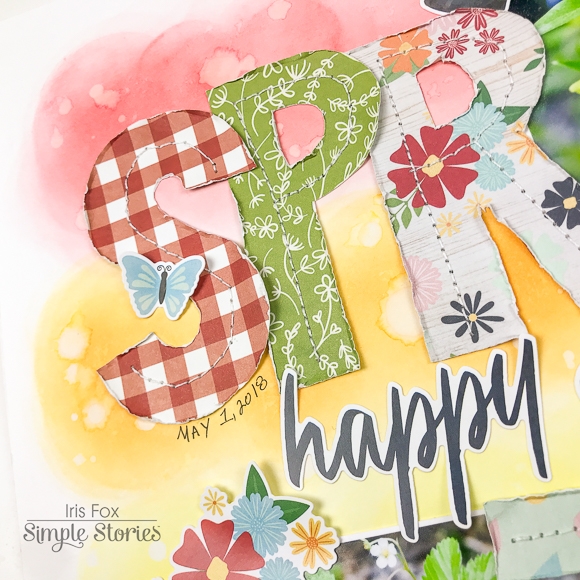
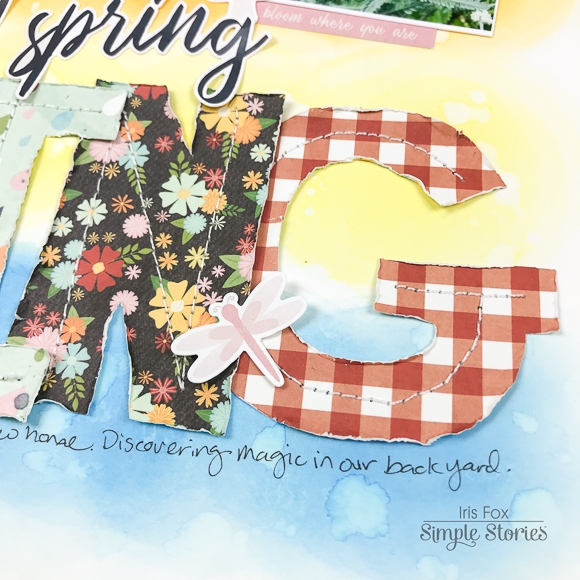
I started off by using The Cut Shoppe Open Letter Alpha cut file to cut letters on my Silhouette out of white cardstock, but I didn't use those pieces on my layout.  Instead, I used them as templates to rough cut my letters out of all the papers in the Springtime Collection because I wanted a hand-cut look.  I then played with the placement until I could fit my photos along with the large letters, switching the order in each line. 

I used the Tim Holtz Distress Oxide inks in Candied Apple, Spiced Marmalade, Squeezed Lemonade, and Salty Ocean to add tons of color to my background. I used a blending tool in a circular motion to get an ombre effect and sprinkled water all over.  After letting it sit a minute for the oxides to react, I blotted the excess water off, creating a droplet effect.

I machine stitched the letters down, and ruffled their edges.  I'd placed the two lines of letters and photos roughly equidistant from the top and bottom, leaving space in the middle, which I filled with the large scripty title from the Sticker Sheet.

I concentrated most stickers where the photos overlap each other, flowers on top and a mushroom and word strip at the bottom, continuing the symmetry of the design. But then I also added a butterfly, dragonfly, and watering can to form a trio that stands out from all the symmetry, giving the eye some definite points to travel on. 

The finishing touch was journaling and enamel dots from older Simple Stories lines to fill in a few gaps. I love that I can pull out older SS product and it matches!

I had so much fun making the most of this collection, showcasing the variety of papers and Springtime icons.  It's a Simple Set, so smaller than the normal collections, but it sure packs a punch! You can find the process video for this layout by hopping over to my Youtube channel. www.youtube.com/c/whimsyfox/videos

It's been a pleasure and honor being part of the Simple Stories Team this past year. Some of the best products and the best people in the industry! I'll be moving on to some other commitments, but will continue to admire and use all the cuteness Simple Stories has to offer.

Supplies

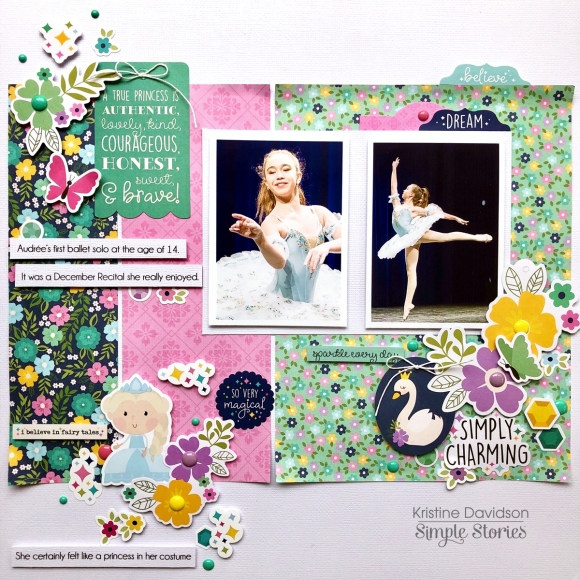
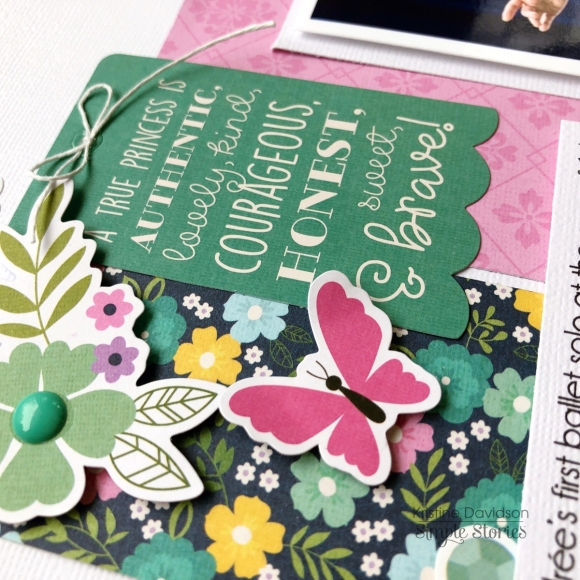
It's Kristine here today and I'm going to share a layout I recently created using the NEW Little Princess collection. This collection is filled with wonderful elements such as princess diecuts, beautiful tags with swans, quotes, bright flowers and so much more. The pink in this collection is a nice bright pink a bit on the fushia side and it would make any page look so spectacular. I am sure you will love this collection for your little ladies.

I used a photo from one of my friends daughters who is in dance. The dark blue background from the photo went well with the blue in the flower papers and it gave my page a great contrast in color. This little lady is also so charming and a wonderful dancer as well!

The small flower stickers, the enamel dots and diecut sequins really add some extra details to a page. 

I created my layout by first using 3 pieces of 6x8 papers and cutting them in different sizes. I placed them on a white piece of cardstock and left a small space between them to show a bit of white in the back. I did use my fingers to curl the edges of the papers for some detail. 

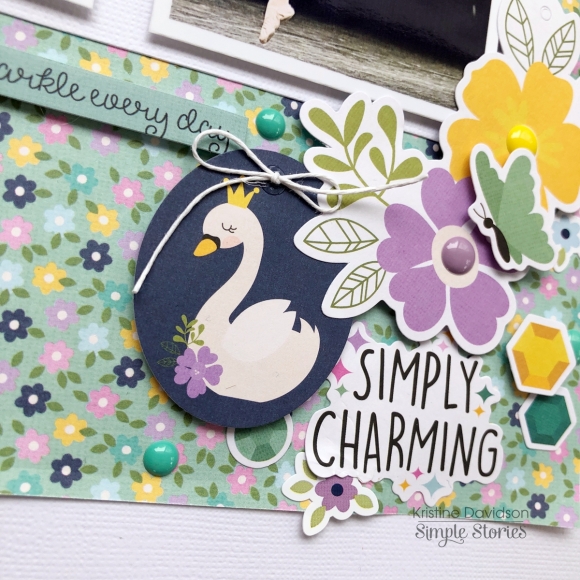
I added a tag with a swan and placed some dimensional adhesive to give some height and dimension to my diecuts. I added a little piece of twine to the tag but you could also use an enamel dot or leave it as is if you wish.  I also added enamel dots on my flowers and popped up my butterfly. 

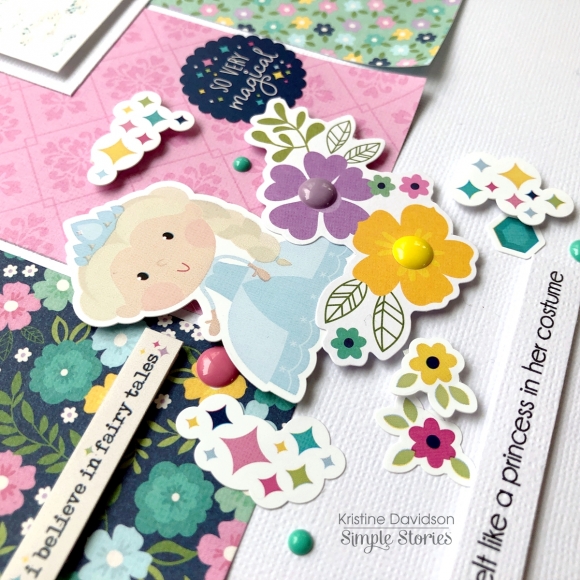
I used one of the cutest princess' from the Princess Bits & Pieces. Take a look at all these options available to you from this little packet! Aren't these amazing?

I hope you enjoyed my layout today and please come join us on social media. Simple Stories post daily inspiration that will surely give you some ideas for your own scrapbook project. 

@SimpleStories_  or myself @KristineDavidson on instagram.

Can't wait to see your pages using this super cute Little Princess collection.

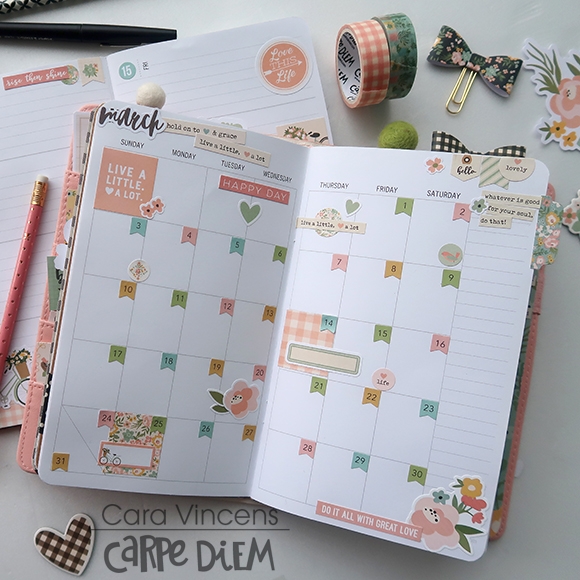
Hello, I’m Cara and like most of the world right now, I’m excited for Spring. Officially there’s only about a week left of Winter, but I’m not sure the weather has gotten the memo! So to let Mother Nature know what time of year it's supposed to be (man, I wish she used a planner!) I’ve filled my TN with lots of beautiful spring flowers from the Spring Farmhouse collection.

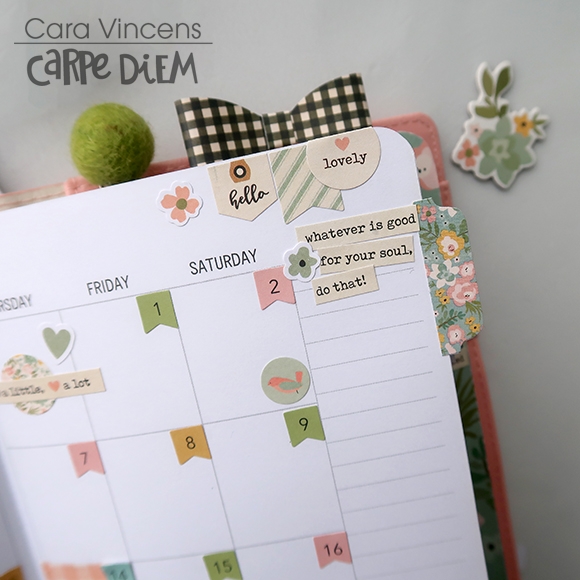
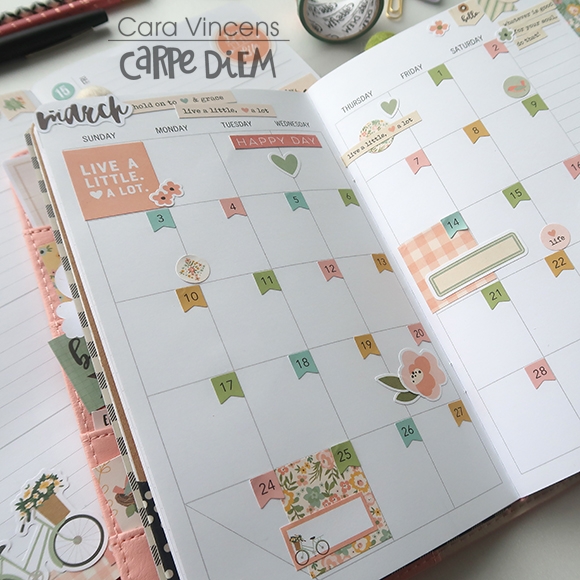
My favourite is this March monthly spread, these soft Spring colours put a huge smile on my face and I can tackle any storm outside. I used number flags from the Numbers Sticker Tablet and the ‘March’ is from the Seasons Sticker Tablet.

Don’t be afraid to layer stickers. I’ve used stickers from the Spring Farmhouse 4x6 pack that has flowers and leaves that you can layer up for a custom look. I’ve added them to March 20th to mark the first day of Spring. I also added some label stickers on top of boxes. That long label is perfect to write in an event that spans two days.

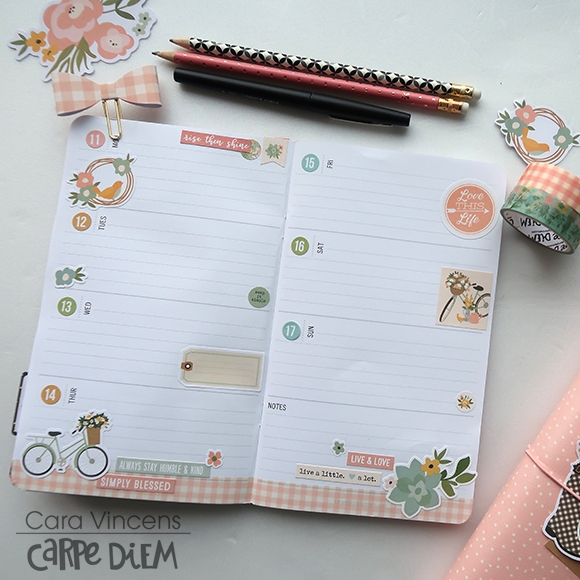
This week’s spread is also full of Spring colours and icons, isn’t that bike the cutest? And that bow!!  Darling!

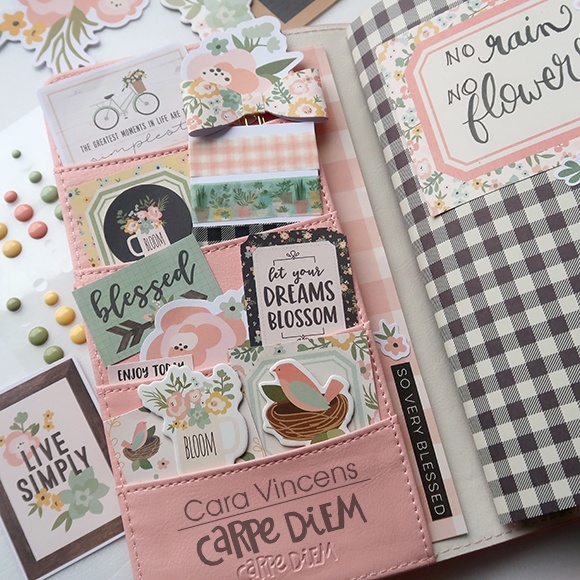
The pockets seem to scream Spring with all the birds and flowers. There’s a mix of chipboard, die cuts, cards from the cut apart sheets, washi and stickers. I tucked some patterned paper with some stickers into the long pocket in the back and my planner is ready for some sun.

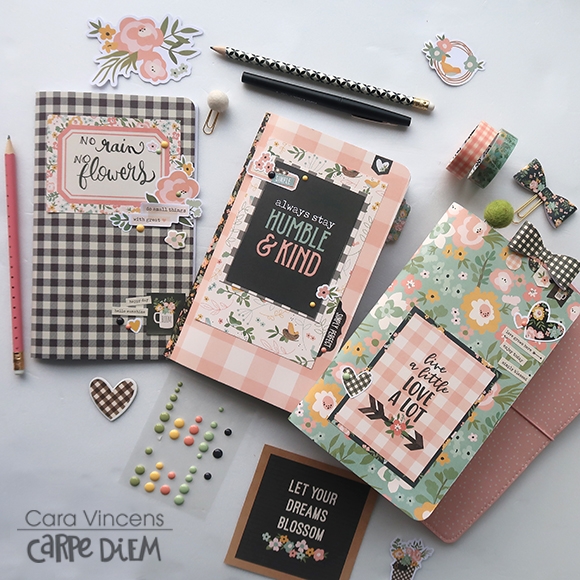
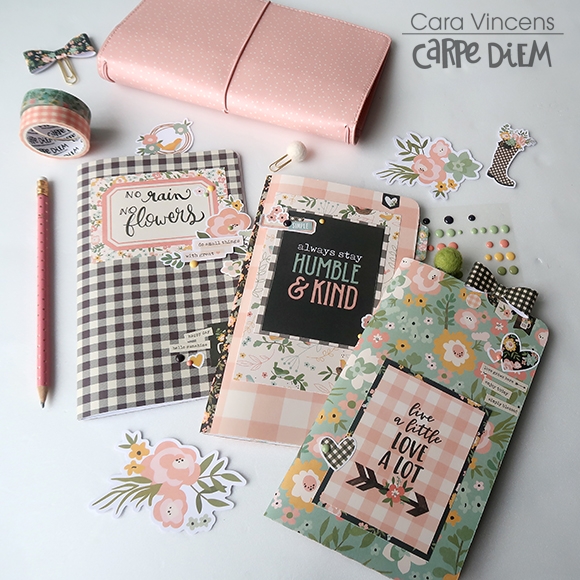
There are lots of great motivational phrases in this collection and since we see the covers of our inserts everyday, I thought these would be a great spot to give myself some motivation. 

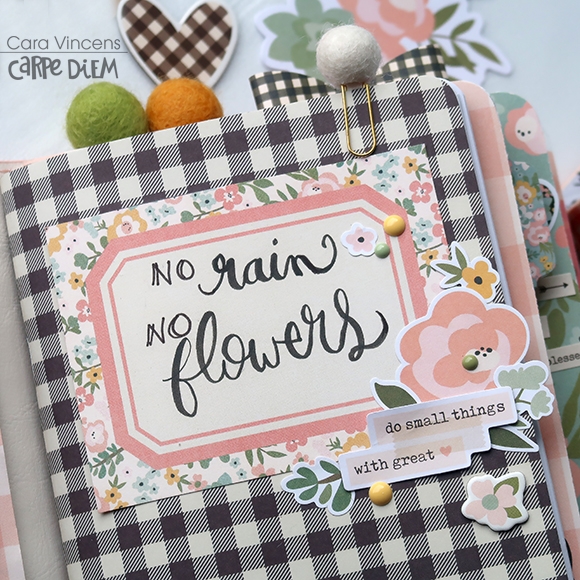
The ‘no rain, no flowers’ die cut was too small, so I hand wrote that one.  

I covered the weekly and monthly TN inserts with patterned paper and the black gingham one comes with the Blush Speckled TN. I layered patterned papers, stickers and enamel dots on the covers and I even ran a line of washi down the spine of the pink one. 

If you like process videos, I’ve got one up on my YouTube channel for my monthly spread here: Process Video March 2019

There is also a video featuring these other projects on my channel here: Cara’s channel

Happy planning!

Pages