June 2019 Blog Posts

Hello Simple Stories friends!  Nathalie here today with a new project that celebrates the fun excursion days at sea in my native Ecuador.   I was so happy to receive the new Cruisin' collection from Simple Stories as it fits all those special pictures of the many excursions we went on while visiting my family back home.  So let me show you what i created.

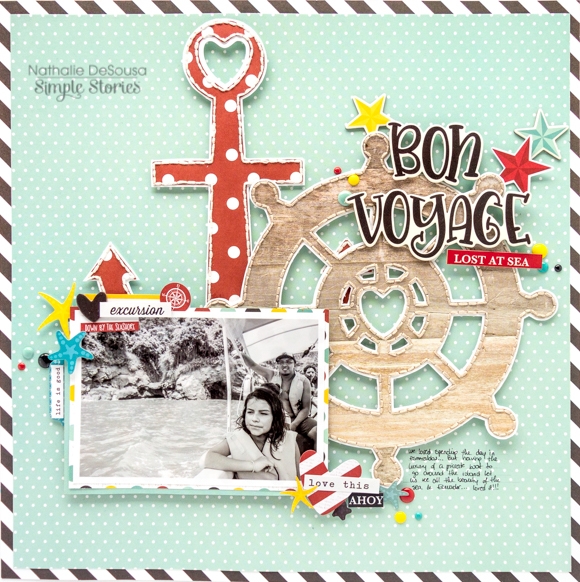
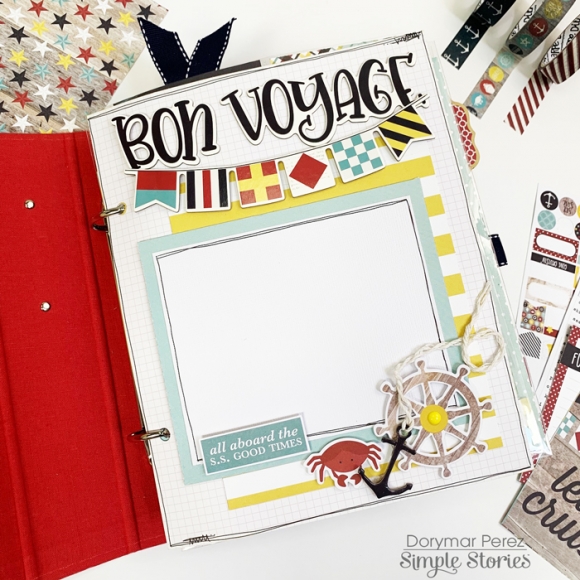
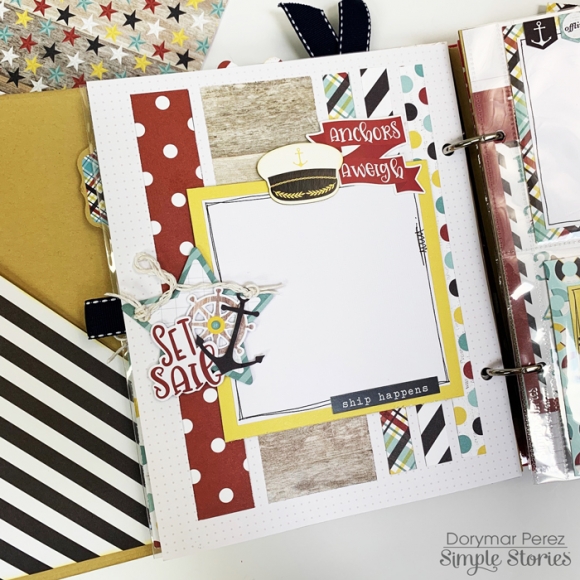
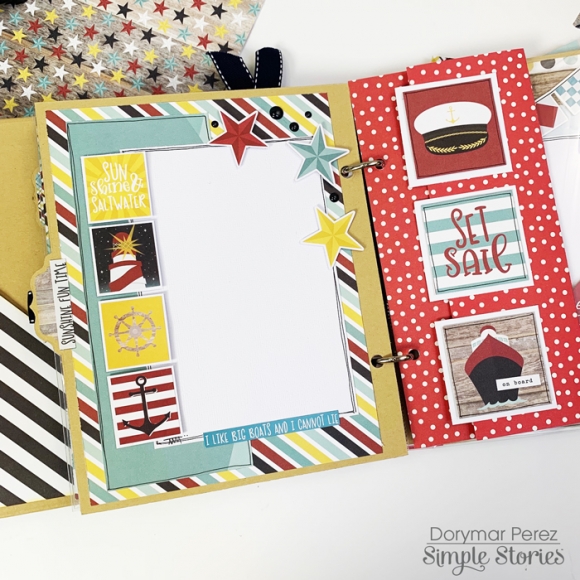
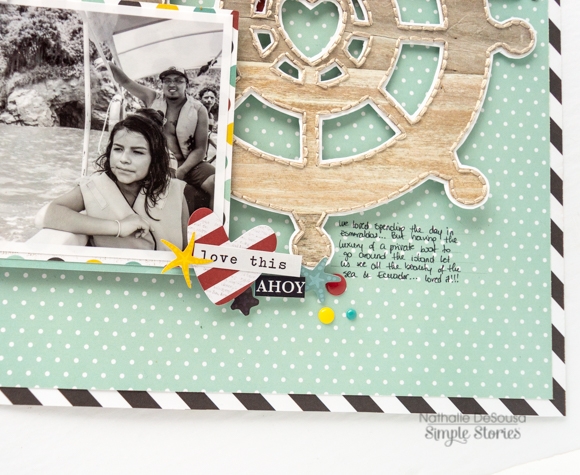
To start this layout, i chose a cut file from The Cut Shoppe and used it to create the anchor from the Set Sail paper and the helm from the Man Overboard paper.   A bit of hand stitching was added around the shapes to bring some texture and dimension to the page.

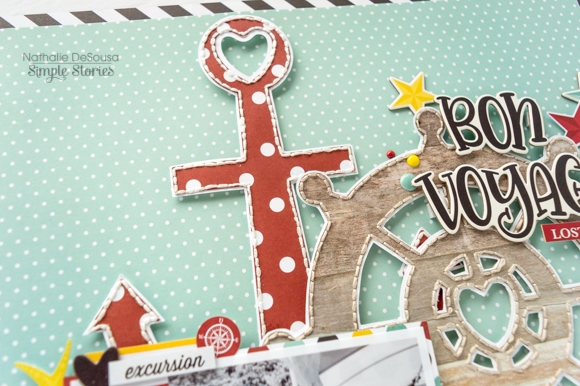
These two pieces were then attached to the b-side of the 2x2 element paper using some foam adhesive  so that they create depth on the background of the piece.

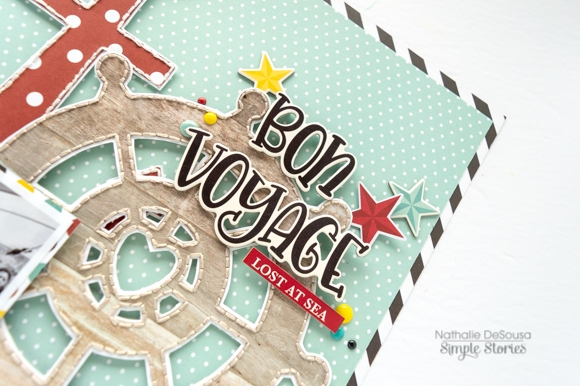
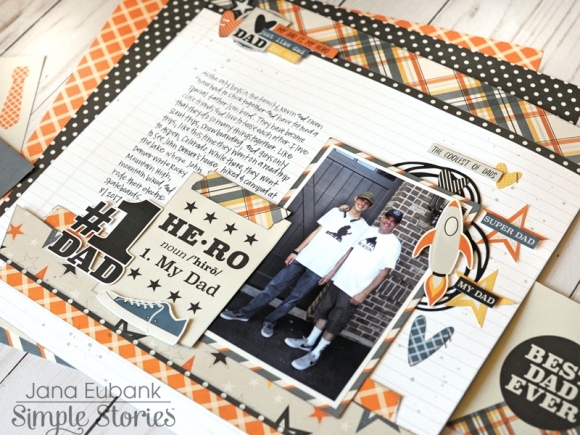
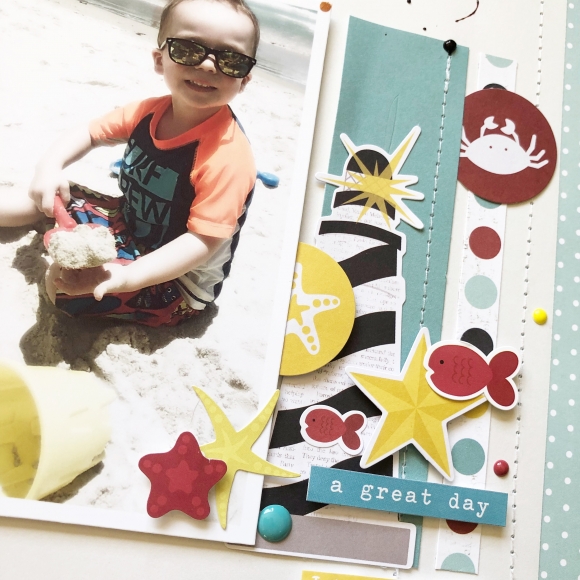
The beautiful chipboard stickers from the Cruisin' collection were ideal to create the title of this page.  I simply added them to the top right corner of the helm along with some stars.   Before adding the picture, i trimmed the page a bit, and glued it to  the  Explore the Shore paper.   This helped framing the page completely.

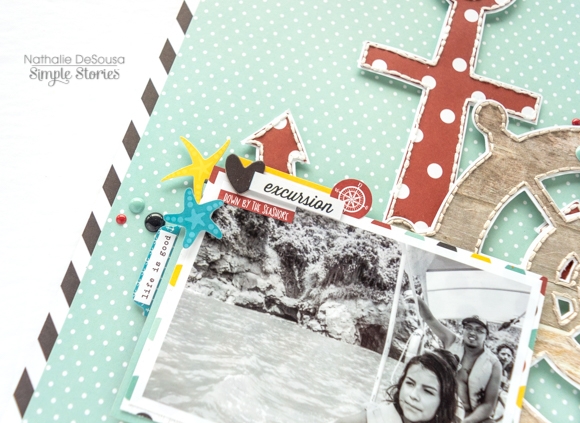
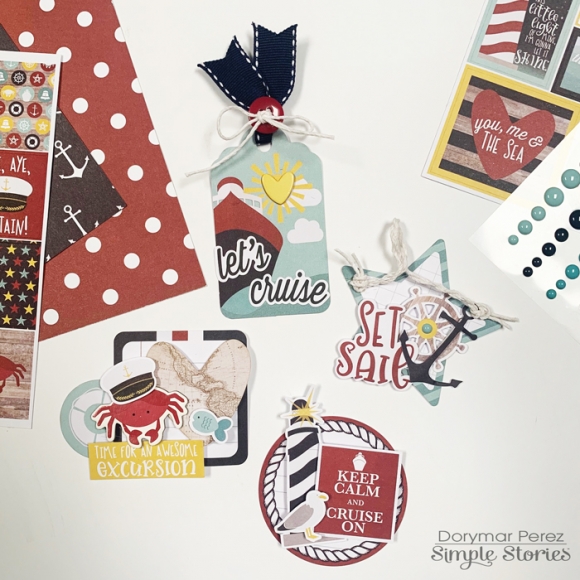
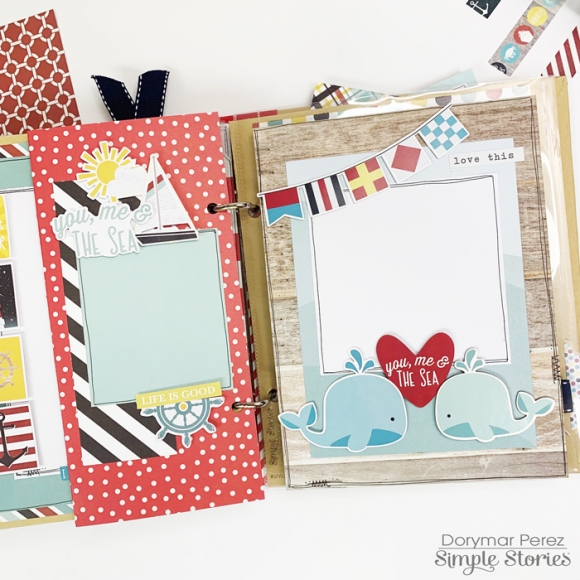
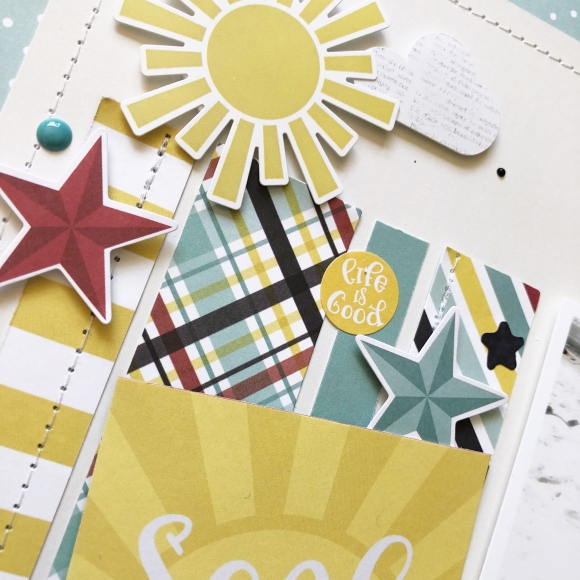
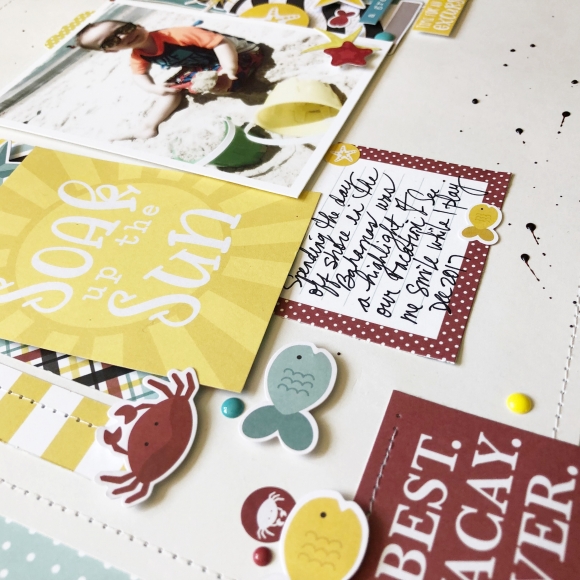
I used pieces of ephemera and stickers to create clusters at the corners of the picture.  Just love all the fun elements that make it so easy to bring the sentiments of the day to the page.

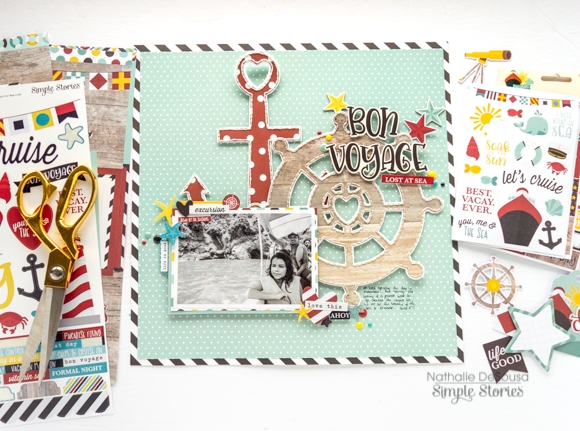
This page was so fun to put together, and just love how it turned out.   The fun Cruisin' collection from Simple Stories is not just perfect to document your cruising memories.  Make sure to check it out, you will love it!!!

Supplies

Hey y’all! It’s Courtney Sawyer here today, and I am sharing the layout that I created using the Let Freedom Ring Collection. This collection is just adorable and I knew that I wanted to use it to document one of my little’s first Independence Days. Here’s a look at the layout that I created.

For this layout I used the entire Let Freedom Ring Collection pack with the Basics Paper Pack and a scrap of gold glitter paper that I had in my stash. I decided to go with a cut file, I tend to use them a lot when I have several patterned papers that I want to showcase. This is the free cut file Count Your Lucky Stars from Paper Issues.

I started with the Walnut Cream paper from the basics set with the cut file. The color on this wood grain is very close to the All American sheet in the Let Freedom Ring collection, so I thought it would be perfect to use.  After I cut it out I used the pattern papers to fill the empty stars. I used three of each pattern throughout the cut file. I hadn’t decided where I was going to add my photo when I started backing everything. Once I finished backing it I added foam tape to give it some dimension. Then I layered it to another basics paper Hickory Cream.

I used the 6x12 sticker sheet that is included when you purchase the collection kit and embellished my layout. I also cut out a few stars from the All American sheet to use as extra embellishments. I used a collage of pictures from my sons first Fourth of July and paired it up with a 3x4 card from the 3x4 and 4x6 Elements Cut A Part Sheet. I used that as my title.

I hope that you were inspired by this collection and can’t wait to see how you use it!

 Thanks for stopping by!


Supplies

Good morning everyone! Anya Lunchenko here today to share with you a set of cards I made with the “Little Princess” collection. This line is so adorable that I could keep going on and on with creating more cards!
 
 
I created my cards in sets of two. The first set uses pink polka dot paper and a navy blue color combination, which I absolutely adore! For one of these cards I fussy cut the oval shape from one of the cards and used it as a divider between two patterned papers, which created an interesting design. I decorated both cards with stickers and a lot of fussy cut flowers from one of the papers in the collection.


The second set of cards share the light blue/navy blue color combination. The starting point for both of these cards were 3x4” elements from the collection. I added a few coordinating pieces of paper for layers and emphasized the design on the element cards with stickers and more fussy cut flowers. I finished all the cards with a few Enamel Dots and a sprinkle of white Nuvo Drops.


Supplies

Hi there Simple Stories fans! Nicole here today to share a project using the new Heart collection. This collection has such a soft feeling to it, it is perfect for a mixture of different projects.

I cut a series of hearts using several different patterns from the 6x8 paper pad - cutting one small, medium and large sized. Each heart was layered and stitched together and adhered with a little foam adhesive between the layers to really make them pop.

A simple title using a 4x4 elements card, some chipboard and a few stickers all adhered together with some machine stitching. Fussy cut some tiny flowers from patterned paper and adhere to the page with a little foam adhesive to fill in any open areas.

I hope you are inspired to create a project from the Heart too!

Supplies

Hello, Simple Stories friends! It's Jana Eubank. Today I'm using the Dad Life collection to document my husband's relationship with our son.

My husband and son are the only boys in our family of six, which means they have to stick together! They often hang out together and have developed a special bond... do I dare say that my son has become "Dad's Favorite" by default?! This photo is a snapshot I took of them before heading out on a road trip together. It was the perfect opportunity to document their relationship!

I used the Snap Basics Aspen/White Notebook paper for the background of this page. I love using this paper for layouts, especially when I have a lot of journaling to add. The journaling lines are built right in!

Sometimes it can be difficult to find a masculine collection to work with our photos about the boys and men in our lives. Dad Life to the rescue! I love the colors of this collection soooo much! The gray, slate blue, orange, yellow, and black are a nice change of pace and are just perfect for scrapbooking the guys.

I also really love all of the phrase stickers! I couldn't resist adding them to the embellishment clusters at the top and right side of the page.

The rocket ship is adorable, too! I added it to the top right corner of my photo, along with several hearts, stars, and phrase stickers. I die cut a few scribbly circle shapes to tuck behind the photo for an additional punch of black!

I love layering the stickers and elements together. Here I used the "#1 Dad" sticker as the title for this page, and then added one of the 3x4 cards next to it to act as a subtitle. I cut a piece of the plaid paper in a strip and then trimmed the ends to look like washi tape to "hold down" the card. At the bottom of the card I popped up the sneaker sticker on foam tape.

I'm so grateful that my husband and son are such great friends. It makes my heart smile every time they plan a trip or activity together. It's a relationship I am grateful to have captured and recorded on this page. 

Supplies

Hello everyone!  Dorymar here today sharing a beautiful 8x6 Sn@p Album, I designed with the colorful Cruisin’ Collection.  When I saw this collection, I fell in love instantly with the primary colors, elements, and designs.   My favorite color is red, and this collection have a ton of beautiful embellishments with this color. That’s why I decide to use the Red Snap Binder to work with this collection!

To design the cover, I used Lost at the Sea Paper as a background and a combination of various embellishment from the combo sticker and 6x12 chipboard stickers.  I select the Let’s Cruise sticker as a title for my Sn@p and jute ribbon to give the nautical touch! All the elements are so beautiful that they are very easy to place, they look fantastic!

I started the pages of the album, giving space to that traditional photo that you take in the corridor on the way to the ship. Letting know that you will see next will be magnificent. Here you can see the famous sea phrase "Bon Voyage", the flags and the anchor all of them are from the 6x12 chipboard stickers, they are so useful and fun.  I glued all of elements cluster to the photo mat using foam tape to give dimension. 

This collection is so beautiful that I had infinite ideas to create this project and make it fun. That's why I decided to create my own embellishments using several pieces of the collection.   

In this page I cut out some strips from the border of the paper for the background in combination with other pieces cut from paper.  Then I add my little fun DIY embellishments for finishing touches. They look so beautiful!

In these spreads you can see how I used some of pieces cut out from the gorgeous paper from the collection and create layers behind the pictures.  I chose to add cluster my DIY’s embellishments and some phrases from the chipboard sticker and stickers sheet around of the photo mats.

The 4x6 Stickers Sheets have a lot of fun phrases and cute elements. In these spread I used some of them to decorate cluster on the left side of the photo mat. I also added fun phrases from the Sticker Sheet and accents with the enamel dots and beautiful stars from the from the bits and pieces.

One of the elements that I liked the most, were the adorable whales, on this page I used them in combination with the big heart with the beautiful phrase "you, me & the sea" to document that photo with your favorite person. Isn’t adorable? This is the perfect collection to document your vacations aboard a cruise, it has magnificent elements, colors and fun phrases. I hope this project inspires you to work with this beautiful collection.

Supplies

Hello friends! It’s Kristine Davidson with you today and I am sharing a layout I created using the Cruisin’ Collection. This collection is filled with all things related to a cruise. I have to admit I have never been on a cruise vacation but Today I can show you how to use this same collection with less of a cruise theme. 

The picture here is of my cousin playing in the sand in the Bahamas. He was enjoying the sun, the sand and of course his toys. It wasn’t related to a cruise but the multi colours in this kit allowed me to use some great patterned pieces and misc embellishments. 

I used the blue and white dotted papers as my base while using the white side a sheet from the  Simple Basics papers. These are great for background bases and so much more! Once I finished sewing my background base I added strips of paper from the collection and a great assortment of Bits & Pieces. Some of the pieces have been backed with dimensional adhesive and tucked under the photos and strips of papers. 

I added a 2x2 piece of paper with Best Vacation Ever and a 3x4 piece with Soak Up the Sun. These pieces can be used as a title for your page or added as extras. I used one of them for my title. 

I added some enamel dots, a few fishies and some Journaling to finish my page. I hope you were inspired by my layout today and ready to create with your Cruisin’ Collection!

Supplies

Hi everyone! Tara here with Secretbees Studio  The 4th of July is one of my favorite holidays; we are celebrating our nations' independence, the weather is sunny and hot and red is my favorite color! Plus, it's another excuse to plan a fun filled get-together with friends and family.

I love making my own paper decorations for the holiday and the 'Let Freedom Ring' paper collection is full of patriotic colors and images that will coordinate with everything red, white and blue! To welcome my guests for the big day will be this star filled wreath that is bursting with fun! 

To go along with all of the star shapes, there is a mixture of vibrant pinwheels, rosettes and fringe flowers as well as festive paper curls! I used a combination of Silhouette Studio designs and die cuts for the shapes as well as fussy cutting stars from the patterned paper.  It's a good sized wreath too,  measuring around 14 inches across.

I covered a wooden circle wreath frame with strips of the patterned paper before layering all of the festive shapes, stacking some higher than others with foam adhesive. I even tucked in a few of the collection stickers as well as a 3x4 journal card commemorating the big day! Although cutting all   the shapes took a bit of time, this project was completed in just a few hours and looks amazing. I will look forward to hanging this on my front door for the celebration!

Supplies

Pages